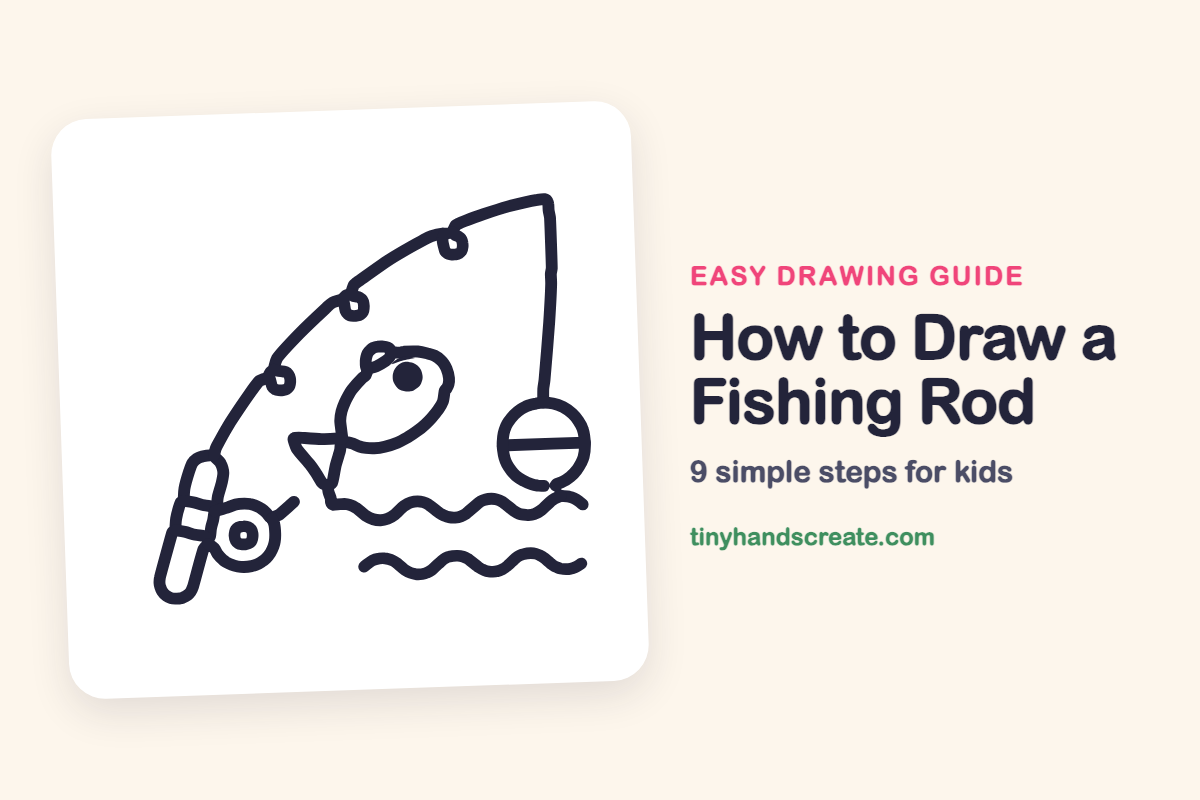
How to Draw a Fishing Rod (Easy Step by Step)
A fishing rod is a fun drawing because it is mostly one long, bendy curve with a few small circles on it. You will use a rounded rectangle, circles, an oval, a triangle, and wavy lines. Add a fish and you have a whole story on one page.
- Medium
- 15 minutes
- 9 steps
You need: paper, a pencil, an eraser, and crayons or markers for coloring.
Start drawingIn this article (7 sections)
How to draw a fishing rod step by step
How to Draw a Fishing Rod · tinyhandscreate.com
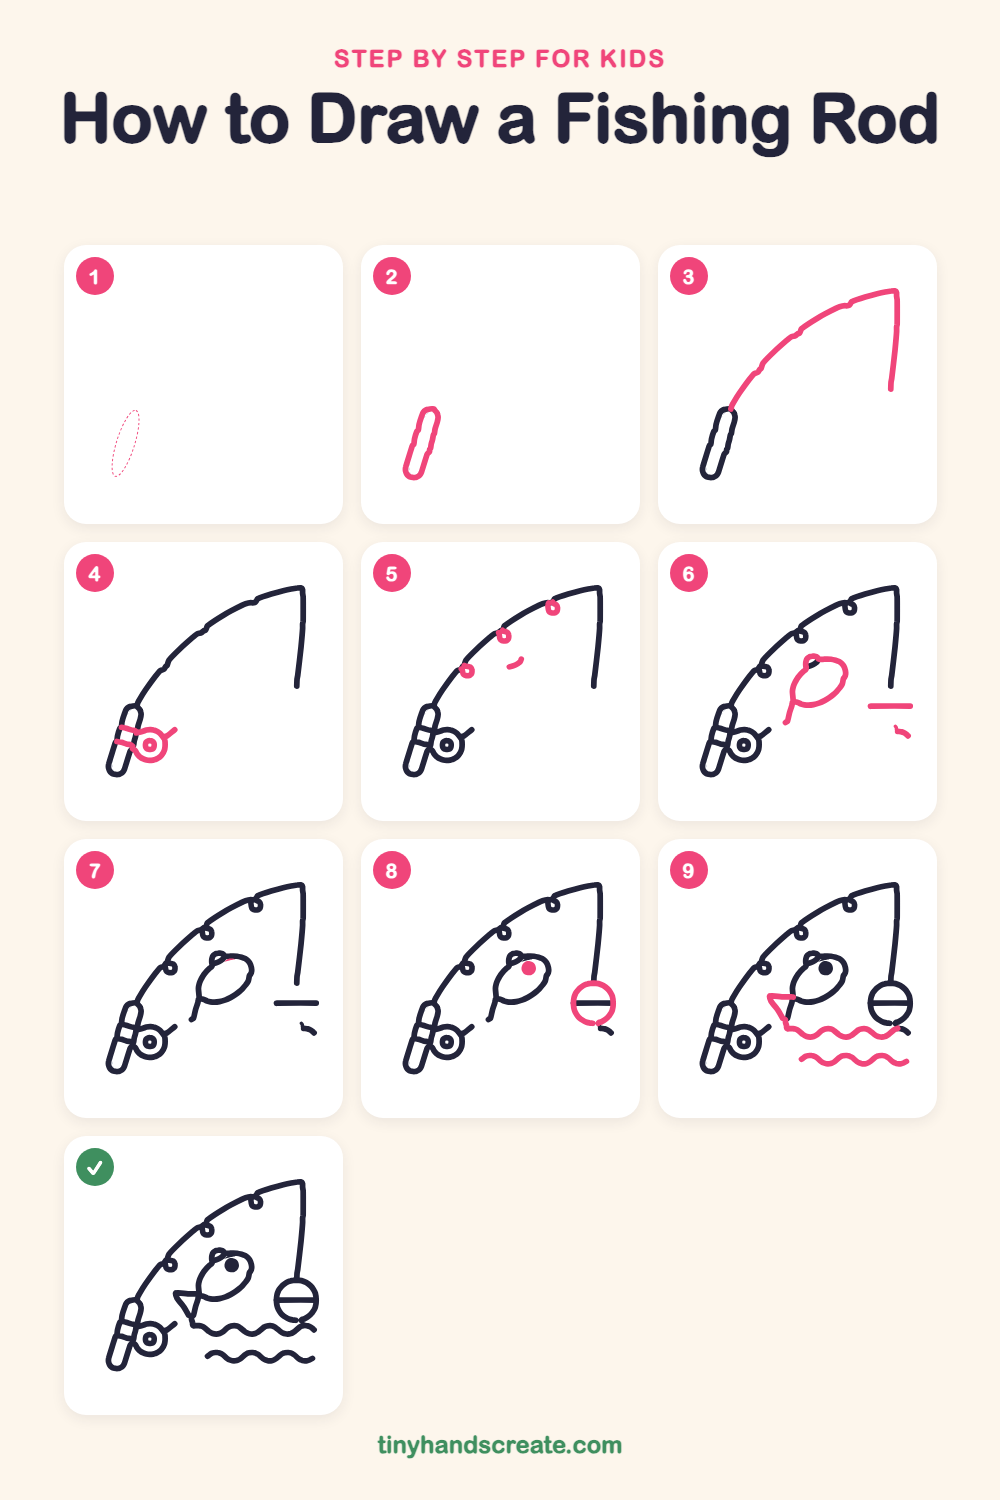
Step 1: Guide shapes
Lightly sketch this oval. It only shows where the big parts go, so press softly. You will erase it at the end.
Step 2: The rod handle
Draw a long, thin, tilted rounded rectangle, like a skinny pill, leaning a little to the left.
Step 3: Rod and fishing line
Start at the top of the handle and draw one big curve that sweeps up and to the right. At the end, turn a corner and draw a straight line down for the fishing line.
Step 4: The reel
Next to the handle, draw a small circle with a dot in the middle. Add a short slanted line sticking out of its top right, and two short lines across the handle.
Step 5: Line guides
Along the rod, draw three tiny rings, each one sitting on the curve. Add a tiny curved dash below the middle ring.
Step 6: Fish body and bobber line
In the middle of the picture, draw a tilted oval for the fish, with a small loop on top for its fin. Add a short line going down from its left side. Then draw a short flat line near the bottom of the fishing line.
Step 7: Fish fin detail
Add a tiny curved line along the top of the fish's body, right under the fin loop.
Step 8: Fish eye and bobber
Fill in a round dot for the eye near the top of the fish. Then draw a circle around the flat line at the end of the fishing line to make the bobber.
Step 9: Fish tail and waves
Draw a triangle tail on the left that connects to the fish's body. Then draw a wavy line that goes up and down under the fish, and a second wavy line below it.
All done!
Erase the guide shapes, go over your lines, then color it in.
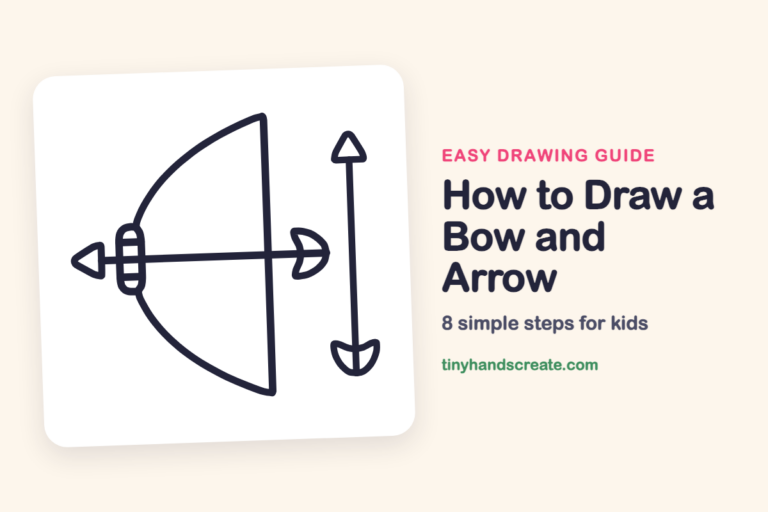
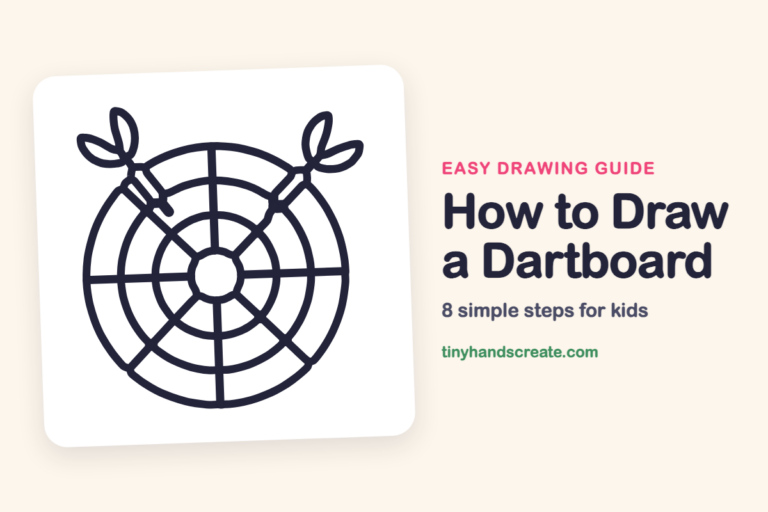
Finished your fishing rod? Keep the pencils out and learn how to draw a bow and arrow or how to draw a dartboard next.
Tips for drawing a fishing rod
- Draw the rod curve in one slow, steady stroke instead of lots of short ones. Let your hand swing from your elbow.
- The tiny rings on the rod look best when you place them first as small dots, then circle each one.
- For the waves, draw a gentle up-down-up-down line and keep the hills about the same size.
Free fishing rod coloring page
Want to go straight to coloring? Open this fishing rod coloring page at full size and print it. It is the same drawing you just learned, with clean lines ready for crayons or markers.
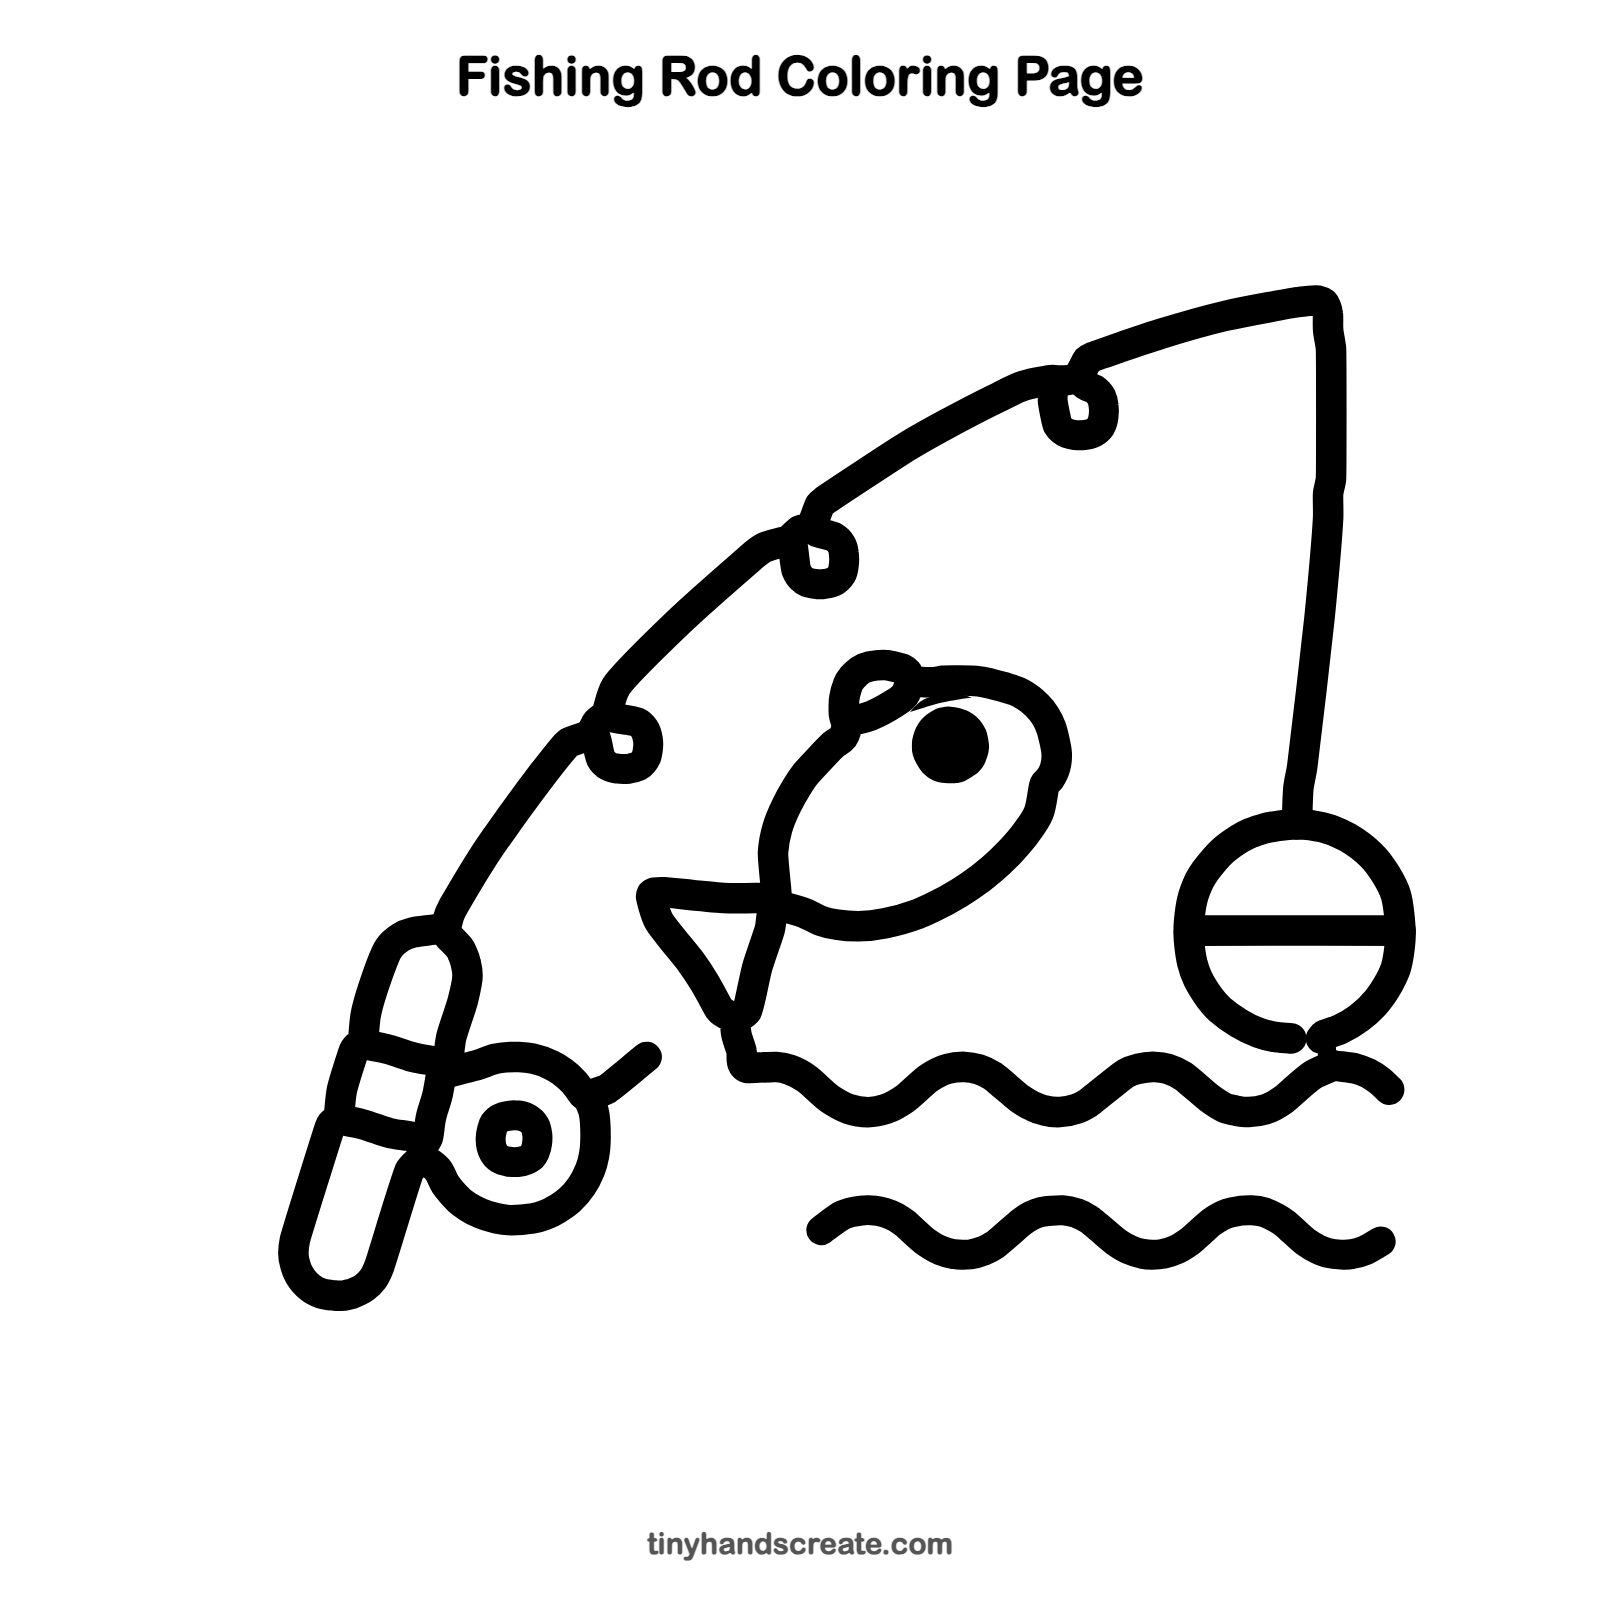
How to color your fishing rod drawing
Try a red and white bobber, a brown rod, and a bright orange fish against blue water. For a creative twist, give the fish polka dots or stripes.
Fishing rod fun fact for kids
Many fishing floats, also called bobbers, are made to bob on the water. When a fish tugs the line, the bobber dips under to show the angler that something is biting.
Questions about drawing a fishing rod
What shapes do I need to draw a fishing rod?
You need a long curved line, a rounded rectangle for the handle, and circles for the reel and bobber. The fish adds an oval and a triangle.
How do I make my fishing rod curve nicely?
Lightly sketch a big arc first, then trace over it with a darker line. Keep your wrist loose and draw it in one smooth motion.
How do I draw the water?
Draw a wavy line that rolls up and down like a hill and a valley, again and again. Repeat it underneath to make the water look deeper.