How to Draw a Bow and Arrow (Easy Step by Step)
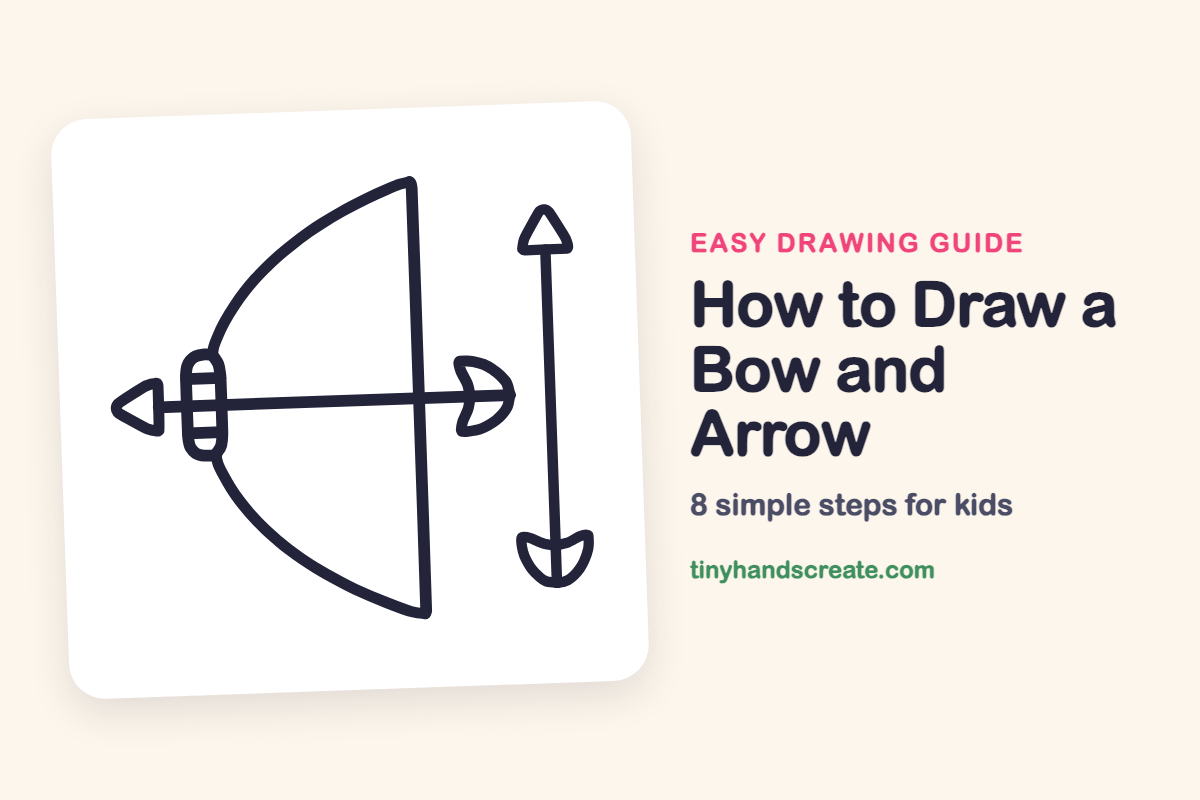
A bow and arrow is a fun drawing because it is built from a few easy parts: straight lines, curves, and triangles. You will draw a big sideways D for the bow, then one arrow lying across it and one standing beside it. Every step uses a shape you already know.
- Easy
- 10 minutes
- 8 steps
You need: paper, a pencil, an eraser, and crayons or markers for coloring.
Start drawingIn this article (7 sections)
How to draw a bow and arrow step by step
How to Draw a Bow and Arrow · tinyhandscreate.com
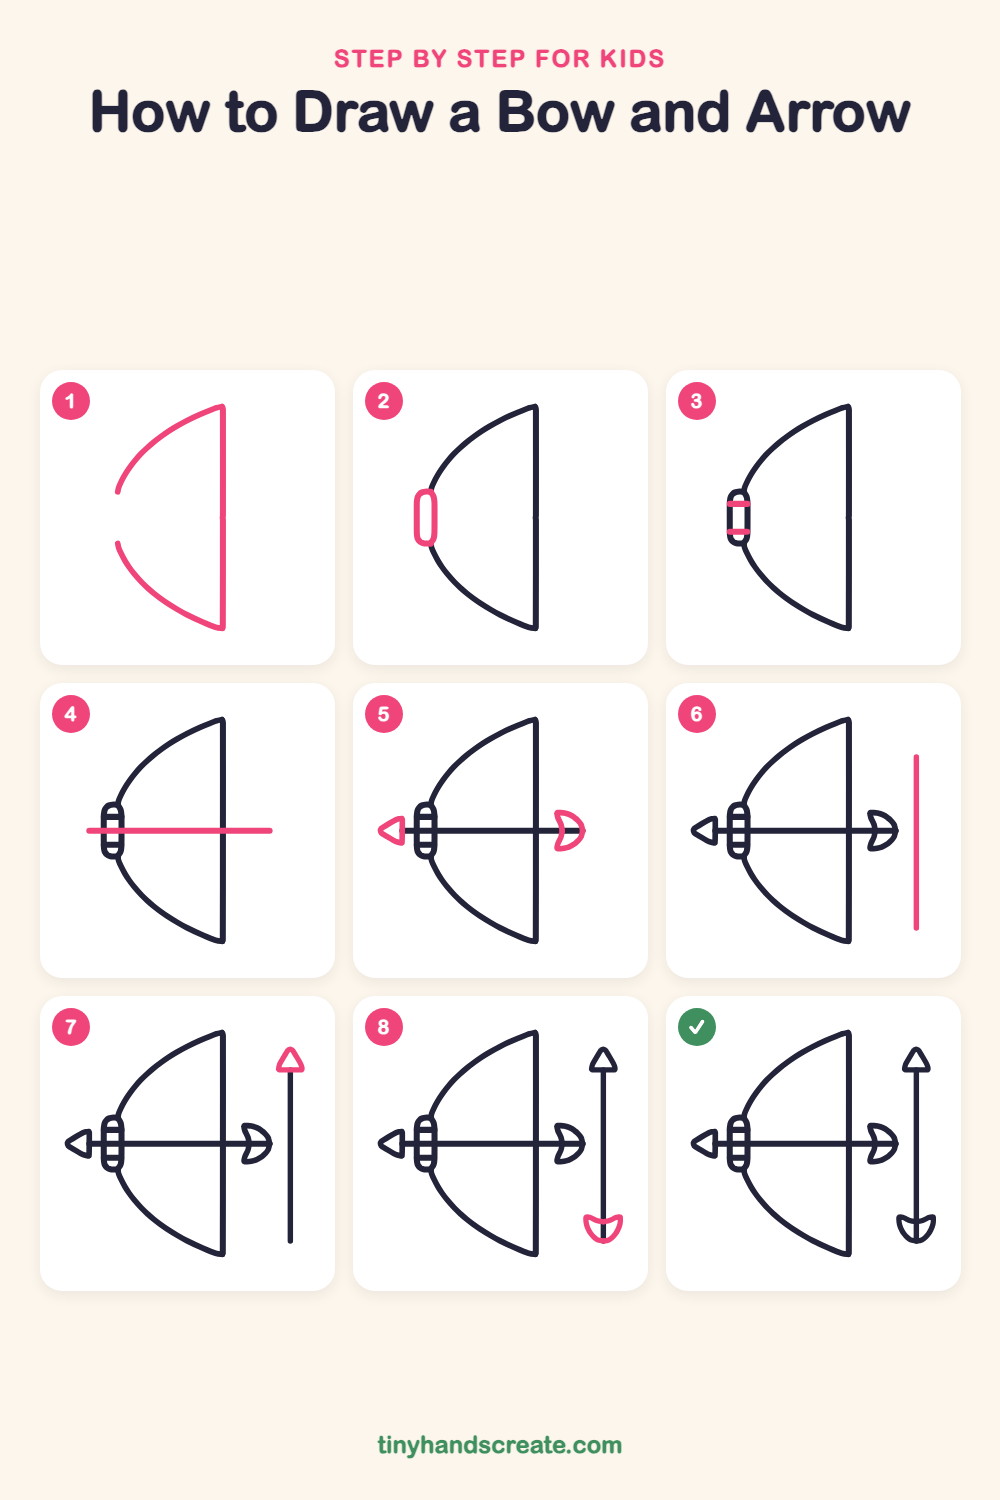
Step 1: Bow and bowstring
Draw a tall straight line for the bowstring. Then draw a big curve from the top of the string, bending out to the left and stopping partway down. Draw a matching curve from the bottom of the string, leaving a gap in the middle on the left.
Step 2: The handle
In the gap between the two curves on the left, draw a tall rounded rectangle, like a pill. This is the handle the archer holds.
Step 3: Handle wraps
Draw two short straight lines across the handle, one near the top and one near the bottom. They look like tape wrapped around the grip.
Step 4: The long arrow
Draw one straight line across the middle, starting at the handle on the left, passing through the bowstring, and ending on the right side.
Step 5: Arrow tip and tail
At the left end of the line, draw a small triangle pointing left for the arrow tip. At the right end, draw a curved shape like a crescent moon for the feathers, with a pointy notch in the middle.
Step 6: The standing arrow
Draw a tall straight line on the right side of your page, going up and down. Leave a little room at the top and bottom for the tip and feathers.
Step 7: Top arrowhead
On top of the tall line, draw a small triangle pointing up to make a sharp arrowhead.
Step 8: Bottom feathers
At the bottom of the tall line, draw a curved feather shape like a little bowl with a notch in the top. The line goes down into the middle of it.
All done!
Go over your lines with a marker, then color it in.
Finished your bow and arrow? Keep the pencils out and learn how to draw a dartboard or how to draw a yo-yo next.
Tips for drawing a bow and arrow
- Draw the straight bowstring first, then make both curves start at its ends. Matching the top and bottom curves keeps the bow balanced.
- Use a ruler or the edge of a book for the long arrow line if wobbly lines bother you. It will cross the handle and the bowstring neatly.
- Make the arrowheads small triangles, and leave space for the feathers at the other end of each arrow.
Free bow and arrow coloring page
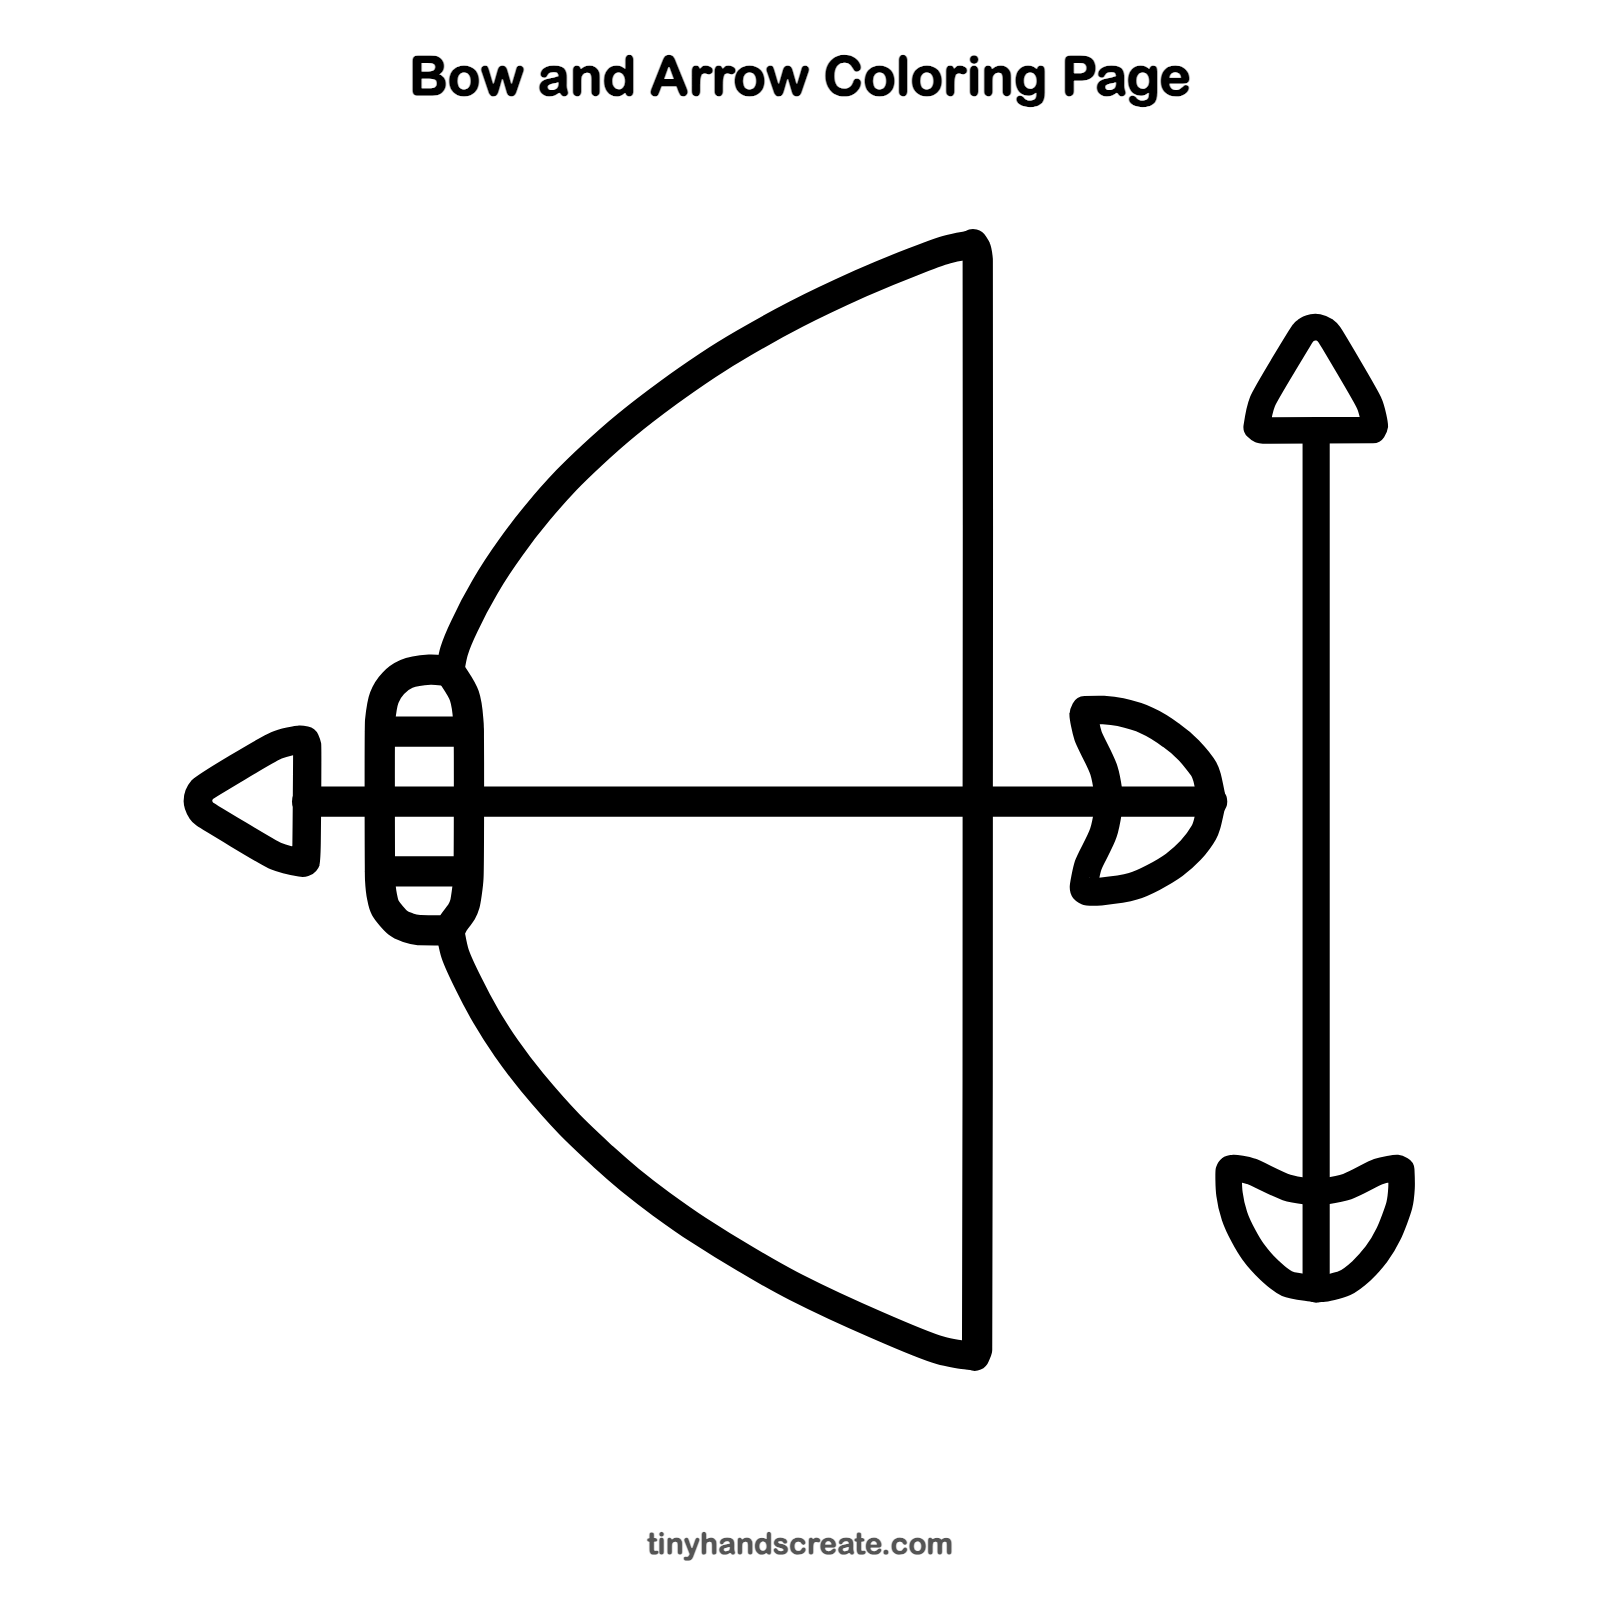
Want to go straight to coloring? Open this bow and arrow coloring page at full size and print it. It is the same drawing you just learned, with clean lines ready for crayons or markers.
How to color your bow and arrow drawing
Try brown for the bow and handle, gray for the arrowheads, and bright red or blue for the feathers. For a creative twist, color the bow like a rainbow, with one stripe of color following the curve.
Bow and arrow fun fact for kids
People have used bows for thousands of years, and the feathers on the back of an arrow help it fly straight.
Questions about drawing a bow and arrow
What shapes do I need to draw a bow and arrow?
You need straight lines, two long curves, a rounded rectangle for the handle, and small triangles for the arrowheads. The feathers are curved moon shapes.
How do I make the bow look even on both sides?
Draw the straight bowstring first and mark its middle with a tiny dot. Then draw the top and bottom curves so they both stop at the same distance from that middle dot.
How do I draw the arrow feathers?
Draw a curved bowl shape with a notch in one side, then let the arrow line run into the middle. Think of a tiny crescent moon or a fish tail.