How to Draw an Owl on a Branch (Easy Step by Step)
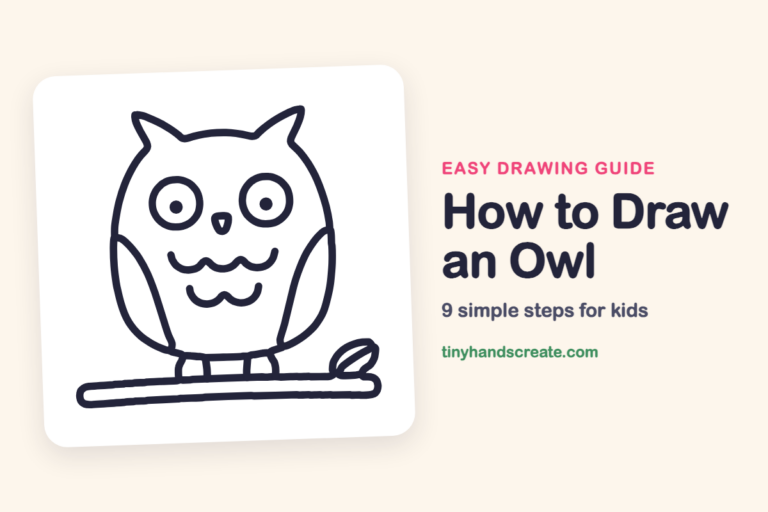
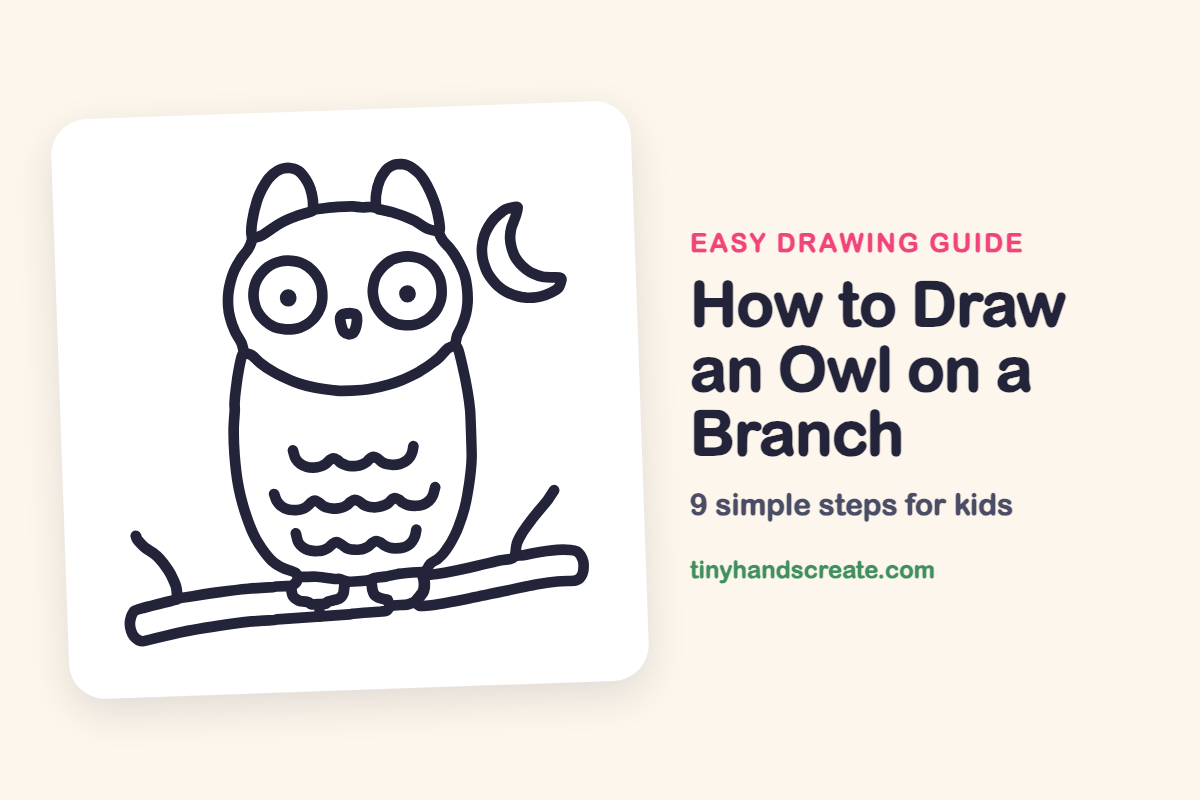
This sleepy night owl is built from simple shapes: a wide oval, a tall egg, two circles, a tiny triangle and some wavy lines. A crescent moon and a branch with little twigs make it feel like a real story scene. It is a great first bird for young artists.
- Easy
- 15 minutes
- 9 steps
You need: paper, a pencil, an eraser, and crayons or markers for coloring.
Start drawingIn this article (7 sections)
How to draw an owl on a branch step by step
How to Draw an Owl on a Branch · tinyhandscreate.com
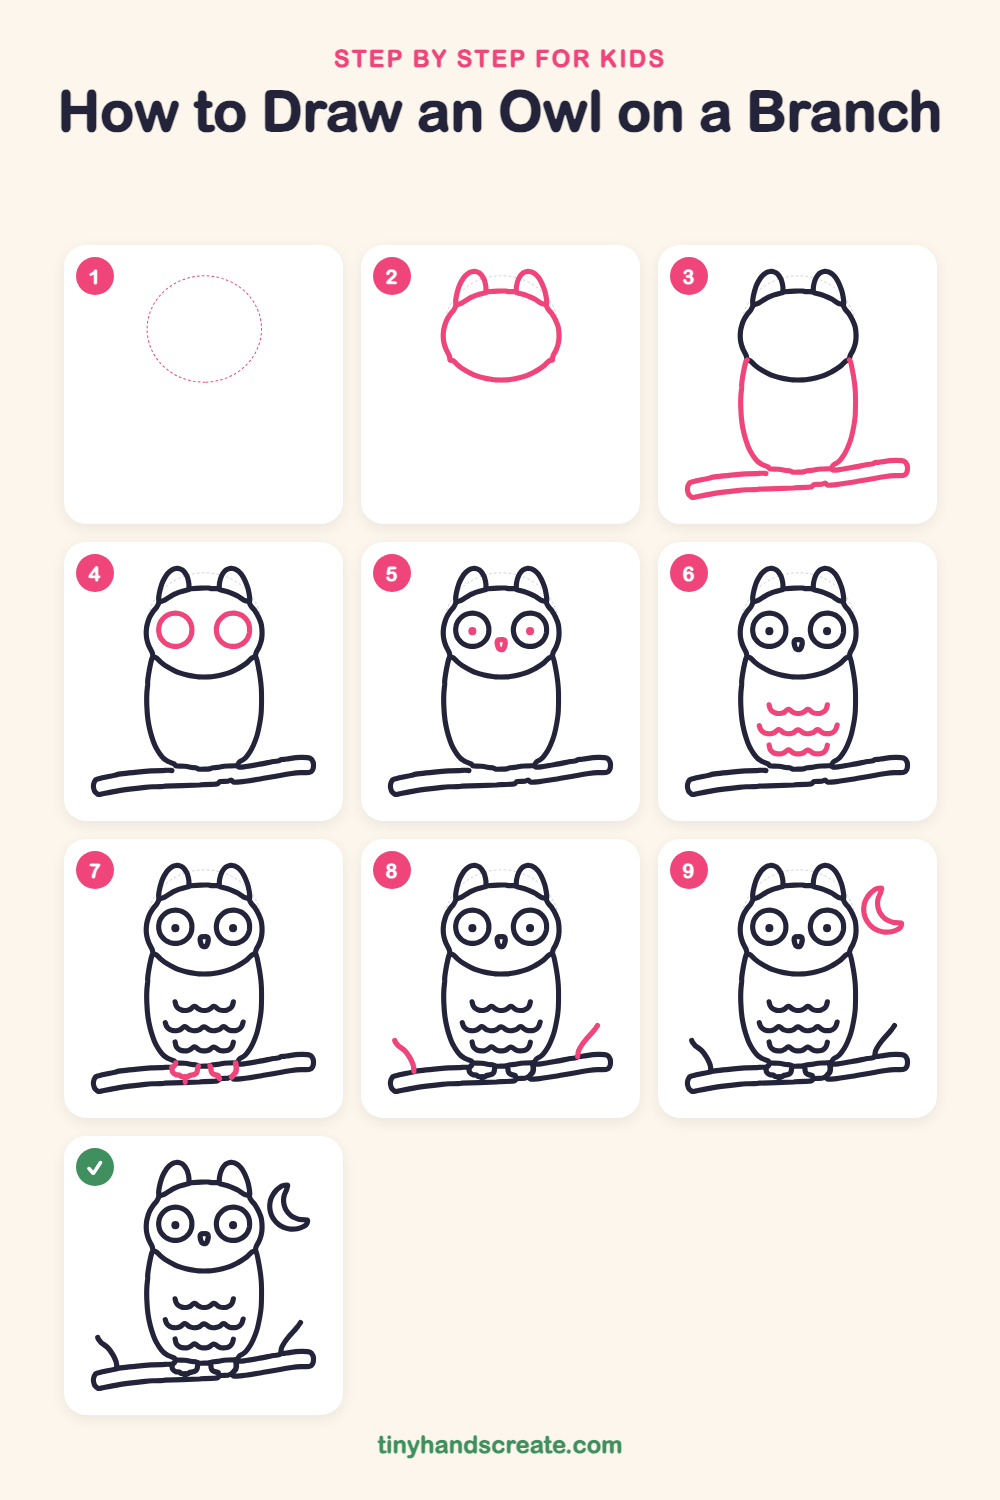
Step 1: Guide shapes
Lightly sketch this oval. It only shows where the big parts go, so press softly. You will erase it at the end.
Step 2: Head and ears
Draw a big wide oval for the head. Then add two rounded, pointy ear tufts sticking up from the top of the head, one on each side.
Step 3: Body and branch
Under the head, draw a tall egg shape for the body, starting its sides just below the head. Then draw a long, slightly tilted rounded stick across the bottom of the body for the branch.
Step 4: Big round eyes
Draw two big circles side by side in the middle of the face. Keep them the same size so your owl looks wide awake.
Step 5: Beak and pupils
Between the eyes, draw a small rounded triangle pointing down for the beak. Then fill in a small dot in the middle of each eye for the pupils.
Step 6: Feather waves
On the tummy, draw three wavy lines, one above the other. Make the middle wave a bit wider than the top and bottom ones.
Step 7: Feet on the branch
At the bottom of the body, draw two small rounded feet that sit on the branch. Add a couple of tiny toe lines on each foot.
Step 8: Little twigs
Add two short, curved twigs growing up from the branch, one on the far left and one on the far right.
Step 9: The crescent moon
In the sky to the right of the owl's head, draw a curved crescent moon shape, like a letter C with a fat middle and two pointy tips.
All done!
Erase the guide shapes, go over your lines, then color it in.
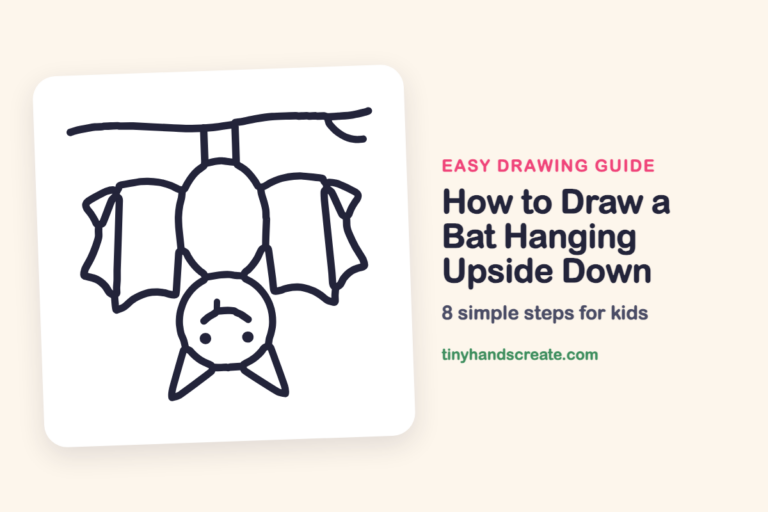
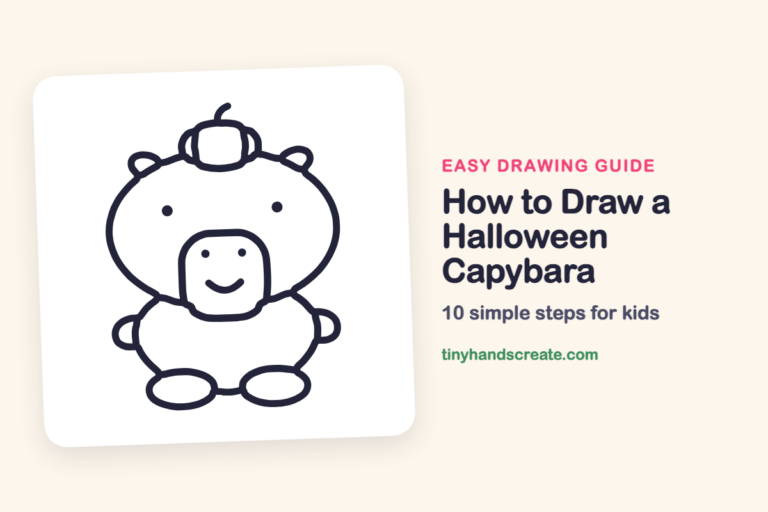
Finished your owl on a branch? Keep the pencils out and learn how to draw a bat hanging upside down or how to draw a Halloween capybara next.
Tips for drawing an owl on a branch
- Draw the head oval nice and wide before anything else, so the two big eyes have plenty of room inside it.
- The feather waves are the trickiest part. Draw the middle wave a little wider than the top and bottom ones, and keep all three lines wiggly.
- Draw the feet so they sit right on top of the branch, then add the twigs and the moon last.
Free owl on a branch coloring page
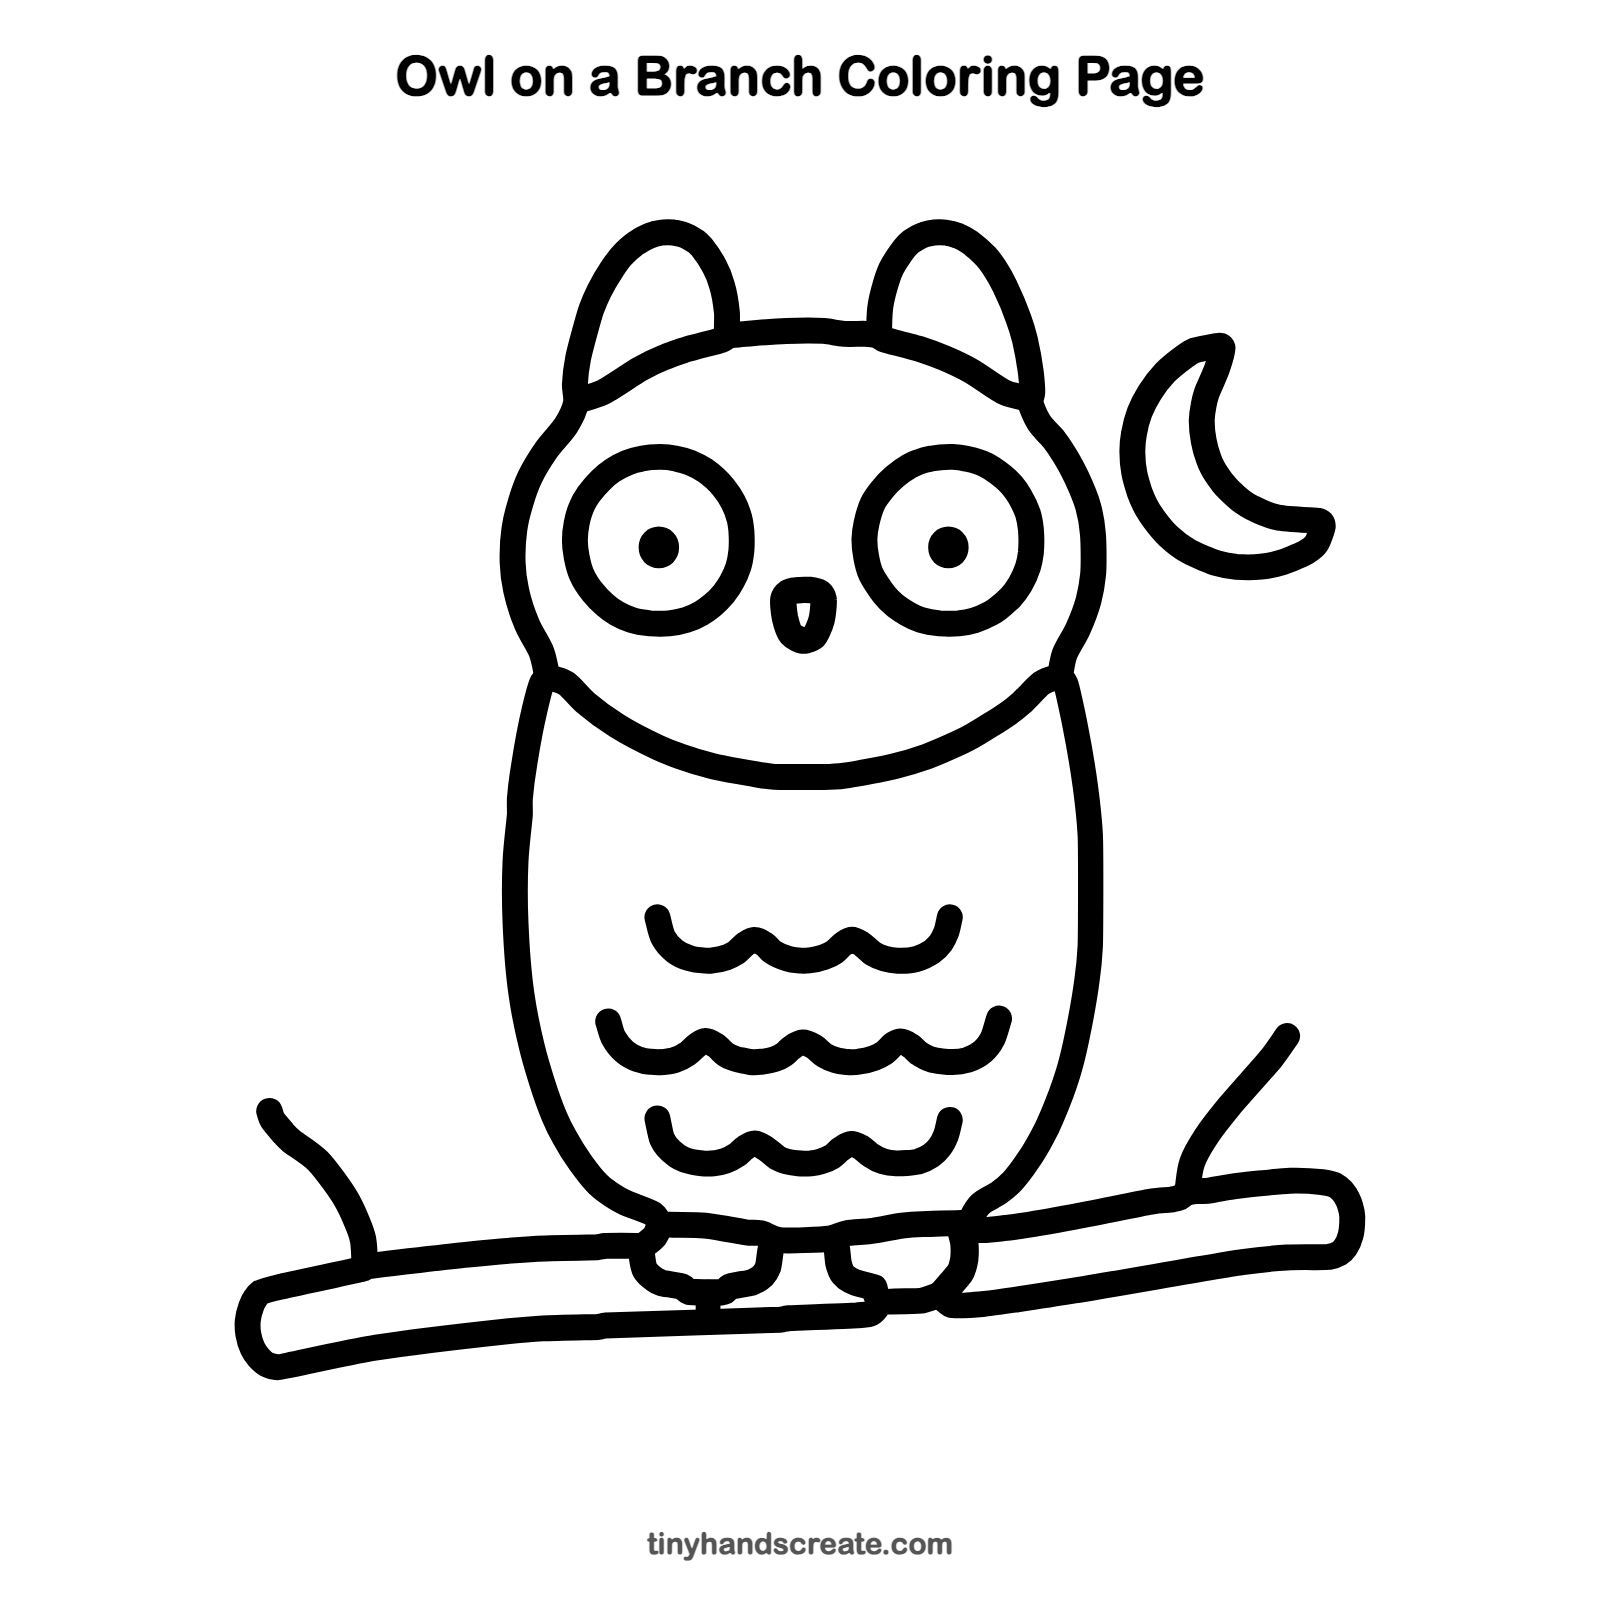
Want to go straight to coloring? Open this owl on a branch coloring page at full size and print it. It is the same drawing you just learned, with clean lines ready for crayons or markers.
How to color your owl on a branch drawing
Try warm browns and tan for the owl, with big yellow or orange eyes and a brown branch. For a creative twist, color the sky behind it deep blue and add yellow stars around the moon.
Owl on a branch fun fact for kids
Owls can turn their heads up to about 270 degrees, which is almost three quarters of the way around, so they can look behind them without moving their bodies.
Questions about drawing an owl on a branch
What shapes do I need to draw an owl?
You need a wide oval for the head, a tall egg shape for the body, two circles for the eyes and a small triangle for the beak. The feathers are just three wavy lines.
How do I make my owl look cuter?
Make the eyes big and round and keep the beak small. Round off the ear tufts so they look soft.
How do I draw the feathers on an owl?
Draw three wavy lines on the tummy, one above the other. Make the middle wave a little wider than the other two.