How to Draw a Halloween Capybara (Easy Step by Step)
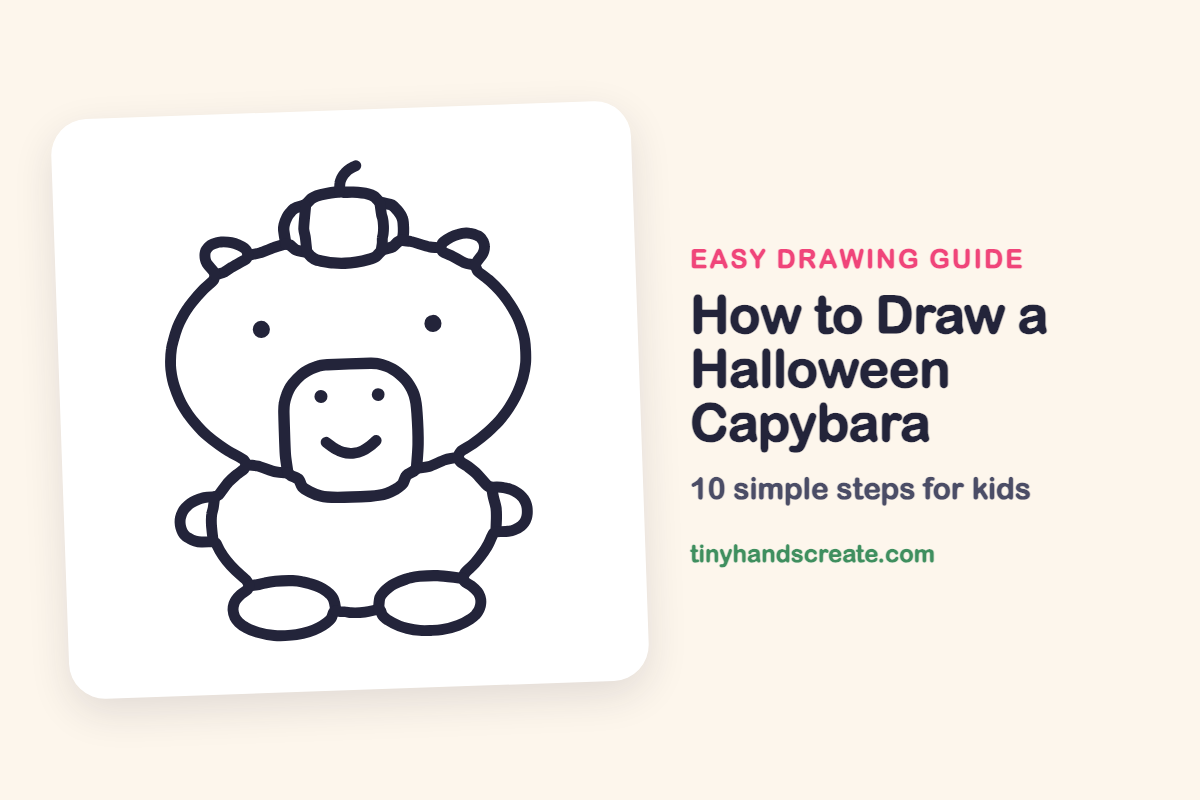
A capybara wearing a tiny pumpkin hat is hard not to smile at. This drawing is built from a big oval head, a rounded square snout, two curved lines for the body, and a few small shapes for ears, arms, and feet.
- Easy
- 15 minutes
- 10 steps
You need: paper, a pencil, an eraser, and crayons or markers for coloring.
Start drawingIn this article (7 sections)
How to draw a Halloween capybara step by step
How to Draw a Halloween Capybara · tinyhandscreate.com
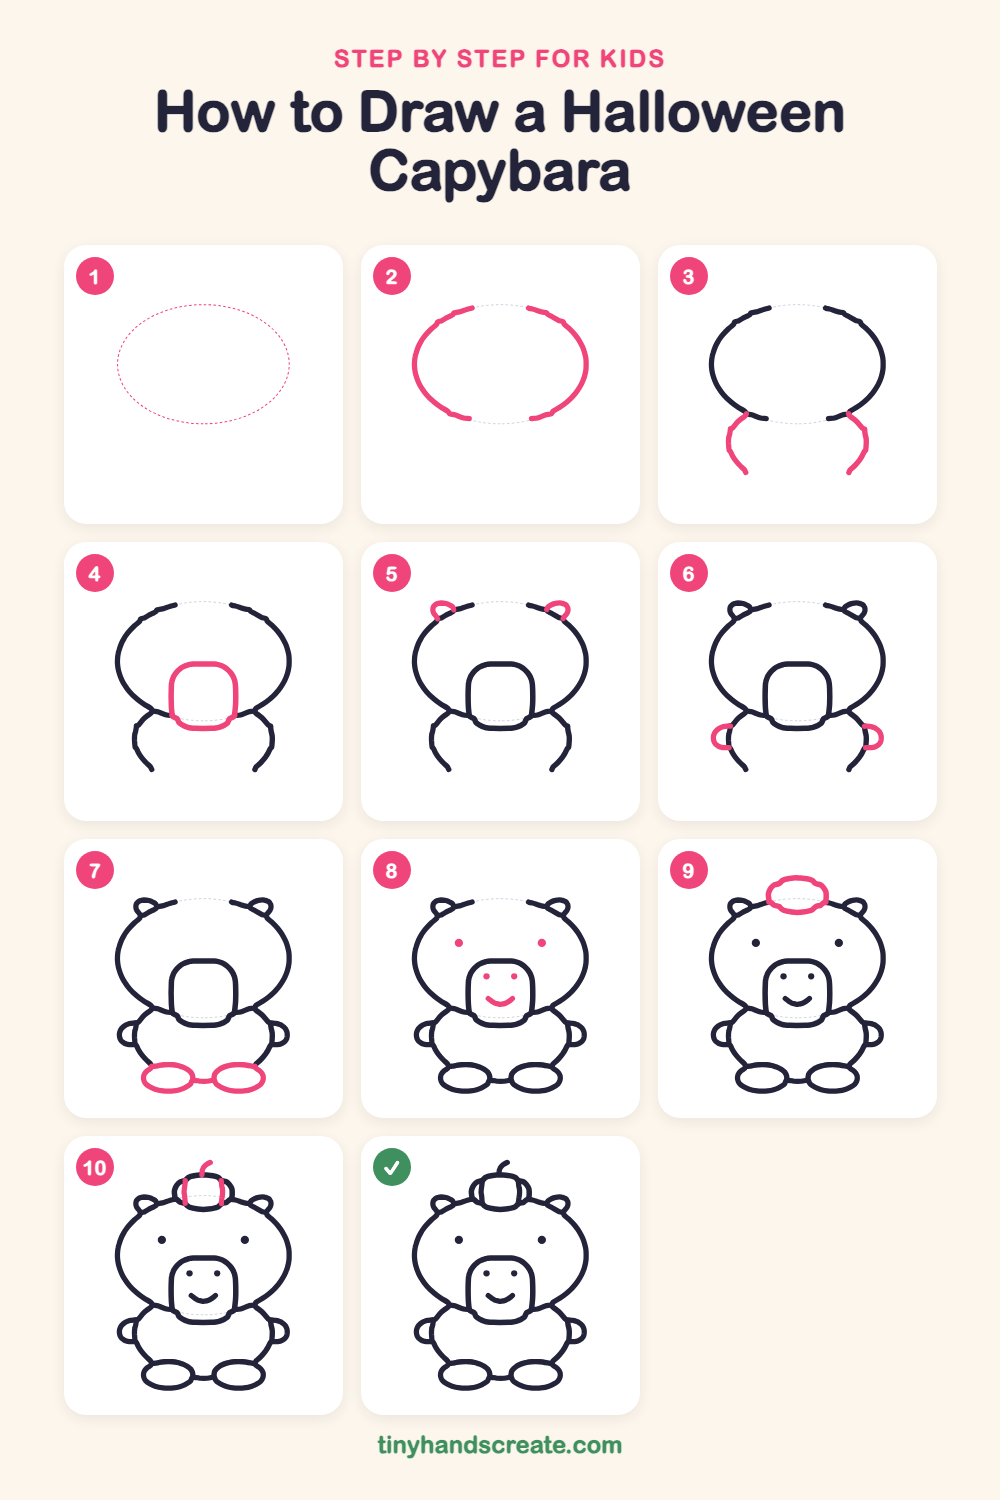
Step 1: Guide shapes
Lightly sketch this oval. It only shows where the big parts go, so press softly. You will erase it at the end.
Step 2: The big head
Draw a big wide oval near the top of your page, like a sideways egg. Leave a little gap at the very top and at the bottom so the other parts can tuck in.
Step 3: Curved body sides
Below the head, draw one curved line on the left and one on the right. Start each at the bottom corner of the head and curve it down and in, like the sides of a plump bean.
Step 4: The square snout
Inside the lower part of the head, draw a rounded square, like a soft pillow. It sits low and dips a little over the bottom edge of the head.
Step 5: Two little ears
Add a tiny rounded loop on each upper side of the head for the ears. Start each one on the head line, bump out, and curve back down to the head.
Step 6: Tiny arms
Draw a small sideways loop on each side of the body, like a mitten. Each one starts at the body line and curves out and back.
Step 7: Feet and tummy line
At the bottom, draw two flat ovals for the feet, one on each side. Then join them with a short straight line between them.
Step 8: Face details
Add two small round dots for the eyes high on the head. Inside the snout, draw two small dots for the nose and a curvy smile under them.
Step 9: The pumpkin hat
On top of the head, draw a small, wide, wobbly oval for the pumpkin. Let it sit on the head so its bottom curve rests on the head line.
Step 10: Pumpkin lines and stem
Draw two curved lines down the pumpkin to make its ribs. Finish with a little curly stem sticking up from the top.
All done!
Erase the guide shapes, go over your lines, then color it in.
Finished your Halloween capybara? Keep the pencils out and learn how to draw a frog in a witch hat or how to draw a Halloween dinosaur next.
Tips for drawing a Halloween capybara
- Draw the head oval first and make it wider than it is tall. A wide head is what gives a capybara its sleepy, friendly look.
- The snout is the trickiest part. Sketch a rounded square lightly, and let its bottom edge dip just past the head line.
- Place the pumpkin so it sits on top of the head instead of floating above it. Its bottom curve should touch the head line.
Free Halloween capybara coloring page
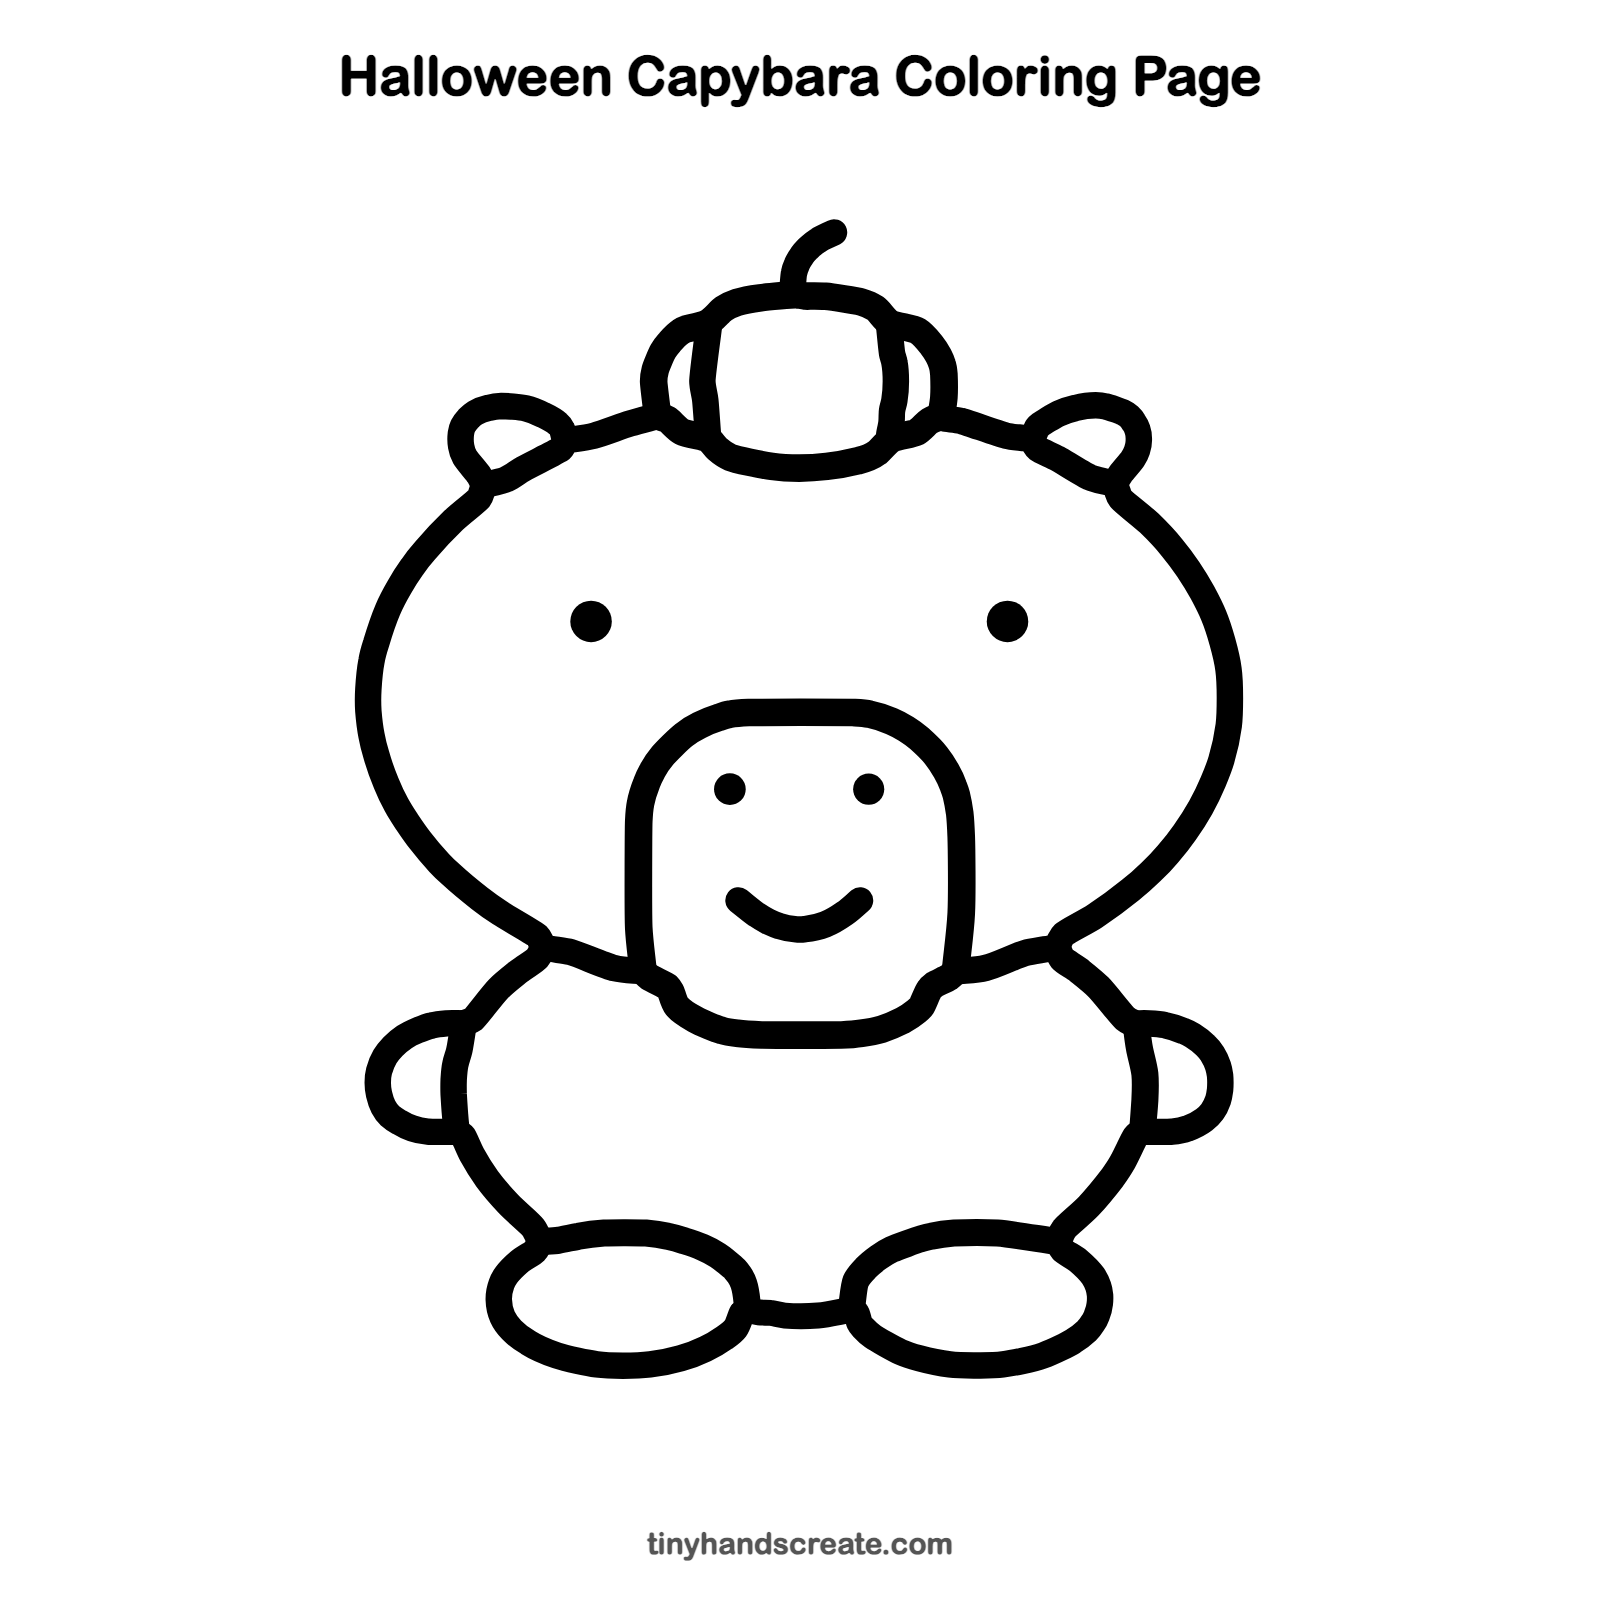
Want to go straight to coloring? Open this Halloween capybara coloring page at full size and print it. It is the same drawing you just learned, with clean lines ready for crayons or markers.
How to color your Halloween capybara drawing
Try warm browns and tans for the capybara and bright orange for the pumpkin, with a green stem. Pick a slightly lighter brown for the snout so it stands out from the head.
Halloween capybara fun fact for kids
Capybaras are the largest rodents in the world, and they are great swimmers. They have slightly webbed feet and spend much of their time in or near water.
Questions about drawing a Halloween capybara
What shapes do I need to draw a Halloween capybara?
You need a big oval for the head, a rounded square for the snout, and two curved lines for the body. Small loops make the ears and arms, two ovals make the feet, and a wobbly oval makes the pumpkin hat.
How do I make my capybara look cuter?
Keep the eyes small and set them wide apart, and add a gentle curved smile. A round, chubby body and a tiny hat also make it look extra sweet.
How do I draw the pumpkin hat so it stays on?
Draw the pumpkin as a flat oval and let its bottom curve rest right on the head line. Then add the rib lines and the curly stem last.