How to Draw a Snowy Church (Easy Step by Step)
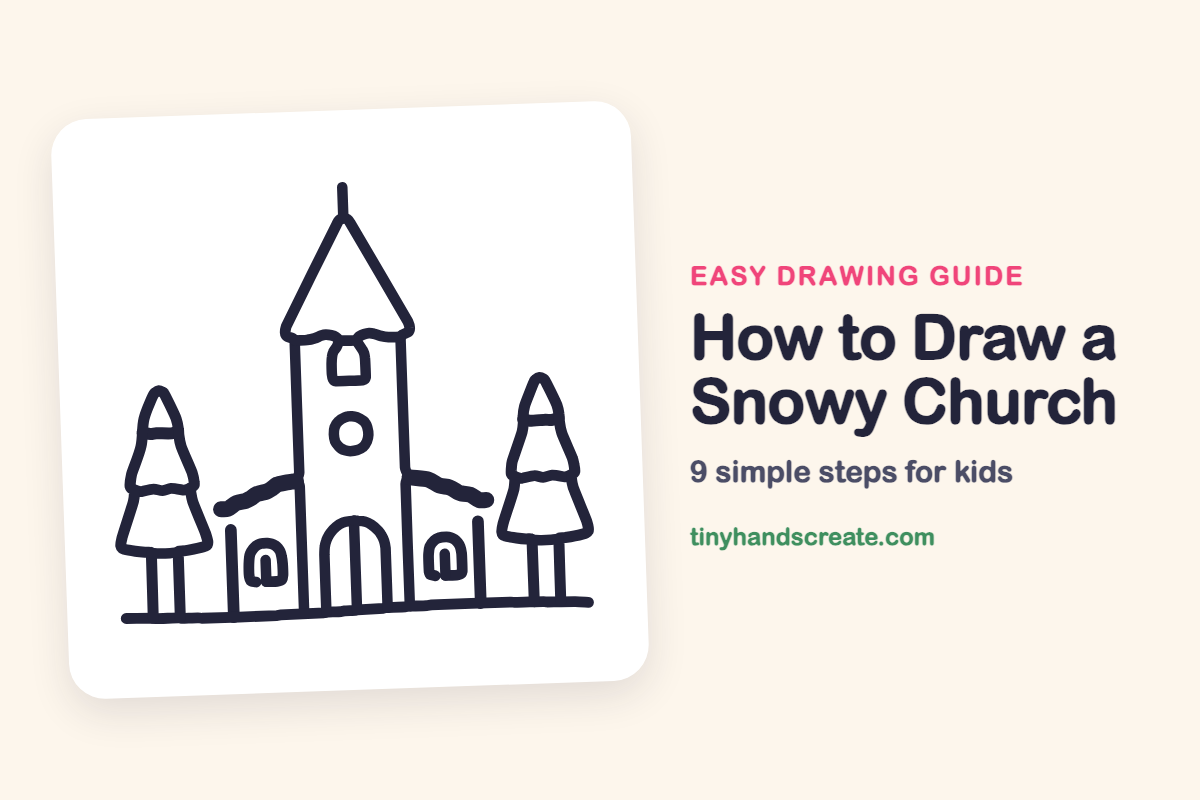
A snowy church is a cozy winter scene built from simple shapes: tall lines, a triangle roof, arches, and one little circle. You start with the sides of the bell tower in the middle and add the roof, doors, windows, and two snowy trees. Wavy lines along the roofs and trees make it look like soft snow is piled on top.
- Medium
- 15 minutes
- 9 steps
You need: paper, a pencil, an eraser, and crayons or markers for coloring.
Start drawingIn this article (7 sections)
How to draw a snowy church step by step
How to Draw a Snowy Church · tinyhandscreate.com
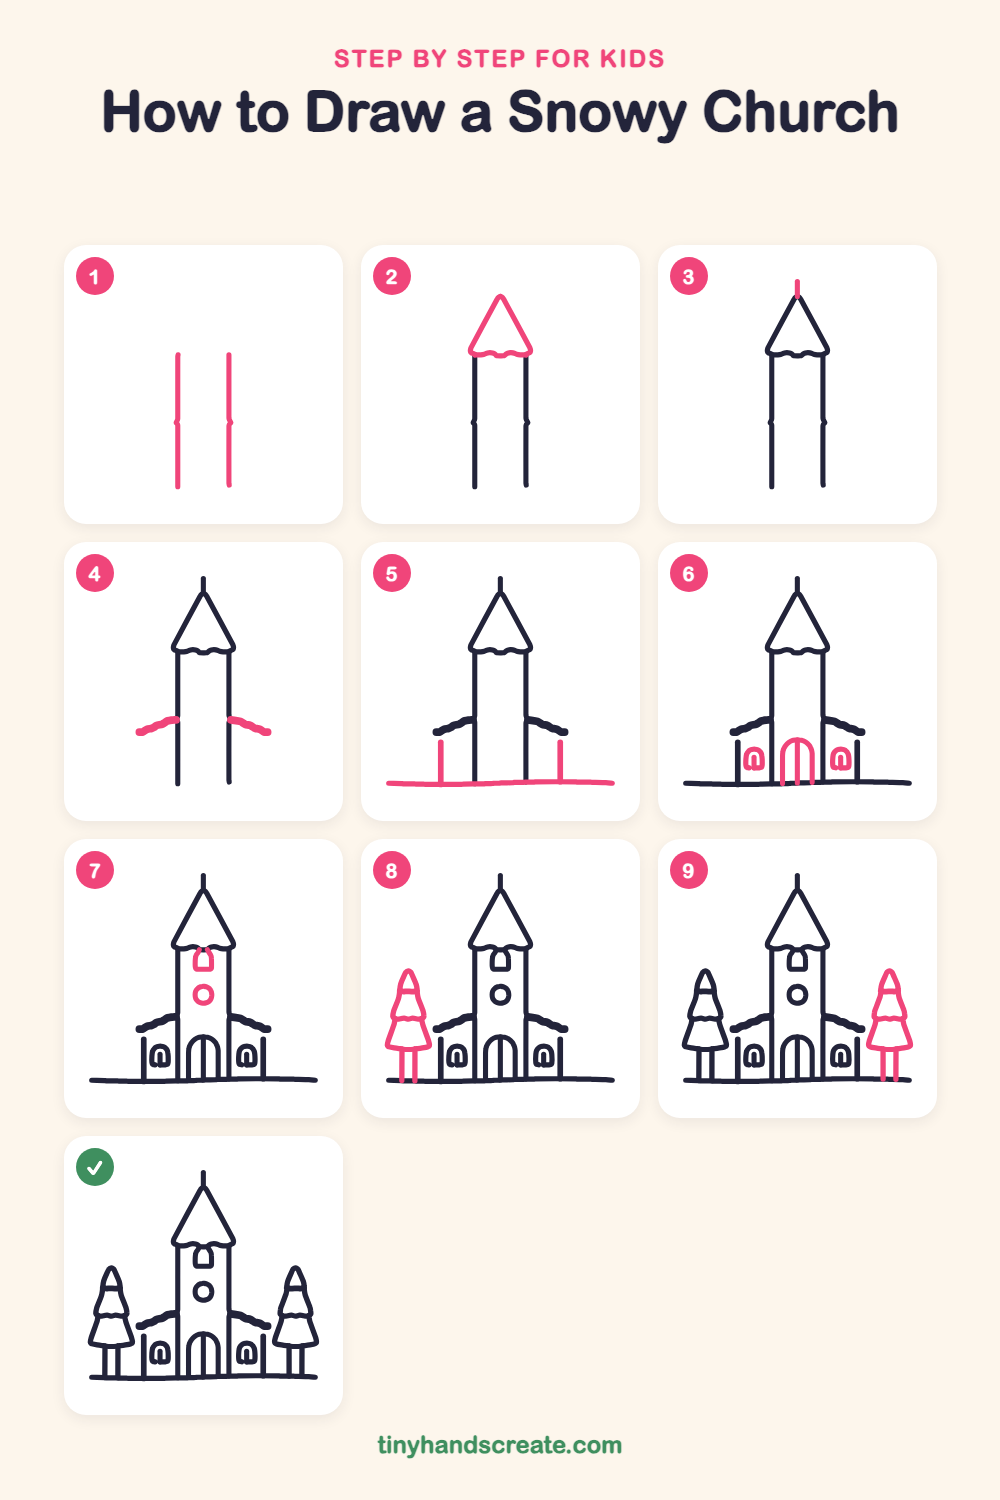
Step 1: Two tower sides
Draw two tall straight lines side by side in the middle of your paper. They are the left and right sides of the bell tower, so leave a gap between them.
Step 2: The pointed roof
Draw a triangle on top of the two lines, with its bottom corners sticking out a little past the sides. Make the bottom edge a bit wavy for the snow.
Step 3: The spire pole
Draw a short straight line going up from the tip of the roof.
Step 4: The side roofs
On each side of the tower, about halfway down, draw a bumpy line sloping down and outward like a little slide. They look like snow on the roofs.
Step 5: Side walls and ground
Draw a short straight line going down from the outer end of each side roof. Then draw one long, gently wavy line along the bottom for the snowy ground.
Step 6: Door and windows
At the bottom of the tower, draw a tall arch like an upside-down U for the door, with a line down the middle. Draw a small arched window on each side wall.
Step 7: Tower window and circle
Draw a small arched window high up on the tower, just under the roof. Then draw a small circle below it for the round window.
Step 8: The left tree
On the left, draw a tall skinny tree shape made of three stacked layers, with wavy lines between the layers. Add two short lines underneath for the trunk.
Step 9: The right tree
On the right, draw a matching tall tree with three layers and wavy lines between them. Finish with two short lines for the trunk.
All done!
Go over your lines with a marker, then color it in.
Finished your snowy church? Keep the pencils out and learn how to draw a Christmas mailbox or how to draw Santa's workshop next.
Tips for drawing a snowy church
- Draw the two tower lines first and keep them straight and tall. Use a ruler or the edge of a book if you like. Every other part grows out from them.
- The wavy snow lines are the trickiest part. Make small bumps, like a row of tiny hills, and don't worry if they are uneven. Uneven bumps look more like real snow.
- For the arched door and windows, draw two straight lines up and then join them with a curve on top, like an upside-down U. Draw the door first, then the small windows beside it.
Free snowy church coloring page
Want to go straight to coloring? Open this snowy church coloring page at full size and print it. It is the same drawing you just learned, with clean lines ready for crayons or markers.
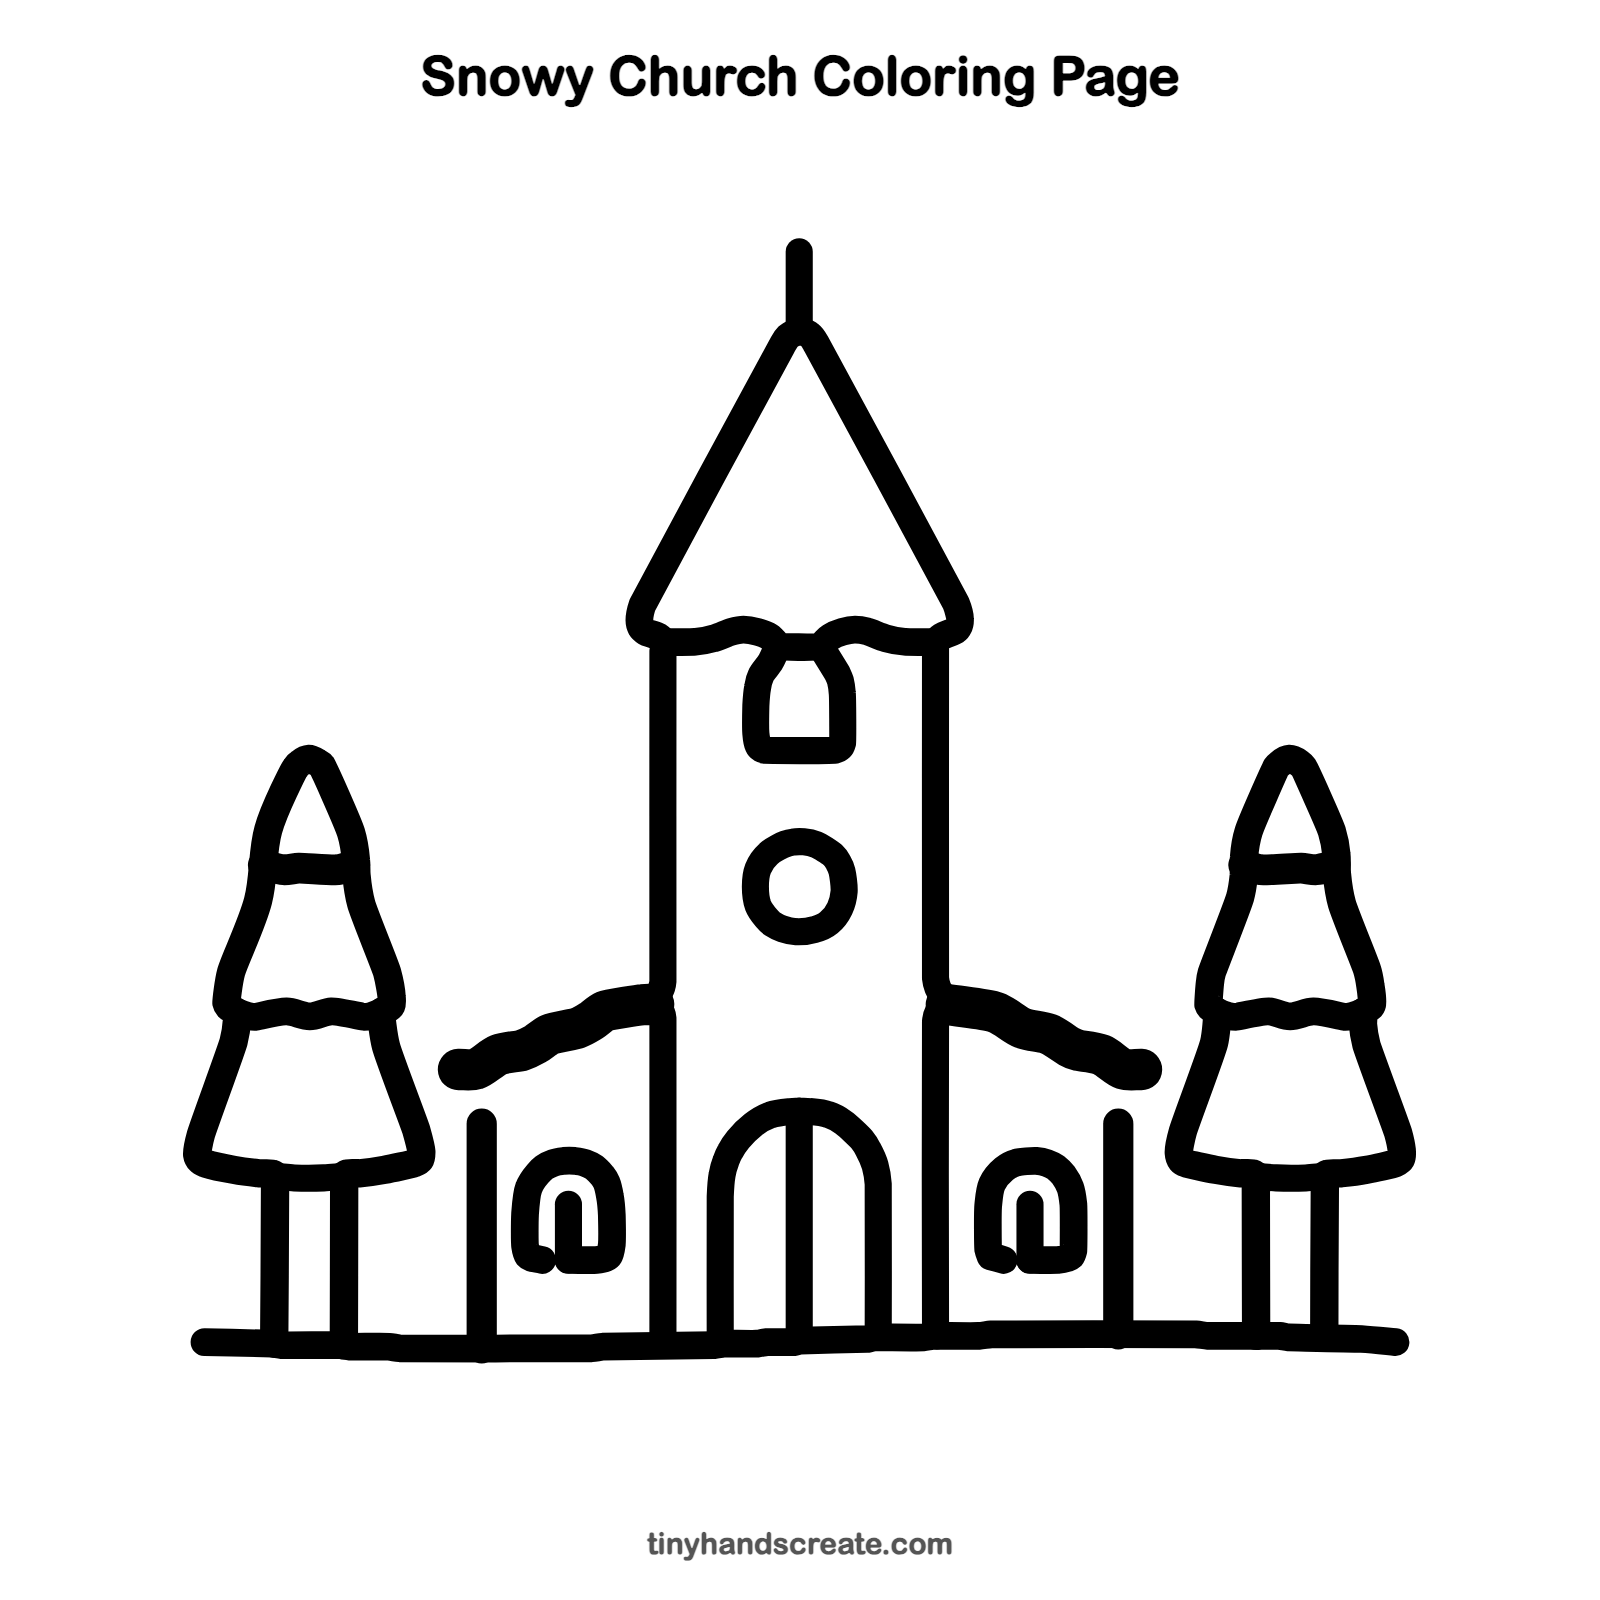
How to color your snowy church drawing
Try red or brown for the doors, warm yellow for the windows so they look like they glow, and green for the trees. For a creative twist, color the sky a deep night blue and add white dots for falling snow.
Snowy church fun fact for kids
Many old churches have a tall pointed roof on the tower called a steeple. Its pointed shape also helps rain and snow slide off.
Questions about drawing a snowy church
What shapes do I need to draw a snowy church?
You need tall straight lines for the tower and side walls, a triangle for the roof, arches for the door and windows, and a circle for the round window. The trees are tall shapes with three layers.
How do I make the snow look real?
Draw wavy, bumpy lines along the edges of the roofs and tree layers. You can also leave the roofs white while you color the sky and the rest of the scene.
How do I make my church look balanced?
Start with the tower in the middle of the page. Then draw one tree on each side, about the same size, so both sides match.