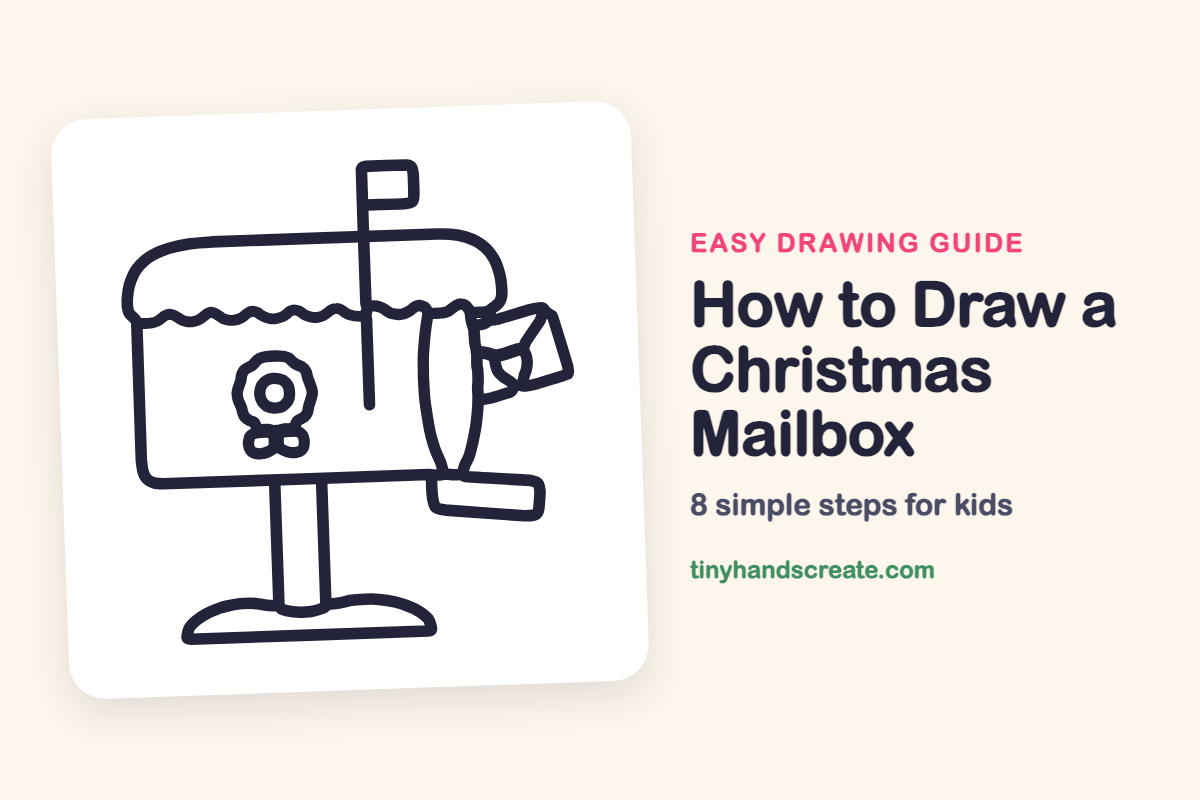
How to Draw a Christmas Mailbox (Easy Step by Step)
A Christmas mailbox is a cozy picture to draw because it is mostly boxes, curves, and a few wavy lines. You will build it from a rounded box, a skinny oval door, and a flag, then add holiday touches like a rosette and a letter. It is a fun way to practice making shapes overlap.
- Medium
- 15 minutes
- 8 steps
You need: paper, a pencil, an eraser, and crayons or markers for coloring.
Start drawingIn this article (7 sections)
How to draw a Christmas mailbox step by step
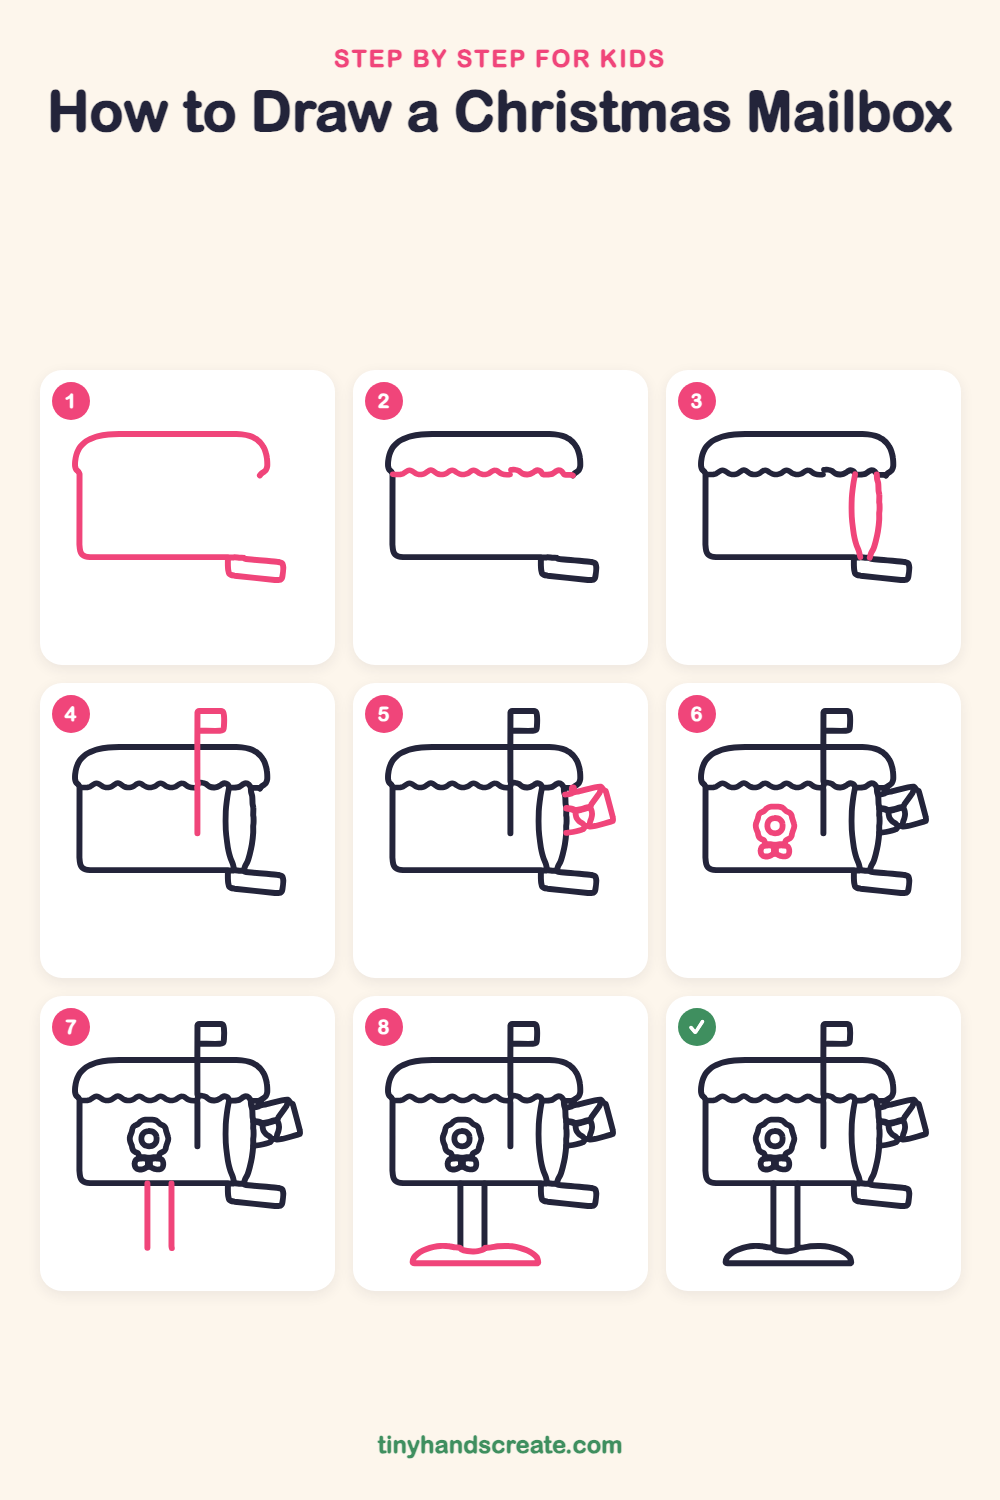
How to Draw a Christmas Mailbox · tinyhandscreate.com
Step 1: Mailbox body and tray
Start at the right side and draw a rounded roof curving over the top, then go down the left side, along a flat bottom, and stop. Leave the right side open. Add a small slanted rectangle sticking out of the bottom right corner for the tray.
Step 2: Scalloped trim
Draw a wavy line of little bumps across the box just under the roof, like icing on a cake. Start at the left edge and bump all the way to the right.
Step 3: The door
On the right end, draw a tall skinny oval for the door. Start under the trim and curve down to the tray.
Step 4: The flag
Draw a tall straight stick that starts inside the box, goes up through the trim, and ends above the roof. At the top, add a small square flag attached to the stick.
Step 5: The letter
Next to the door, draw a small tilted rectangle for an envelope. Add a V shape on the front for the envelope flap.
Step 6: Holiday rosette
On the front of the box, draw a small circle inside a bigger circle. Wiggle the outer line into bumps like a flower. Tuck a small bow with two loops underneath.
Step 7: The post
Draw two straight lines going down from the bottom of the box, side by side, to make the post.
Step 8: Snowy base
At the bottom of the post, draw a flat line and a soft, hilly bump above it. It looks like a little snowy mound around the bottom of the post.
All done!
Go over your lines with a marker, then color it in.
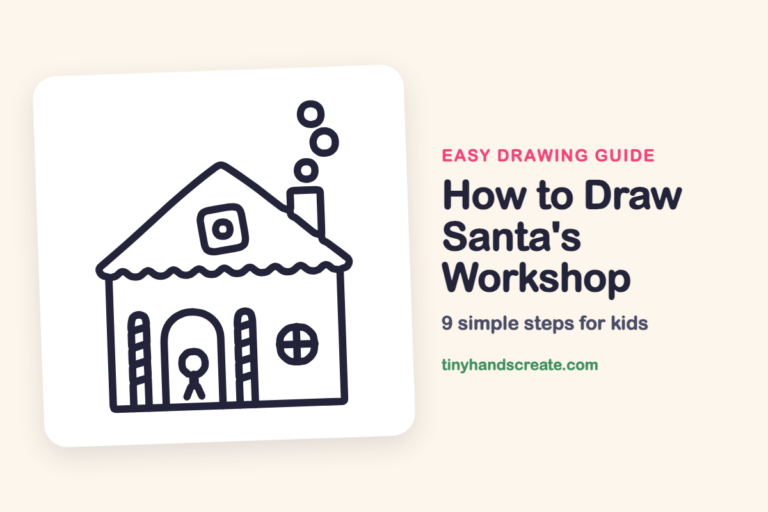
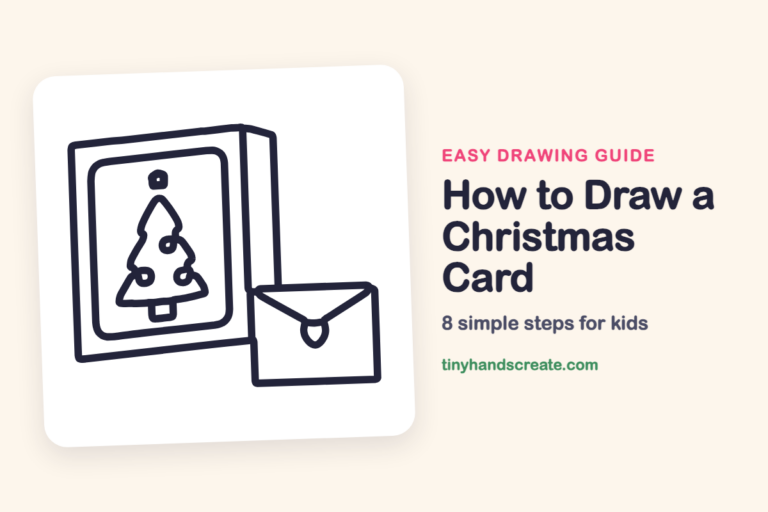
Finished your Christmas mailbox? Keep the pencils out and learn how to draw Santa's workshop or how to draw a Christmas card next.
Tips for drawing a Christmas mailbox
- Draw the roof and the box as one shape first. Make the roof corners round and the bottom corners only slightly round.
- The scalloped trim is easiest if you make each bump the same size. Try little upside-down smiles in a row.
- For the envelope, draw the tilted rectangle before the flap. Then the V fits inside without a struggle.
Free Christmas mailbox coloring page
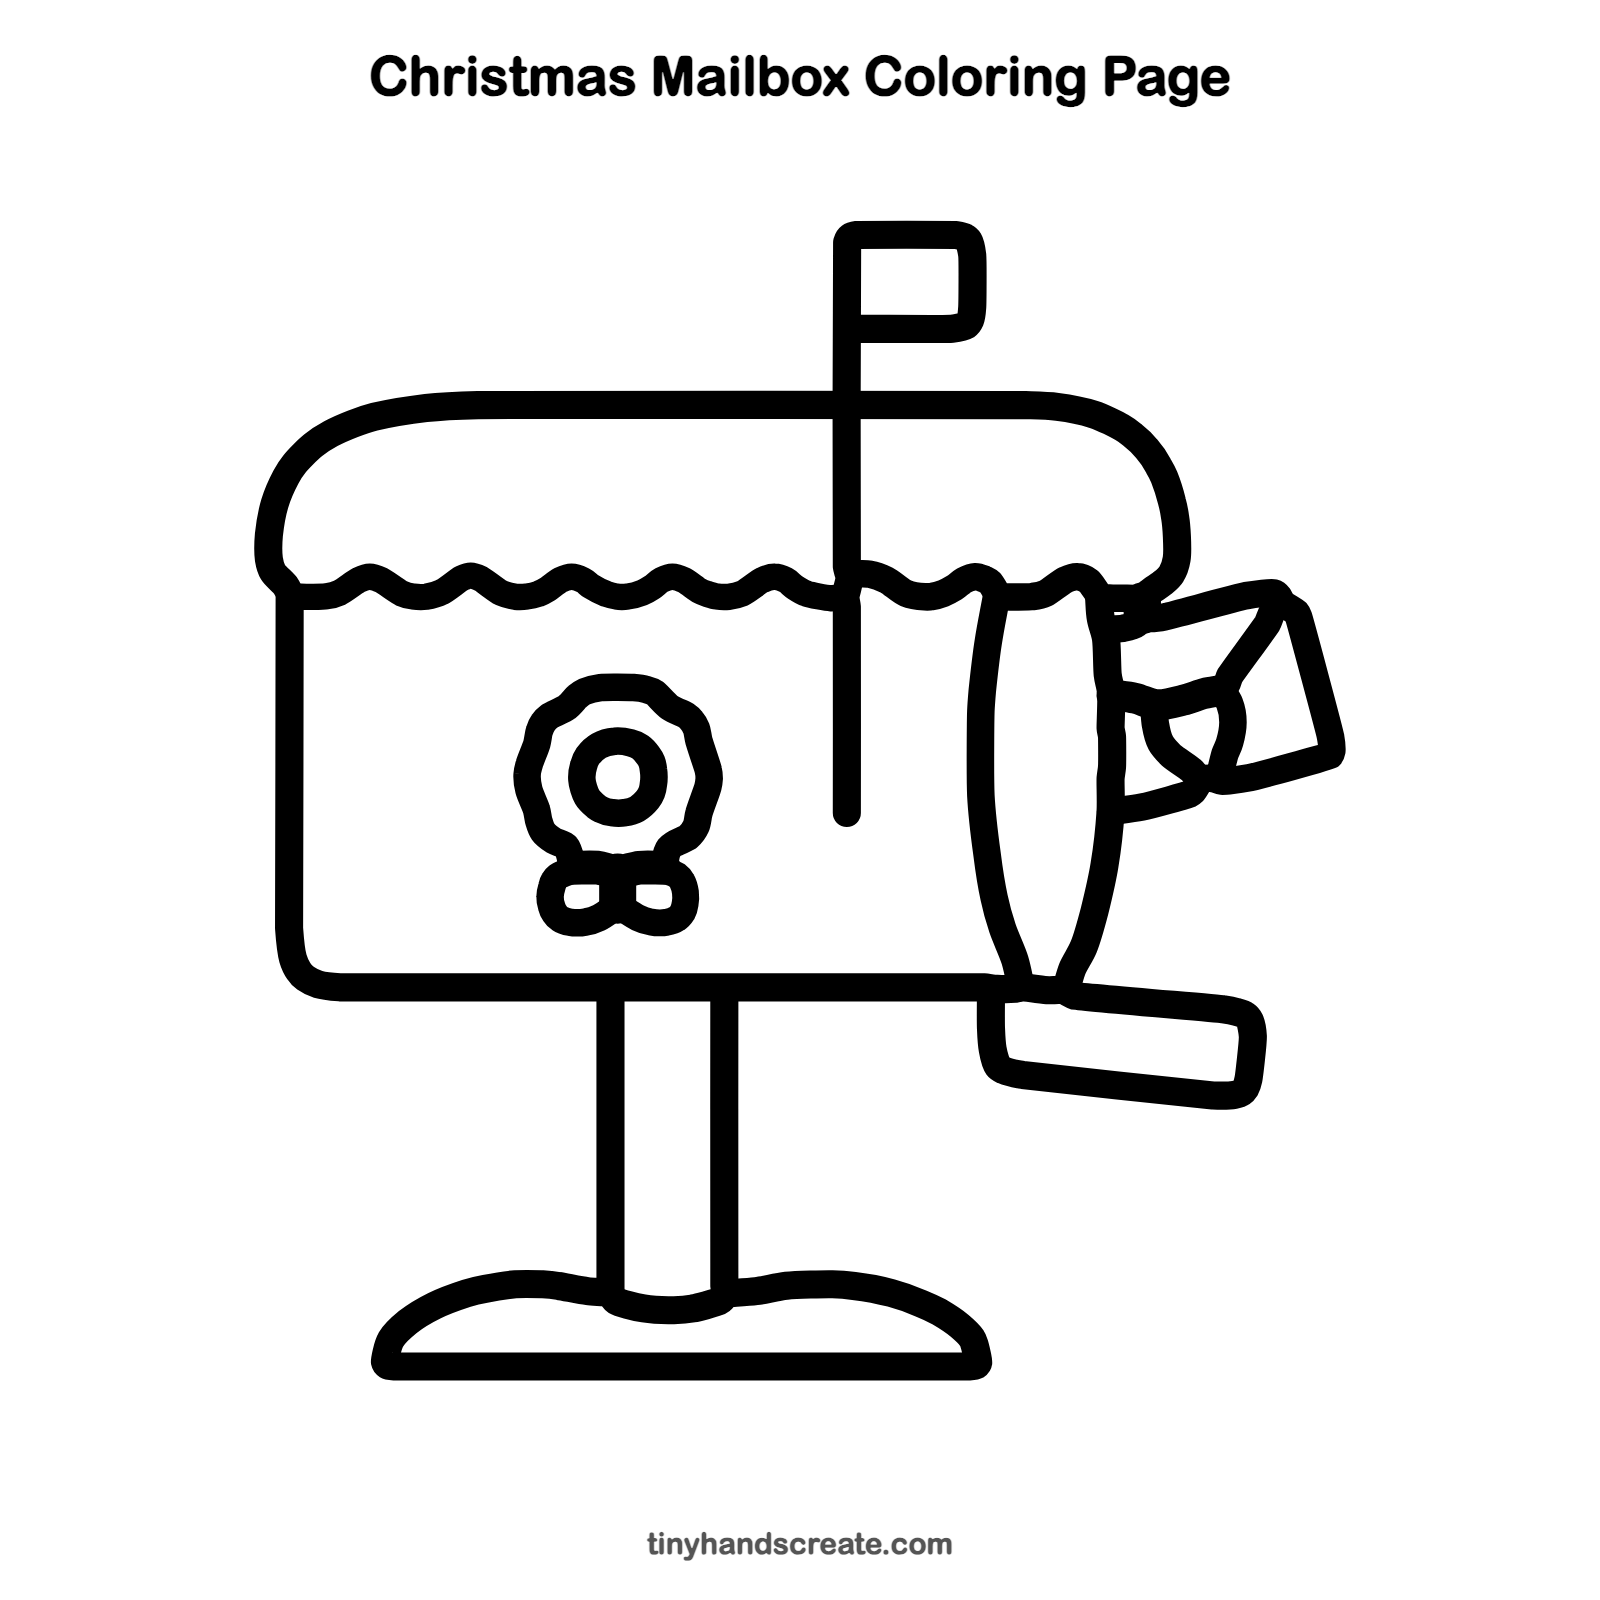
Want to go straight to coloring? Open this Christmas mailbox coloring page at full size and print it. It is the same drawing you just learned, with clean lines ready for crayons or markers.
How to color your Christmas mailbox drawing
Try a classic red mailbox with a white snowy base and a green rosette. For a creative twist, color the envelope a holiday color or add falling snowflakes around it.
Christmas mailbox fun fact for kids
Many mailboxes in the United States have a little flag. Raising it tells the mail carrier there is outgoing mail inside to pick up.
Questions about drawing a Christmas mailbox
What shapes do I need to draw a Christmas mailbox?
You need a rounded box with a small tray, a tall oval for the door, and a small square for the flag. Wavy lines and two straight lines finish the trim and the post.
How do I make the scalloped trim look neat?
Draw a light straight line first as a guide. Then make small, even bumps along it, like a row of tiny hills.
How can I make my mailbox look more Christmassy?
Add a rosette with a bow, a snowy mound at the bottom, and a letter peeking out. Coloring it red and green helps too.