How to Draw a Christmas Card (Easy Step by Step)
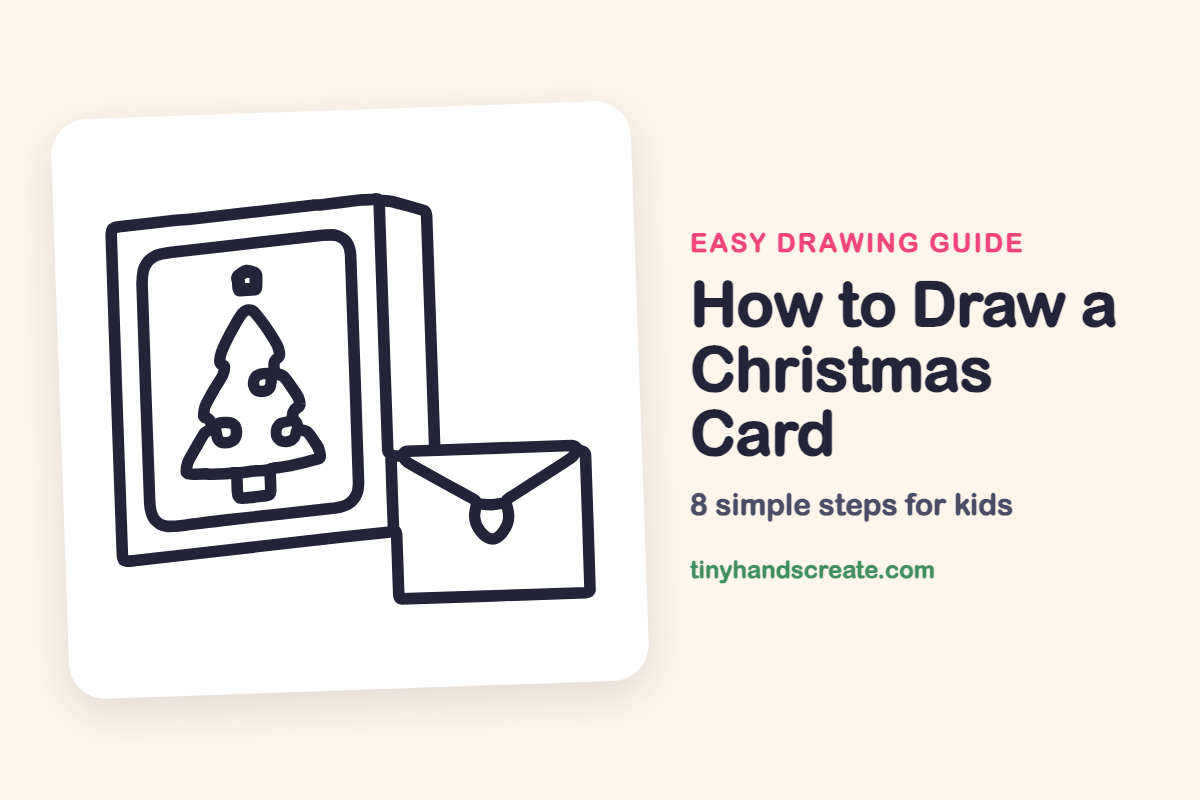
A Christmas card with a tree on the front and an envelope beside it is a fun way to practice drawing with simple shapes. It is built from rectangles, a triangle-like tree, a few circles and a V-shaped flap. Once you can draw these, you can make a card for anyone you like.
- Medium
- 15 minutes
- 8 steps
You need: paper, a pencil, an eraser, and crayons or markers for coloring.
Start drawingIn this article (7 sections)
How to draw a Christmas card step by step
How to Draw a Christmas Card · tinyhandscreate.com
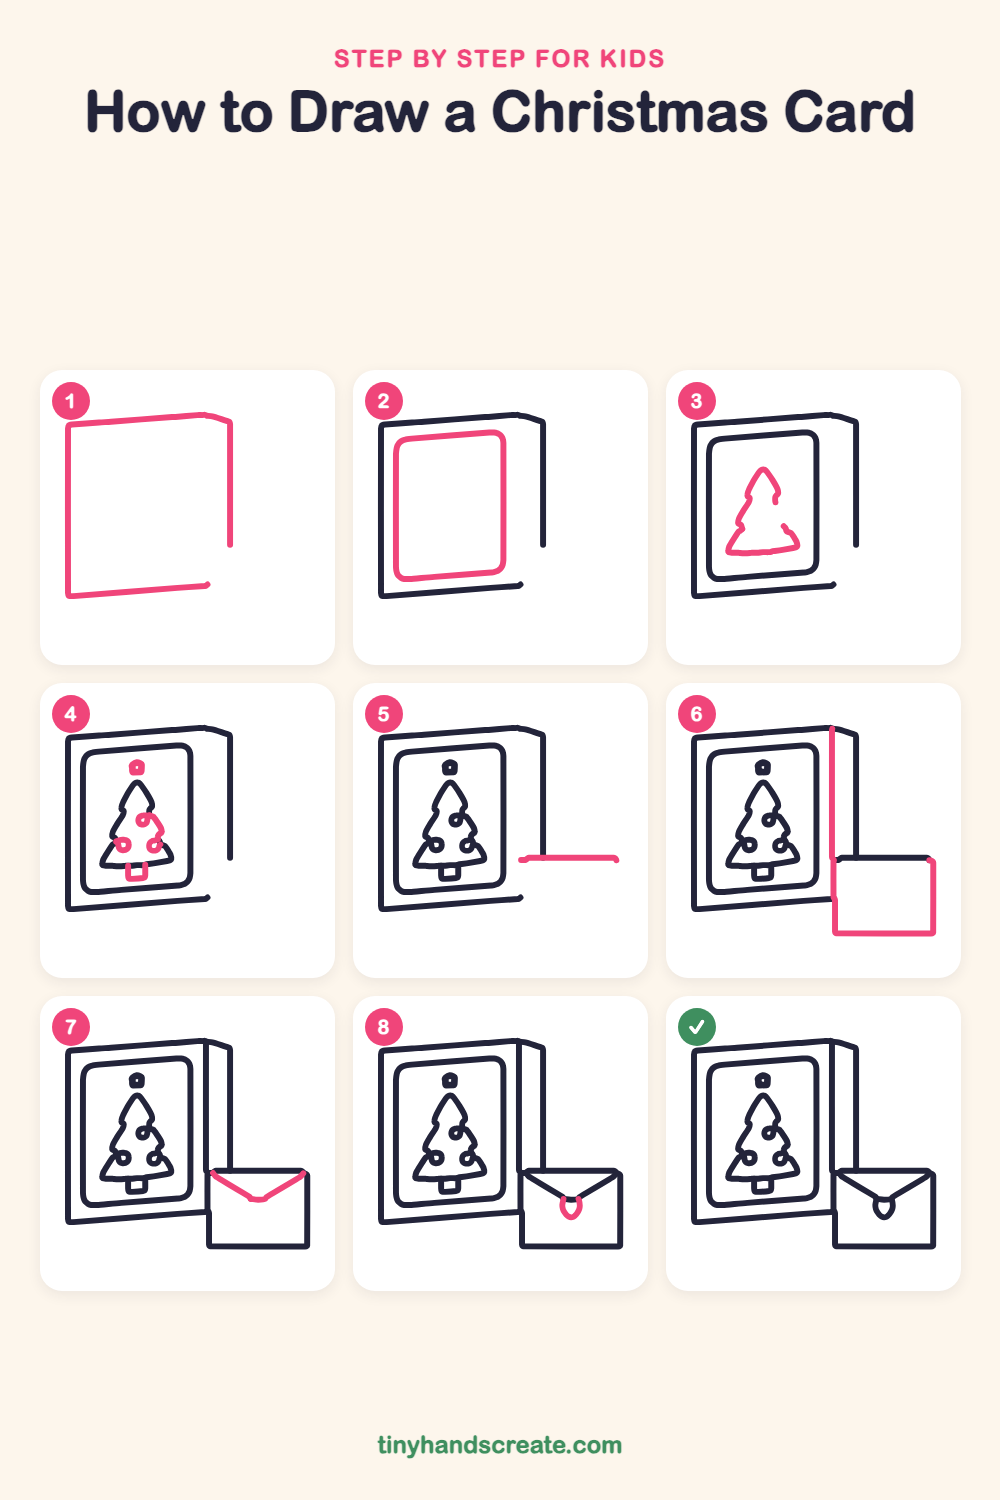
Step 1: The card
Draw a tall rectangle for the front of the card, but leave a gap in the right side near the bottom and a gap at the bottom right corner. Add a slanted line at the top right corner to show the thin edge of the card.
Step 2: The picture frame
Inside the card, draw a smaller rectangle with big rounded corners. Leave an even gap all the way around between the frame and the edge of the card.
Step 3: The tree
Inside the frame, start at a point near the top and draw the left and right sides of a tree, stepping out in a few small bumps. Finish with a wide, slightly curved bottom line to close the tree.
Step 4: Trunk and top
Draw a small square trunk that hangs from the bottom of the tree. Then draw a small rounded shape above the top of the tree with a tiny dot in the middle.
Step 5: Tree ornaments
Draw three small circles on the tree for ornaments, one near the middle on the right and two lower down, one on each side. Add a tiny curl or dot in the top one.
Step 6: Envelope start
Next to the card, draw a short straight line going right from the card's lower right edge. This will be the top edge of the envelope.
Step 7: The envelope
Draw a straight line going up along the card's right side. Then draw the rest of the envelope: a wide rectangle with the short top line you made as its top edge, a side down, and a flat bottom.
Step 8: Envelope flap
Draw a line from the top left corner of the envelope down toward the middle. Draw another from the top right corner down to meet it, making a big V.
All done!
Go over your lines with a marker, then color it in.
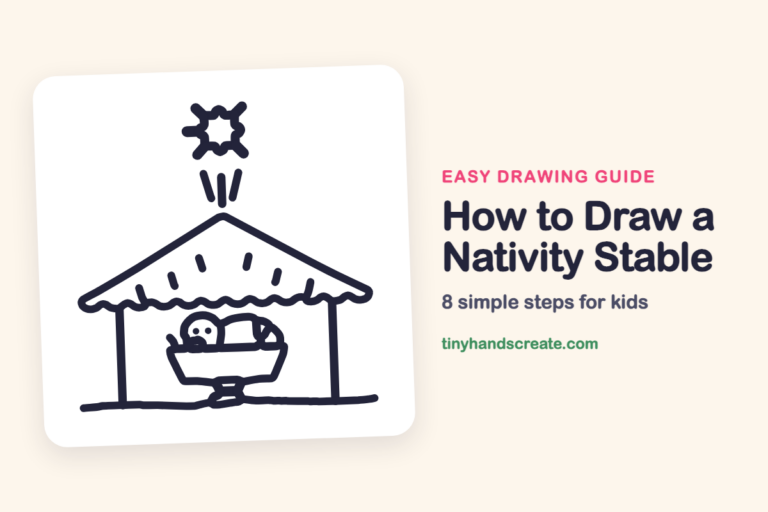
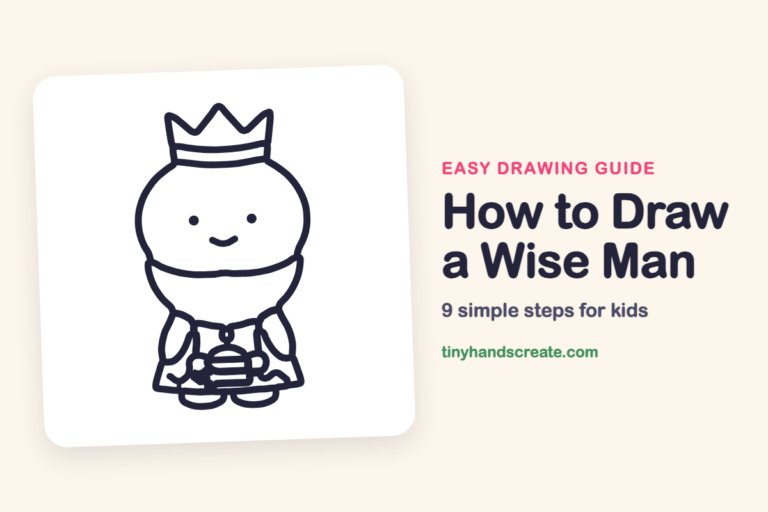
Finished your Christmas card? Keep the pencils out and learn how to draw a nativity stable or how to draw a wise man next.
Tips for drawing a Christmas card
- Draw the card and the frame lightly first, so the tree has a clear space to sit in the middle.
- The tree is the trickiest part. Imagine a tall triangle first, then add small bumps on each side where the branches step out.
- The envelope starts behind the card, so stop your envelope lines where they meet the card edge to make it look tucked in.
Free Christmas card coloring page
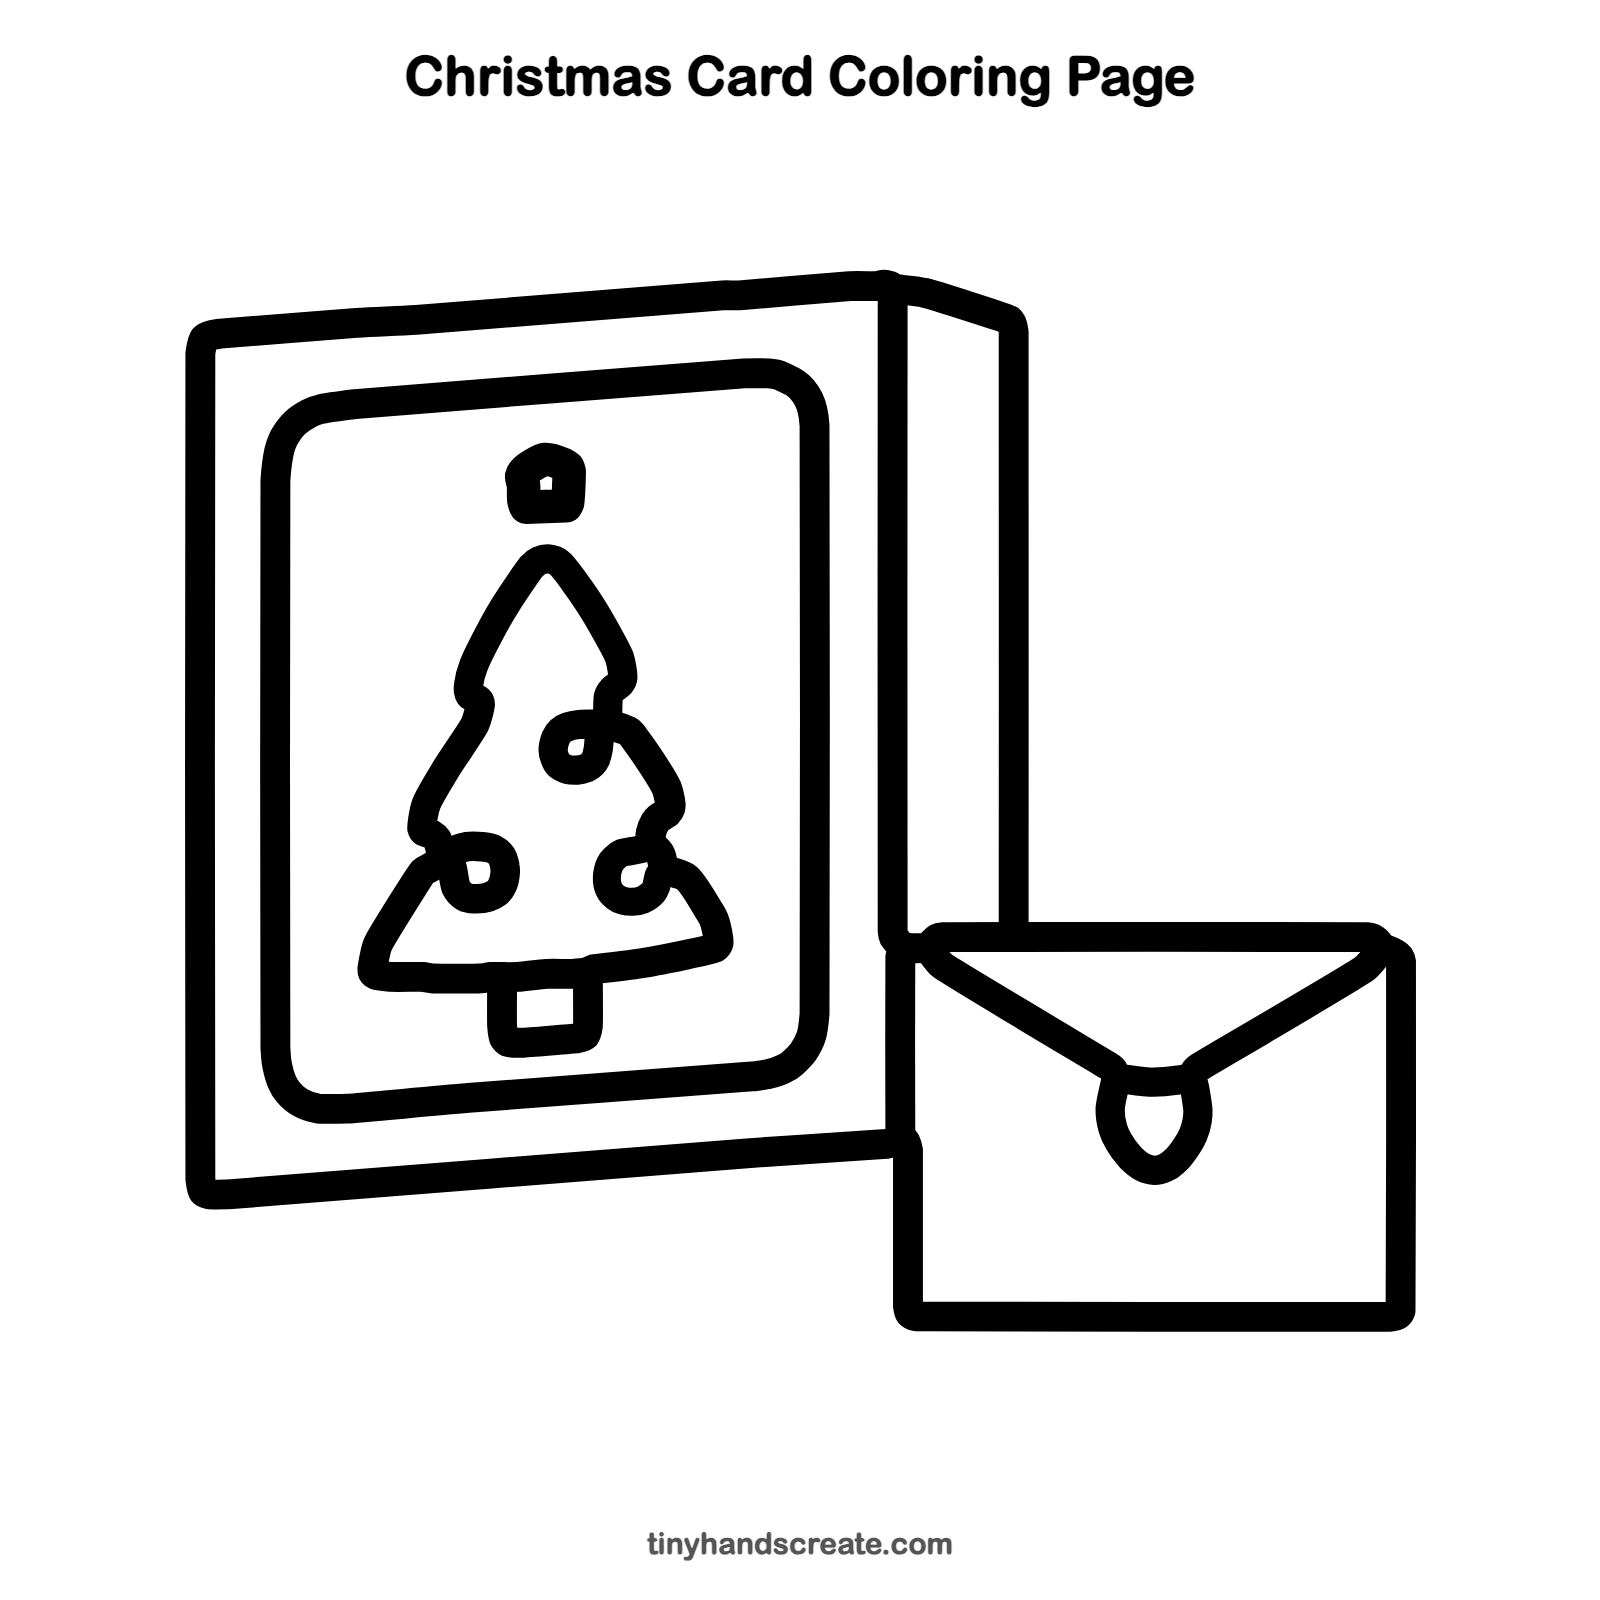
Want to go straight to coloring? Open this Christmas card coloring page at full size and print it. It is the same drawing you just learned, with clean lines ready for crayons or markers.
How to color your Christmas card drawing
Try a green tree with red and gold ornaments and a yellow shape on top. Color the envelope cream or light pink. For a twist, color the card background dark blue so it looks like a night sky.
Christmas card fun fact for kids
The first commercial Christmas card was printed in England in 1843. A man named Henry Cole had it made, and it showed a family at a table, not a tree.
Questions about drawing a Christmas card
What shapes do I need to draw a Christmas card?
You need rectangles for the card and envelope, a rounded rectangle for the frame, and a tall triangle-like shape for the tree. Add a few small circles for ornaments and a V for the envelope flap.
How do I make my Christmas tree look better?
Add a few bumps along each side so the branches look layered. Space the ornaments out so they do not all bunch together.
How do I draw an envelope?
Draw a wide rectangle, then draw two lines from the top corners that meet in the middle to make a V. A small heart shape where they meet can make a nice seal.