How to Draw a Yeti (Easy Step by Step)
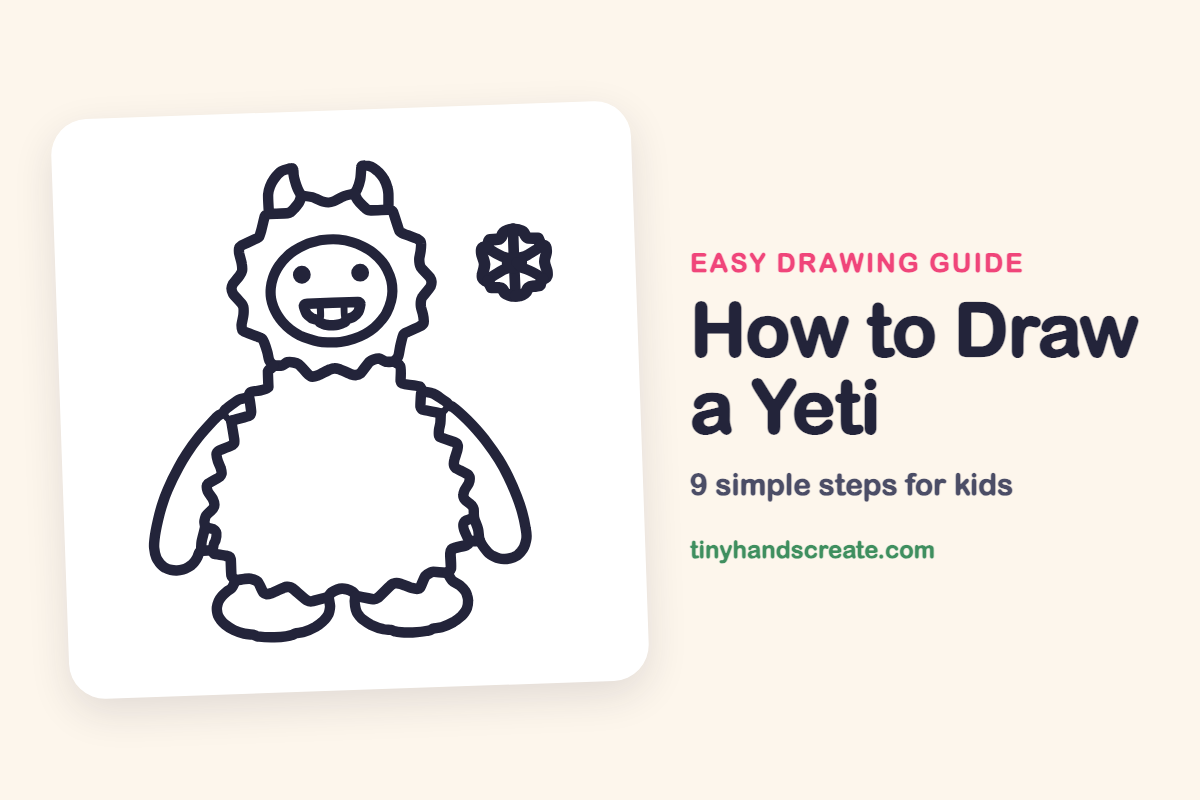
A yeti is a big, friendly snow monster, and this one is built from ovals and wavy, fuzzy lines. The fur edges are easy once you see them as rows of little bumps. The snowflake at the end makes the picture feel like a chilly mountain day.
- Medium
- 15 minutes
- 9 steps
You need: paper, a pencil, an eraser, and crayons or markers for coloring.
Start drawingIn this article (7 sections)
How to draw a yeti step by step
How to Draw a Yeti · tinyhandscreate.com
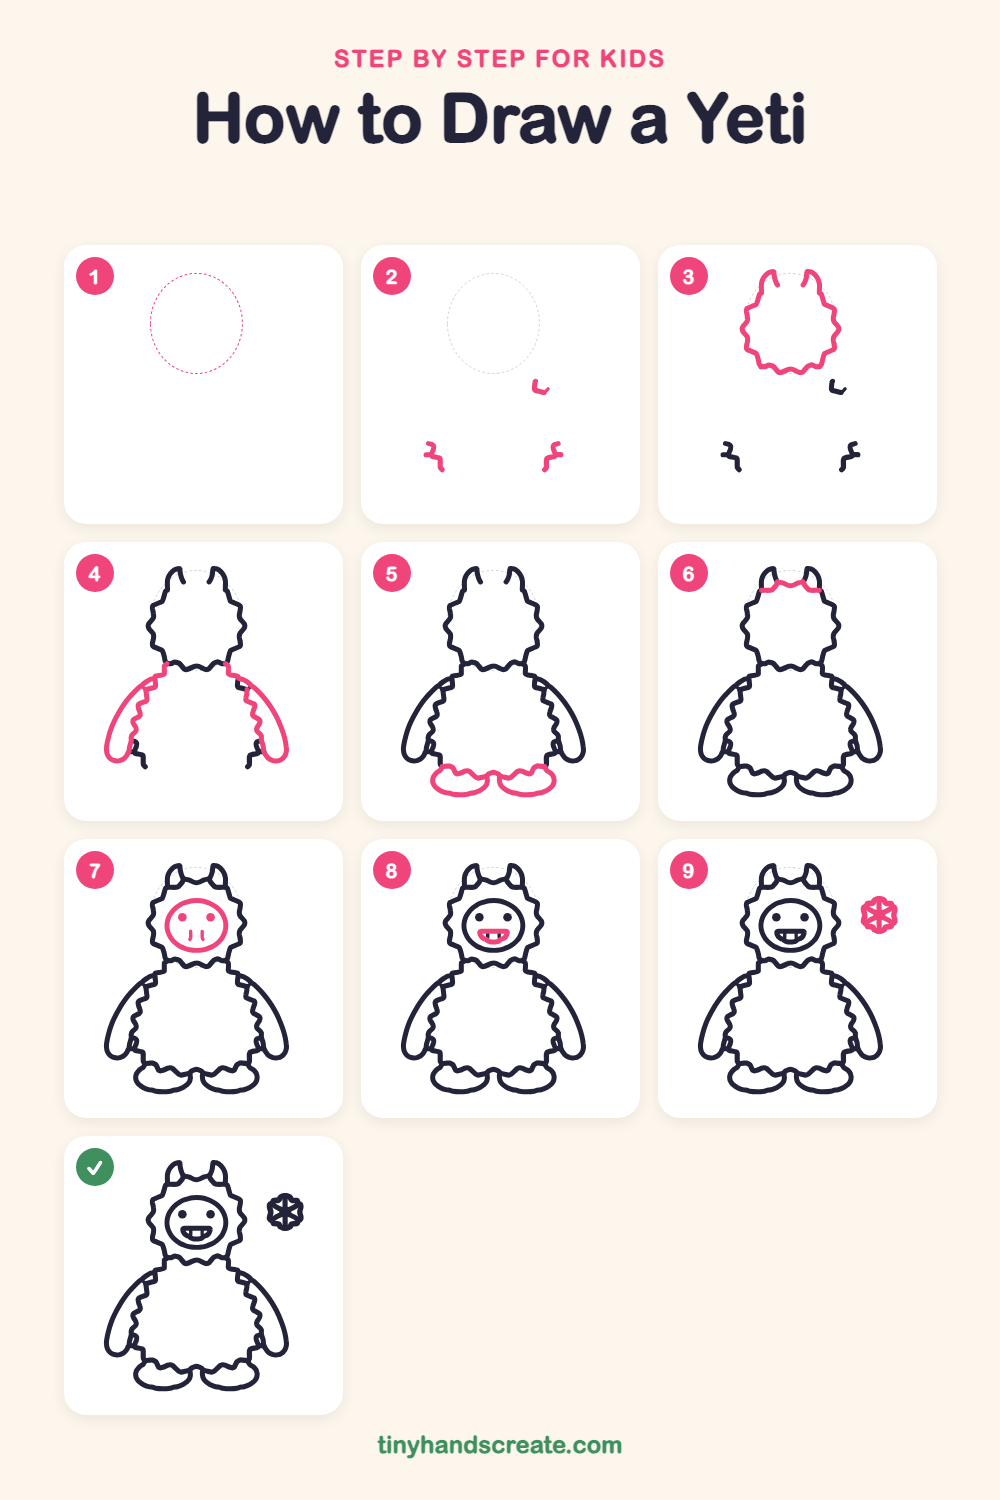
Step 1: Guide shapes
Lightly sketch this oval. It only shows where the big parts go, so press softly. You will erase it at the end.
Step 2: Little fur tufts
Draw three short zigzag squiggles, like tiny lightning bolts: one on the right side of the middle oval, and two near the bottom, one on the left and one on the right. These are bits of fuzzy fur.
Step 3: Furry head and horns
Draw a round head with a wavy, fuzzy edge, like a sun with soft bumpy rays. At the top, add two small curved horns that point up, with a little gap between them.
Step 4: Two long arms
Draw a long, curved arm on each side, starting just below the head and ending in a rounded hand near the bottom. Give the inside edge of each arm a zigzag fur line.
Step 5: Big feet
At the bottom, draw two wide ovals side by side for the feet. Give the top of each foot a little wavy fur edge.
Step 6: Top of the head
Between the two horns, draw a short wavy line across the top of the head. It joins the bottoms of the horns.
Step 7: Face and eyes
Inside the head, draw a big oval for the face. Add two round dots for eyes and two tiny short lines below them for the nose.
Step 8: Happy smile
Under the nose, draw a wide open smile shaped like a half moon. Add two tiny square teeth at the top of the mouth.
Step 9: Snowflake
Next to the yeti, draw a small snowflake. Make a plus sign and an X crossing in the middle to get six spokes, then add little lines at the tips.
All done!
Erase the guide shapes, go over your lines, then color it in.
Finished your yeti? Keep the pencils out and learn how to draw a magic wand or how to draw a mushroom house next.
Tips for drawing a yeti
- Sketch the head as a light circle first, then add the wavy fur on top so the shape stays round.
- For the fur, keep the bumps about the same size as you go around. Short, even bumps look best.
- Start each arm near the shoulder and curve it out and down in one smooth line, so both arms look alike.
Free yeti coloring page
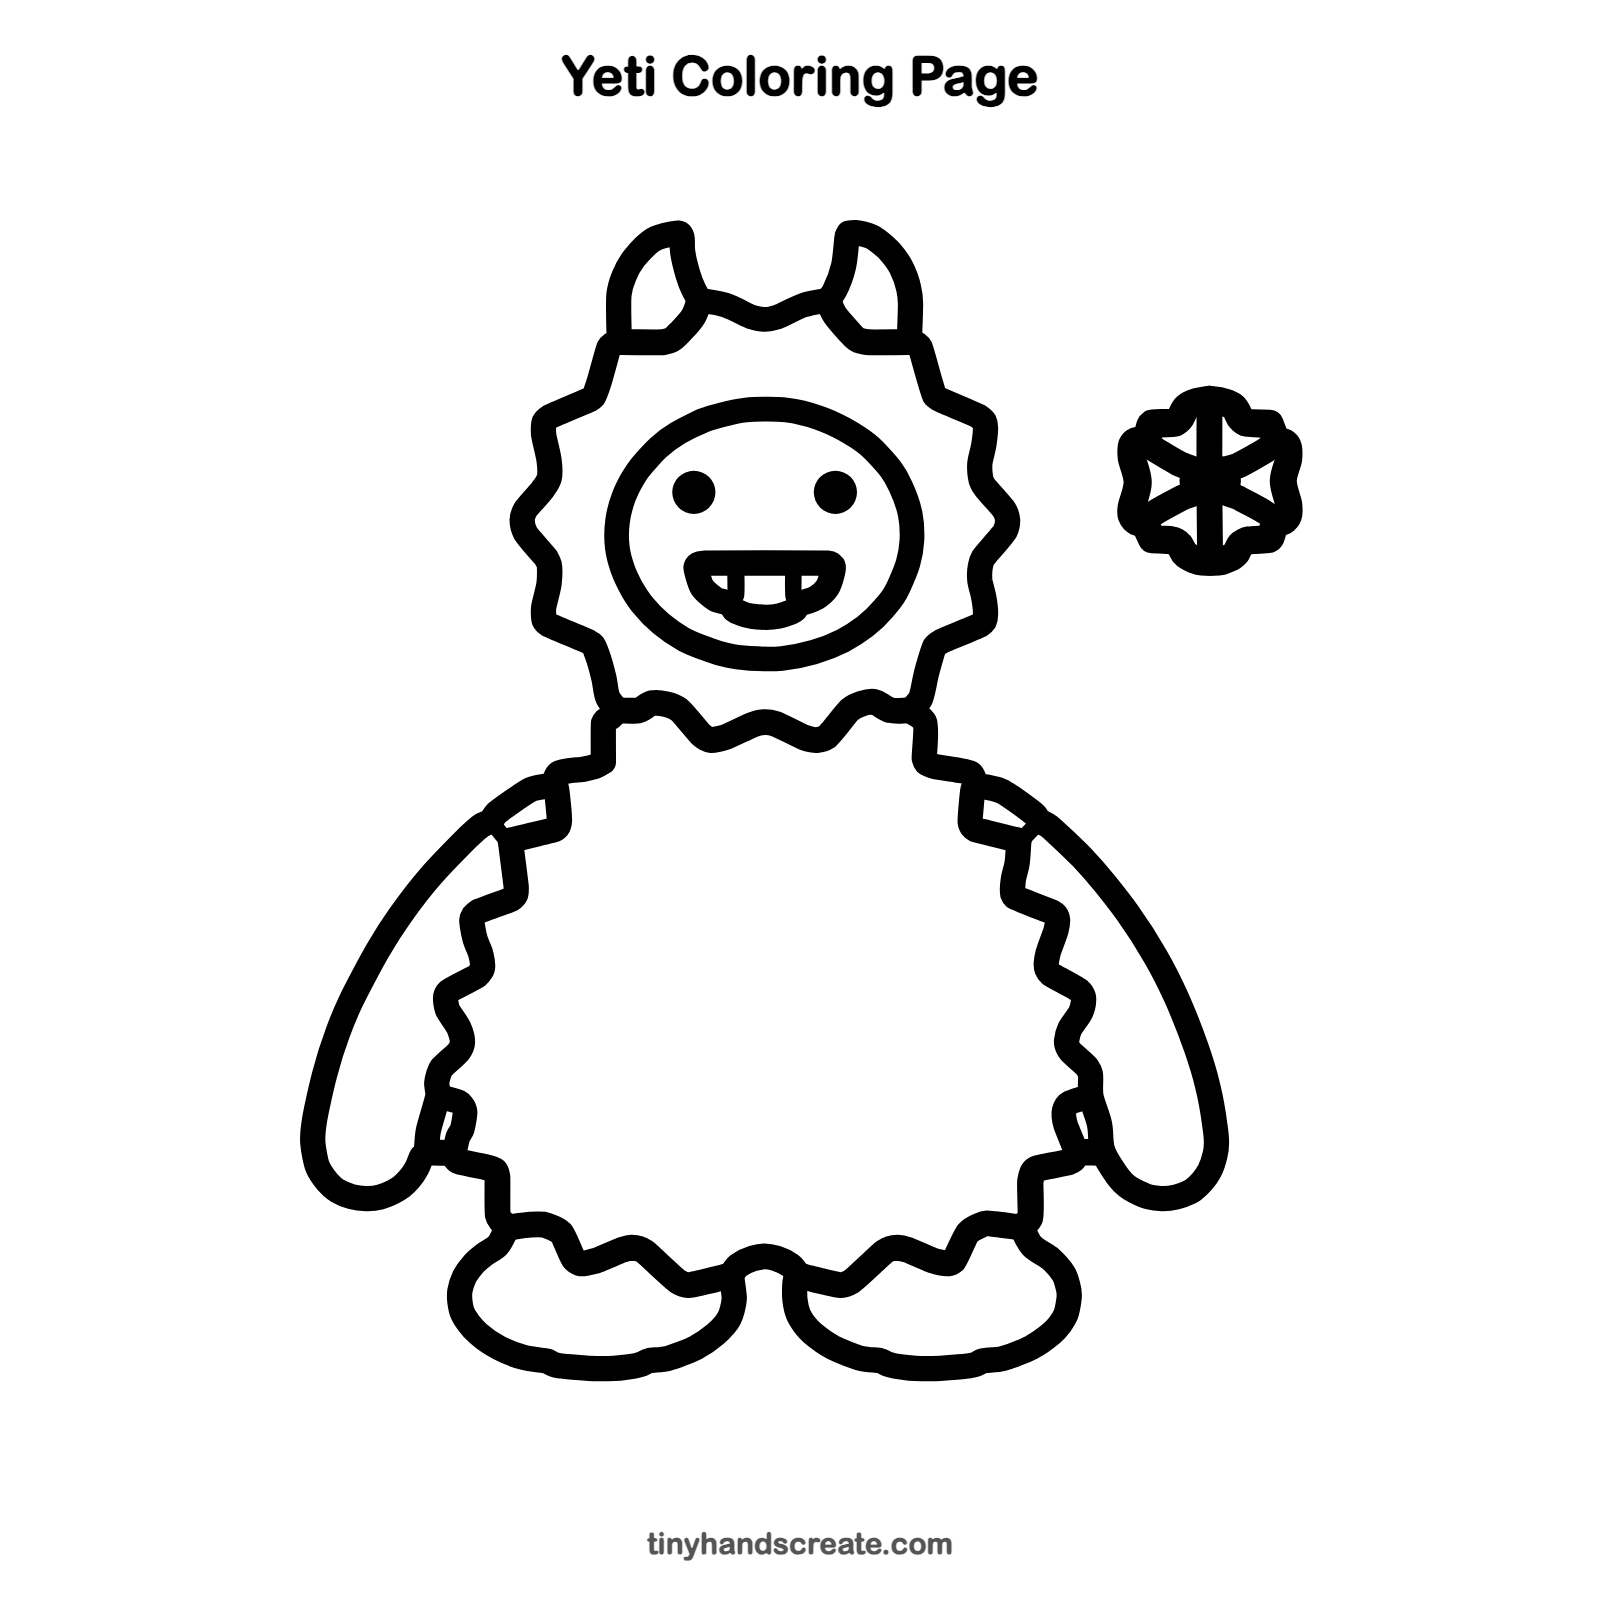
Want to go straight to coloring? Open this yeti coloring page at full size and print it. It is the same drawing you just learned, with clean lines ready for crayons or markers.
How to color your yeti drawing
Try icy blue or soft white fur with a pink mouth and dark eyes. For a twist, color the yeti in rainbow stripes and make the snowflake light blue.
Yeti fun fact for kids
The yeti is a legendary creature said to live in the snowy Himalayas of Asia. It is also called the Abominable Snowman, and no one has ever proven it is real.
Questions about drawing a yeti
What shapes do I need to draw a yeti?
You need a round head, long curved arms, two wide ovals for the feet, and an oval for the face. Two small curved horns and a snowflake finish it off.
How do I make my yeti look friendlier?
Give it a big smile and round dot eyes, like in this drawing. Soft, rounded hands and feet also make it look cuddly instead of scary.
How do I draw fluffy fur?
Draw a wavy line with small bumps all along the edge of the shape. Keep the bumps about the same size, and it will look like thick, fuzzy fur.