How to Draw a Queen (Easy Step by Step)
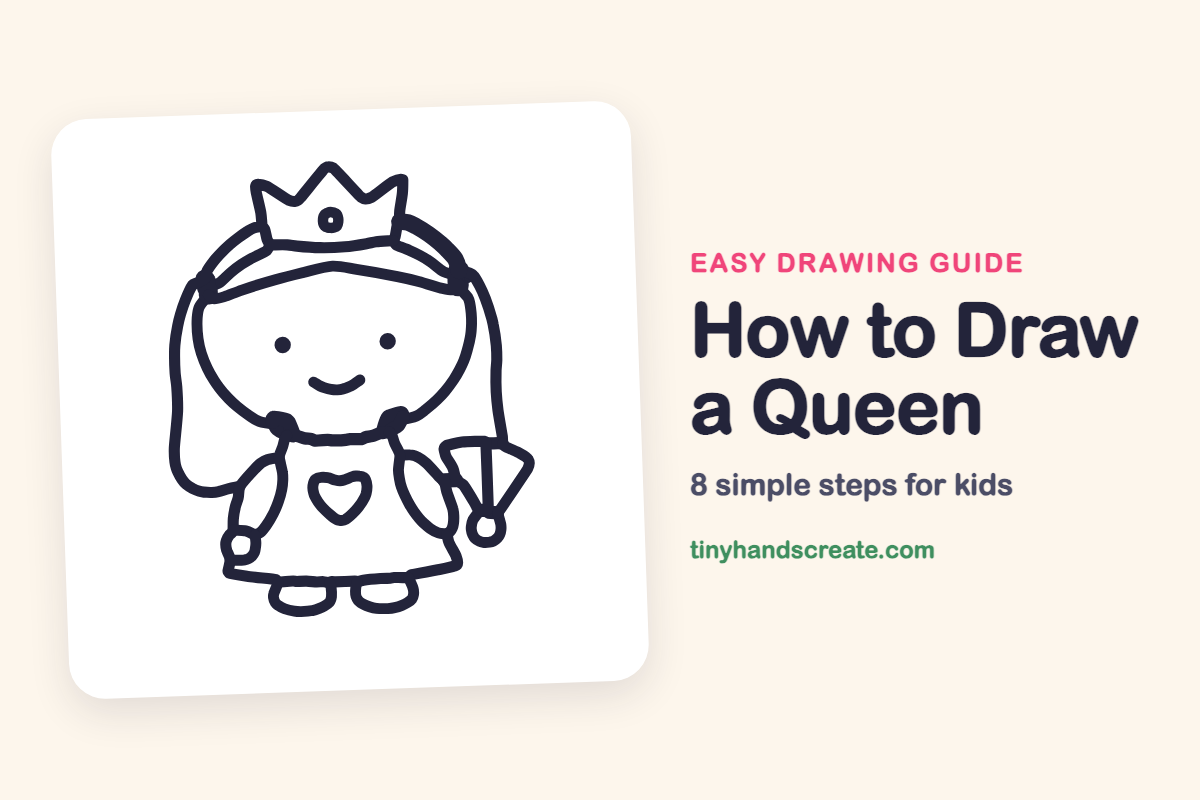
A queen is a fun drawing because she is built from shapes you already know: curves, circles, ovals and a zigzag crown. Start with the sides of a round face, add long hair and a crown, then finish with a bell-shaped dress and a little fan. Each step adds one simple piece, so it is easy to follow.
- Easy
- 15 minutes
- 8 steps
You need: paper, a pencil, an eraser, and crayons or markers for coloring.
Start drawingIn this article (7 sections)
How to draw a queen step by step
How to Draw a Queen · tinyhandscreate.com
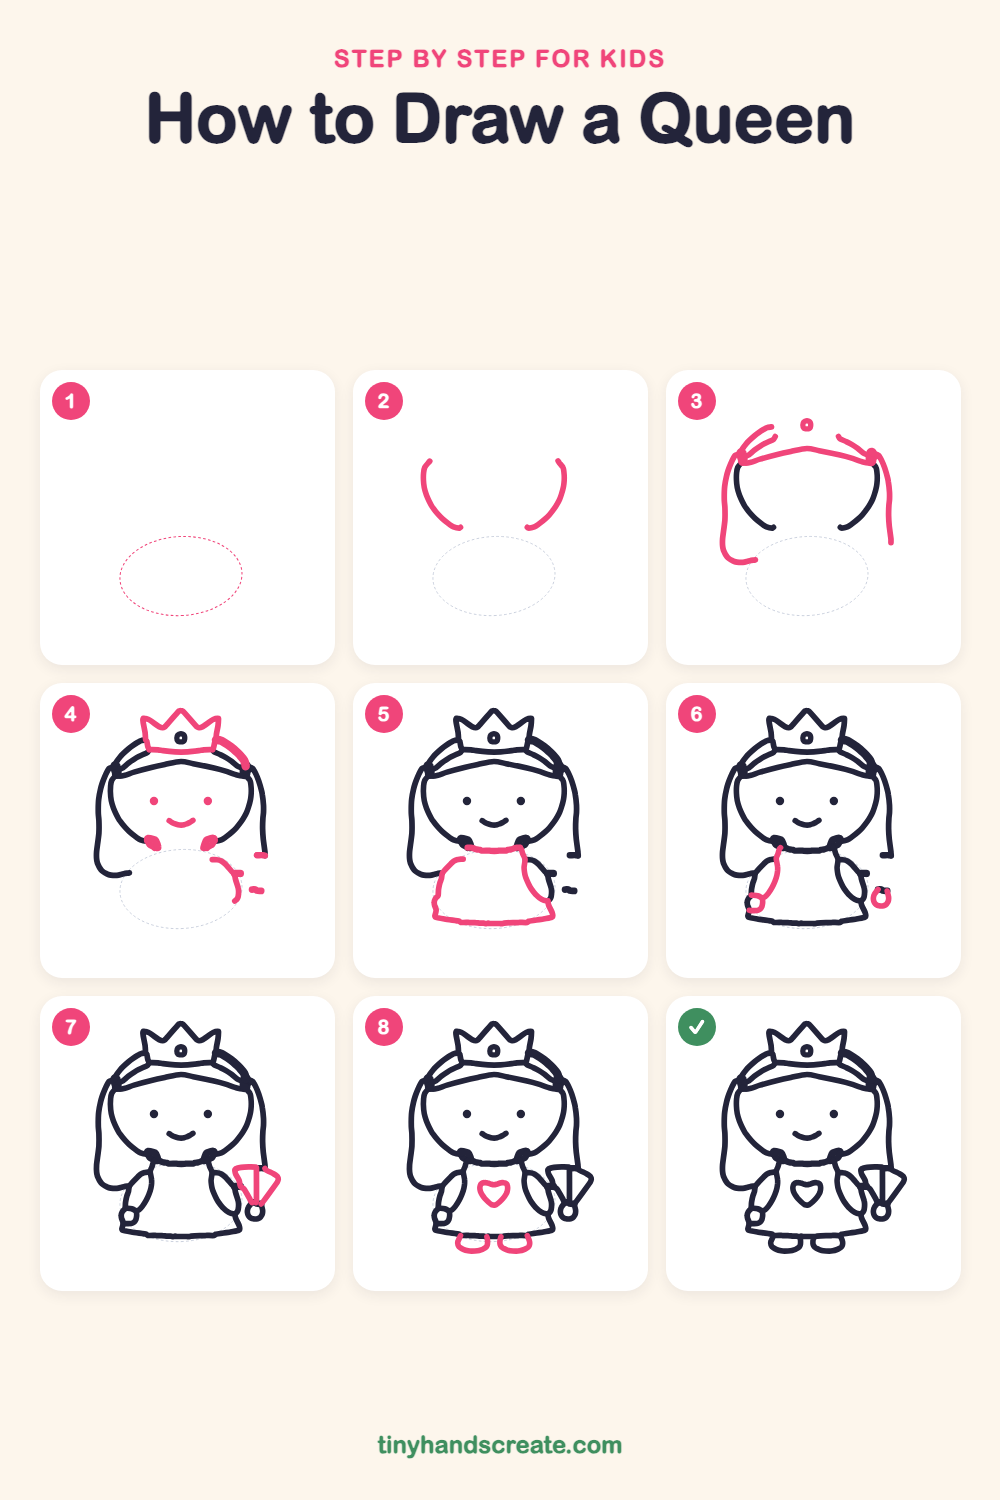
Step 1: Guide shapes
Lightly sketch this oval. It only shows where the big parts go, so press softly. You will erase it at the end.
Step 2: Sides of the face
Draw two curved lines like the sides of a bowl, one on the left and one on the right. Leave a gap between them at the bottom and keep the top open.
Step 3: Hairband and long hair
Draw a gently curved hairband line across the top, joining the two sides of the face. Then draw a long line down the outside of each side, letting the left one curl in at the bottom. Add a tiny circle above the middle of the band.
Step 4: Crown and face
On top of the hairband, draw a crown with three zigzag points and a curved line along the bottom. Then add two small dots for eyes, a little curved smile, and a small blob on each side of the chin.
Step 5: The dress
Under the chin, draw a short curved neckline. Then draw the dress as a bell shape that gets wider toward the bottom, and close it with a wavy line along the hem.
Step 6: Arms and hands
Draw a long curved arm on the left side of the dress, ending in a small circle for the hand. Add a small circle for the hand on the right side too.
Step 7: The little fan
Next to the right hand, draw a wedge shape like a slice of pizza that points down toward the hand. Add a few short lines inside it for the folds.
Step 8: Heart and shoes
Draw a small heart in the middle of the dress with two bumps on top and a point below. Add two small ovals peeking out under the hem for shoes.
All done!
Erase the guide shapes, go over your lines, then color it in.
Finished your queen? Keep the pencils out and learn how to draw a scroll or how to draw a magician next.
Tips for drawing a queen
- Draw the crown after the hairband so you know exactly where it sits. Keep the three points about the same height.
- The long hair is the trickiest part. Draw each side as one smooth curve and let your hand move slowly.
- Make the two eye dots the same size and keep the smile small, so the queen looks friendly.
Free queen coloring page
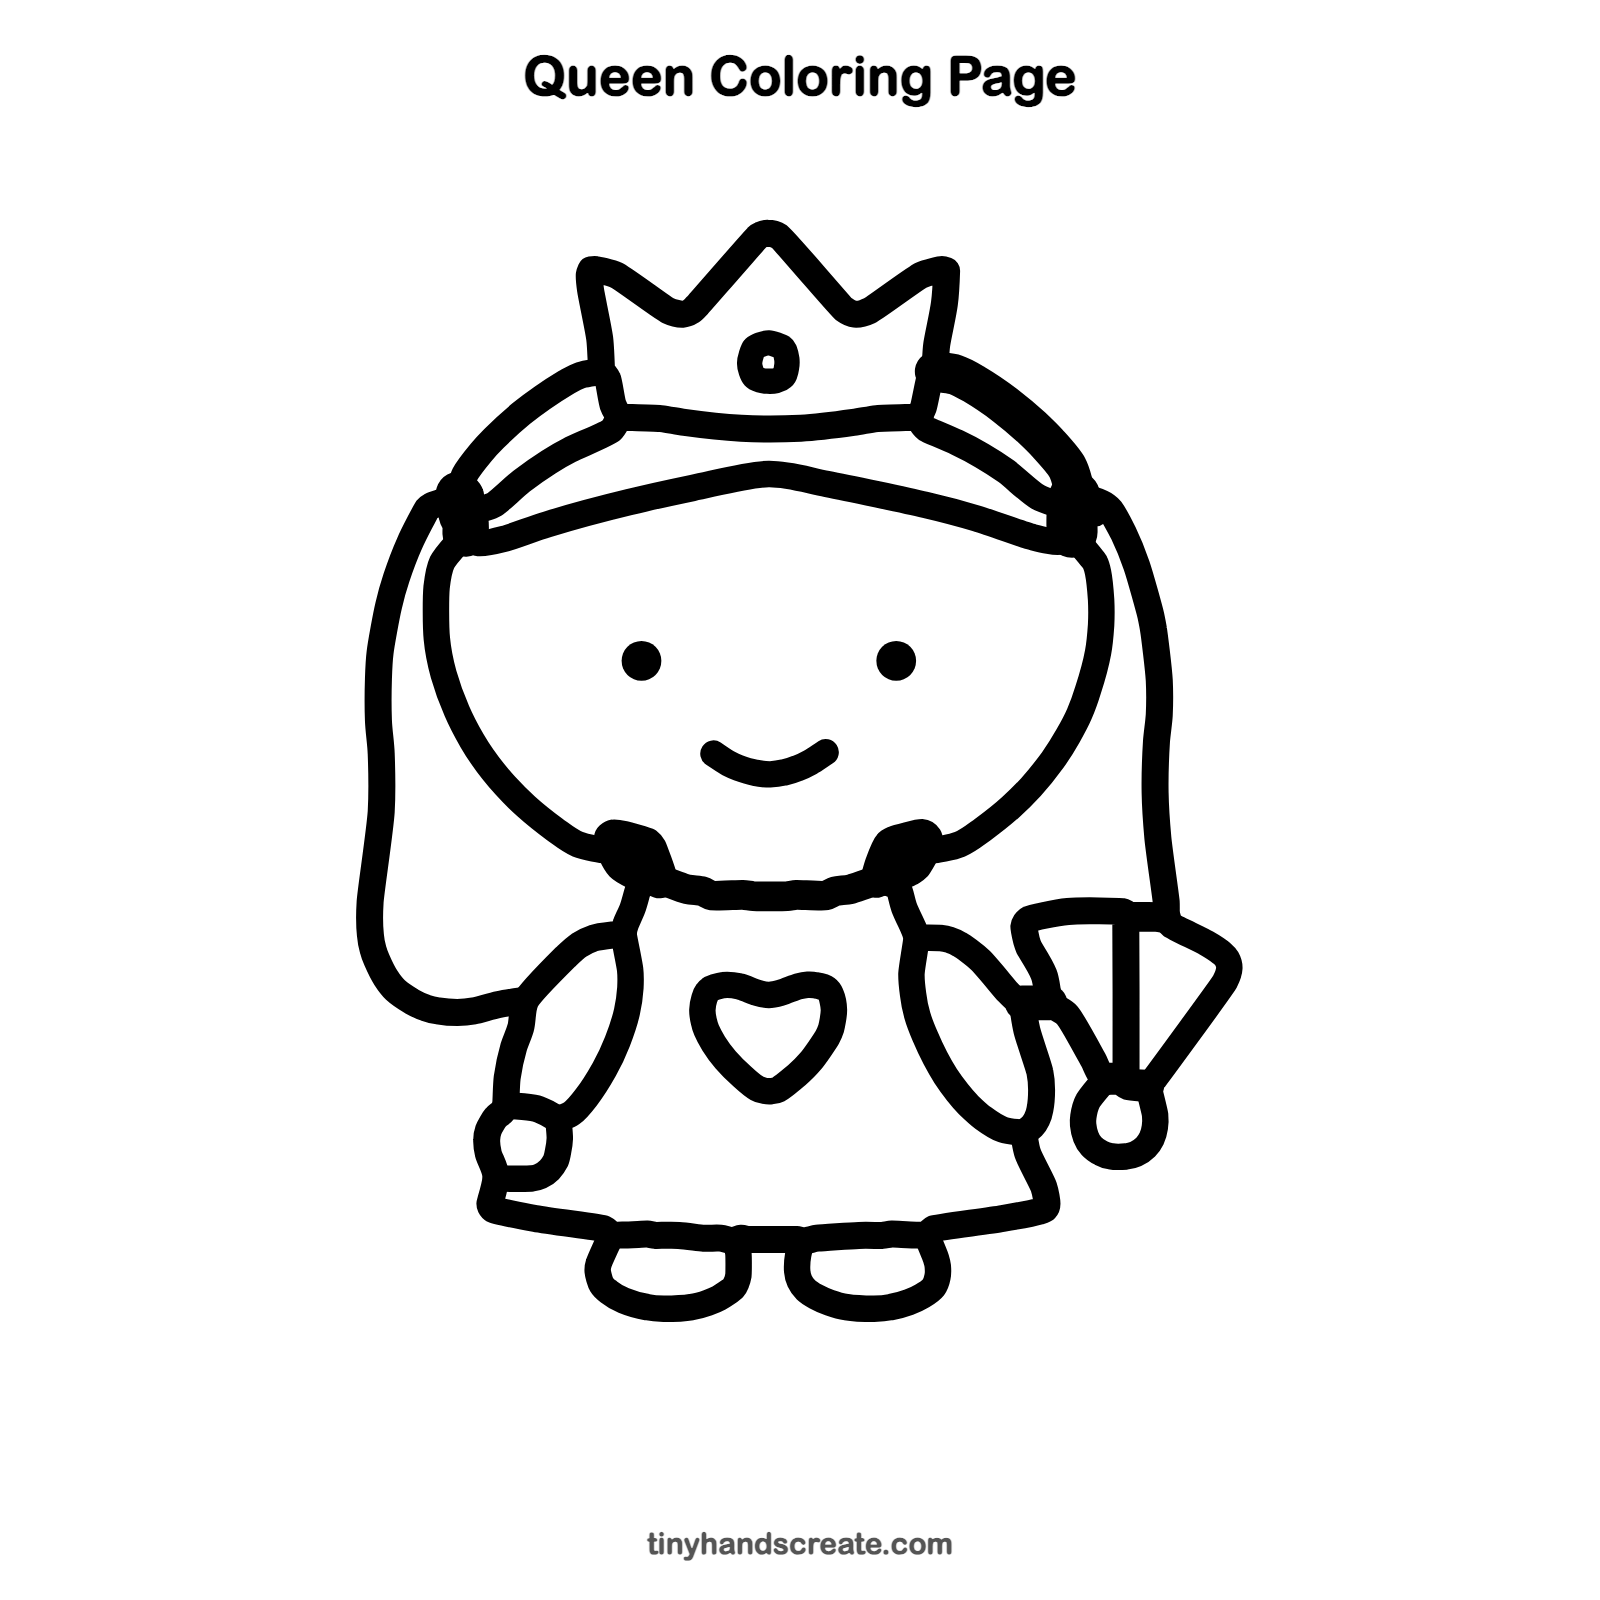
Want to go straight to coloring? Open this queen coloring page at full size and print it. It is the same drawing you just learned, with clean lines ready for crayons or markers.
How to color your queen drawing
Try a golden crown, brown or black hair and a pink or purple dress. For a creative twist, give the fan a rainbow pattern.
Queen fun fact for kids
Queen Elizabeth II of the United Kingdom reigned for 70 years, from 1952 to 2022, longer than any other British monarch.
Questions about drawing a queen
What shapes do I need to draw a queen?
You need curves for the face, a bell shape for the dress, ovals for the arms and shoes, a wedge for the fan and a zigzag for the crown.
How do I make my queen look cuter?
Draw small dot eyes far apart and a tiny smile. A bigger head than body also makes her look sweet.
How do I draw a crown that looks even?
Draw three zigzag points on top of a curved bottom line. Try to make the points about the same height.