How to Draw an Alarm Clock (Easy Step by Step)
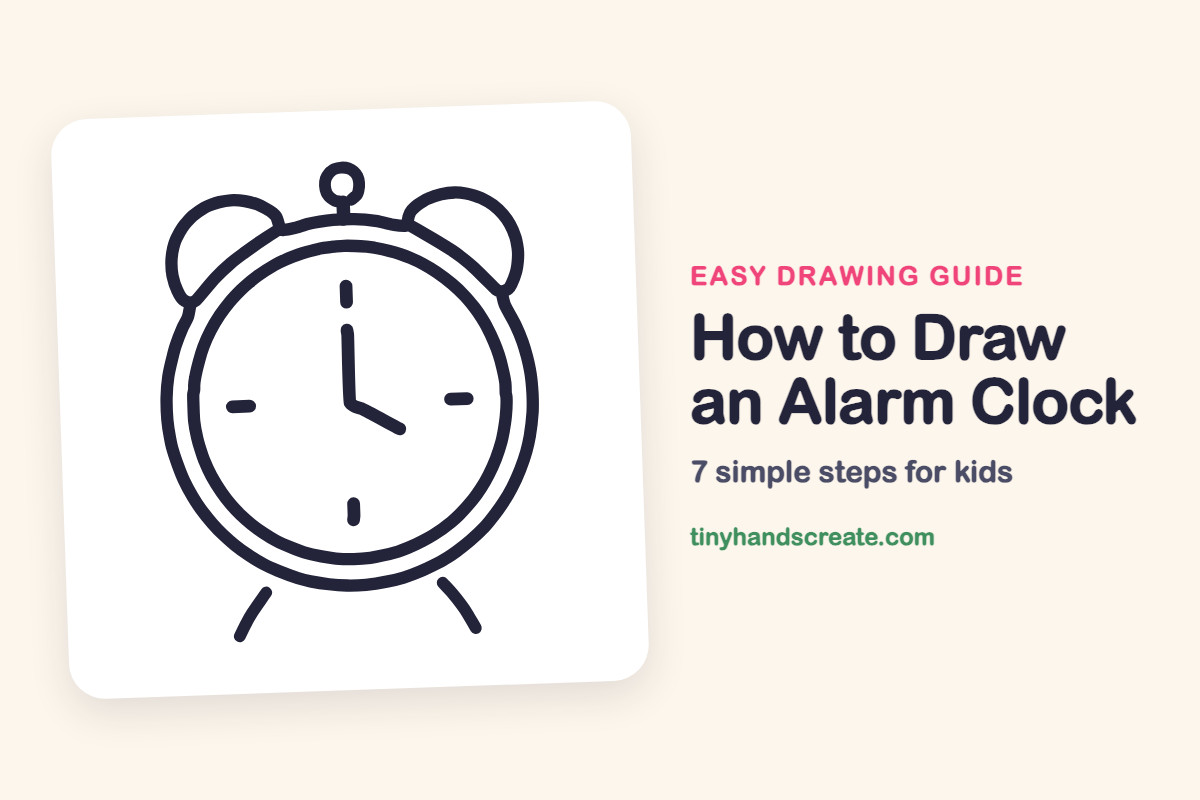
An alarm clock is a friendly drawing made from circles and short lines. You start with one big round body and a second circle inside it, then add bells, feet, hour marks, and two hands. Once you can draw the circles, the rest is easy.
- Easy
- 10 minutes
- 7 steps
You need: paper, a pencil, an eraser, and crayons or markers for coloring.
Start drawingIn this article (7 sections)
How to draw an alarm clock step by step
How to Draw an Alarm Clock · tinyhandscreate.com
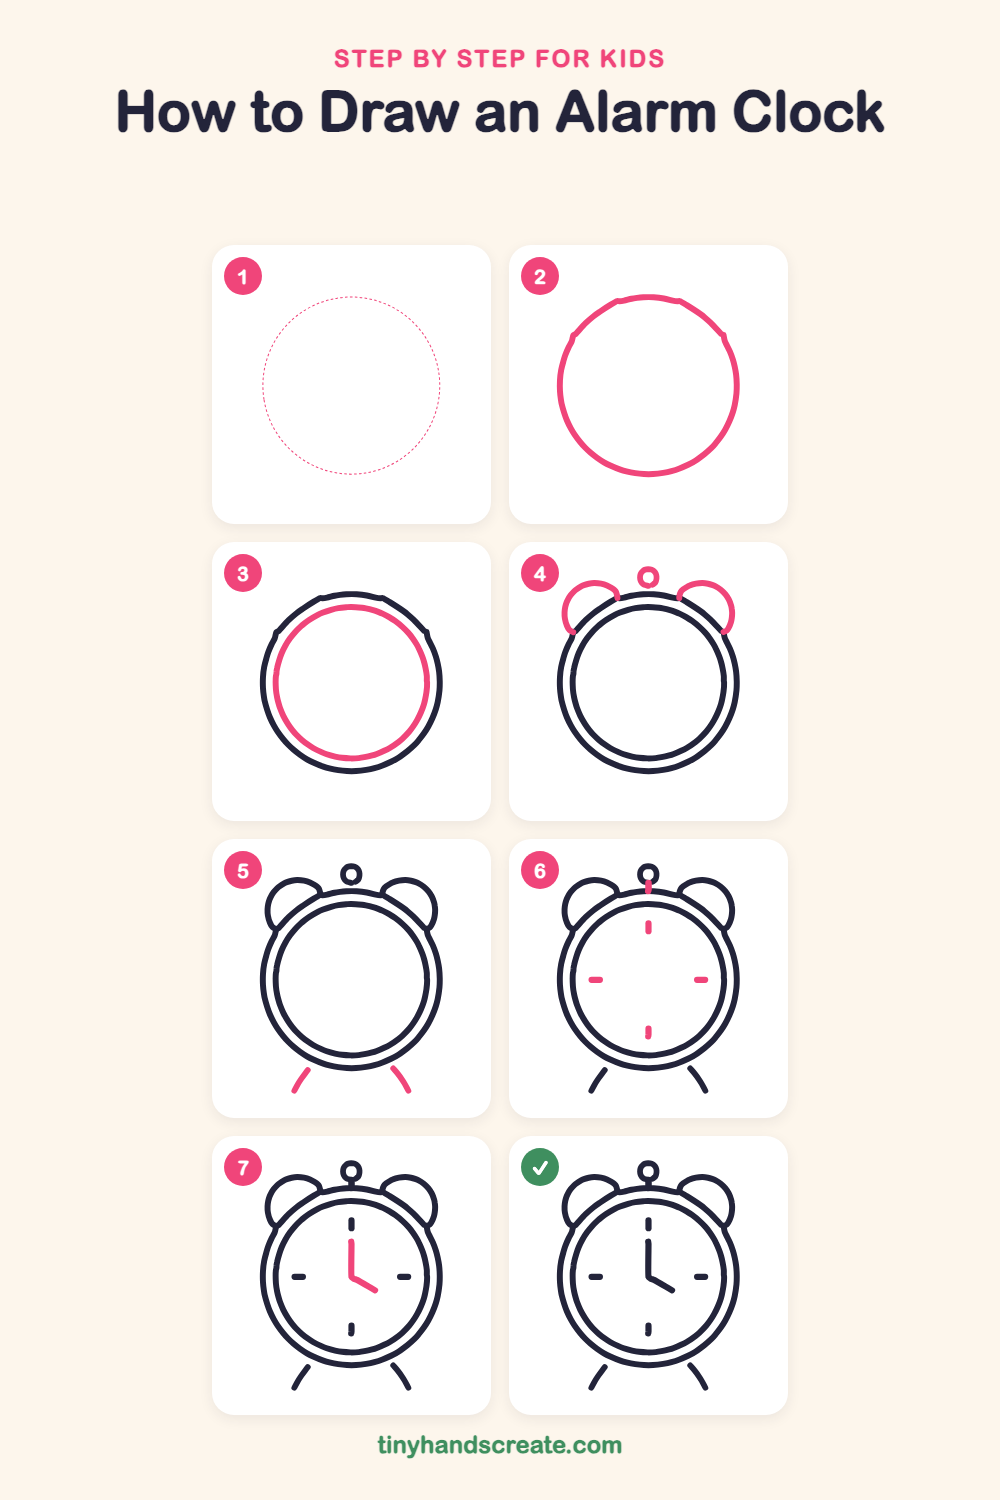
Step 1: Guide shapes
Lightly sketch this oval. It only shows where the big parts go, so press softly. You will erase it at the end.
Step 2: The clock body
Start with a big round circle in the middle of your paper. Draw it lightly so you can fix it if you need to.
Step 3: The inner circle
Draw a second circle inside the first one, leaving a small gap all the way around. This makes the rim of the clock.
Step 4: Bells and top ring
Draw two curved bell shapes on top, one on the left and one on the right, with each one starting and ending on the edge of the clock like little ears. Then add a small ring at the very top in the middle.
Step 5: Two little feet
Under the clock, draw two short curved lines that lean outward, one on each side. They are the feet that keep the clock standing.
Step 6: Hour marks
Inside the rim, draw four short dashes at the top, bottom, left, and right, like the 12, 6, 9, and 3. Then add a tiny stem joining the top ring to the clock.
Step 7: The clock hands
In the middle of the face, draw one line going straight up. From the bottom end of that line, draw a slightly shorter line going down and to the right.
All done!
Erase the guide shapes, go over your lines, then color it in.
Finished your alarm clock? Keep the pencils out and learn how to draw a barn or how to draw a semi truck next.
Tips for drawing an alarm clock
- Draw the big outer circle lightly first. The inner circle is much easier when you can see how much room is left inside.
- Keep the gap between the two circles about the same all the way around so the rim looks even.
- Place the four hour marks at the top, bottom, left, and right before you add the hands, so the clock stays balanced.
Free alarm clock coloring page
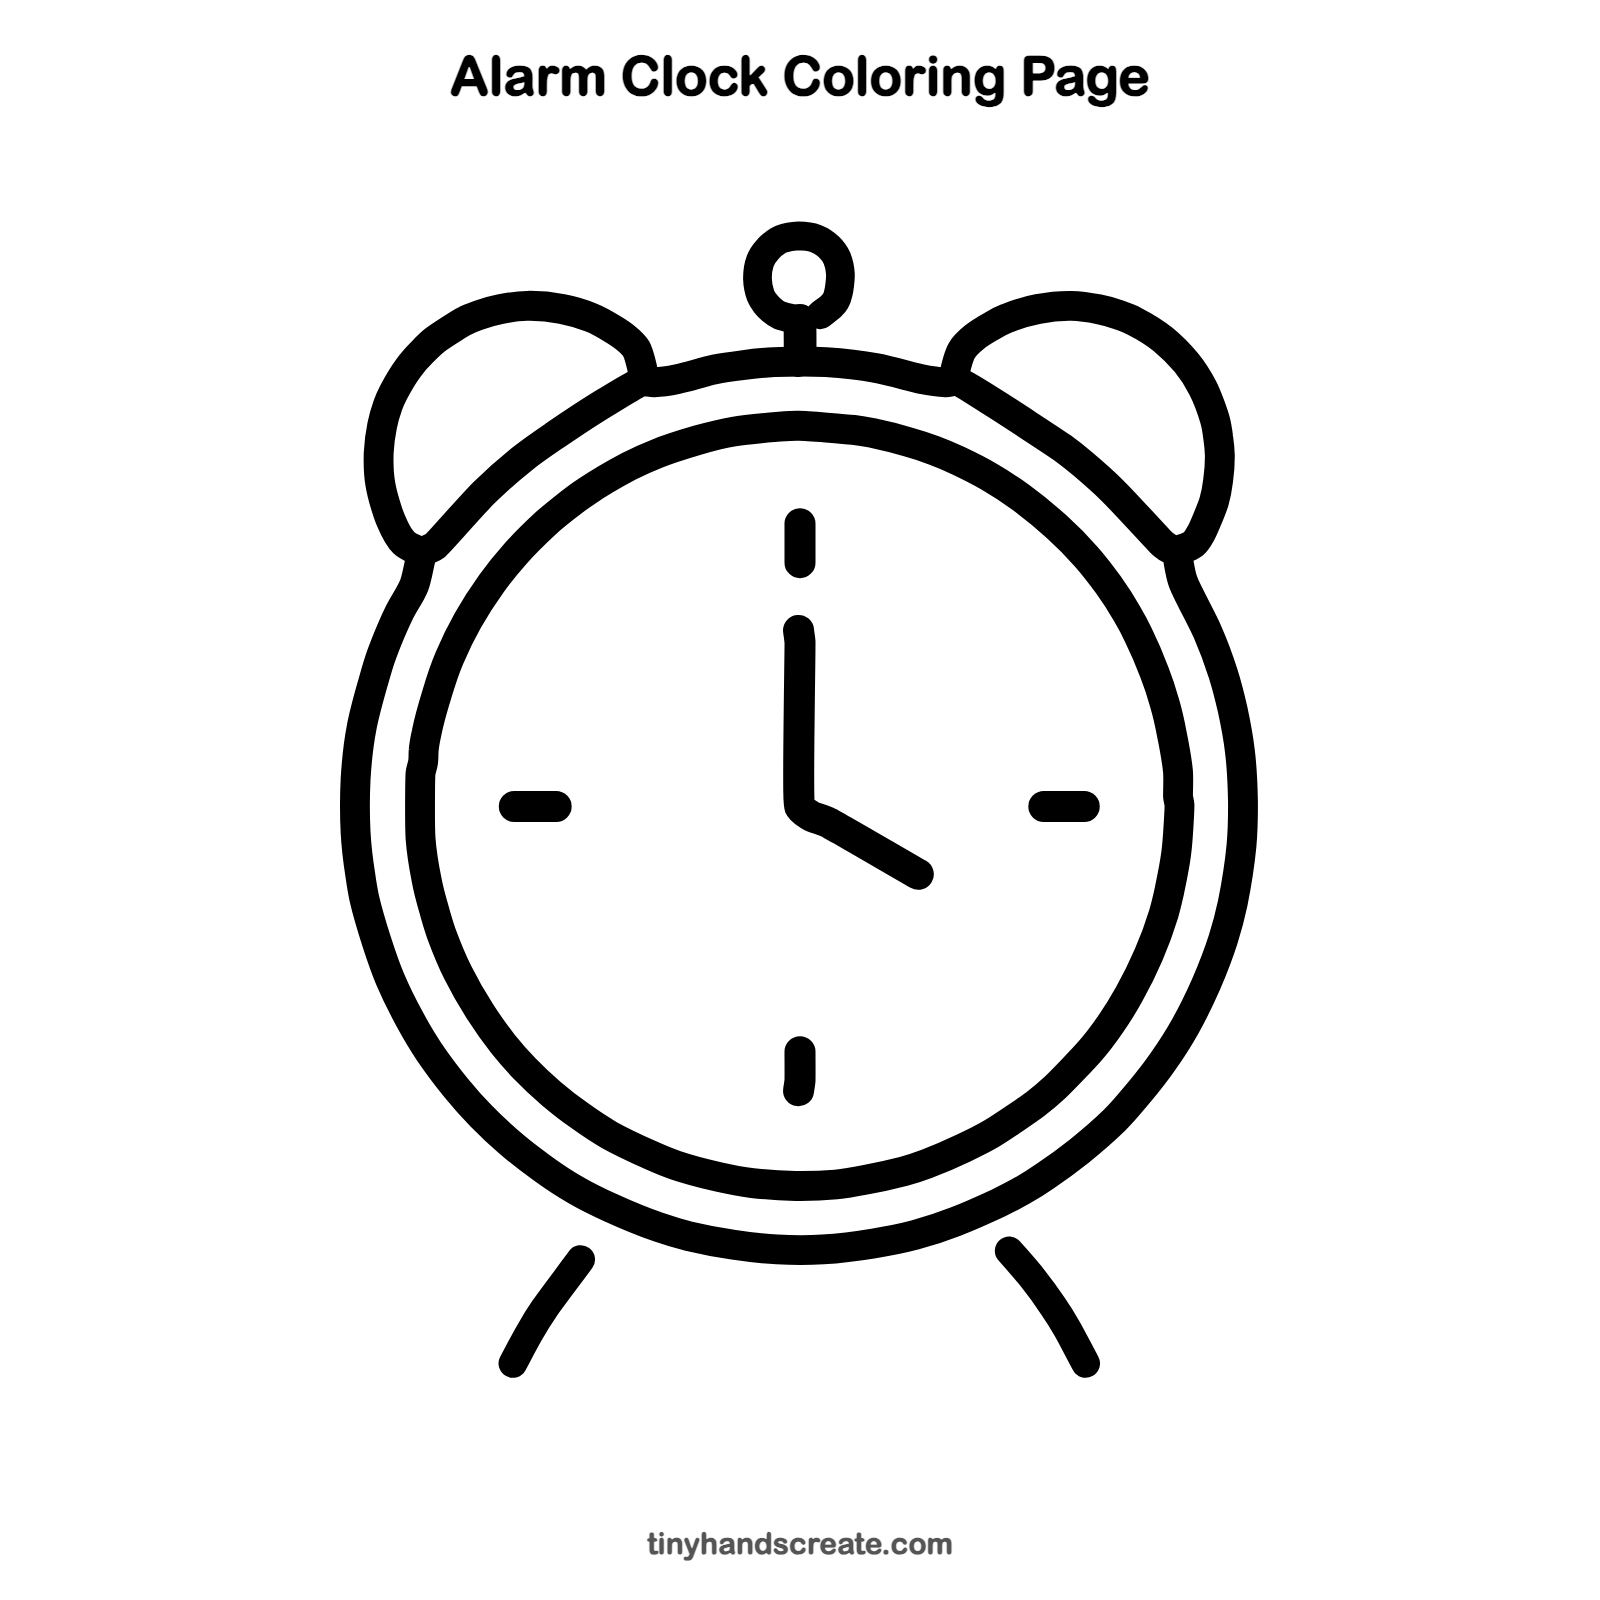
Want to go straight to coloring? Open this alarm clock coloring page at full size and print it. It is the same drawing you just learned, with clean lines ready for crayons or markers.
How to color your alarm clock drawing
Try a bright red or blue body with a yellow face and silver bells. For a creative twist, color the two hands in different colors, or add musical notes floating above the bells so it looks like it is ringing.
Alarm clock fun fact for kids
In 1787, an American named Levi Hutchins made a mechanical alarm clock that rang at 4 a.m. every day, because that was when he got up for work. It could not be set to any other time.
Questions about drawing an alarm clock
What shapes do I need to draw an alarm clock?
You mostly need circles: one big one for the body, a second one inside it for the rim, and a tiny one for the top ring. Curved lines make the bells and feet, and short straight lines make the hour marks and hands.
How do I make my alarm clock look cuter?
Make the bells big and round and the feet short and curved. You can also color the clock in your favorite bright colors.
How do I draw the clock hands in the right place?
Start in the exact middle of the face. Draw one line straight up, then draw a slightly shorter line from its bottom end going down and to the right, which shows four o'clock.