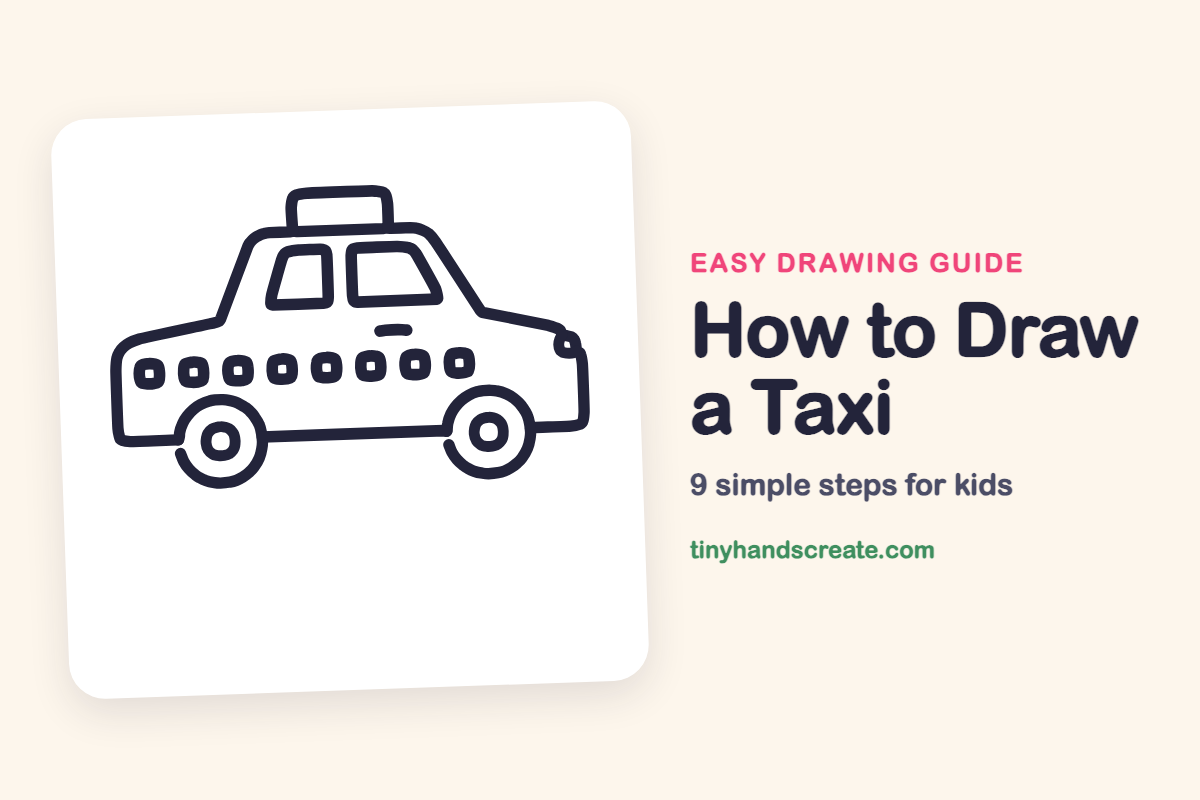
How to Draw a Taxi (Easy Step by Step)
A taxi is a fun first car to draw because it is built from simple shapes: a body, a cabin, circles and rounded boxes. The row of little squares and the sign on the roof make it look like a real city taxi. Once you can draw this one, you can change the squares and colors to make any car you like.
- Easy
- 12 minutes
- 9 steps
You need: paper, a pencil, an eraser, and crayons or markers for coloring.
Start drawingIn this article (7 sections)
How to draw a taxi step by step
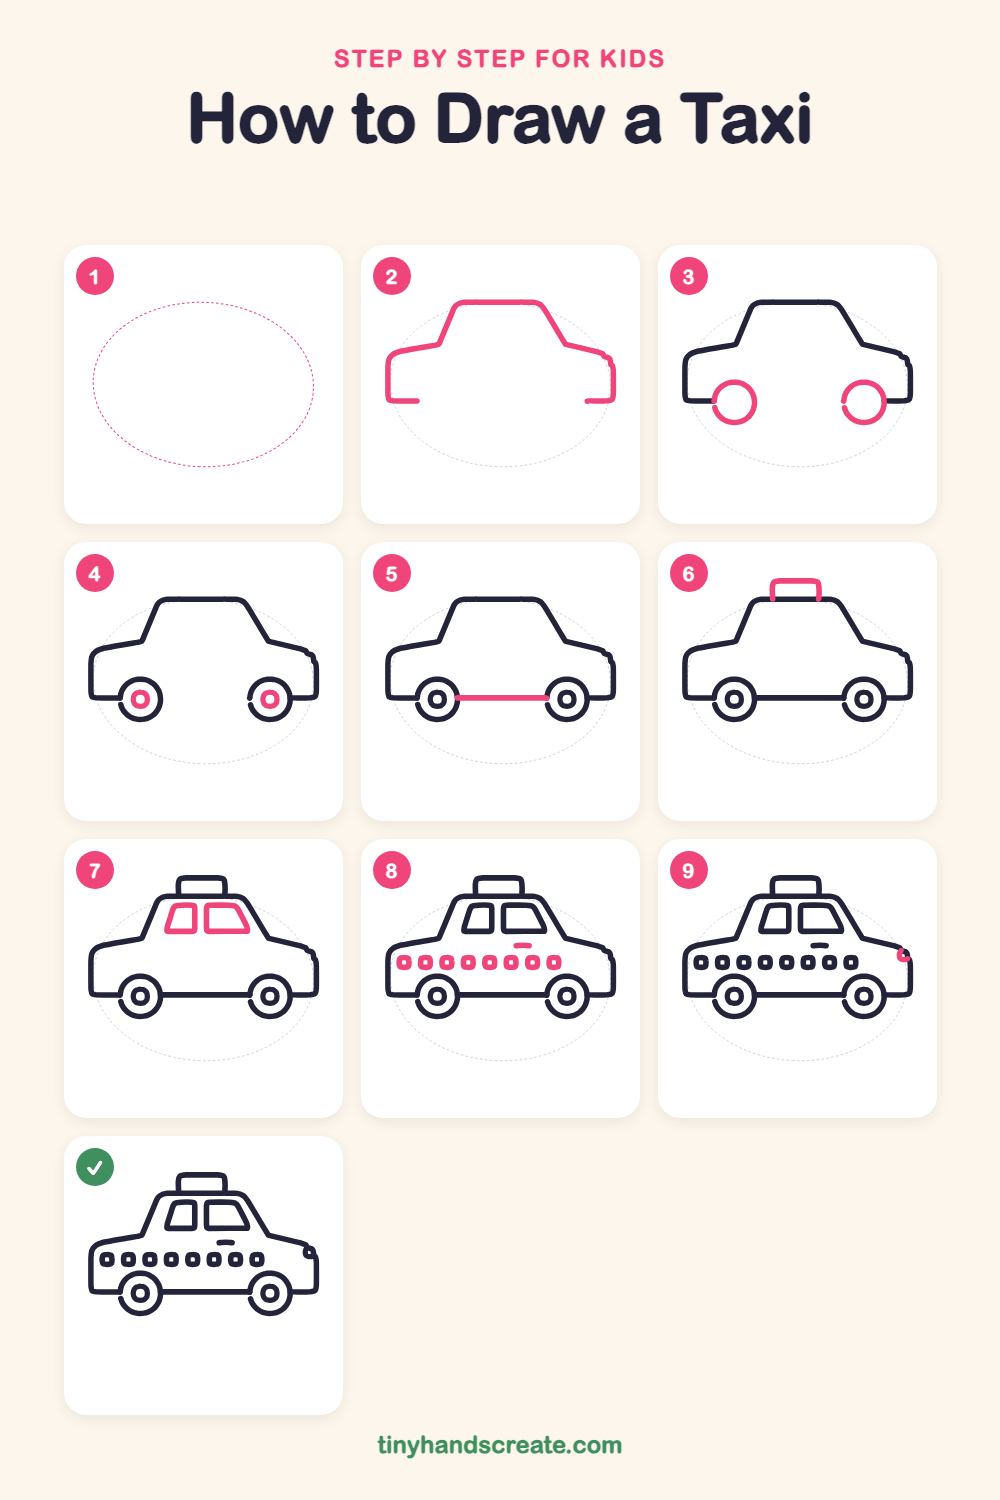
How to Draw a Taxi · tinyhandscreate.com
Step 1: Guide shapes
Lightly sketch this oval. It only shows where the big parts go, so press softly. You will erase it at the end.
Step 2: The car body
Start at the bottom left and draw a line up and around the car: a tall back, a gentle slope up to a flat roof, then down the slanted front to the front end. Stop with a short flat line at each bottom corner, and leave the middle of the bottom open.
Step 3: The wheels
Draw two circles for the wheels, one near the back and one near the front. Let each circle touch the bottom corner of the car, with a tiny gap where it meets the body.
Step 4: The hubcaps
Inside each wheel, draw a small circle in the middle for the hubcap.
Step 5: The bottom line
Draw a straight line along the bottom of the car that joins the two wheels together.
Step 6: The roof sign
On top of the roof, draw a small rounded box with no bottom line, so its two sides sit right on the roof. This is the sign that tells everyone it is a taxi.
Step 7: The windows
Draw two windows in the cabin side by side. The back one is a smaller shape with a slanted left side, and the front one is a bigger shape with a slanted right side.
Step 8: Checker squares and handle
Draw a row of eight small rounded squares along the side of the car, spaced evenly, and put a tiny dot inside each one. Then add a short, flat line above the row for the door handle.
Step 9: The headlight
At the front corner of the car, draw a tiny curved line for the headlight.
All done!
Erase the guide shapes, go over your lines, then color it in.
Finished your taxi? Keep the pencils out and learn how to draw a cruise ship or how to draw a rowboat next.
Tips for drawing a taxi
- Draw the body lightly first, so you can fix the slanted front and back of the cabin before you press hard.
- The wheels are the trickiest part. Draw both circles the same size and keep them level, then add the small hubcap circle in the middle of each.
- Use the first square as a guide and space the other seven the same distance apart, so the row looks neat.
Free taxi coloring page
Want to go straight to coloring? Open this taxi coloring page at full size and print it. It is the same drawing you just learned, with clean lines ready for crayons or markers.
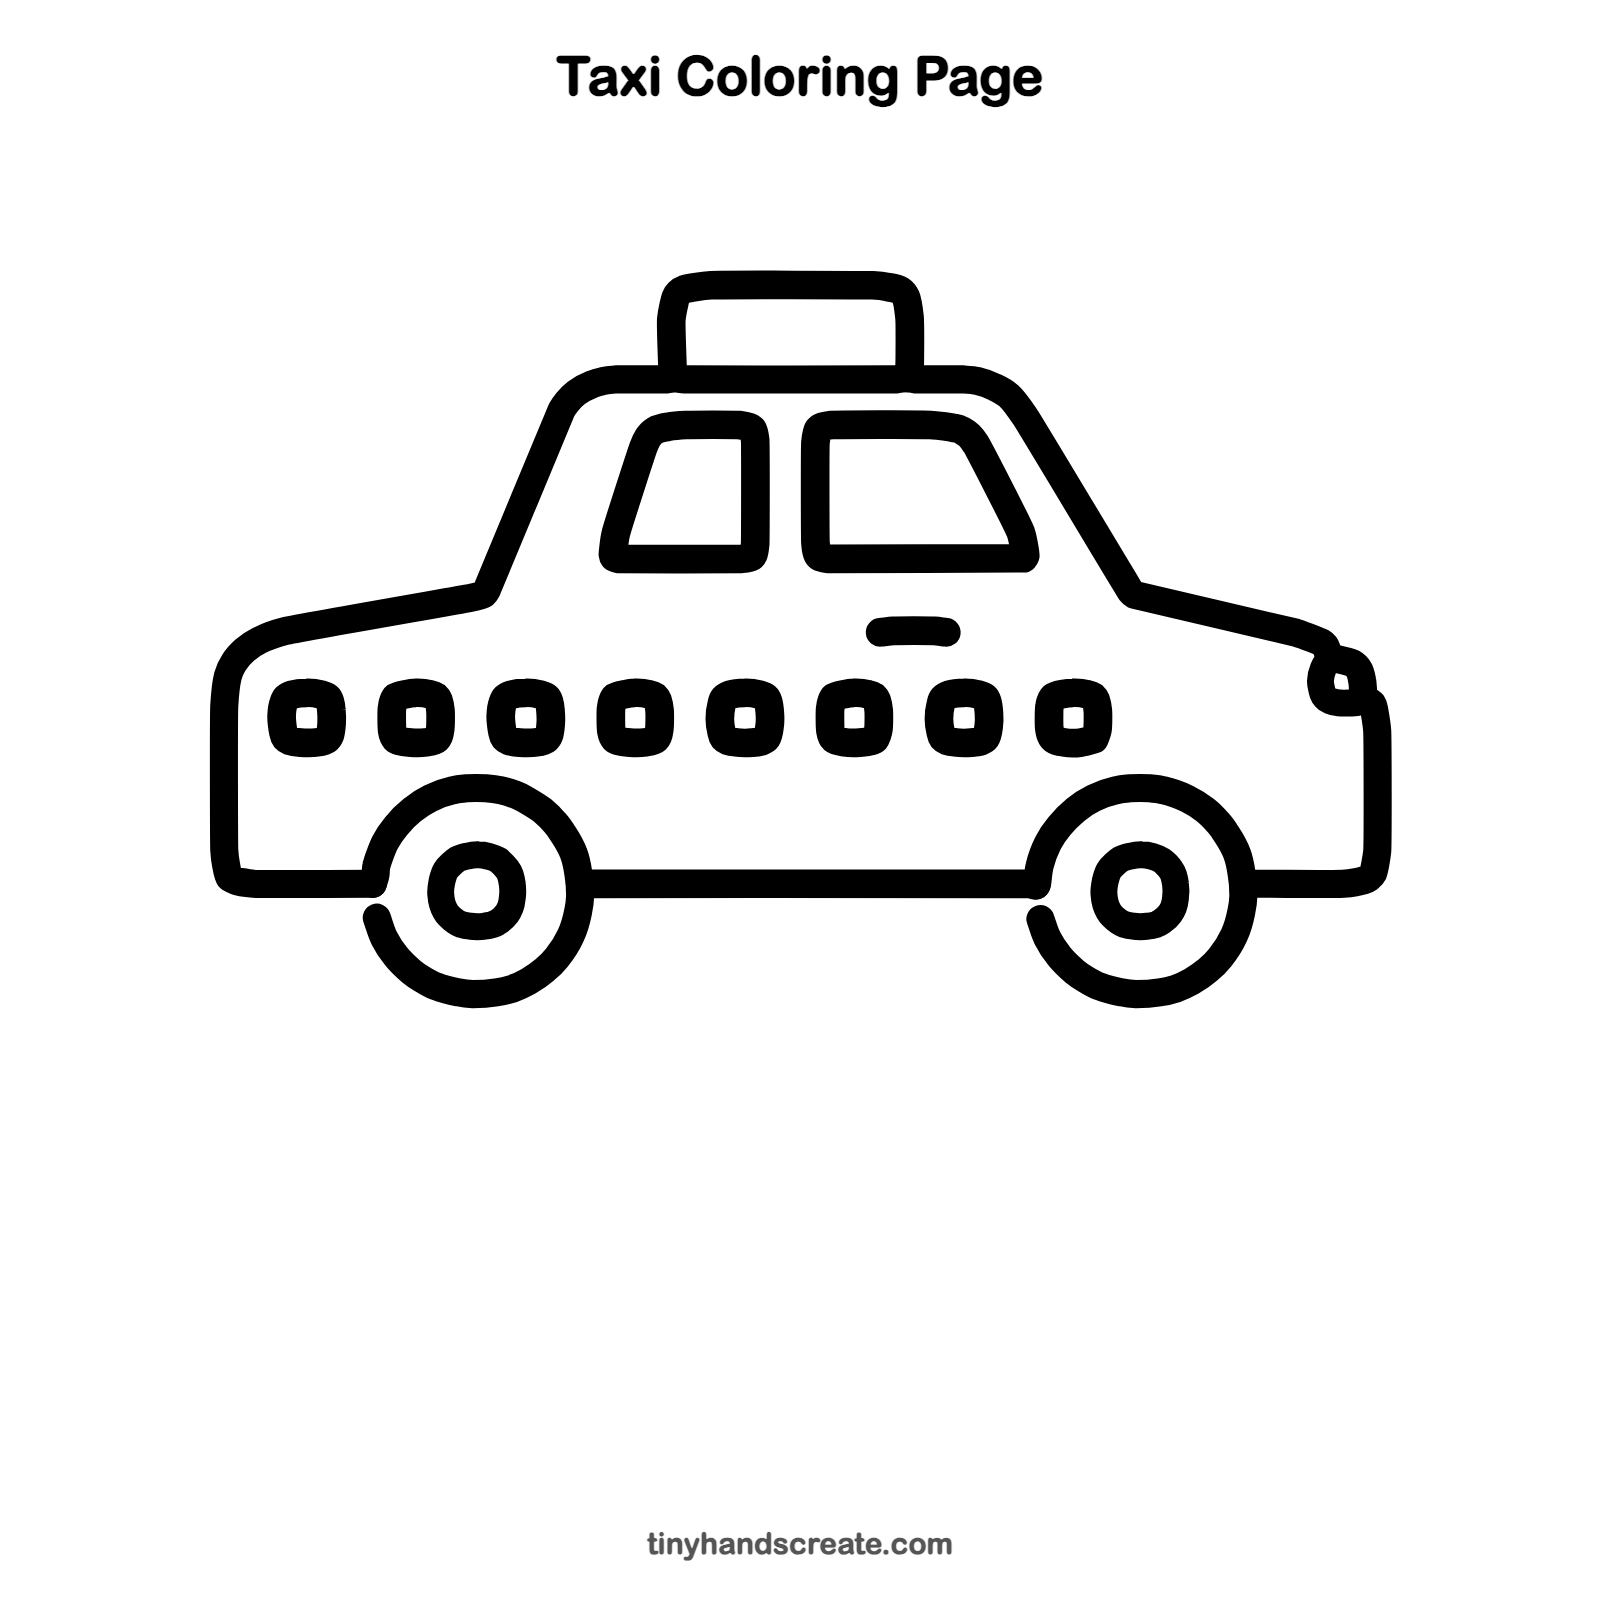
How to color your taxi drawing
Color the taxi bright yellow, the tires black and the windows light blue. For a twist, give your taxi a polka dot or rainbow stripe design.
Taxi fun fact for kids
The word taxi is short for taximeter cab. A taximeter is the little machine that adds up the fare as the car drives.
Questions about drawing a taxi
What shapes do I need to draw a taxi?
You need a body shape with a flat roof and slanted front and back, two circles for the wheels, a small rounded box for the roof sign and two window shapes.
How do I make my taxi wheels look round?
Trace around a bottle cap or coin, or draw a light square first and curve the corners until it becomes a circle.
How do I make my taxi look more like a taxi?
Add the sign on the roof and a row of checker squares along the side, then color it yellow.