How to Draw a Lime (Easy Step by Step)
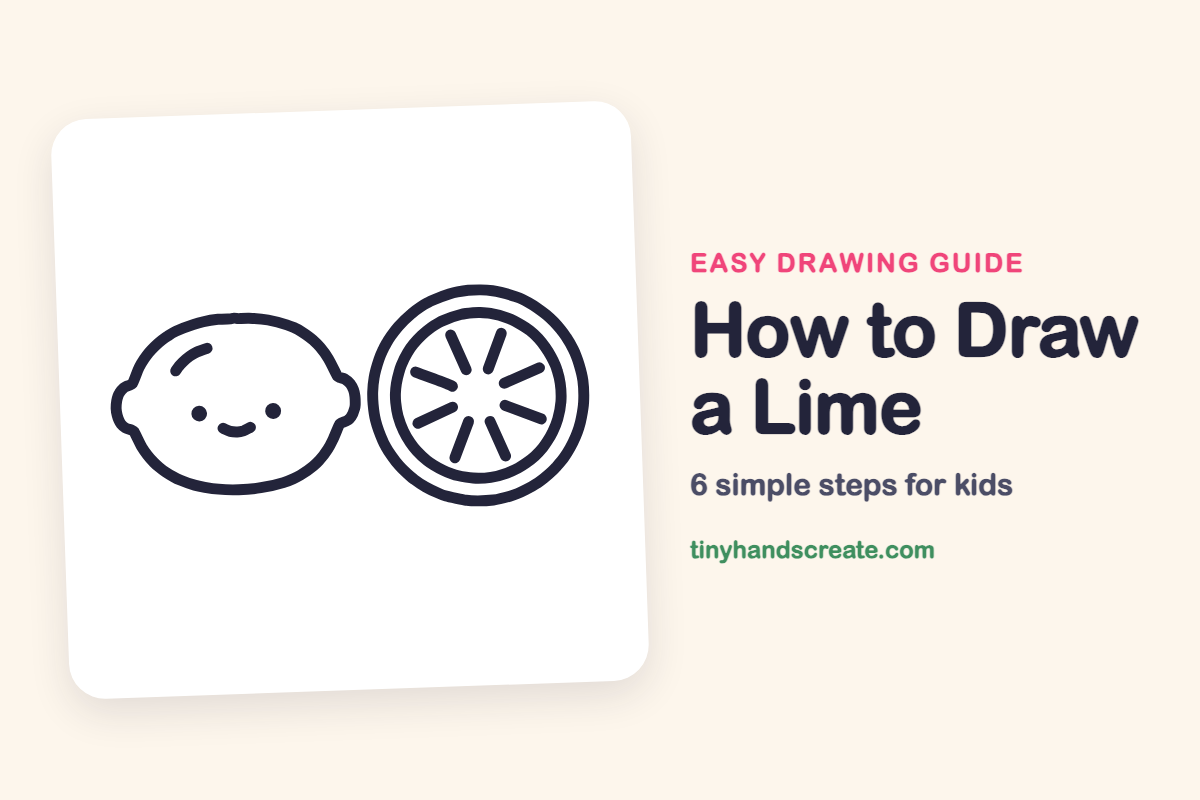
This happy lime comes with a friend: a round slice showing its juicy inside. It is built from just a wide oval, two circles, and eight short straight lines. It is a great first drawing for practicing smooth curves.
- Easy
- 10 minutes
- 6 steps
You need: paper, a pencil, an eraser, and crayons or markers for coloring.
Start drawingIn this article (7 sections)
How to draw a lime step by step
How to Draw a Lime · tinyhandscreate.com
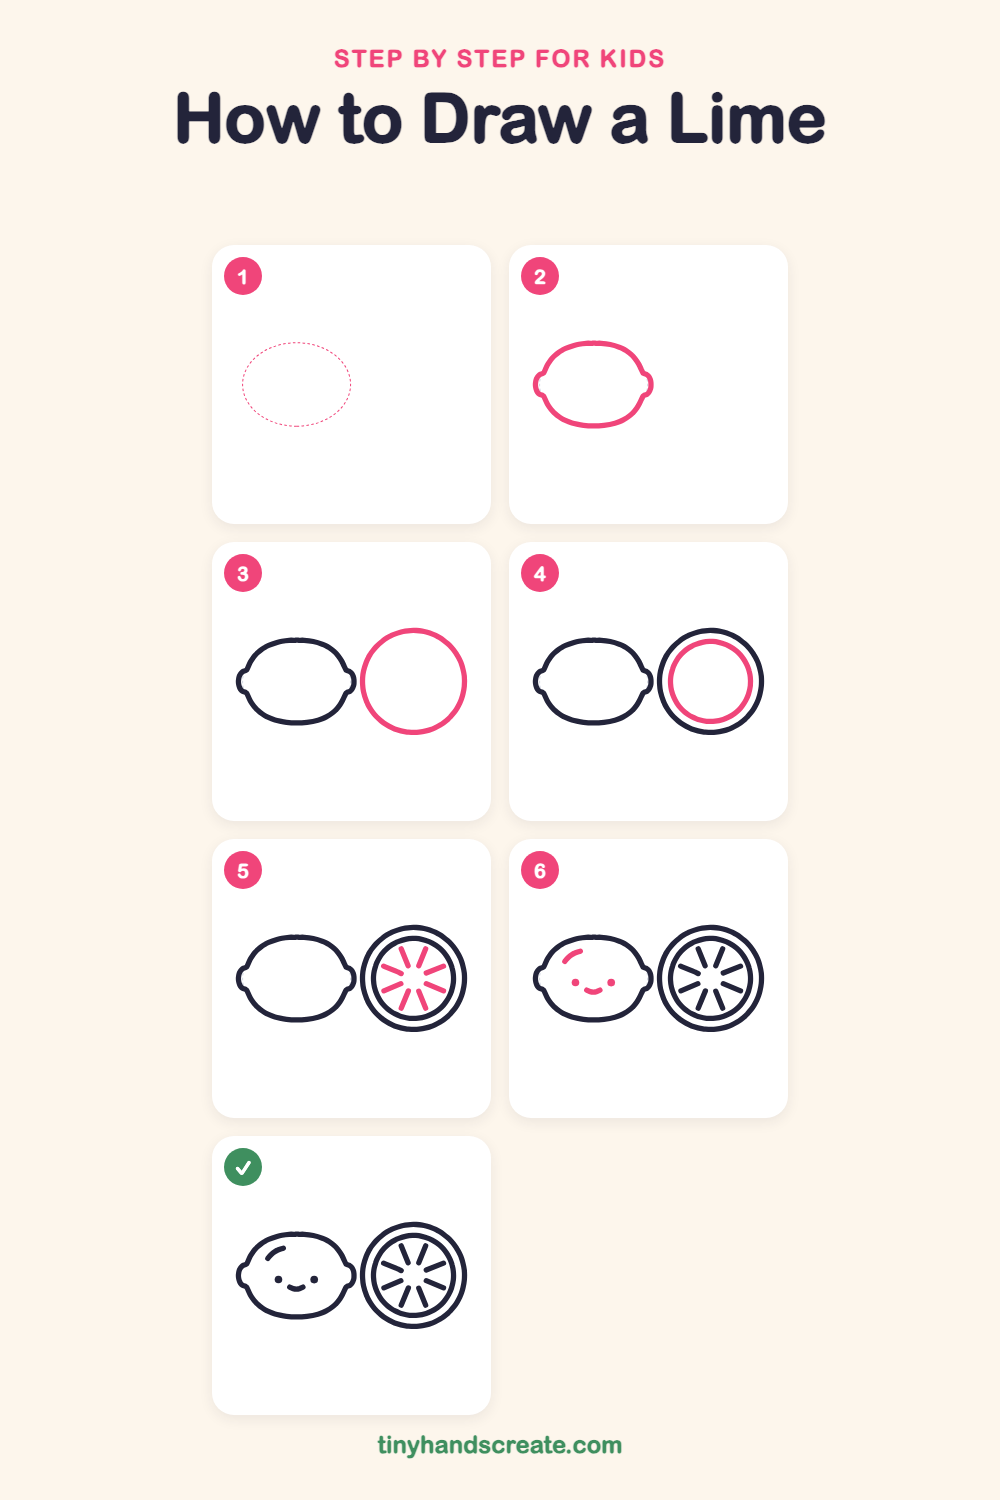
Step 1: Guide shapes
Lightly sketch this oval. It only shows where the big parts go, so press softly. You will erase it at the end.
Step 2: The lime body
Draw a wide, chubby oval on the left side of your paper. Add a small rounded bump on the left and right ends, like little ears, where the oval pinches in.
Step 3: The big outer circle
On the right side of the paper, draw a big round circle. This is the outside edge of the lime slice, so make it nice and round.
Step 4: The inner circle
Draw a second circle inside the first one, leaving a small gap all the way around. This makes the peel of the slice.
Step 5: The juicy sections
Inside the inner circle, draw short straight lines like the spokes of a wheel. Start each one a little away from the middle and stop before the peel. Make eight in all.
Step 6: Face and shine
Give your lime a face with two round dots for eyes and a small curved smile between them. Then add a short curved line near the top left for a shiny spot.
All done!
Erase the guide shapes, go over your lines, then color it in.
Finished your lime? Keep the pencils out and learn how to draw a coconut or how to draw a raspberry next.
Tips for drawing a lime
- Draw the lime body lightly first so you can fix the shape. The small bumps on each end are the trickiest part, so make them gentle and round.
- For the slice, draw the outer circle first and the inner circle second. Try to keep the gap between them the same all the way around.
- Make the eight spokes by drawing them in pairs across from each other, so they stay even and do not bunch up on one side.
Free lime coloring page
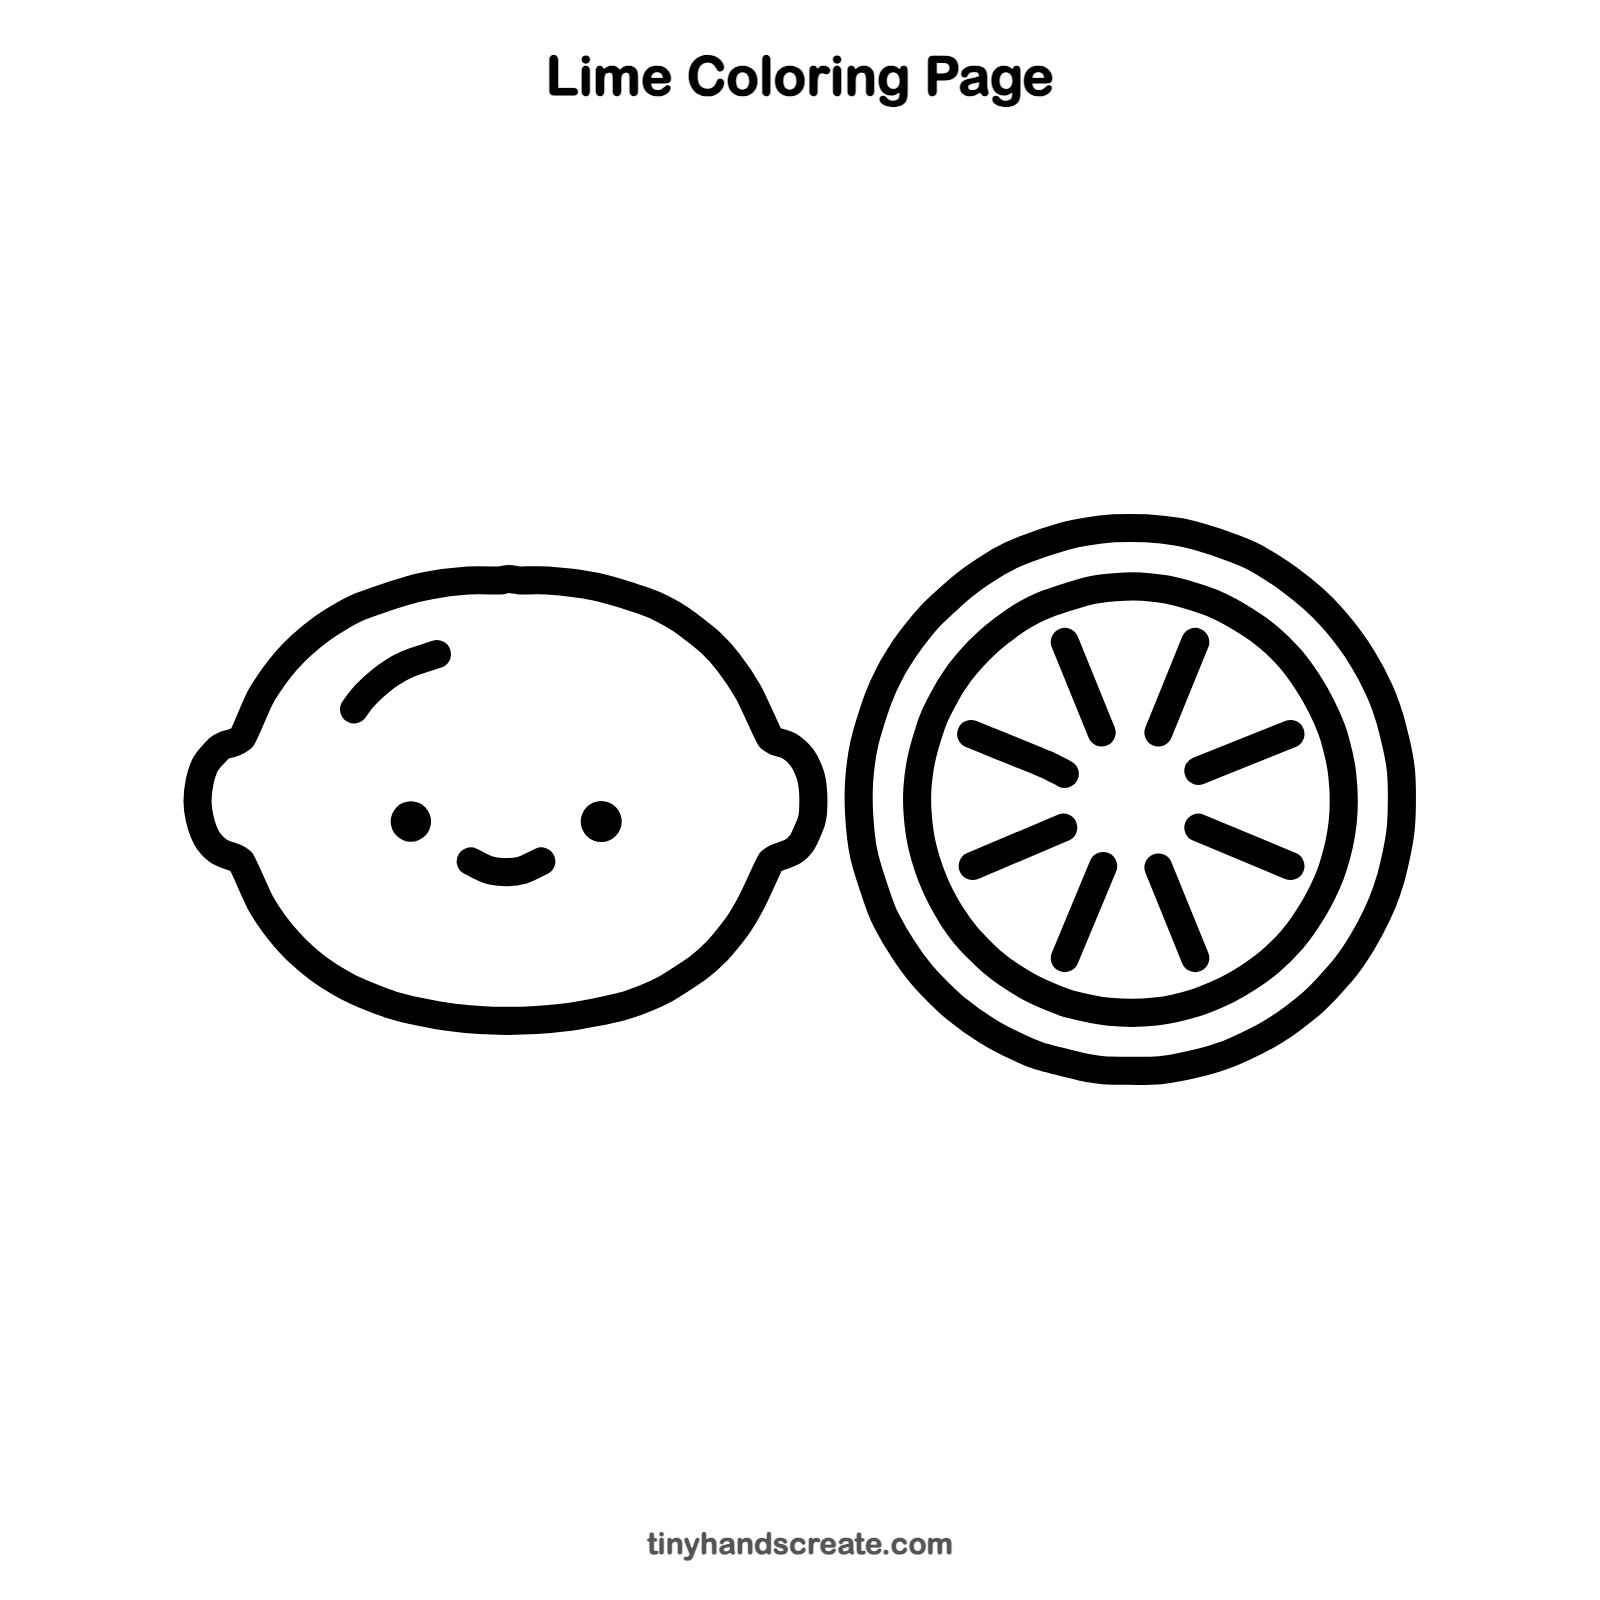
Want to go straight to coloring? Open this lime coloring page at full size and print it. It is the same drawing you just learned, with clean lines ready for crayons or markers.
How to color your lime drawing
Color the lime and the slice in bright and light greens, with a pale yellow-green for the juicy sections. For a creative twist, try a lemon yellow lime or turn the slice into a sun.
Lime fun fact for kids
Long ago, British sailors ate limes and other citrus fruit on ships because the vitamin C in them helped prevent a sickness called scurvy. That is how British sailors came to be nicknamed "limeys."
Questions about drawing a lime
What shapes do I need to draw a lime?
You need a wide oval for the lime and two circles, one inside the other, for the slice. The sections are just short straight lines.
How do I make my lime look cuter?
Place the eyes low and wide apart, and add a small curved smile between them. A little shiny curve near the top makes it look fresh and plump.
How do I draw the slice evenly?
Draw the two circles first, then add the spokes in opposite pairs. This helps keep the spacing even around the middle.