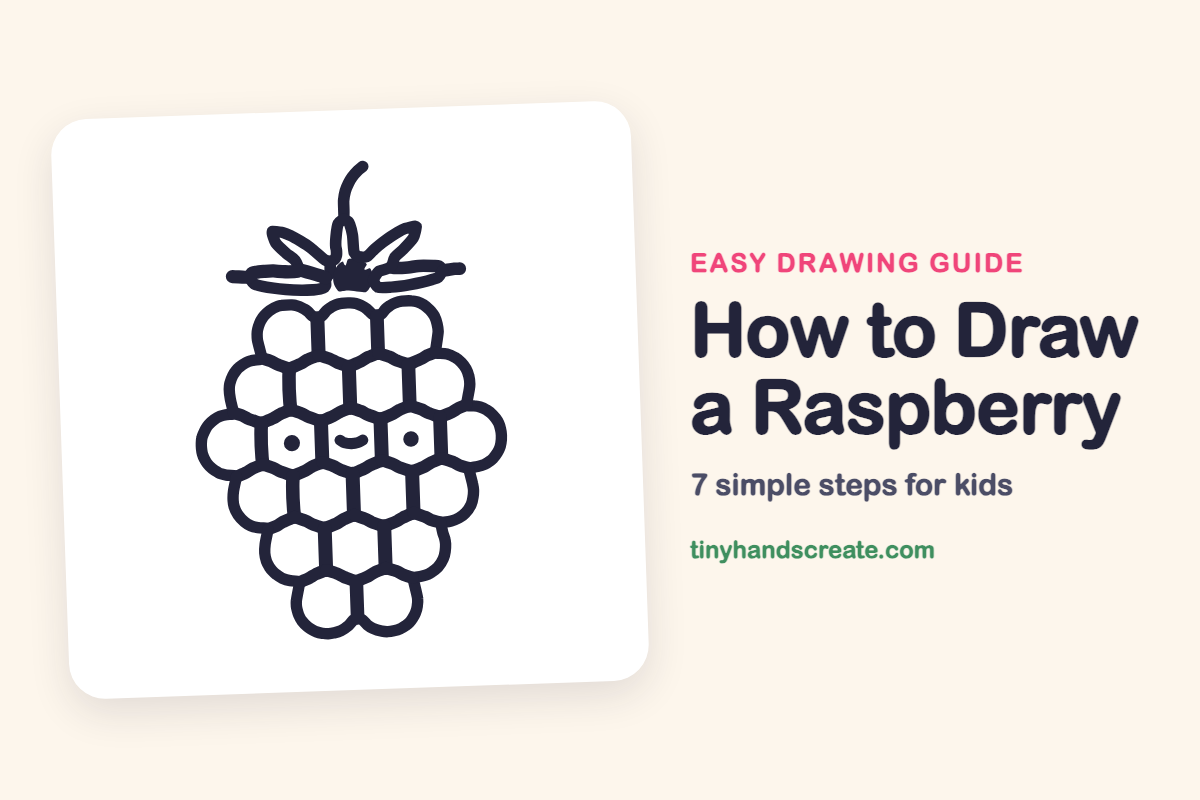
How to Draw a Raspberry (Easy Step by Step)
This smiling raspberry looks tricky but is really one big bumpy shape packed with small circles. You will use circles, a wiggly line, and a few pointy leaf shapes. Once you get the first few circles right, the rest follow the same pattern.
- Medium
- 15 minutes
- 7 steps
You need: paper, a pencil, an eraser, and crayons or markers for coloring.
Start drawingIn this article (7 sections)
How to draw a raspberry step by step
How to Draw a Raspberry · tinyhandscreate.com
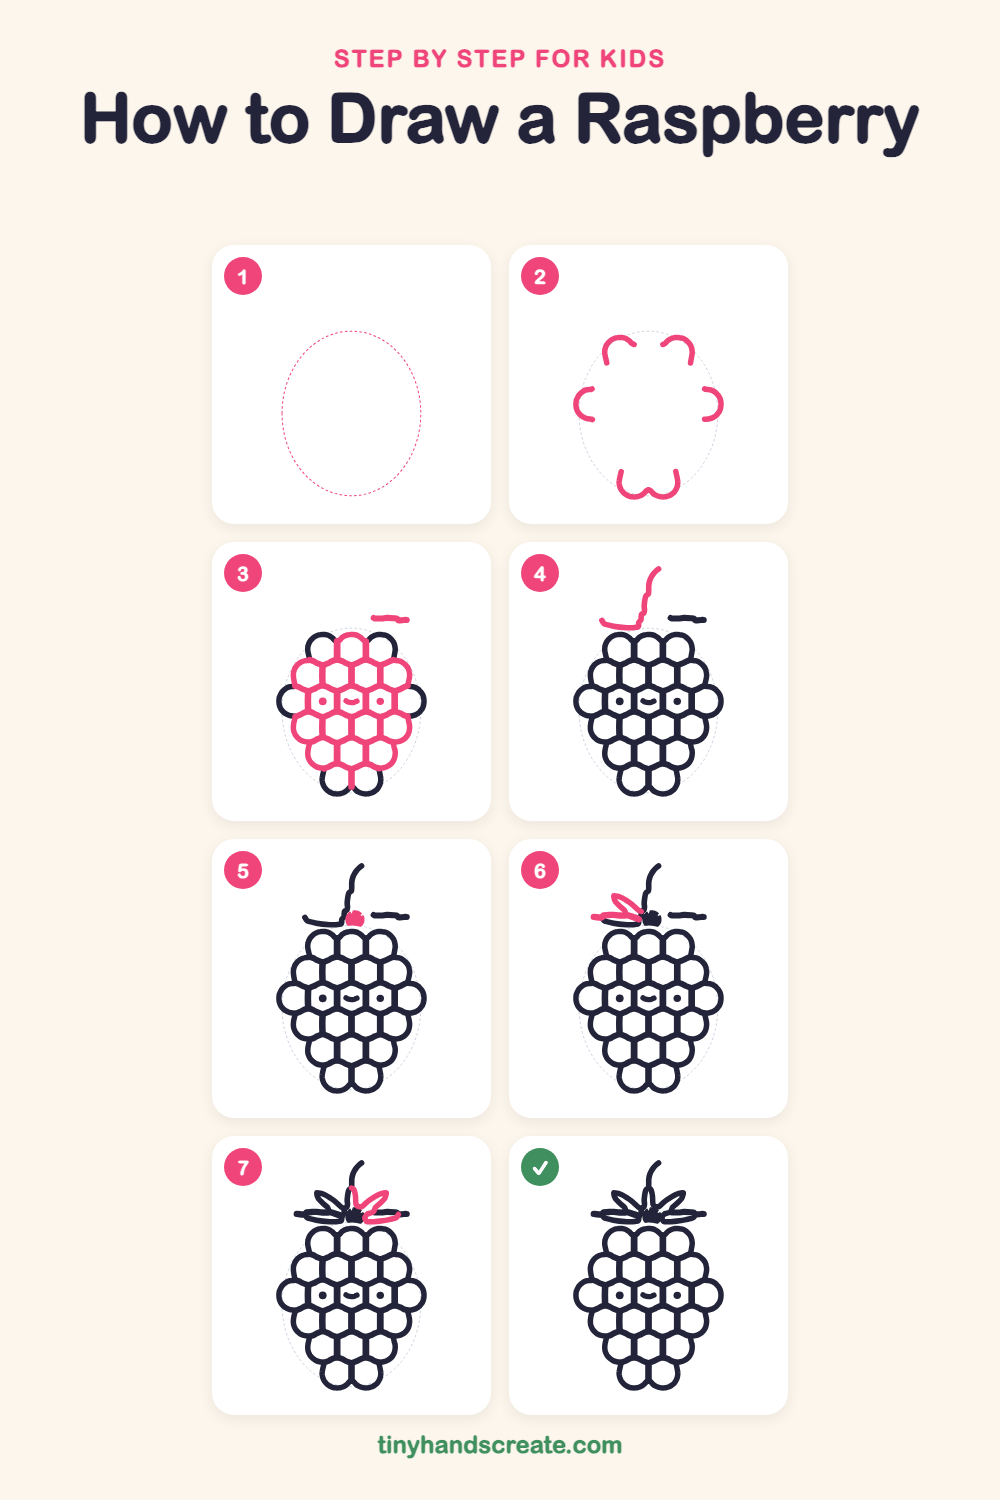
Step 1: Guide shapes
Lightly sketch this oval. It only shows where the big parts go, so press softly. You will erase it at the end.
Step 2: Bumpy outline pieces
Along the dotted oval, draw short curved bumps: two at the top, one on each side, and a wavy double bump at the bottom. Leave gaps between them, because the circles will fill in the rest.
Step 3: Circles and face
Fill the berry with rows of small touching circles, starting at the top and tucking each row into the gaps of the row above. In the middle row, put a dot in two circles for eyes and draw a little curved smile between them.
Step 4: Stem
Above the berry, draw a thin wiggly line that goes up and curls a little at the top. At its bottom end, add a short flat line that stretches to the left.
Step 5: Leaf center
Draw a small scribbly bump at the bottom of the stem, just above the top of the berry. The leaves will all start from here.
Step 6: Left leaves
On the left side of the bump, draw two long pointy leaf shapes. One tilts up and one lies almost flat, and both start at the bump.
Step 7: Right leaves
Do the same on the right side of the bump. Draw one pointy leaf tilting up and one lying almost flat, both starting at the bump.
All done!
Erase the guide shapes, go over your lines, then color it in.
Finished your raspberry? Keep the pencils out and learn how to draw a melon or how to draw an onion next.
Tips for drawing a raspberry
- Start the circles at the top and tuck each new row into the gaps between the circles above it. This keeps them lined up.
- Make the circles about the same size. If one comes out bigger, make its neighbors a little squished to fit.
- Keep the face small and in the middle row so it does not crowd the circles. Two dots and a tiny curve are enough.
Free raspberry coloring page
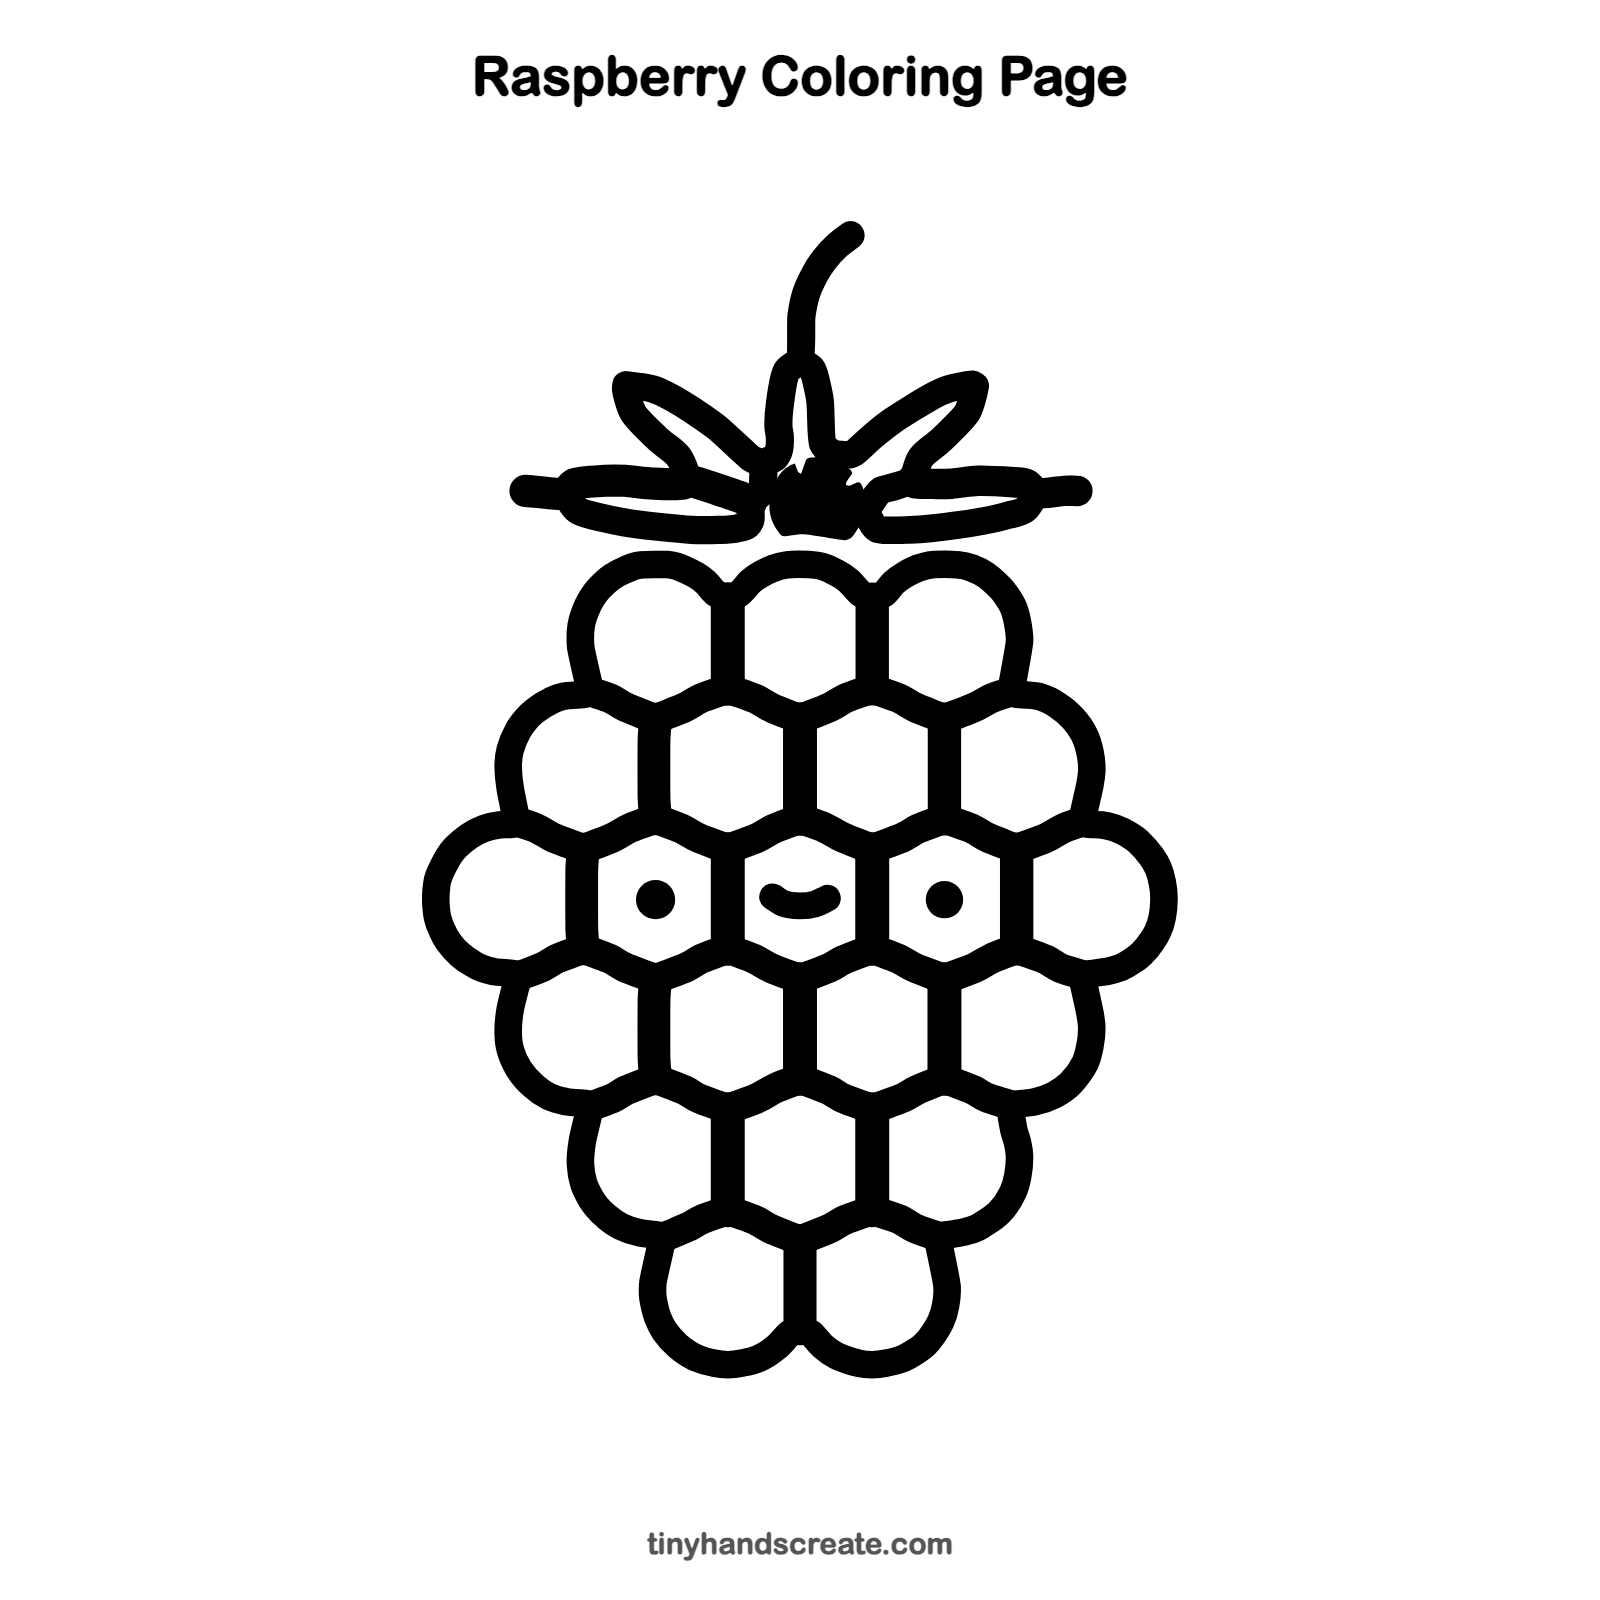
Want to go straight to coloring? Open this raspberry coloring page at full size and print it. It is the same drawing you just learned, with clean lines ready for crayons or markers.
How to color your raspberry drawing
Color the berry bright raspberry red or pink and the leaves and stem green. For a twist, make every circle a slightly different shade of pink and red.
Raspberry fun fact for kids
A raspberry is made of many tiny fruits called drupelets. Each little bump is one drupelet, and each has its own seed inside.
Questions about drawing a raspberry
What shapes do I need to draw a raspberry?
You need a bumpy oval outline, lots of small circles, a wiggly line for the stem, and long pointy shapes for the leaves.
How do I make my raspberry look cuter?
Add two dot eyes and a little smile in the middle row of circles. Keep them small so the circles stay easy to see.
How do I draw all the circles the same size?
Start with the top row and work down. Use the gaps between circles in the row above as a guide for where the next circles sit.