How to Draw a Melon (Easy Step by Step)
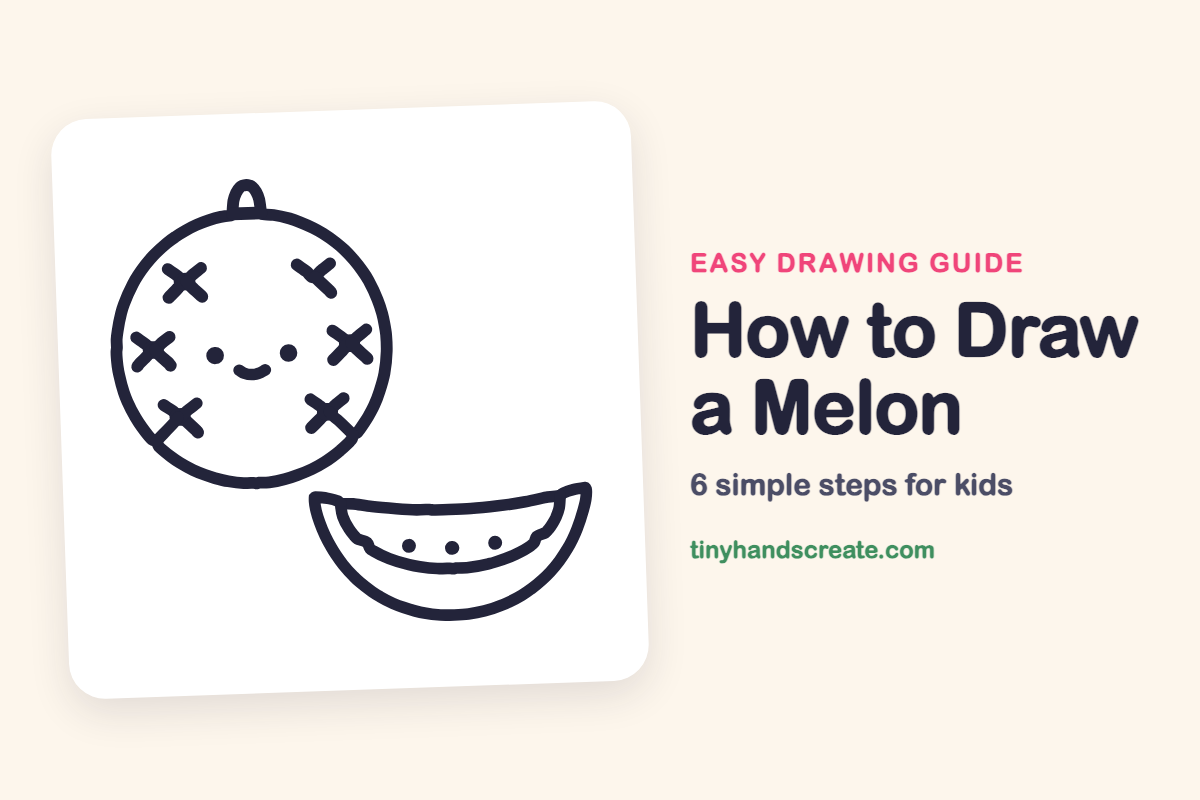
This cute melon has a smiling face and a juicy slice beside it, so it makes a happy little fruit scene. It is built from a few simple shapes: a big circle, curved smile shapes, little X marks and tiny dots. Even beginners can finish it in one sitting.
- Easy
- 10 minutes
- 6 steps
You need: paper, a pencil, an eraser, and crayons or markers for coloring.
Start drawingIn this article (7 sections)
How to draw a melon step by step
How to Draw a Melon · tinyhandscreate.com
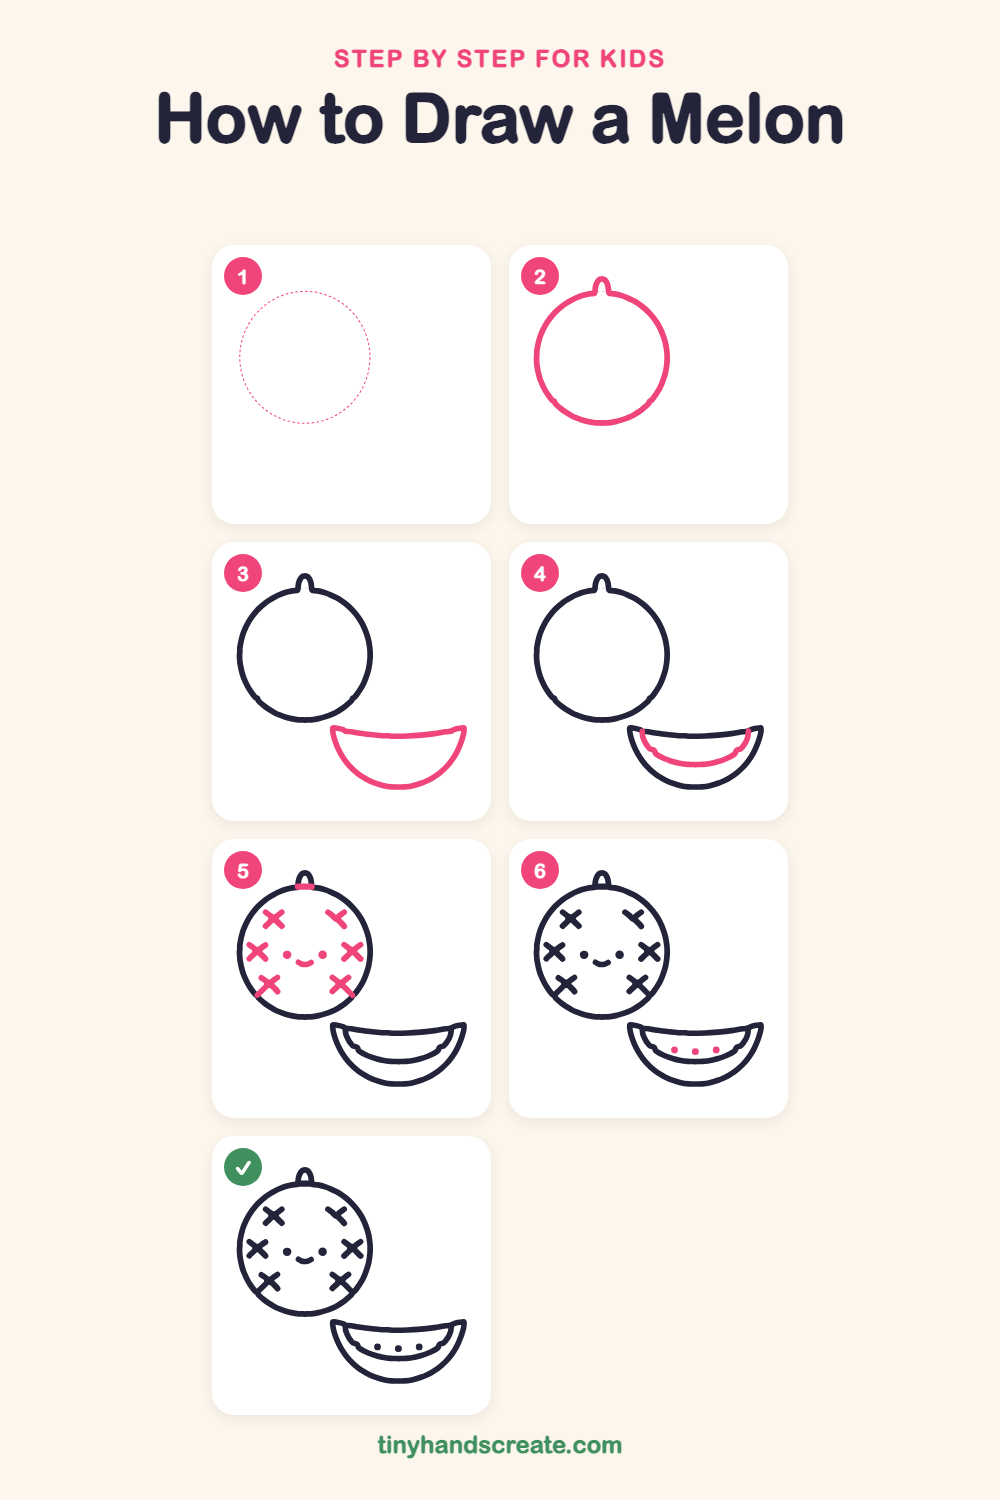
Step 1: Guide shapes
Lightly sketch this oval. It only shows where the big parts go, so press softly. You will erase it at the end.
Step 2: Round melon and stem
Draw a big circle for the melon. At the top, add a tiny rounded bump, like a little upside-down U, for the stem.
Step 3: Slice outline
Below and to the right of the melon, draw a wide smile-shaped curve for the bottom of the slice. Close it with a gently curved line across the top, and let the two ends turn up into little points.
Step 4: Inside edge
Inside the slice, draw a second smile-shaped curve a little smaller than the first. Start and end it just under the top line so the space between the two curves makes a thick rind.
Step 5: Face and X marks
Draw two small dots for eyes in the middle of the melon, with a little curved smile between and below them. Then add six small X marks around the face, three on each side. Close the bottom of the stem with a short line where it meets the circle.
Step 6: Seeds
Draw three small filled dots in a row inside the slice, just above the inner curve. Space them out evenly.
All done!
Erase the guide shapes, go over your lines, then color it in.
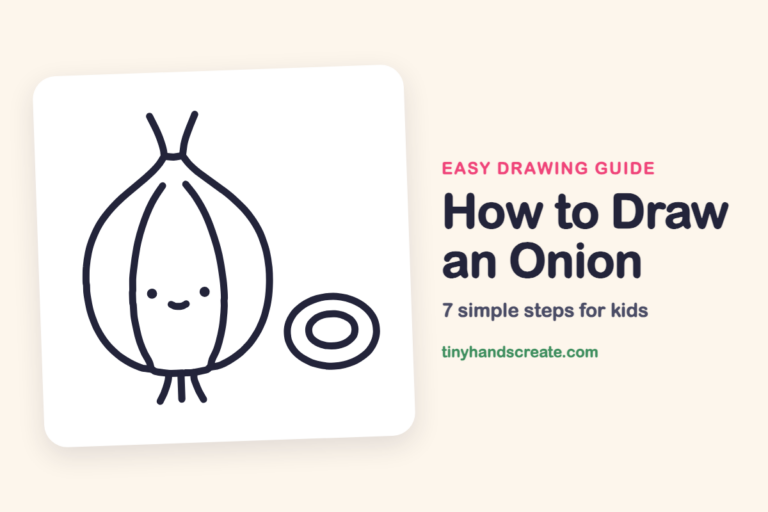
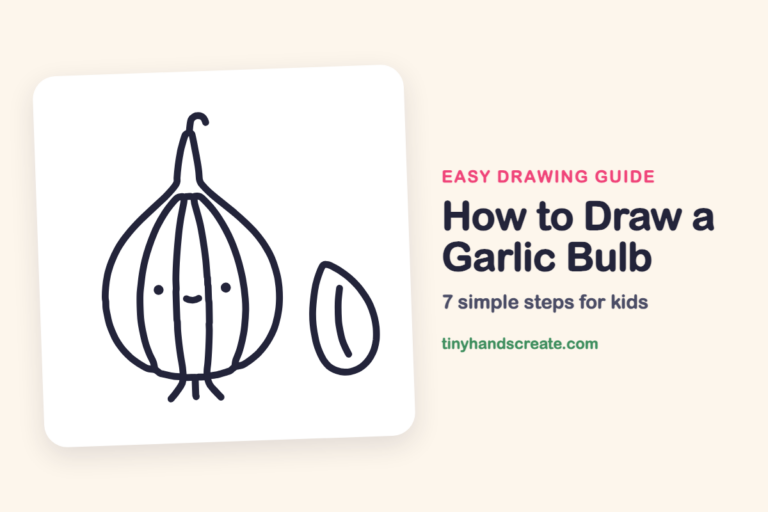
Finished your melon? Keep the pencils out and learn how to draw an onion or how to draw a garlic bulb next.
Tips for drawing a melon
- Draw the big circle slowly and turn your paper as you go. If it comes out a little wobbly, it still looks like a real melon.
- The slice is the trickiest part. Draw the outer smile curve first, then make the inner curve the same shape but smaller so the rind stays an even thickness.
- Make the X marks about the same size and keep them away from the face, so the eyes and smile have room to show.
Free melon coloring page
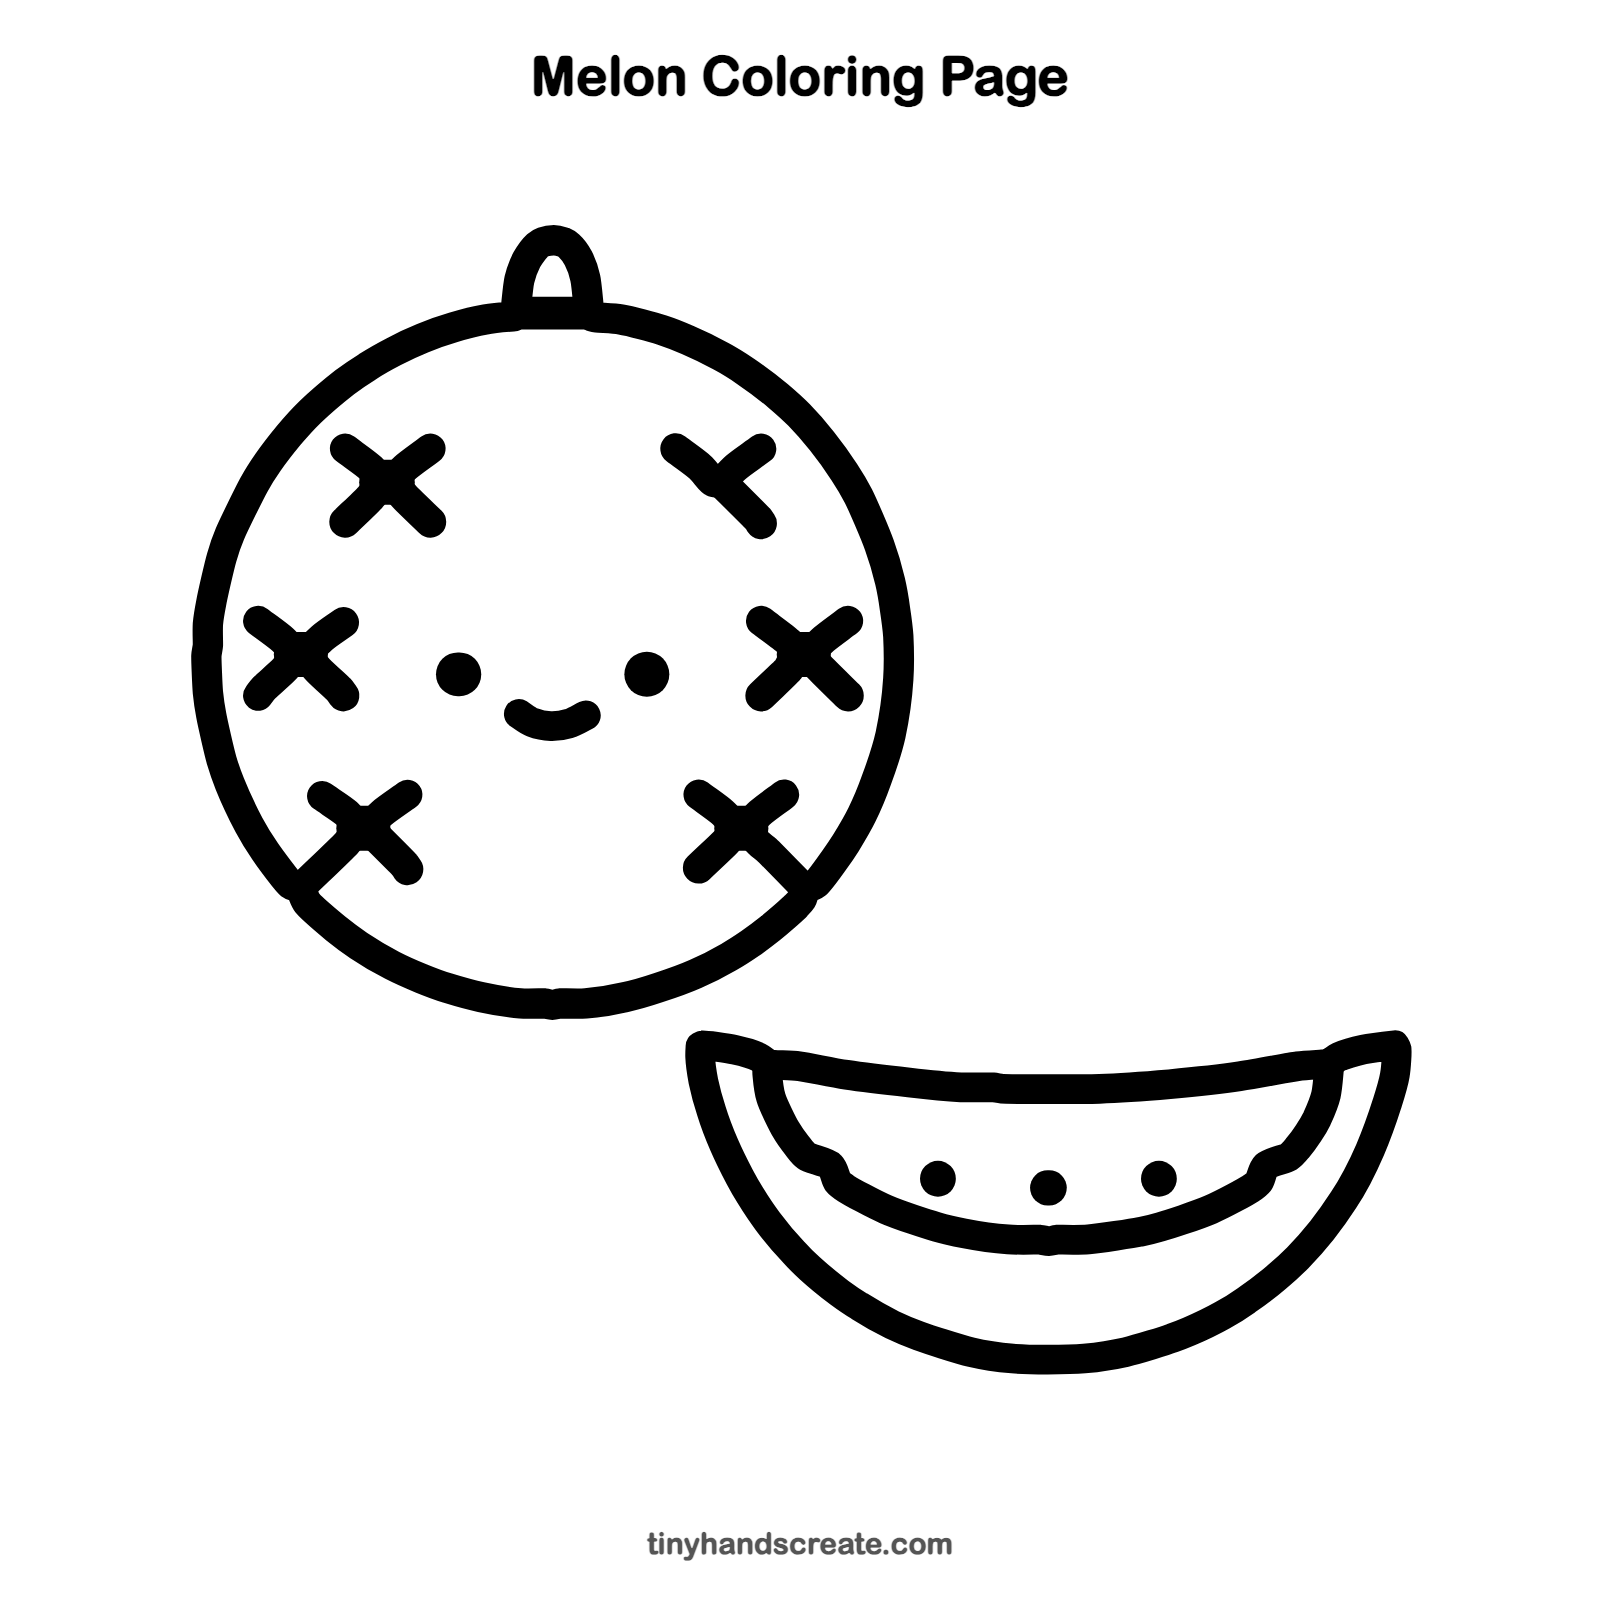
Want to go straight to coloring? Open this melon coloring page at full size and print it. It is the same drawing you just learned, with clean lines ready for crayons or markers.
How to color your melon drawing
Try light green for the melon skin and the rind, orange or pale green for the flesh, and dark brown or black for the seeds. For a creative twist, color the X marks in a different shade of green.
Melon fun fact for kids
Melons such as watermelon and cantaloupe are about 90 percent water, which is why a cold slice feels so refreshing on a hot day.
Questions about drawing a melon
What shapes do I need to draw a melon?
You need a big circle for the melon and a wide smile-shaped curve for the slice. The stem is a tiny bump, and the face, X marks and seeds are just dots, little curves and crosses.
How do I make my melon look cuter?
Place the two eyes wide apart and put a small smile in the middle between them. Keep the X marks small so the face stays the star.
How do I draw the melon slice so it looks right?
Draw a wide bowl shape first with a gently curved line across the top, then add a smaller curve inside it. Finish with a row of three seed dots above the inner curve.