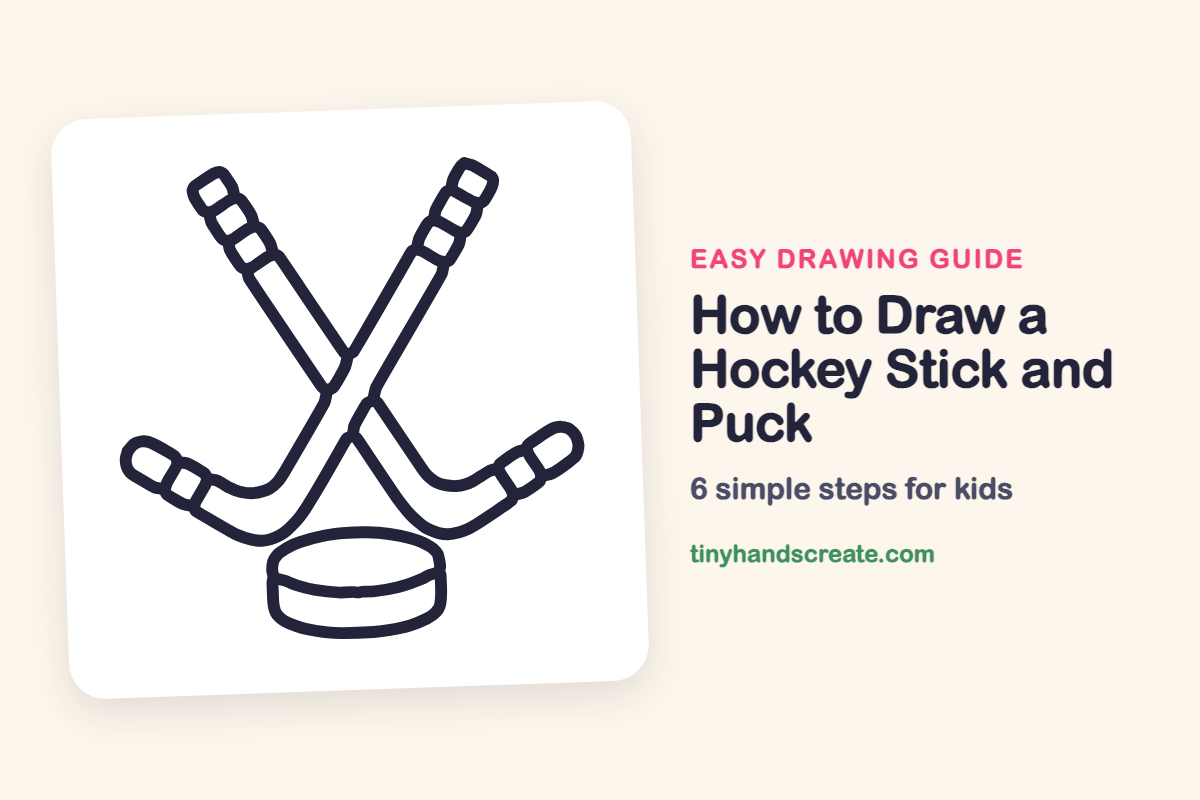
How to Draw a Hockey Stick and Puck (Easy Step by Step)
Two crossed hockey sticks with a puck underneath make a bold picture that is easy to recognize. It is built from long skinny stripes, a few short lines, and a rounded puck shape, so even beginners can finish it. The crossing X in the middle is the fun part to practice.
- Easy
- 12 minutes
- 6 steps
You need: paper, a pencil, an eraser, and crayons or markers for coloring.
Start drawingIn this article (7 sections)
How to draw a hockey stick and puck step by step
How to Draw a Hockey Stick and Puck · tinyhandscreate.com
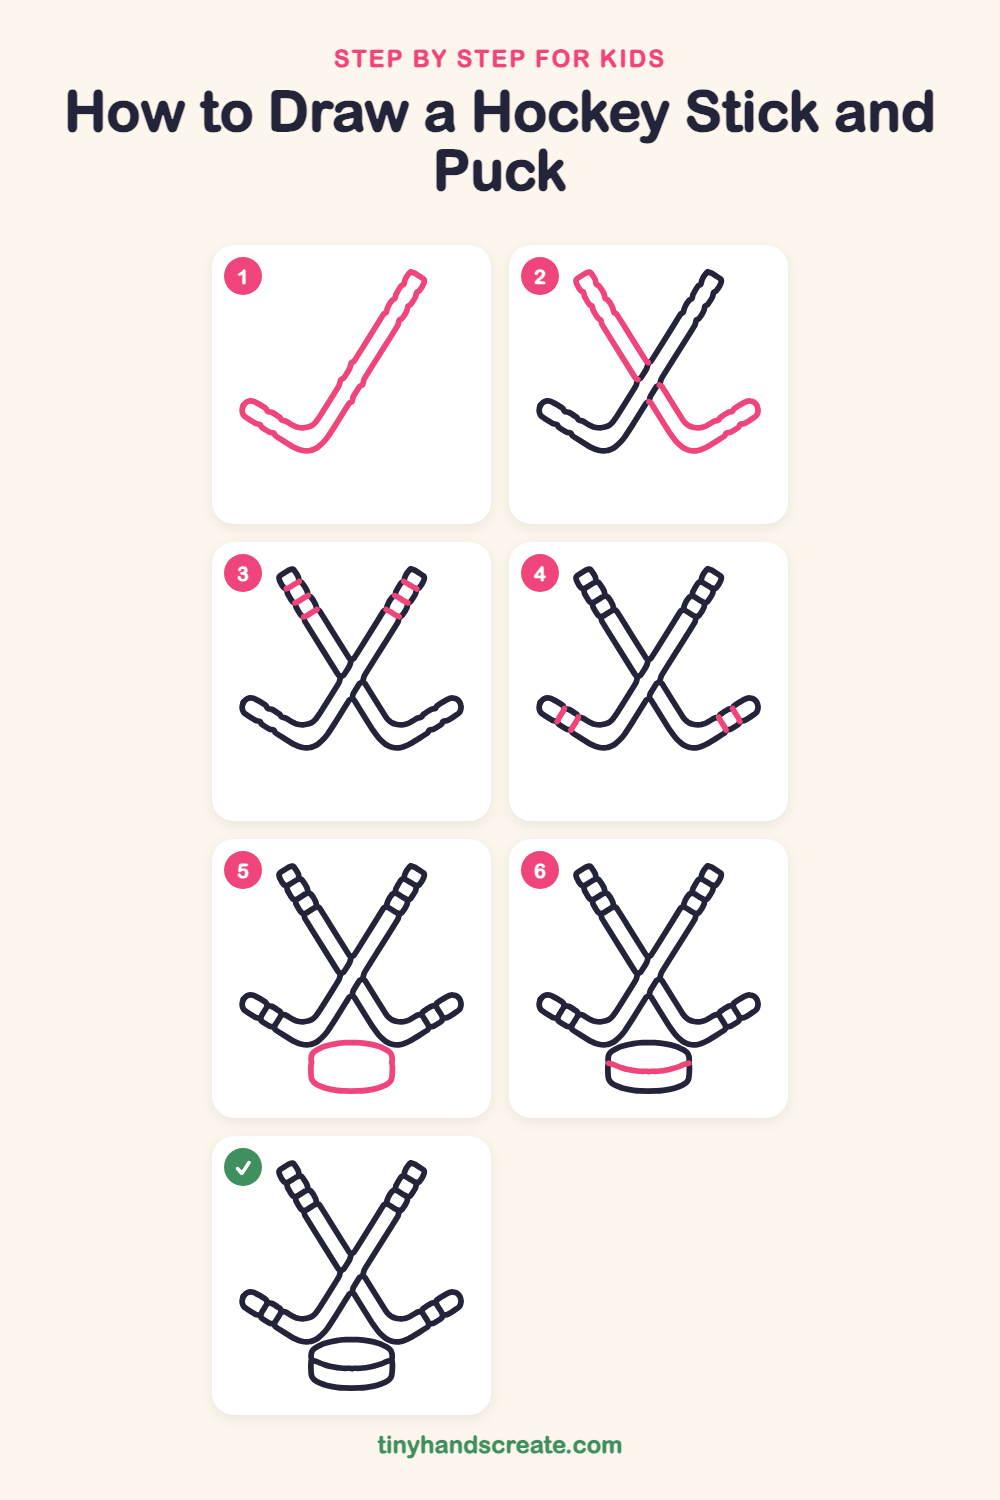
Step 1: First long stick
Draw two long slanted lines that go from the top right down to the left, like a skinny stripe. Close the top with a small slanted end, then bend the bottom into a long, flat blade that points to the left.
Step 2: The crossing stick
Draw a second skinny stripe going from the top left down to the right, so it crosses the first stick in an X. Close the top end, then bend the bottom into a blade that points to the right.
Step 3: Tape on the handles
Near the top of each stick, draw three short slanted lines straight across the stripe. They look like rungs on a tiny ladder.
Step 4: Tape on the blades
Near the tip of each blade, draw two short lines across it. These are the wraps of tape that hockey players put on their sticks.
Step 5: The puck outline
Under the crossed sticks, draw a wide, rounded shape for the puck. Curve the top, add two short straight sides going down, and finish with a curved line along the bottom.
Step 6: The puck's top face
Draw a gently curved line across the puck, near the top, from one side to the other. Now the puck has a flat top and looks thick and round.
All done!
Go over your lines with a marker, then color it in.
Finished your hockey stick and puck? Keep the pencils out and learn how to draw a ping pong paddle or how to draw a dress next.
Tips for drawing a hockey stick and puck
- Draw the long sticks with a ruler or the edge of a book if your lines wobble. Keep the two edges of each stick the same distance apart.
- The crossing in the middle is the trickiest part. Draw the first stick all the way through, then stop the second stick's lines when they touch it.
- Draw the puck wide and low, not tall. The curved line near the top is what makes it look like a thick disk lying on the ice.
Free hockey stick and puck coloring page
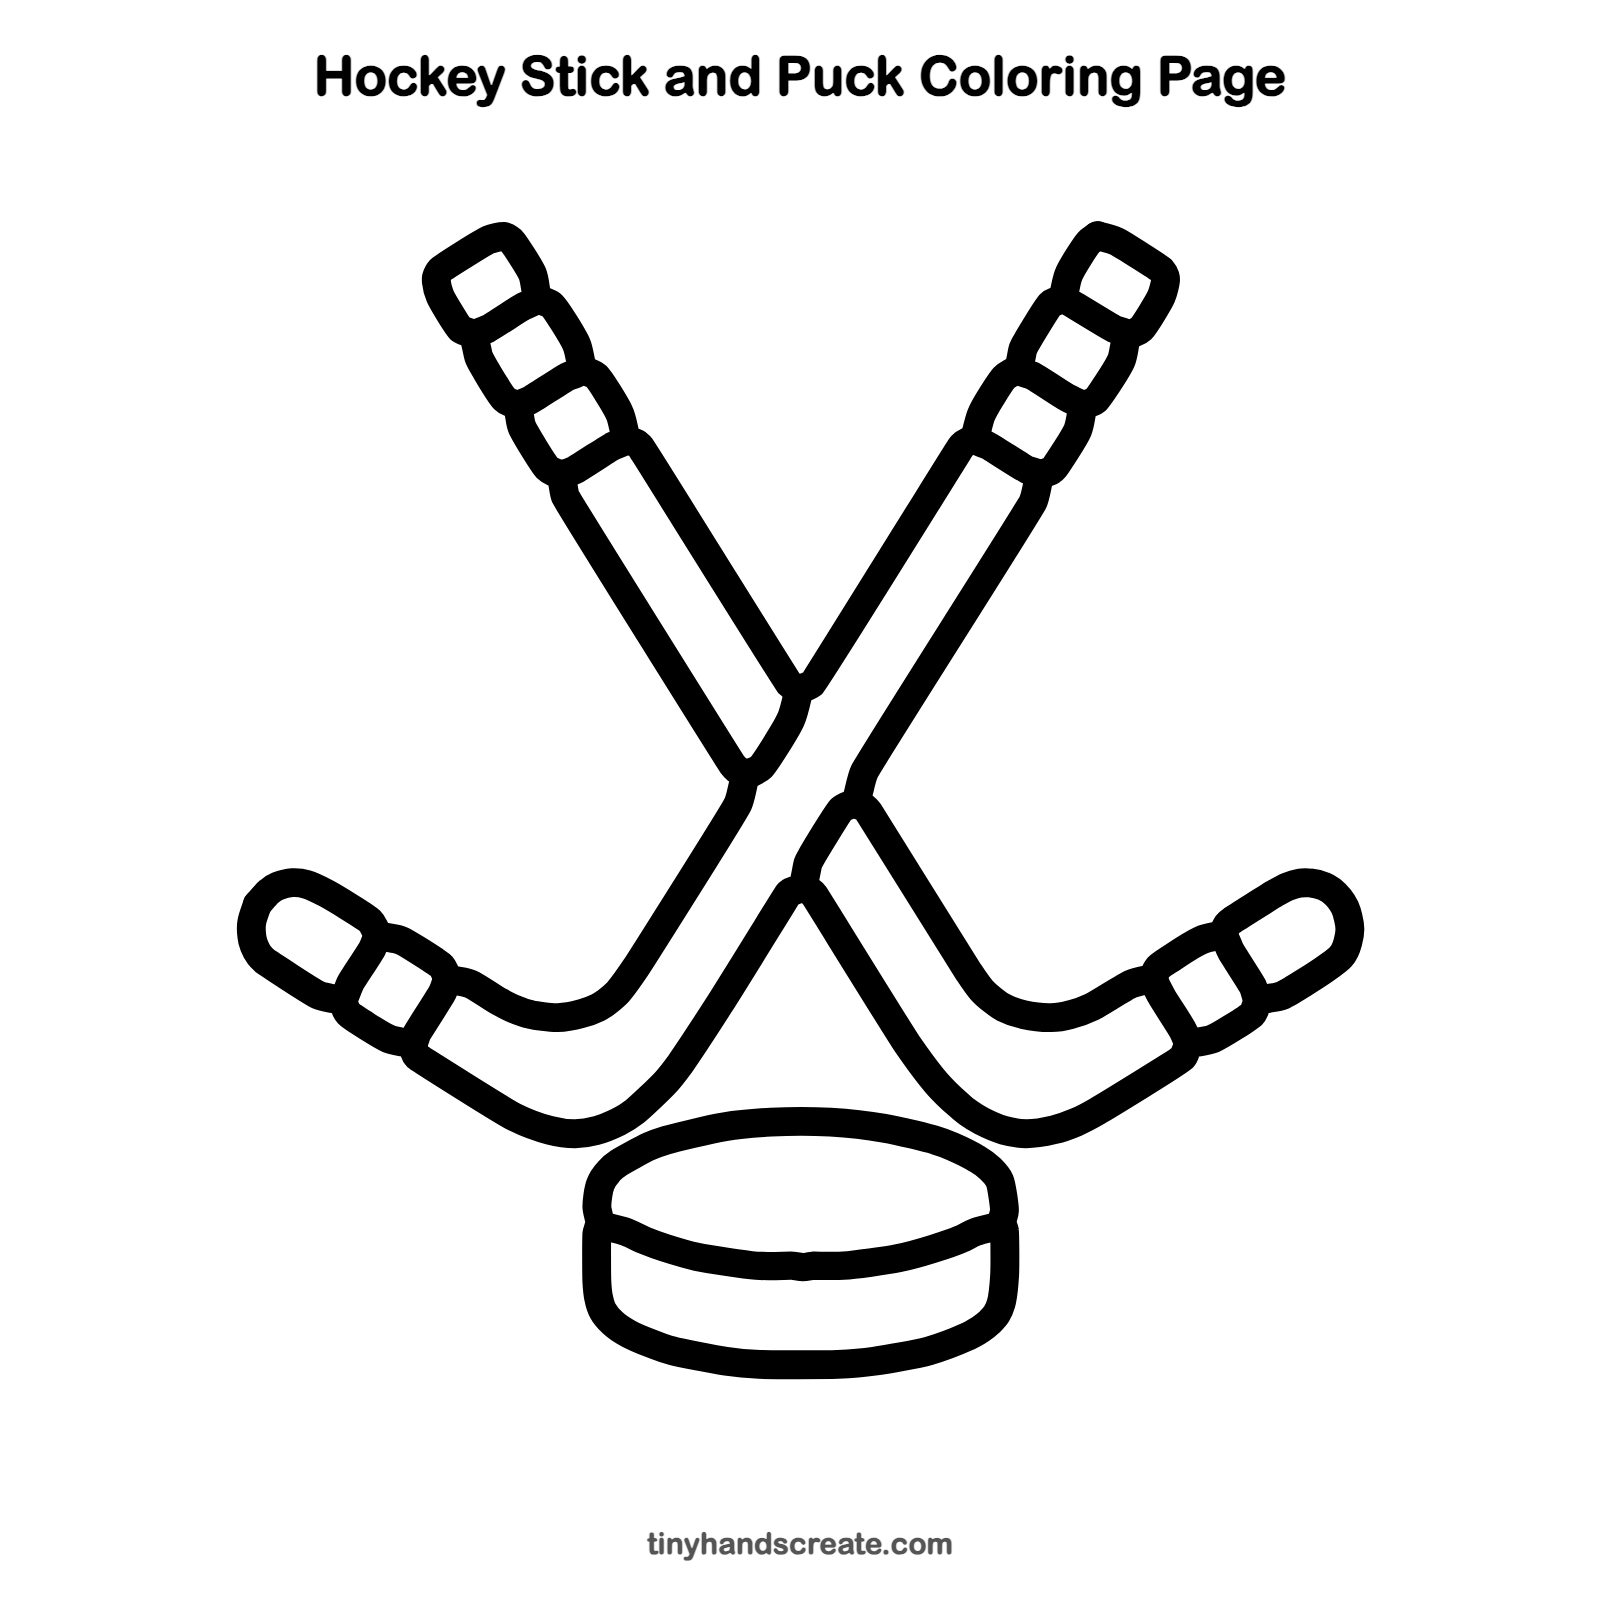
Want to go straight to coloring? Open this hockey stick and puck coloring page at full size and print it. It is the same drawing you just learned, with clean lines ready for crayons or markers.
How to color your hockey stick and puck drawing
Try brown or tan sticks with bright team-colored tape, and a dark gray or black puck. For a creative twist, color each stick in a different team's colors, or draw a snowy ice rink under the puck.
Hockey stick and puck fun fact for kids
A regulation ice hockey puck is made of hard rubber and measures about 3 inches across and 1 inch thick.
Questions about drawing a hockey stick and puck
What shapes do I need to draw a hockey stick and puck?
You need long skinny stripes for the sticks, a bend at the bottom of each one for the blade, and a wide rounded shape with straight sides for the puck.
How do I make the crossed sticks look straight?
Use light pencil lines first and keep both edges of each stick running side by side. A ruler or the edge of a book can help. Then go over your best lines in dark pencil or marker.
How do I make my hockey puck look round and thick?
Draw a wide rounded shape with two straight sides and a curved bottom, and then add one curved line across the top part. That line shows the flat top face.