How to Draw an Astronomer (Easy Step by Step)
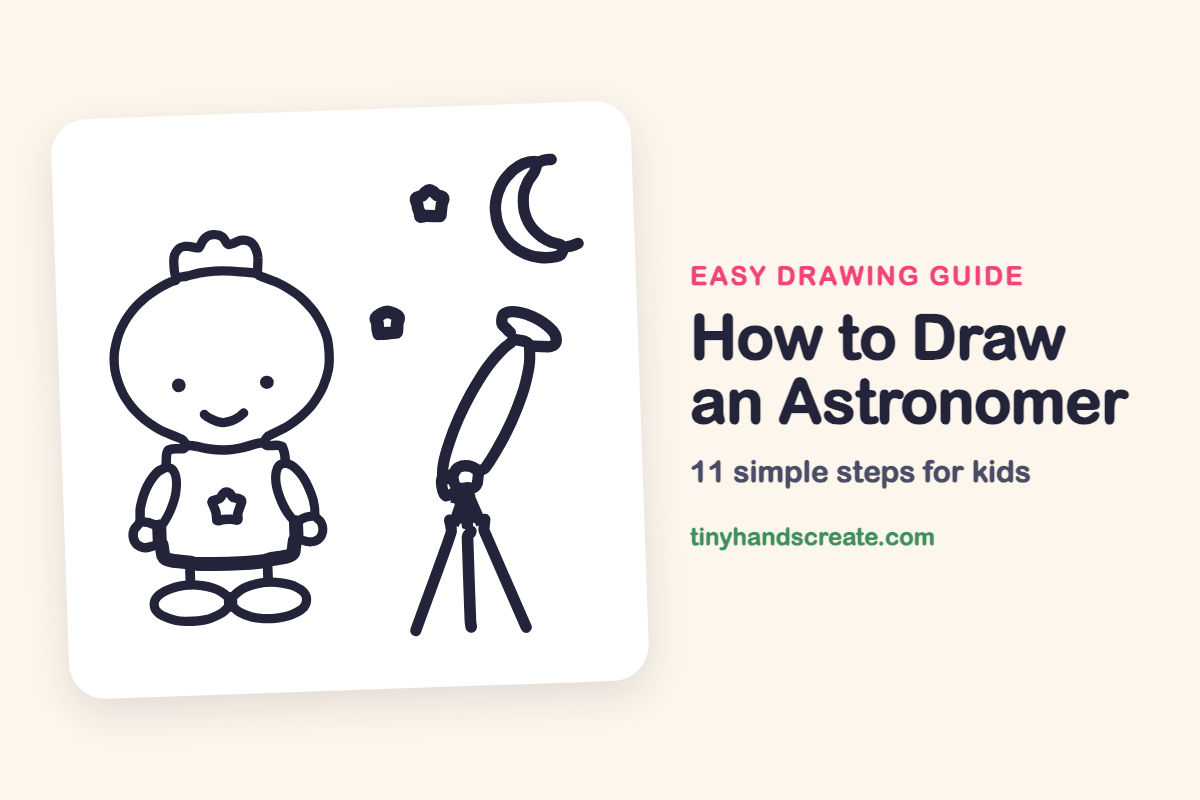
This little astronomer is built from friendly shapes: a big oval head, a boxy shirt, bean-shaped arms and two flat oval shoes. Beside the astronomer is a telescope on a tripod, with a crescent moon and two little stars in the sky. It is a great first drawing for kids who like space.
- Easy
- 15 minutes
- 11 steps
You need: paper, a pencil, an eraser, and crayons or markers for coloring.
Start drawingIn this article (7 sections)
How to draw an astronomer step by step
How to Draw an Astronomer · tinyhandscreate.com
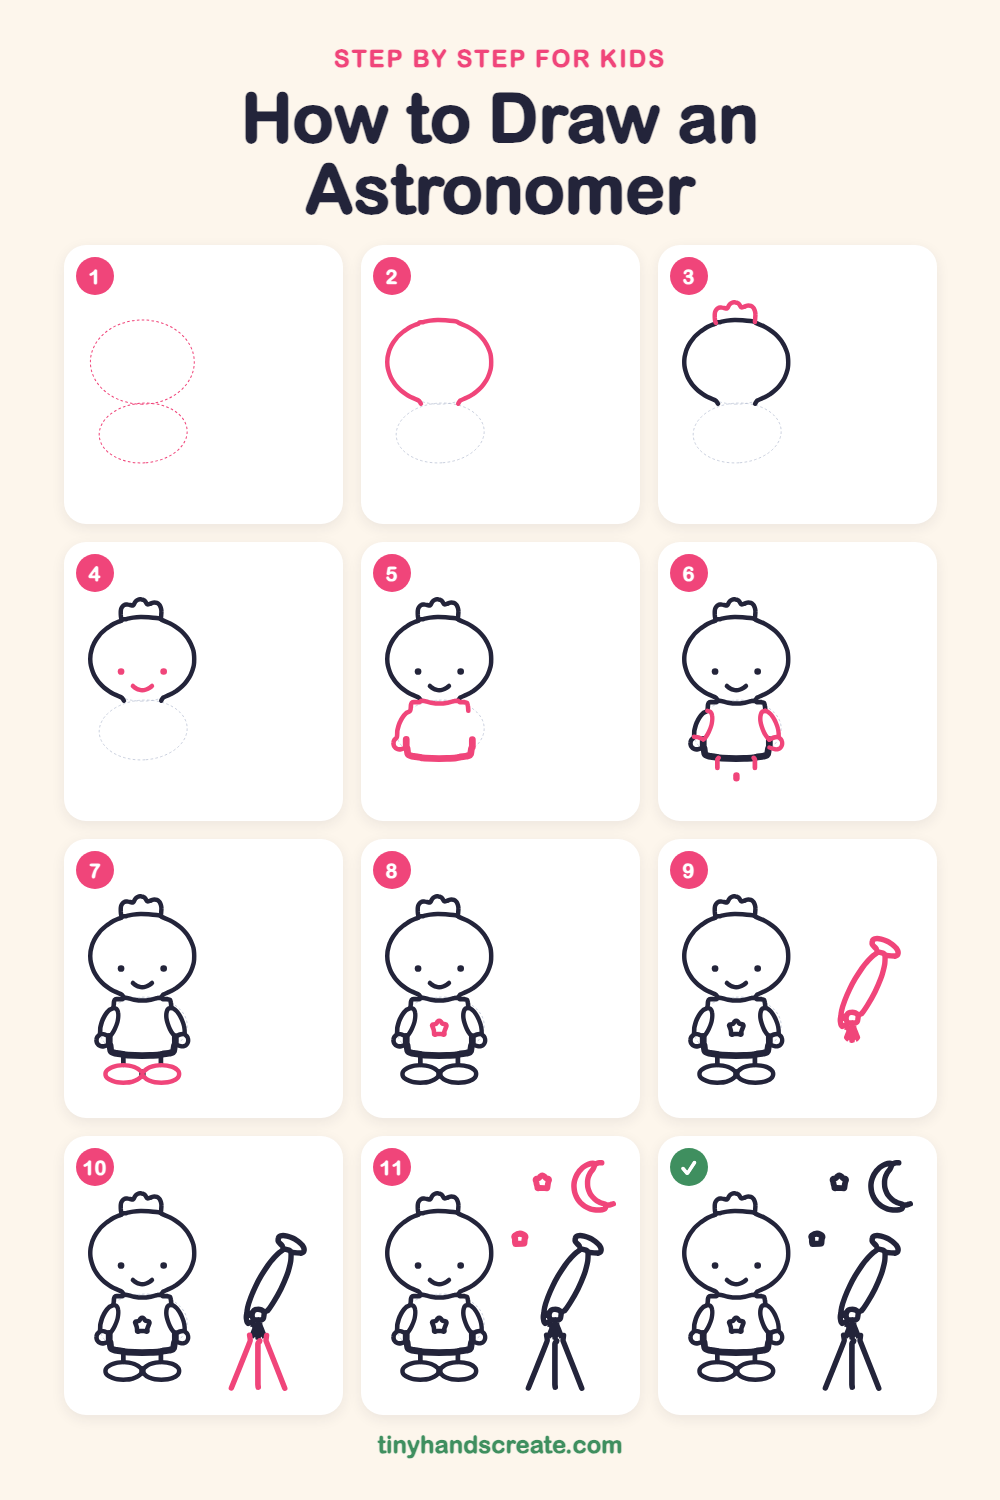
Step 1: Guide shapes
Lightly sketch these 2 ovals. They only show where the big parts go, so press softly. You will erase them at the end.
Step 2: The big round head
Draw a big, wide oval near the left side of your page. Stop the line a little before it closes at the bottom, so the chin is left open for the body to join.
Step 3: The hair tuft
On top of the head, draw a small bumpy shape like a tiny crown. Start the line on the head, go up and over two or three little bumps, then come back down to the head.
Step 4: Eyes and smile
Add two small dots for eyes, one on each side of the face. Between them and a little lower, draw a short curved smile like a little bowl.
Step 5: The shirt
Under the head, draw a rounded box for the shirt. Start with a short flat line for the neckline, curve the sides out and down, and close the bottom with a gently curved line.
Step 6: Arms and legs
Draw a long bean shape on each side of the shirt for the arms, with a tiny circle at the bottom of each for a hand. Then add two short straight lines and a small dot under the shirt for the legs.
Step 7: Two oval shoes
At the bottom of the legs, draw two wide, flat ovals side by side for the shoes. Let them touch in the middle.
Step 8: The shirt star
In the middle of the shirt, draw a small star shape with five points. Keep it small so it fits.
Step 9: The telescope
To the right of the astronomer, draw a long tilted tube like a stretched oval, leaning to the right. Add a flat oval ring at the top end for the lens and a small circle at the bottom end where the stand will join.
Step 10: Tripod legs
From the small circle under the telescope, draw three long straight lines spreading out like a tent. The middle line goes straight down and the other two lean out to each side.
Step 11: Moon and stars
In the sky at the top right, draw a crescent moon with one big curve and a smaller curve inside it that meet at the tips. Then add two little stars nearby, one above the telescope and one beside the astronomer.
All done!
Erase the guide shapes, go over your lines, then color it in.
Finished your astronomer? Keep the pencils out and learn how to draw a DJ or how to draw a guitarist next.
Tips for drawing an astronomer
- Draw the head oval first and make it big, then fit the body below it so everything stays in proportion.
- The telescope is the trickiest part. Sketch a light tilted oval first, then add the lens ring at the top and the small circle at the bottom before the three tripod lines.
- The stars are small, so draw them as tiny five-point shapes. They do not need to be perfect to look great.
Free astronomer coloring page
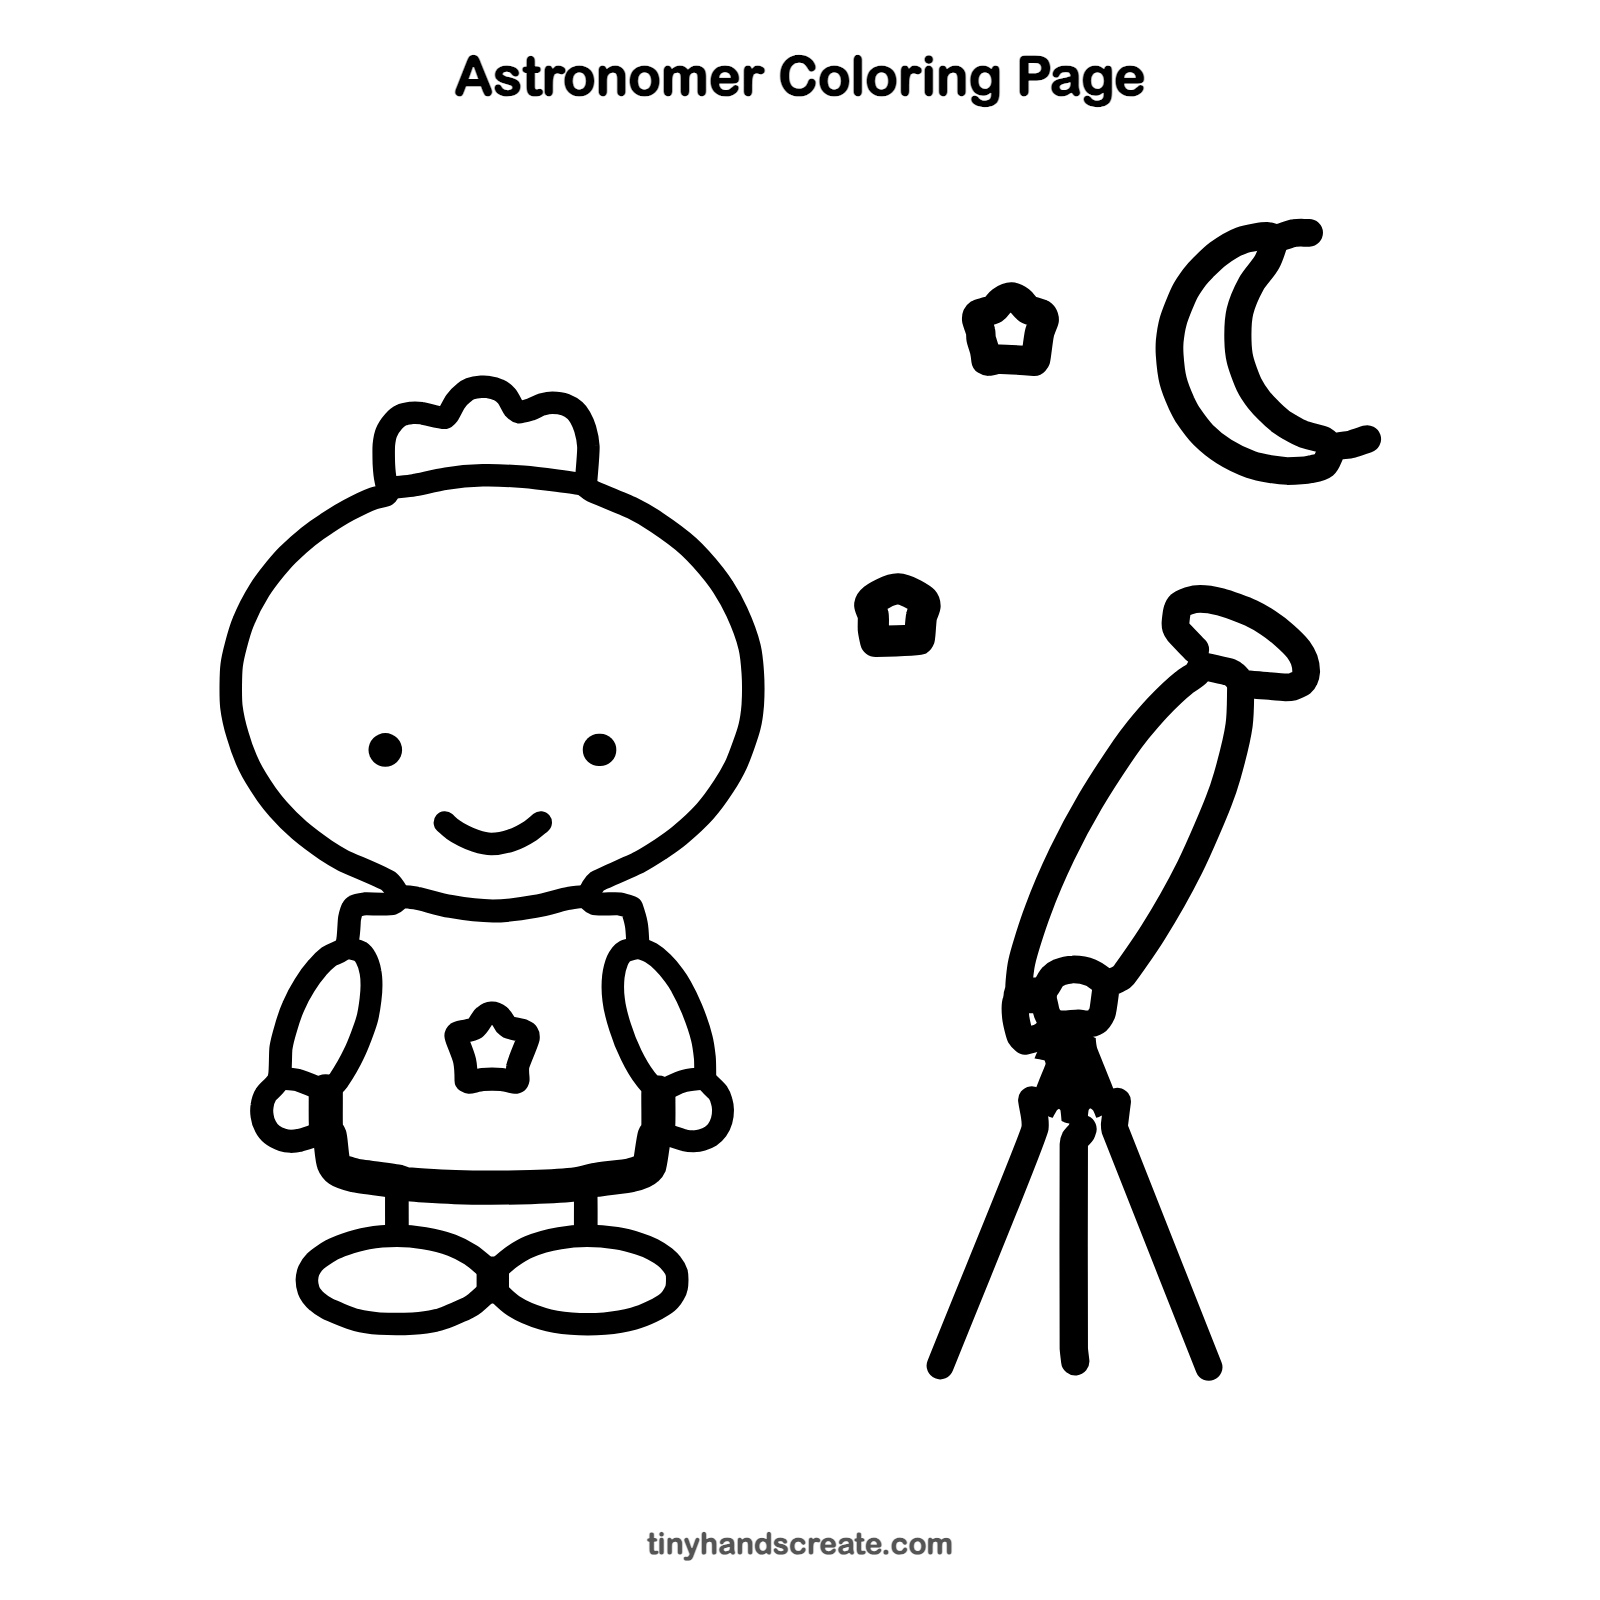
Want to go straight to coloring? Open this astronomer coloring page at full size and print it. It is the same drawing you just learned, with clean lines ready for crayons or markers.
How to color your astronomer drawing
Try a navy blue sky around the page, a yellow moon and stars, and a bright shirt for the astronomer. For a creative twist, color the telescope like a rainbow or add lots of tiny dots for faraway stars.
Astronomer fun fact for kids
Galileo was one of the first people to point a telescope at the sky, in 1609 and 1610. He saw mountains and craters on the Moon and four moons circling Jupiter.
Questions about drawing an astronomer
What shapes do I need to draw an astronomer?
You need ovals for the head and shoes, a rounded box for the shirt, and bean shapes for the arms. The telescope is a long tilted tube on three straight lines.
How do I draw a crescent moon?
Draw one big curved line like the letter C, then draw a smaller curve inside it that meets the first at both tips. The space between the two curves is the moon.
How do I make my astronomer look cuter?
Keep the head big and the eyes small and wide apart, with a simple smile. A small star on the shirt and a tiny tuft of hair add extra charm.