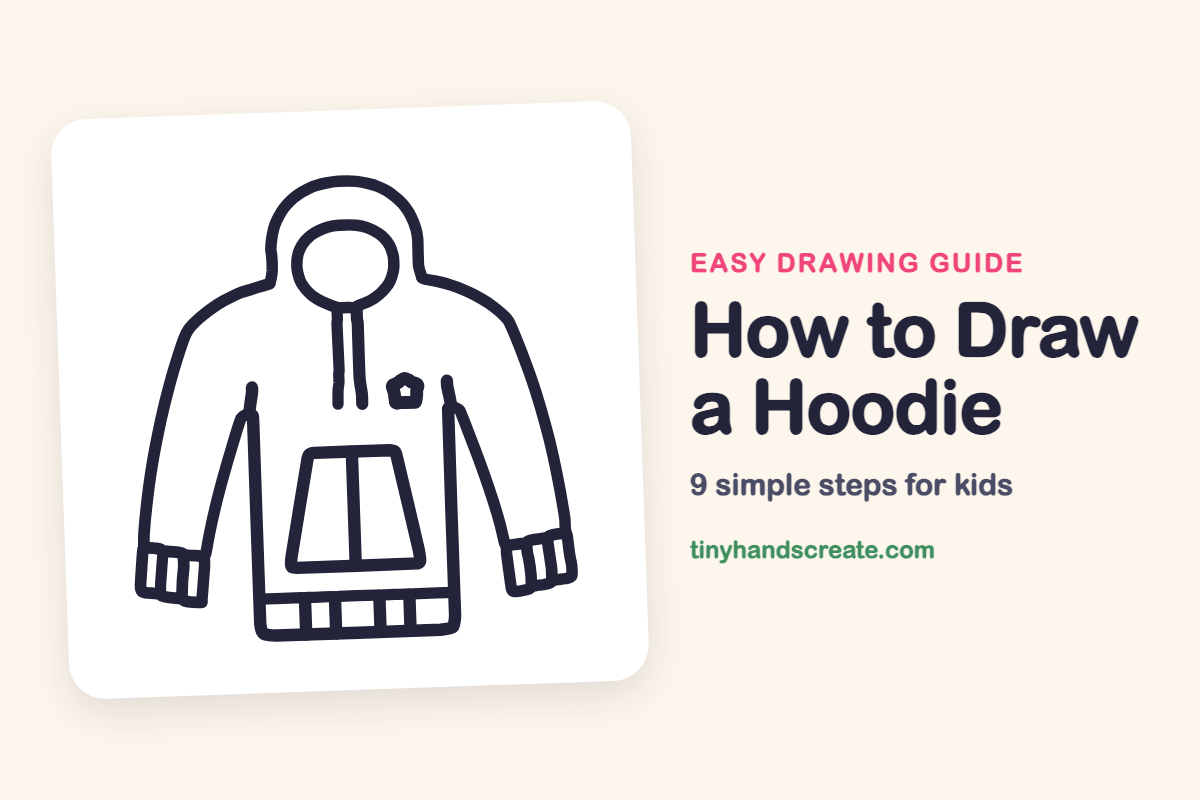
How to Draw a Hoodie (Easy Step by Step)
A hoodie is a cozy piece of clothing that is easy to draw once you see the shapes inside it. It is built from an arch for the hood, an oval for the opening, a tall body shape, and two long tubes for the sleeves. Drawstrings, a pocket, cuffs, and a little badge on the chest make it feel like your very own.
- Medium
- 15 minutes
- 9 steps
You need: paper, a pencil, an eraser, and crayons or markers for coloring.
Start drawingIn this article (7 sections)
How to draw a hoodie step by step
How to Draw a Hoodie · tinyhandscreate.com
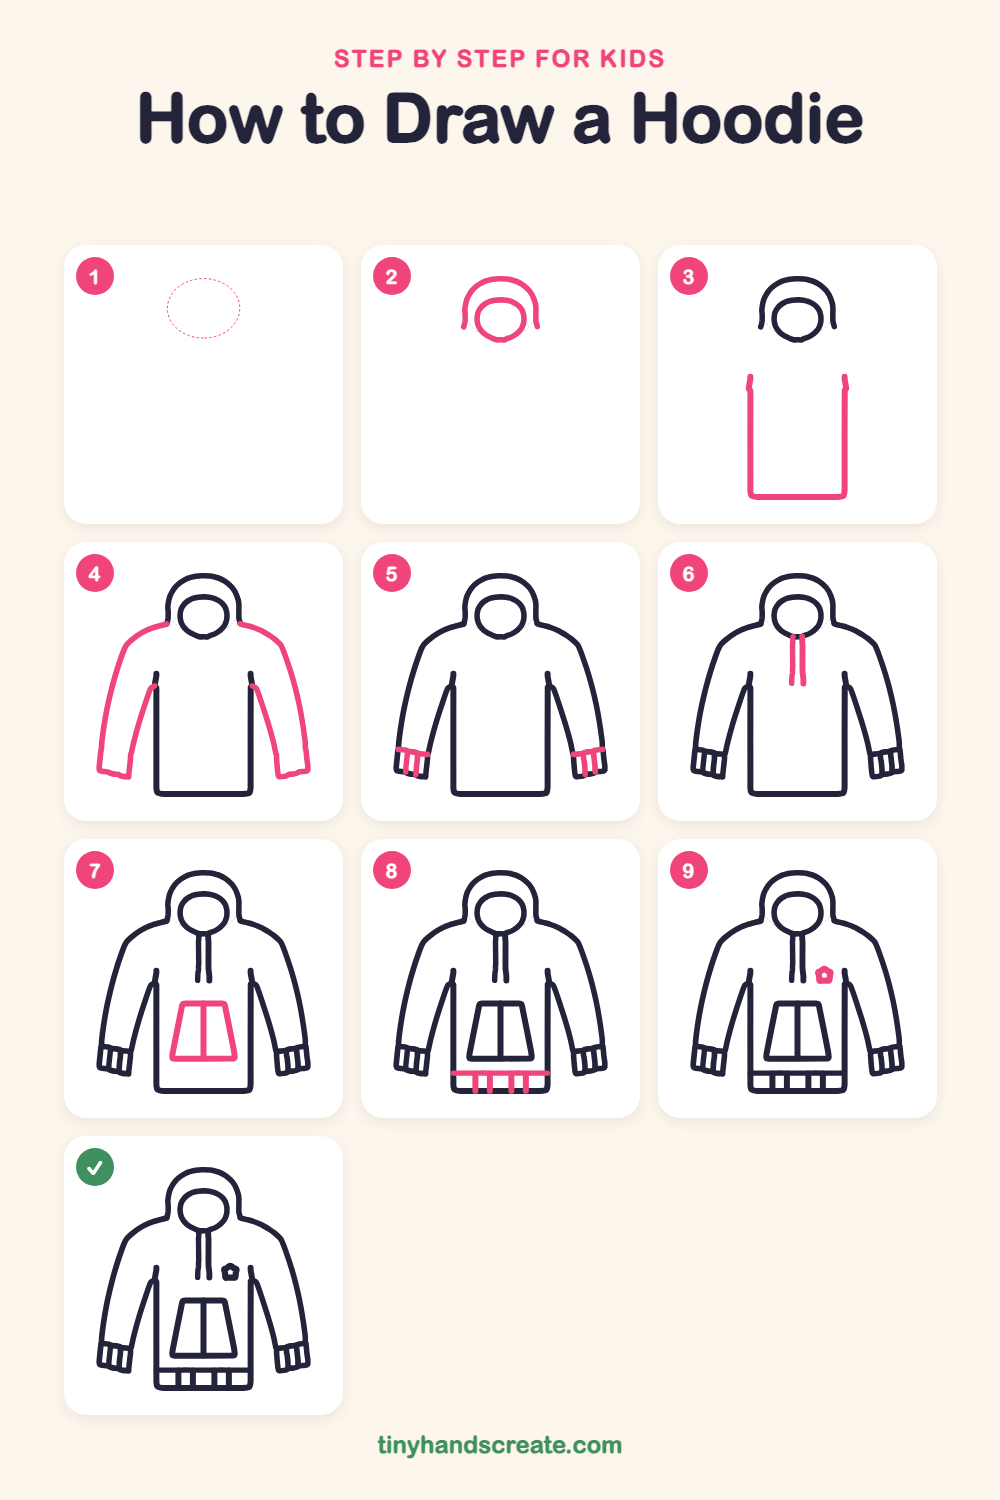
Step 1: Guide shapes
Lightly sketch this oval. It only shows where the big parts go, so press softly. You will erase it at the end.
Step 2: The hood
Start at the top with a big rounded arch, like an upside-down U. Then draw a smaller oval inside it for the opening where a face would peek out.
Step 3: The body
Below the hood, draw two straight lines going down, a little apart from each other. Join them at the bottom with a flat line with rounded corners, like a tall U.
Step 4: The sleeves
From each side of the hood, draw a long curved line sloping down and outward for the outside of the sleeve. Then add a second line from the top of the body down, so each sleeve is a long skinny tube.
Step 5: The cuffs
At the end of each sleeve, draw a short slanted line across. Add three little lines pointing downward below it to make the stretchy cuff.
Step 6: The drawstrings
Under the hood opening, draw two long, straight lines hanging down side by side.
Step 7: The pocket
In the middle of the body, draw a trapezoid that is wider at the bottom, like a short pyramid with the top cut off. Add one straight line down the middle.
Step 8: The bottom band
Near the bottom of the body, draw a straight line across from side to side. Then add four short up-and-down lines between it and the bottom edge to make the ribbed band.
Step 9: The little badge
On the chest, to the right of the drawstrings, draw a small five-sided shape. Add a tiny circle in the middle of it.
All done!
Erase the guide shapes, go over your lines, then color it in.
Finished your hoodie? Keep the pencils out and learn how to draw glasses or how to draw a watch next.
Tips for drawing a hoodie
- Draw the hood arch first and keep it tall and round, then tuck the smaller opening oval inside so the two shapes feel nested.
- Make the two sleeves slope out at about the same angle so the hoodie looks balanced, and look at the left side while you draw the right.
- For the pocket, start with the wide bottom line and draw the sides leaning inward as they go up, so it forms a trapezoid.
Free hoodie coloring page
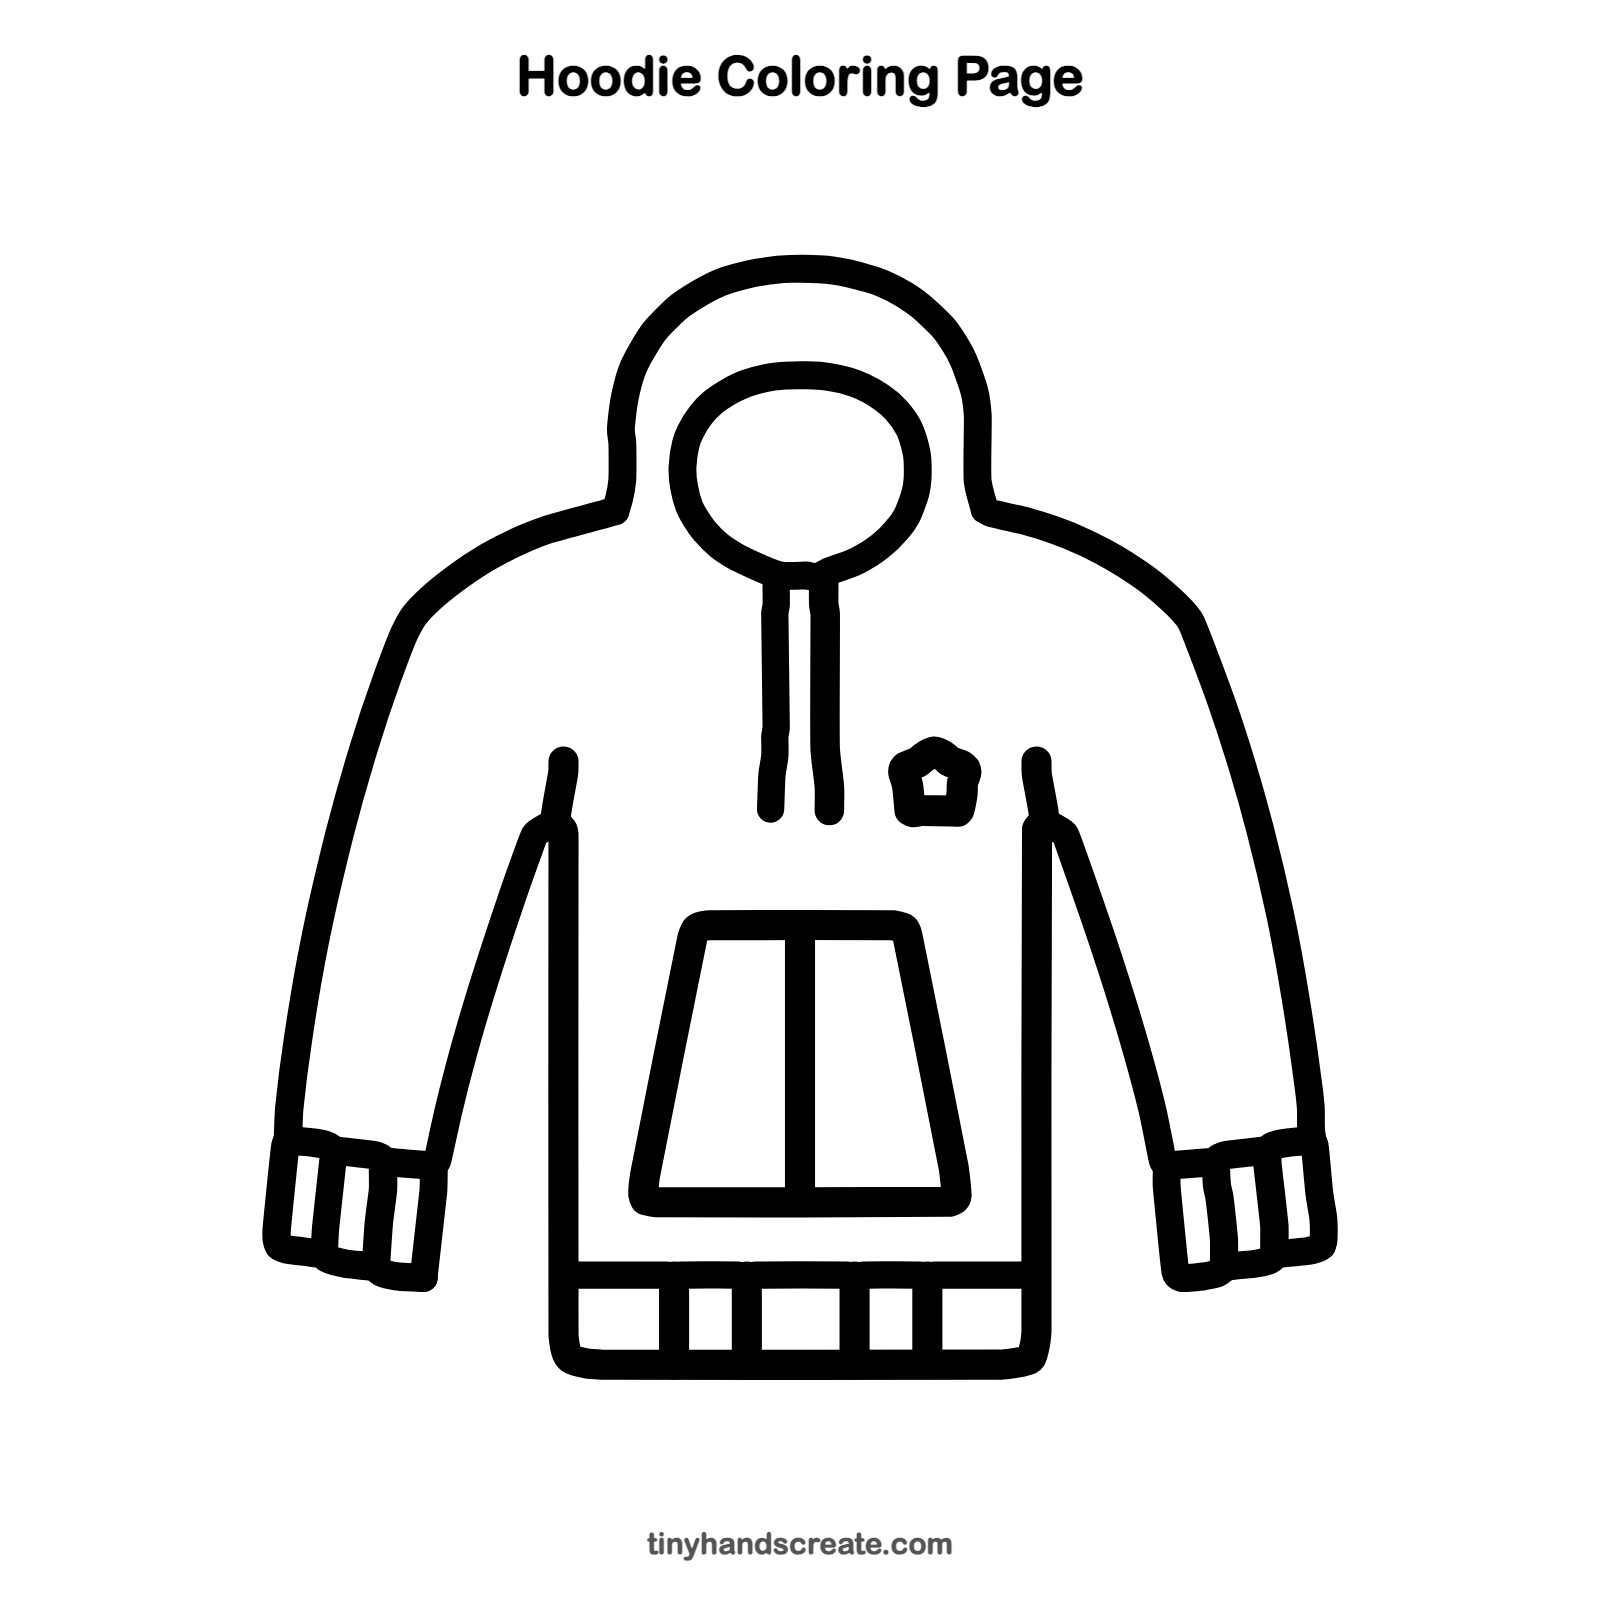
Want to go straight to coloring? Open this hoodie coloring page at full size and print it. It is the same drawing you just learned, with clean lines ready for crayons or markers.
How to color your hoodie drawing
Try a bright color like teal or red for the body, with a darker shade for the hood opening and a gold badge. For a creative twist, give the cuffs and bottom band stripes in a second color.
Hoodie fun fact for kids
Hooded sweatshirts were first made in the 1930s by the Champion company for workers in cold warehouses.
Questions about drawing a hoodie
What shapes do I need to draw a hoodie?
You need an arch and an oval for the hood, a tall shape for the body, long tubes for the sleeves, and a trapezoid for the pocket. A small badge is a fun extra.
How do I make my hoodie look cuter?
Add a little badge on the chest, draw the two drawstrings hanging down from the hood, and color the cuffs in stripes. A bright color also makes it pop.
How do I draw the sleeves so they look the same?
Draw the first sleeve slowly, then copy its angle on the other side. Check that both cuffs end at about the same height.