How to Draw a Ghost Family (Easy Step by Step)
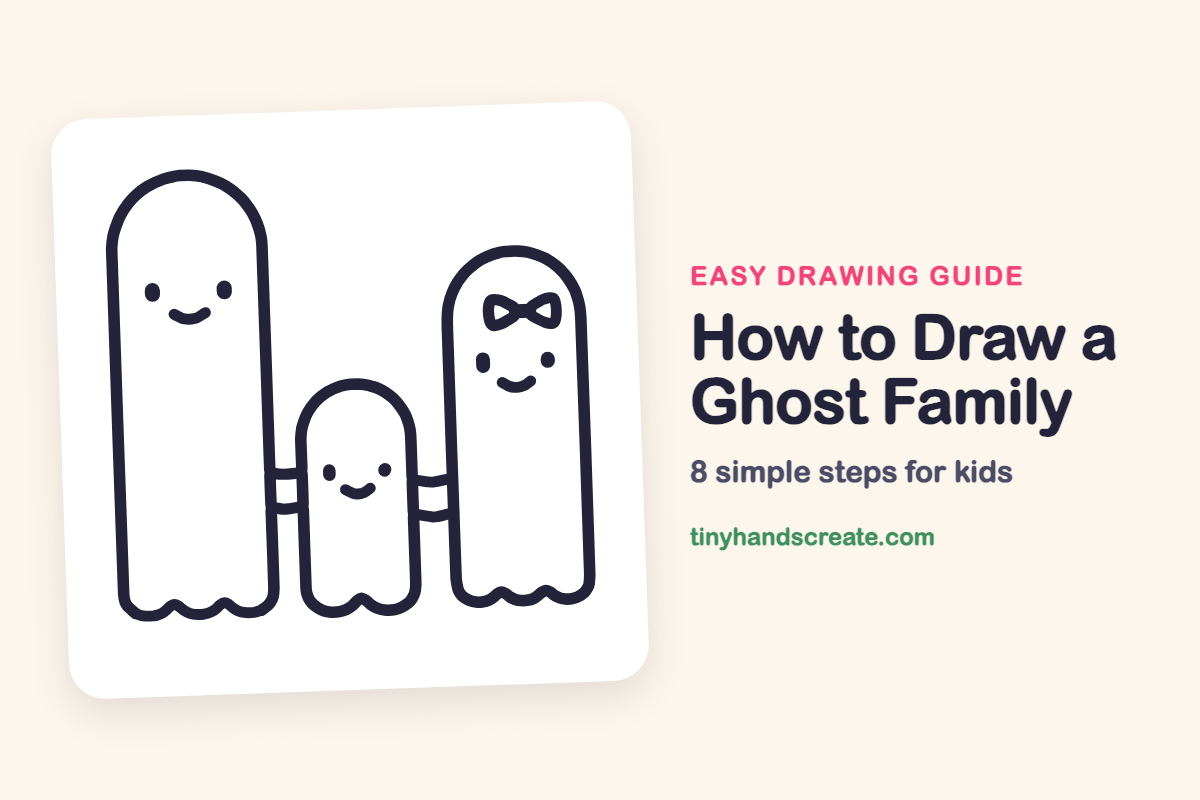
This ghost family is a happy trio holding hands: a tall ghost, a little ghost in the middle and a ghost wearing a bow. Every body is a tall tunnel shape with a round top and a wavy bottom, and the faces use only small dots and little smile curves. It is a great drawing for practicing straight lines, smooth curves and sizing things bigger and smaller.
- Easy
- 10 minutes
- 8 steps
You need: paper, a pencil, an eraser, and crayons or markers for coloring.
Start drawingIn this article (7 sections)
How to draw a ghost family step by step
How to Draw a Ghost Family · tinyhandscreate.com
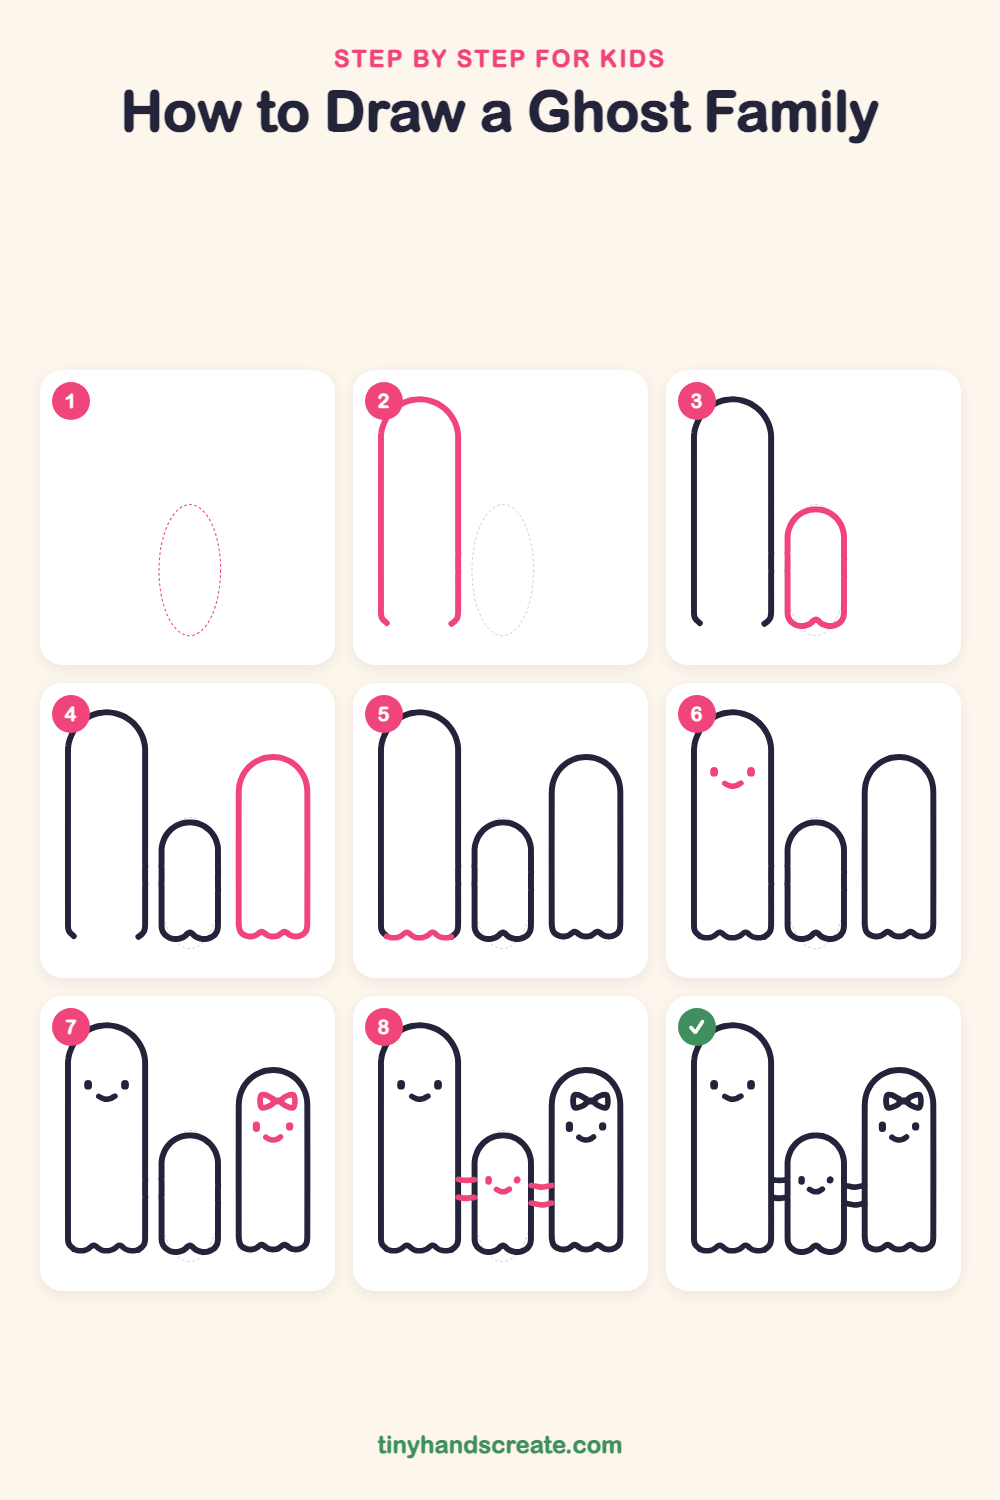
Step 1: Guide shapes
Lightly sketch this oval. It only shows where the big parts go, so press softly. You will erase it at the end.
Step 2: The tall ghost
Start on the left with a very tall shape that looks like a long tunnel: draw two straight sides going up and join them with a big round curve at the top. Leave the bottom open for now.
Step 3: The little ghost
Draw a small, shorter ghost in the middle, standing next to the tall one with a little gap between them. Give it a round top, straight sides and a bottom edge with two soft little bumps.
Step 4: The ghost with the bow
On the right, draw another ghost that is taller than the little one but shorter than the tall one. Round off the top, keep the sides straight, and finish the bottom with a wavy edge of soft bumps.
Step 5: Wavy bottom edge
Close the bottom of the tall ghost with a wavy line made of three soft bumps, like little scallops. Start at the left side and wiggle across to the right side.
Step 6: The tall ghost's face
Near the top of the tall ghost, draw two small dots for eyes. Add a gentle smile like a little bowl between and below them.
Step 7: Bow and happy face
On the right-hand ghost, draw a bow near the top: two small triangles that touch in the middle. Underneath, add two small dots for eyes and a little smile.
Step 8: Face and holding hands
Give the little ghost two tiny dots for eyes and a small smile. Then draw two short lines reaching out from each side of the little ghost to hold hands with the big ghosts.
All done!
Erase the guide shapes, go over your lines, then color it in.
Finished your ghost family? Keep the pencils out and learn how to draw a skeleton hand or how to draw a Halloween lantern next.
Tips for drawing a ghost family
- Draw the three bodies from tallest to shortest, and leave a small gap between them so there is room for the hands later.
- Keep both sides of each tunnel straight and the same distance apart, then curve the top in one smooth swoop so the head looks round, not pointy.
- For the bow, draw the two triangles first and let them meet in the middle; a bow with the same size on each side will look neat.
Free ghost family coloring page
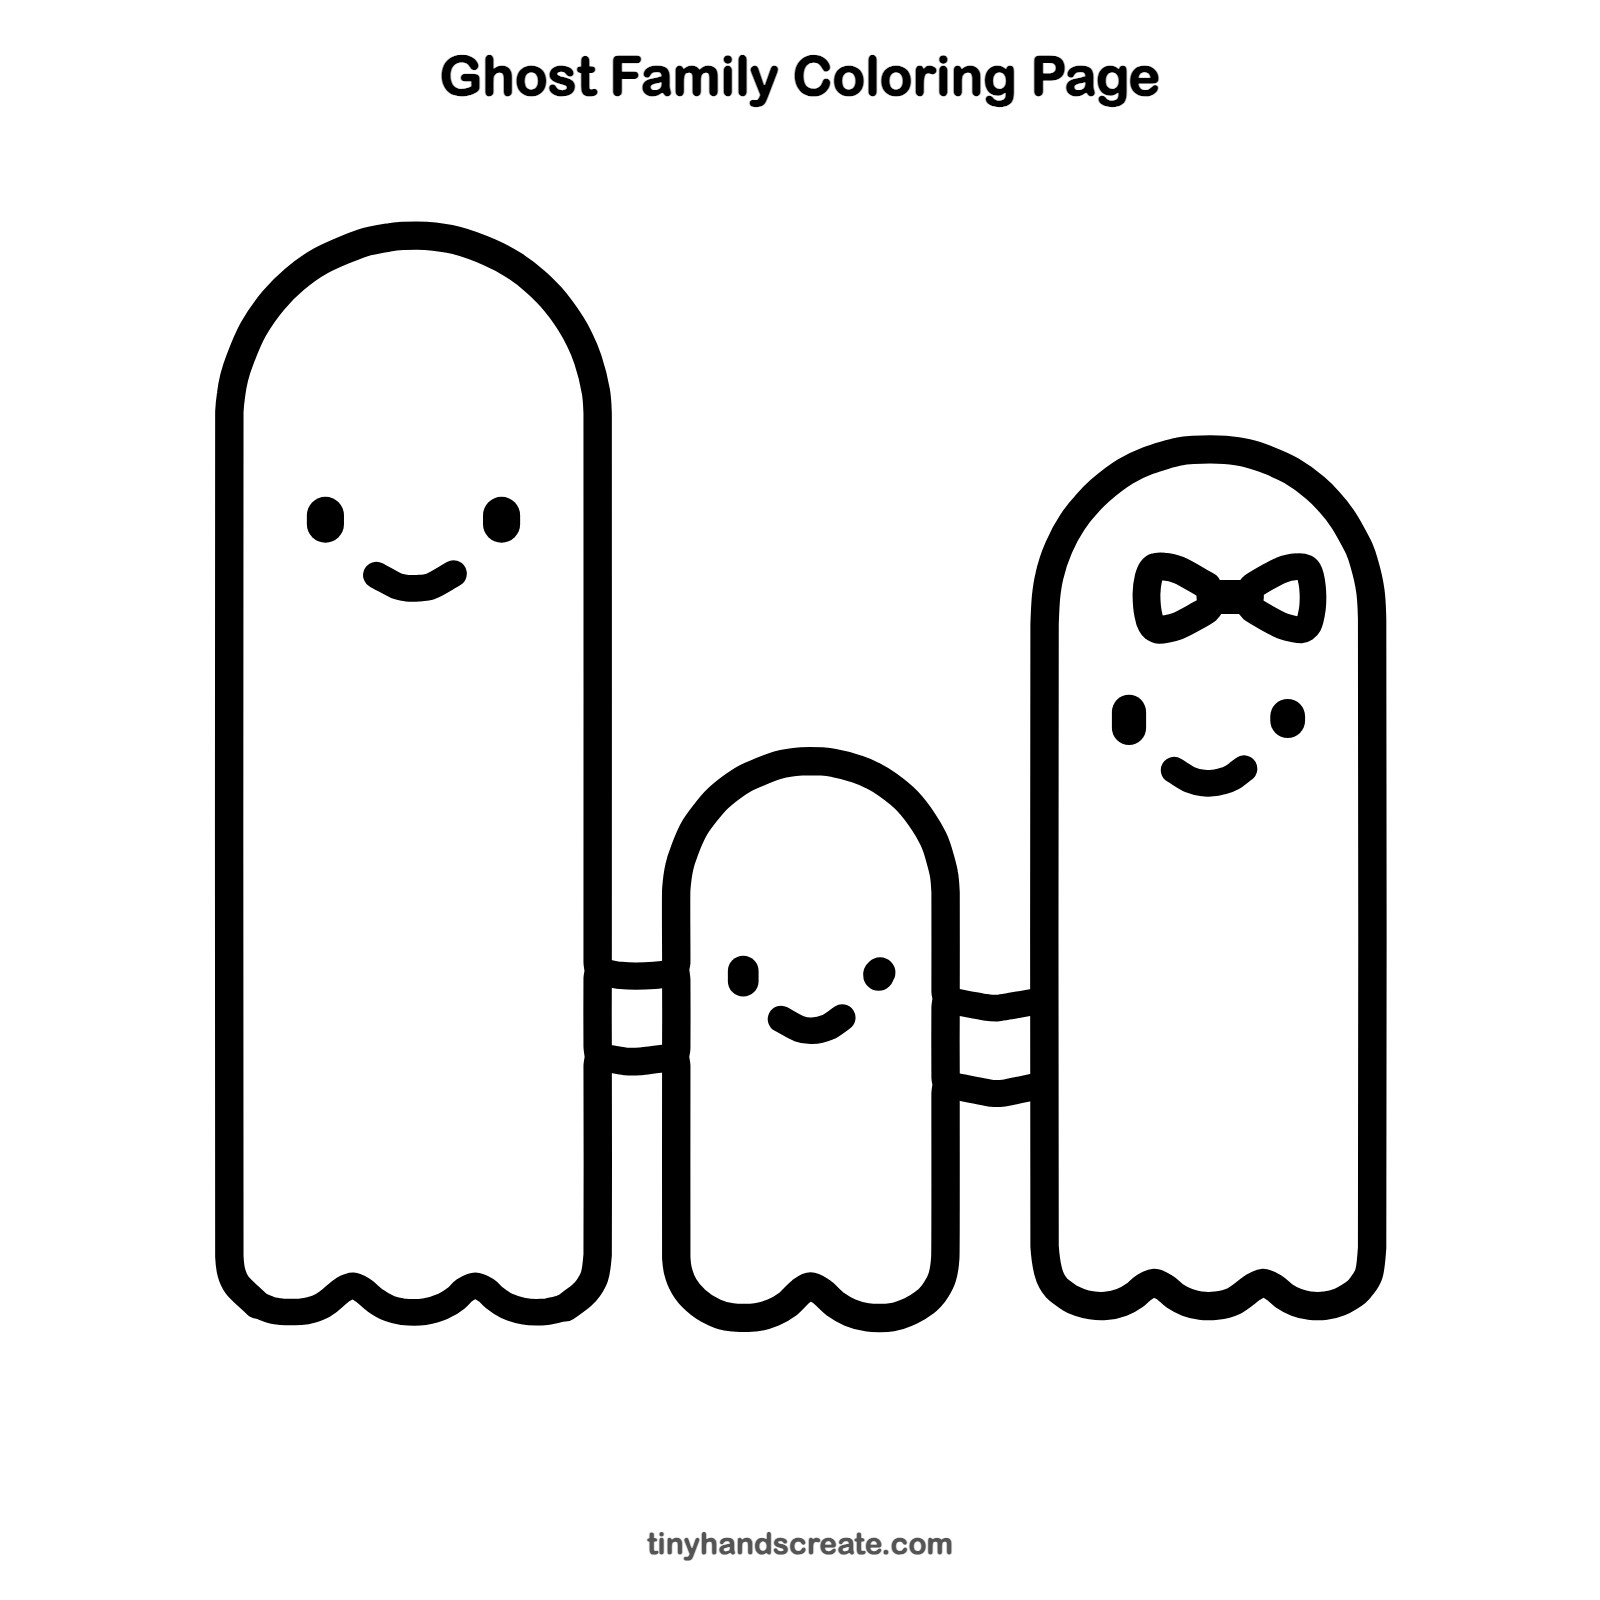
Want to go straight to coloring? Open this ghost family coloring page at full size and print it. It is the same drawing you just learned, with clean lines ready for crayons or markers.
How to color your ghost family drawing
Try soft pastel colors like lavender, mint and pink for the bodies and keep the faces dark. For a creative twist, color the background a deep night blue and add yellow stars around the family.
Ghost family fun fact for kids
The word "ghost" comes from the Old English word "gast," which meant spirit or soul. Stories about ghosts are very old and are told in many cultures around the world.
Questions about drawing a ghost family
What shapes do I need to draw a ghost family?
You need a tall tunnel shape (a rectangle with a round top) for each ghost, small dots for the eyes, and curved lines for the smiles and wavy bottoms. The bow is two small triangles that meet in the middle.
How do I make my ghosts look cuter?
Keep the eyes small and the smile little and curved. A bow or other little accessory on one ghost also adds a lot of charm.
How do I show the ghosts holding hands?
Draw two short lines reaching out from each side of the little ghost toward the bigger ghosts. Keep them short so they look like small, soft arms.