How to Draw a Little Devil (Easy Step by Step)
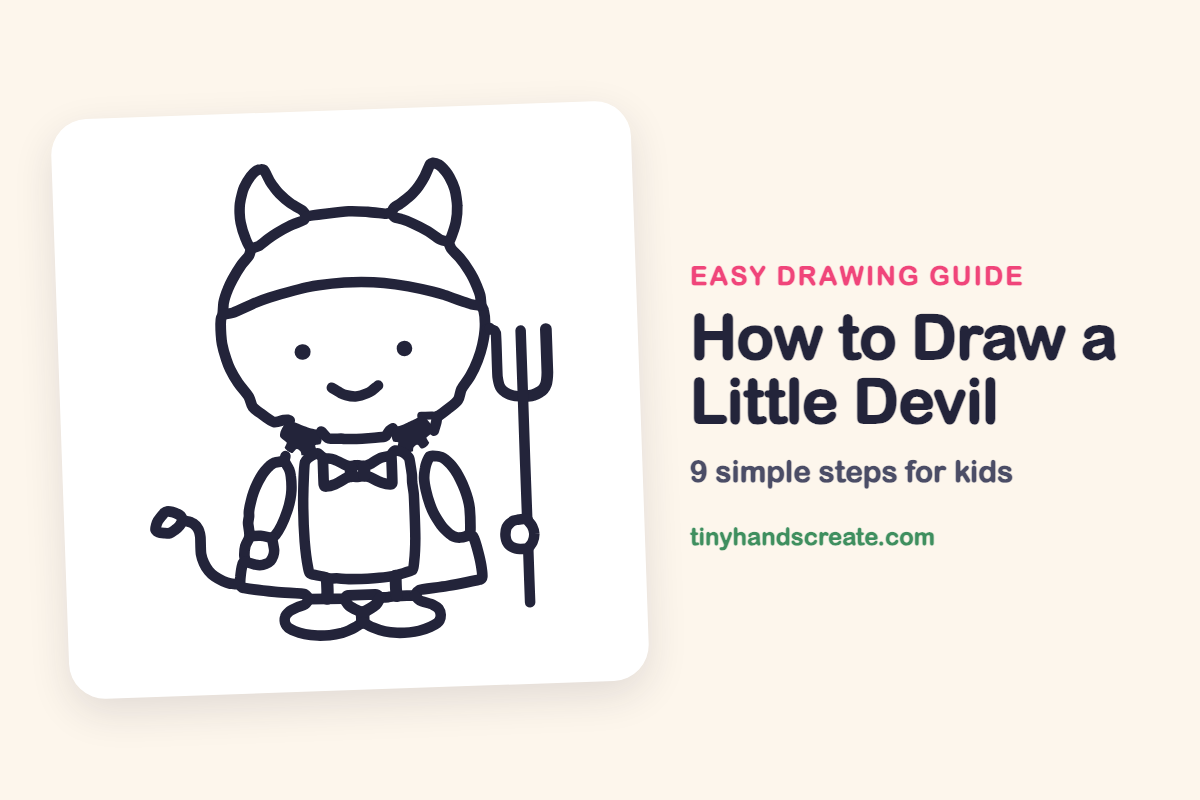
This little devil is cute instead of scary, with a round head, tiny horns, a bow tie, and a curly tail. It is built from circles, ovals, and a few curved lines, so it is a friendly drawing for beginners. The pitchfork is just straight lines with a U shape and a small circle.
- Medium
- 15 minutes
- 9 steps
You need: paper, a pencil, an eraser, and crayons or markers for coloring.
Start drawingIn this article (7 sections)
How to draw a little devil step by step
How to Draw a Little Devil · tinyhandscreate.com
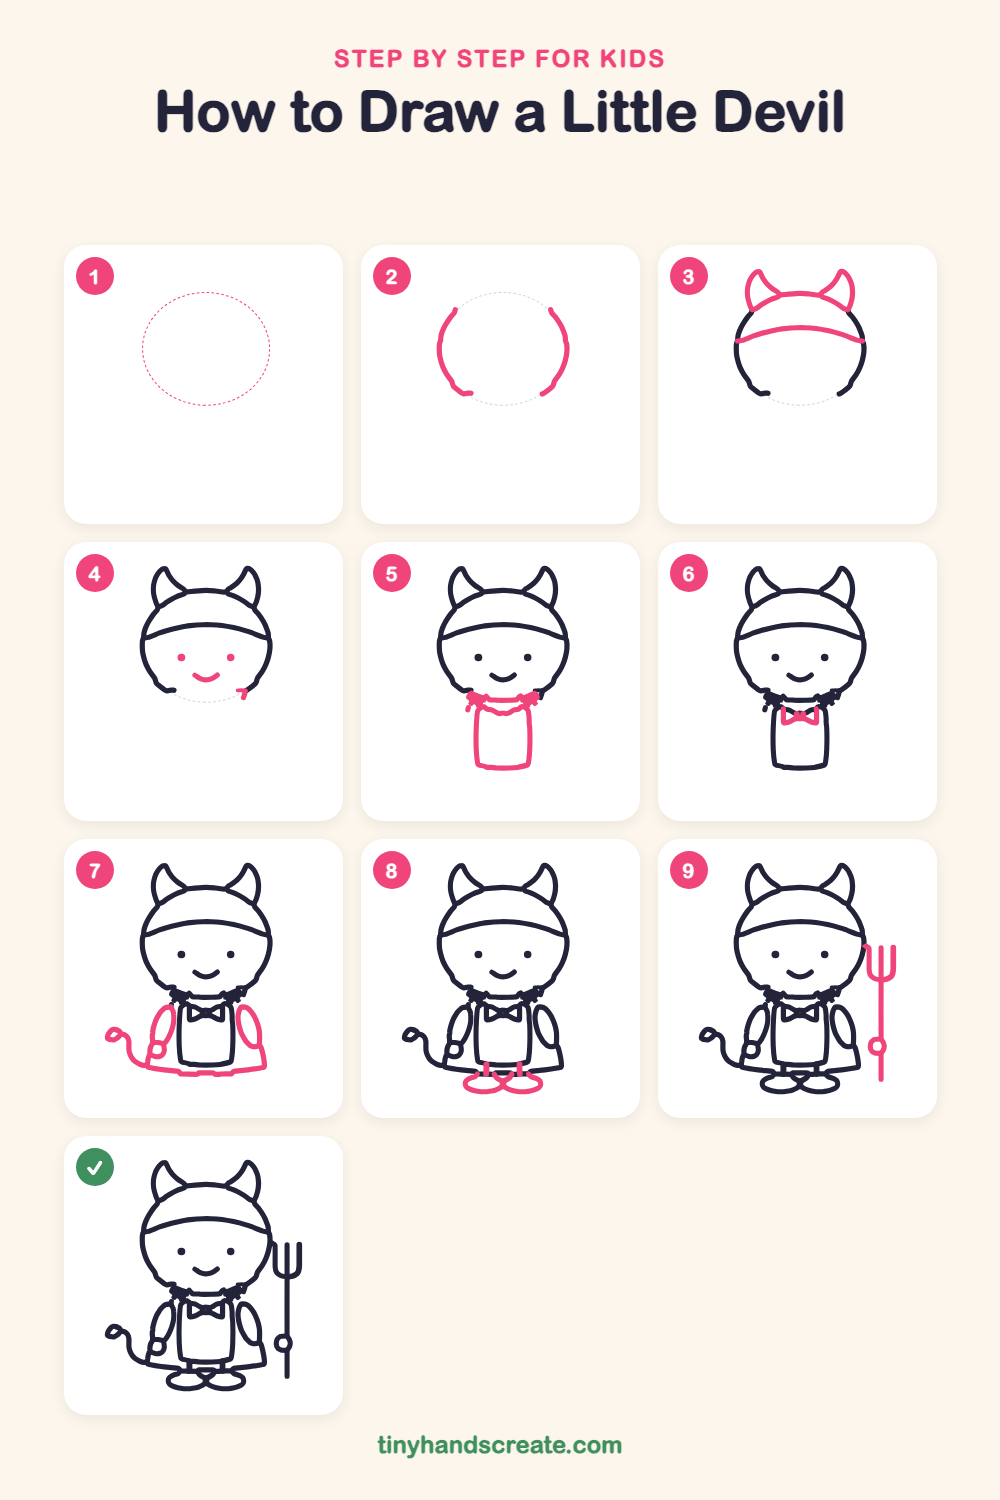
Step 1: Guide shapes
Lightly sketch this oval. It only shows where the big parts go, so press softly. You will erase it at the end.
Step 2: Sides of the head
Draw the left and right sides of a big round head, a little wider than it is tall. Leave open gaps at the top and at the bottom.
Step 3: Horns and headband
Draw two curvy horns on top of the head, each shaped like a bent triangle that points up. Then draw a gentle curved line across the head from one side to the other for the cap edge.
Step 4: Face
Draw two small round dots for eyes. Under them, draw a happy curved smile like a little bowl.
Step 5: Collar and body
Under the head, draw a wavy, ruffled collar that goes from one side of the chin to the other. Then draw a tall rectangle with rounded bottom corners hanging from the collar for the body.
Step 6: Bow tie
At the top of the body, draw two small triangles that touch in the middle, like a bow tie.
Step 7: Arms, skirt and tail
Draw a long oval on each side of the body for the arms. Draw a wavy line along the bottom from one side to the other for the hem. On the left, draw a curly tail that ends in a little loop.
Step 8: Feet
Draw two flat ovals at the bottom for shoes, with a short line above each one for the legs.
Step 9: The pitchfork
Draw a tall straight line next to the devil for the handle. At the top, add a U shape with a prong on each side and one in the middle. Finish with a small circle on the handle where the hand holds it.
All done!
Erase the guide shapes, go over your lines, then color it in.
Finished your little devil? Keep the pencils out and learn how to draw a ghost or how to draw a jack-o'-lantern next.
Tips for drawing a little devil
- Sketch the head circle lightly first so both horns sit evenly on top.
- Draw the pitchfork handle with a ruler or the edge of a book, then add the U shape at the top.
- For the tail, draw a slow curve and finish with a small loop so it does not get too tangled.
Free little devil coloring page
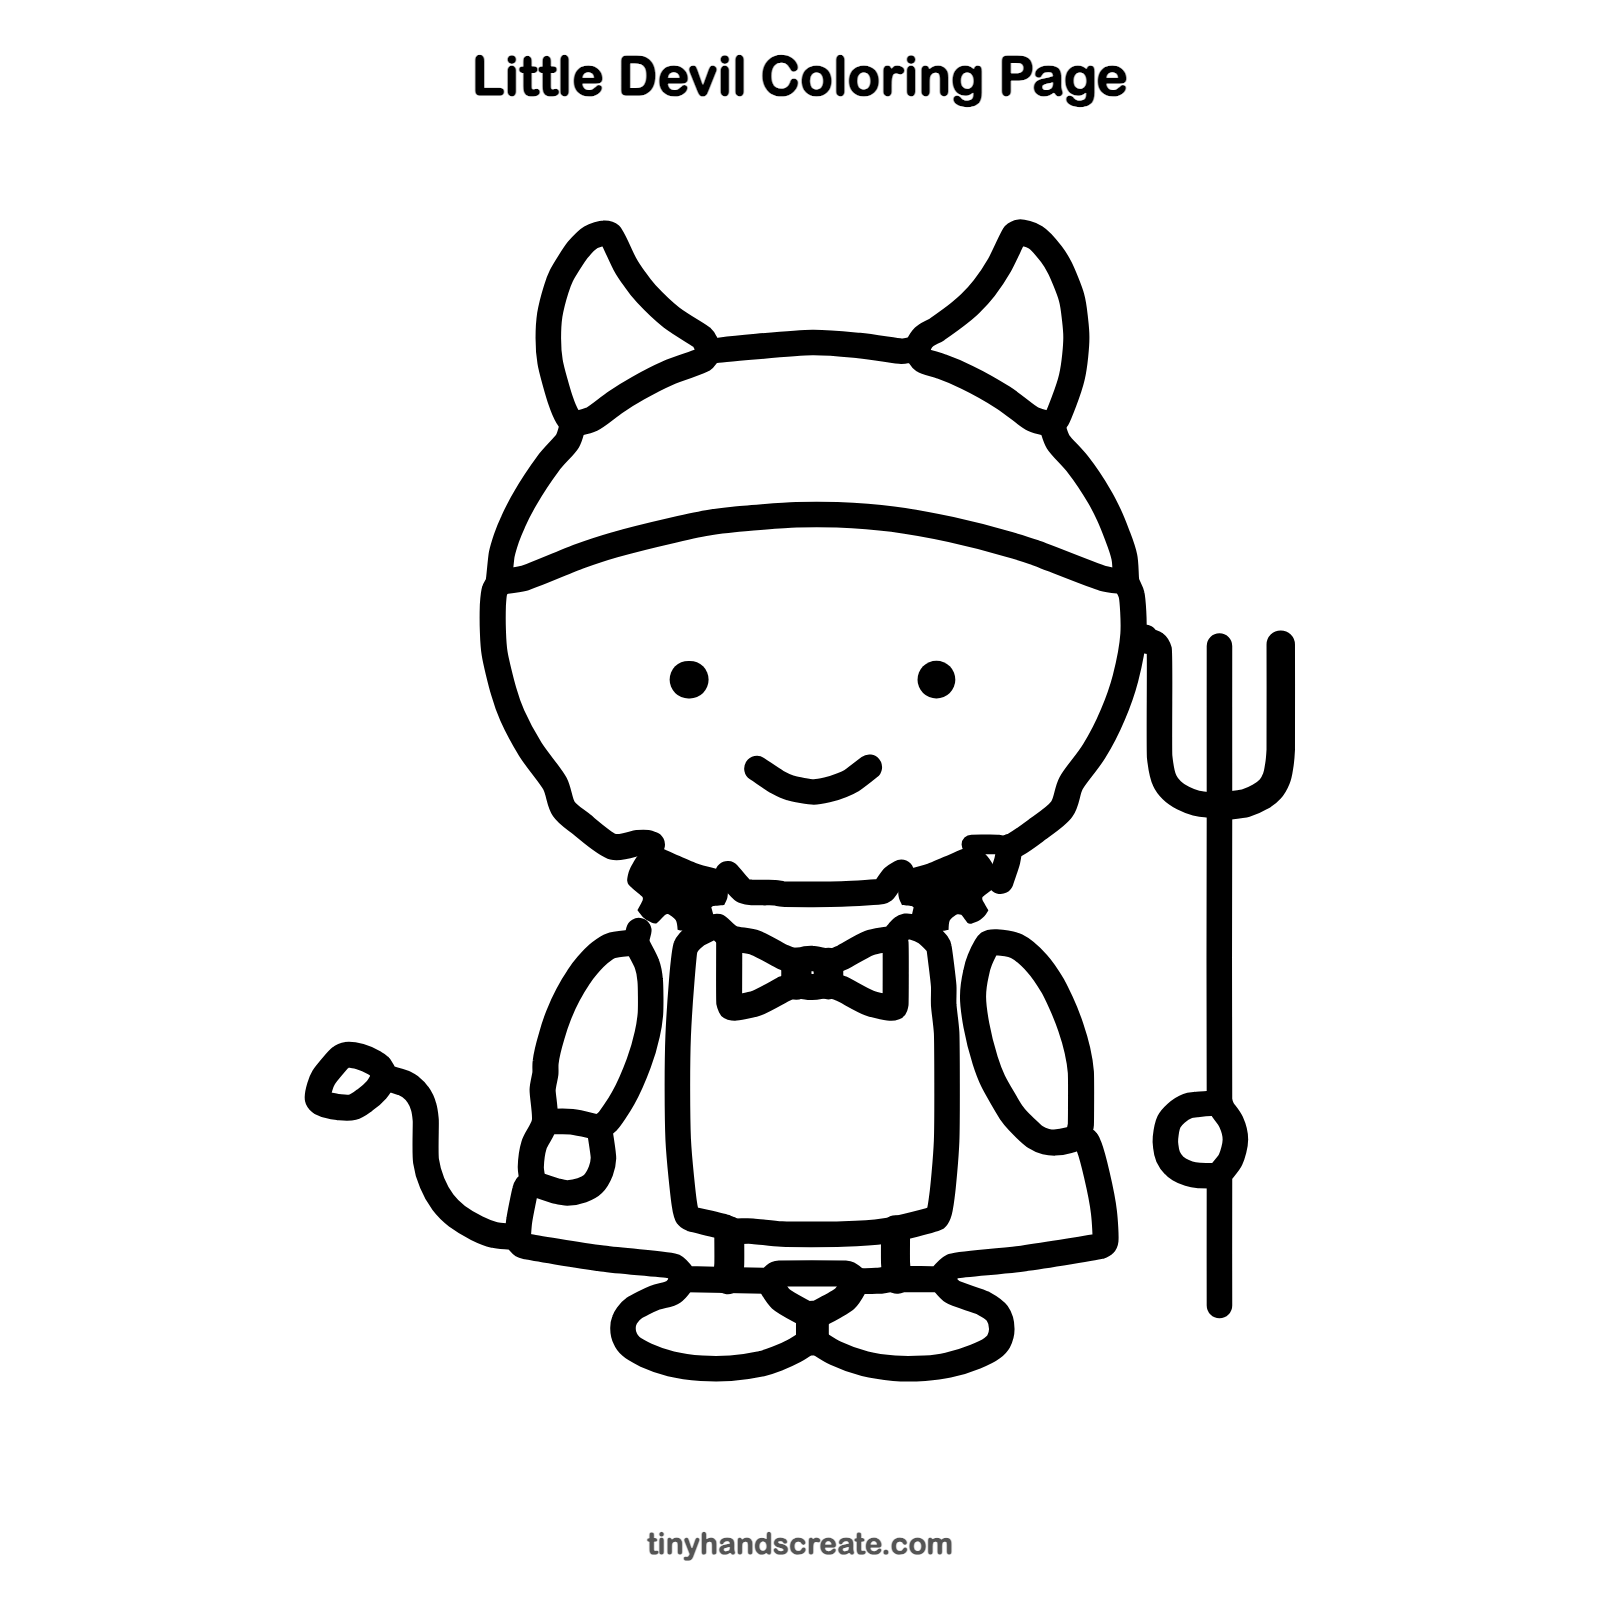
Want to go straight to coloring? Open this little devil coloring page at full size and print it. It is the same drawing you just learned, with clean lines ready for crayons or markers.
How to color your little devil drawing
Color the horns, body, and tail bright red, and the bow tie black or yellow. For a creative twist, give your devil rainbow horns or a glittery pitchfork.
Little devil fun fact for kids
The English word devil comes from the Greek word diabolos, which means slanderer, someone who spreads untrue stories about others.
Questions about drawing a little devil
What shapes do I need to draw a little devil?
You need a big circle for the head, a rounded rectangle for the body, and ovals for the arms and shoes. The horns are two bent triangles and the pitchfork is straight lines with a U shape.
How do I make my little devil look cuter?
Keep the eyes small and round and the smile wide and curved. Make the horns short and the head extra big.
How do I draw a devil tail?
Draw a long wavy line that starts at the hem on the left side of the body. Finish it with a small loop at the end.