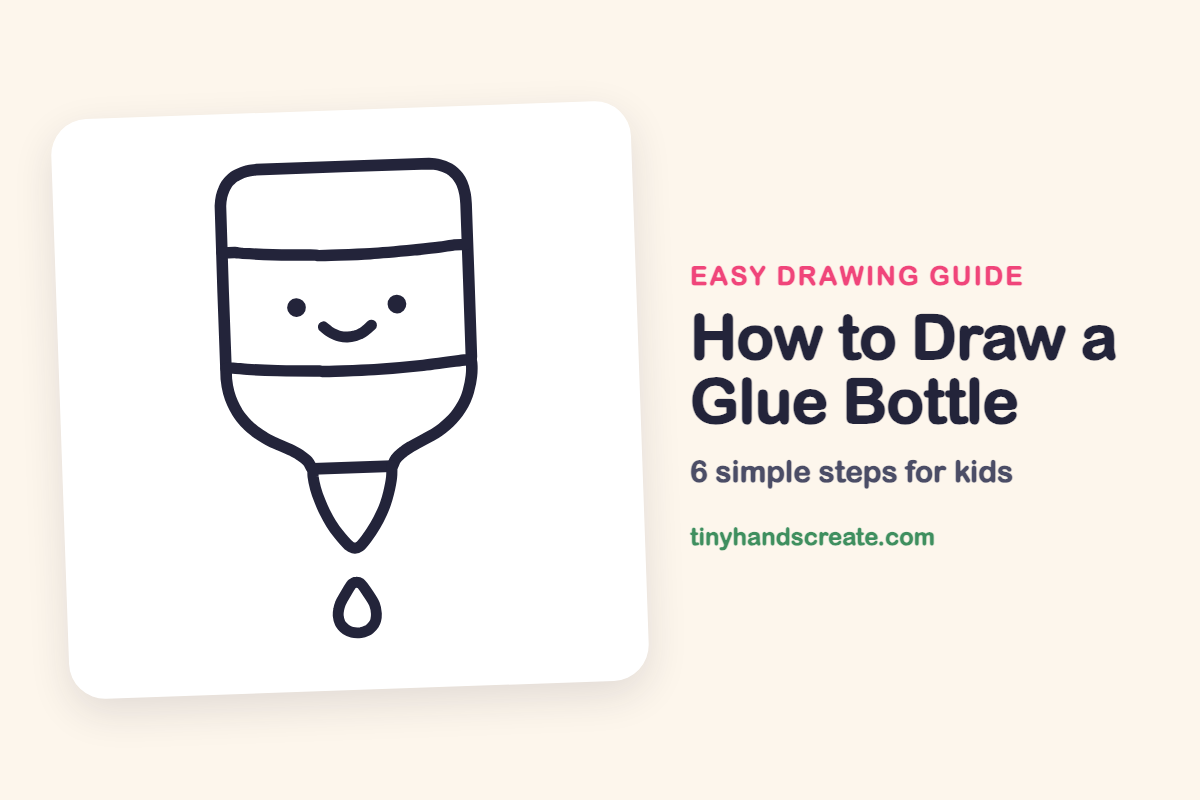
How to Draw a Glue Bottle (Easy Step by Step)
A glue bottle is a friendly thing to draw because it is mostly smooth curves and straight lines. You will start with a rounded bottle shape, add a cone-shaped tip, and finish with a smiling face and one drop of glue. It is a great drawing to try if you are just getting started.
- Easy
- 10 minutes
- 6 steps
You need: paper, a pencil, an eraser, and crayons or markers for coloring.
Start drawingIn this article (7 sections)
How to draw a glue bottle step by step
How to Draw a Glue Bottle · tinyhandscreate.com
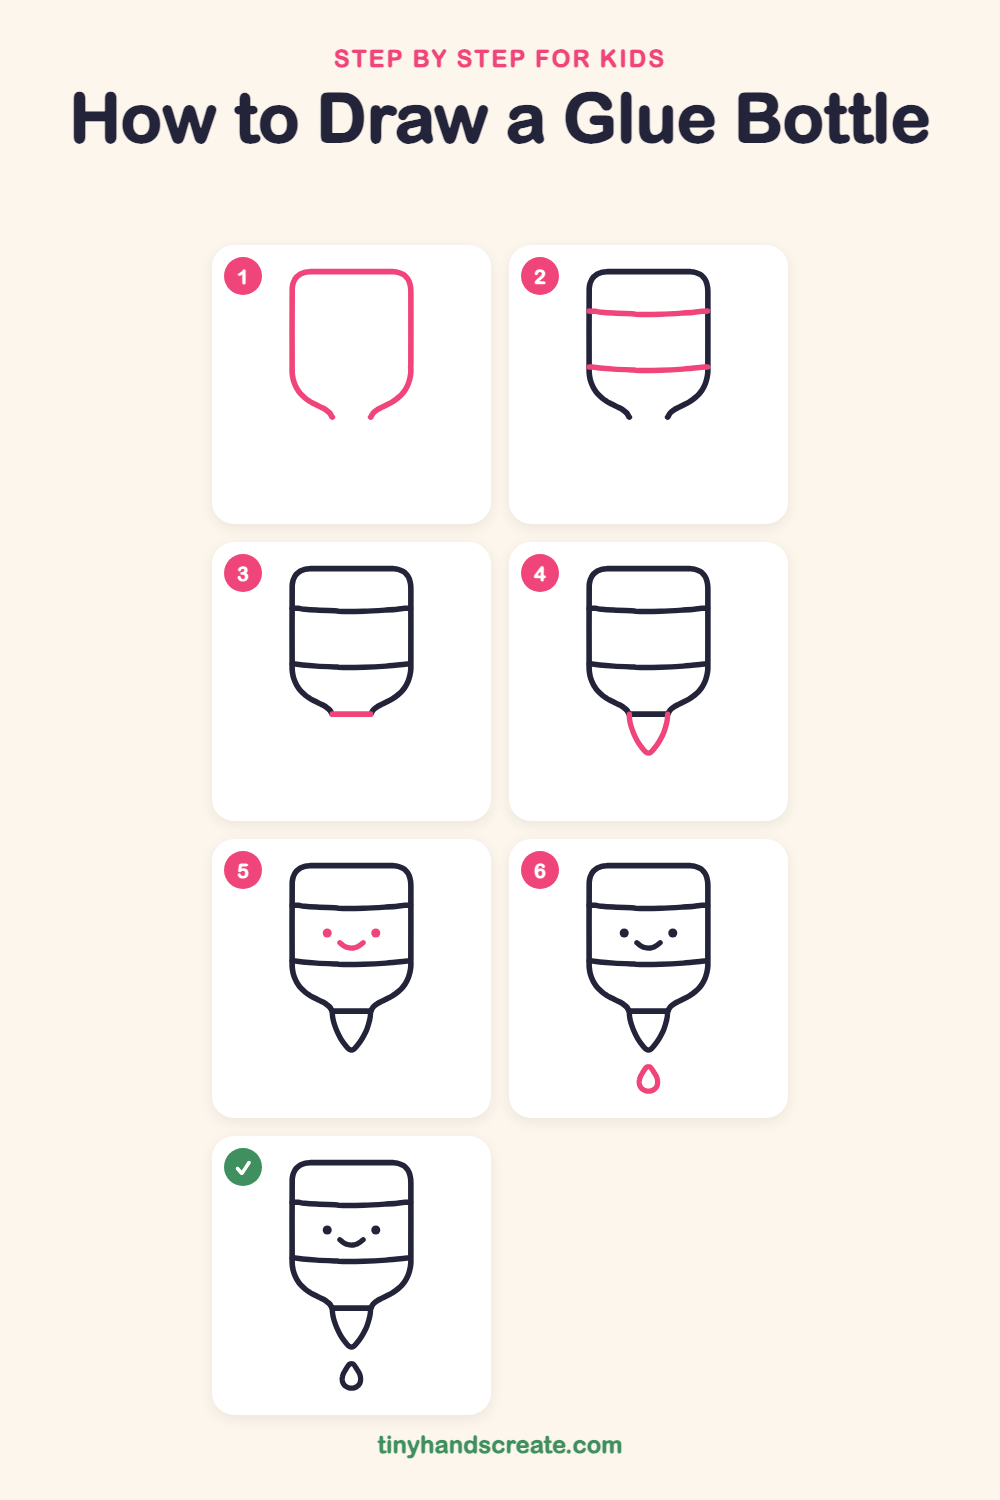
Step 1: The bottle body
Start at the top with a wide shape that has rounded corners, and draw straight sides going down. Then curve both sides in toward the middle so the bottom gets narrow, and leave a small gap between the two ends.
Step 2: The label lines
Draw two gently curved lines straight across the bottle from one side to the other, one near the top and one lower down. They make a wide band in the middle for the label.
Step 3: The collar
At the narrow bottom of the bottle, draw a short flat line from one side of the gap to the other. This is where the tip will sit.
Step 4: The pointy tip
From each end of the collar line, draw a curved line going down. Make both lines meet in a point, like a little cone.
Step 5: The happy face
In the middle of the label band, add two small round dots for eyes. Then draw a small curved smile between the eyes and a little lower.
Step 6: The glue drop
Below the tip, draw a little drop of glue. Start with a point at the top and curve down and around into a round bottom, then close the shape.
All done!
Go over your lines with a marker, then color it in.
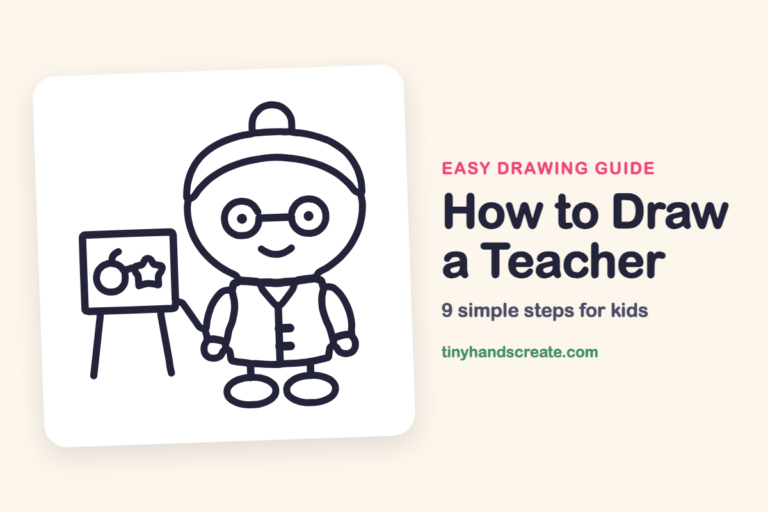
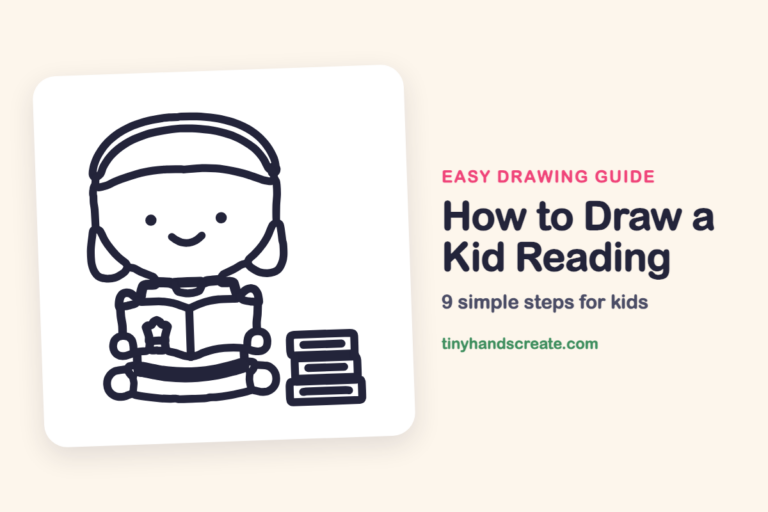
Finished your glue bottle? Keep the pencils out and learn how to draw a teacher or how to draw a kid reading next.
Tips for drawing a glue bottle
- Draw the two label lines with a slight curve, like a very shallow smile, so the bottle looks round instead of flat.
- Make the bottle wide at the top and narrow toward the tip. Draw both sides lightly first so they match.
- Draw the drop last and keep it small. Start with the pointy top and let the line swing around into a round bottom.
Free glue bottle coloring page
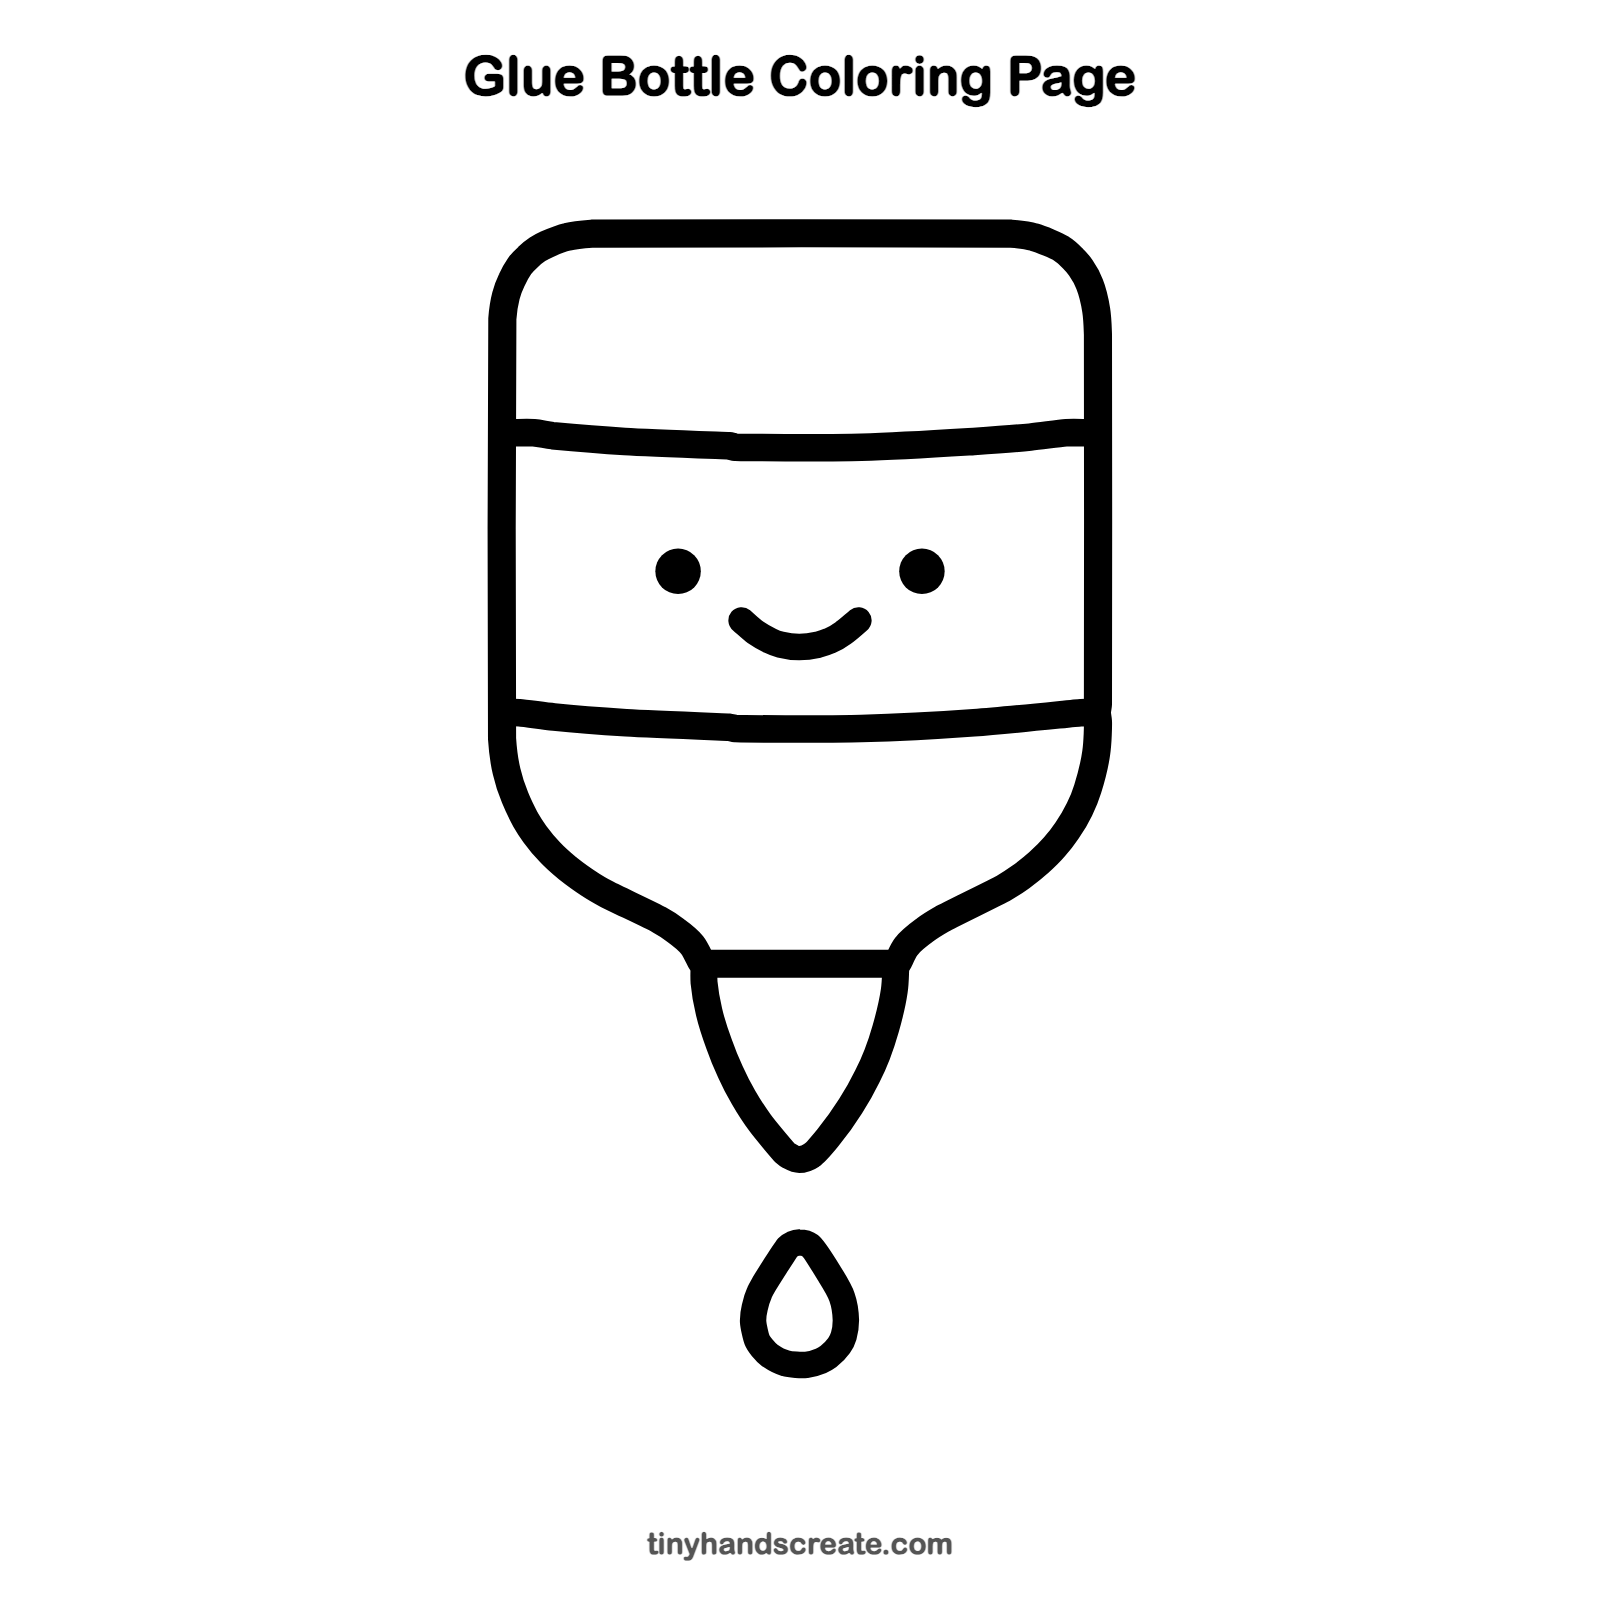
Want to go straight to coloring? Open this glue bottle coloring page at full size and print it. It is the same drawing you just learned, with clean lines ready for crayons or markers.
How to color your glue bottle drawing
Try a bright orange or white bottle with a blue or green label band, and fill the drop with a pale color. For a fun twist, color the tip a different shade from the bottle so it stands out.
Glue bottle fun fact for kids
The first glues people made were sticky pastes from natural things like tree sap, and old glue was often made by boiling animal parts. Many school glues today are made mostly of water and a sticky plastic called PVA.
Questions about drawing a glue bottle
What shapes do I need to draw a glue bottle?
You need a rounded bottle shape for the body, a small flat line and a cone for the tip, and a teardrop shape for the glue drop. Two dots and a curve make the face.
How do I make my glue bottle look cuter?
Draw two round eyes and a small smile in the middle of the label band. Keep the eyes the same size and put the smile between them.
How do I draw the glue drop so it looks real?
Start with a point at the top, then curve down on both sides and round off the bottom. Keep it a little smaller than the tip so it looks like it is just falling.