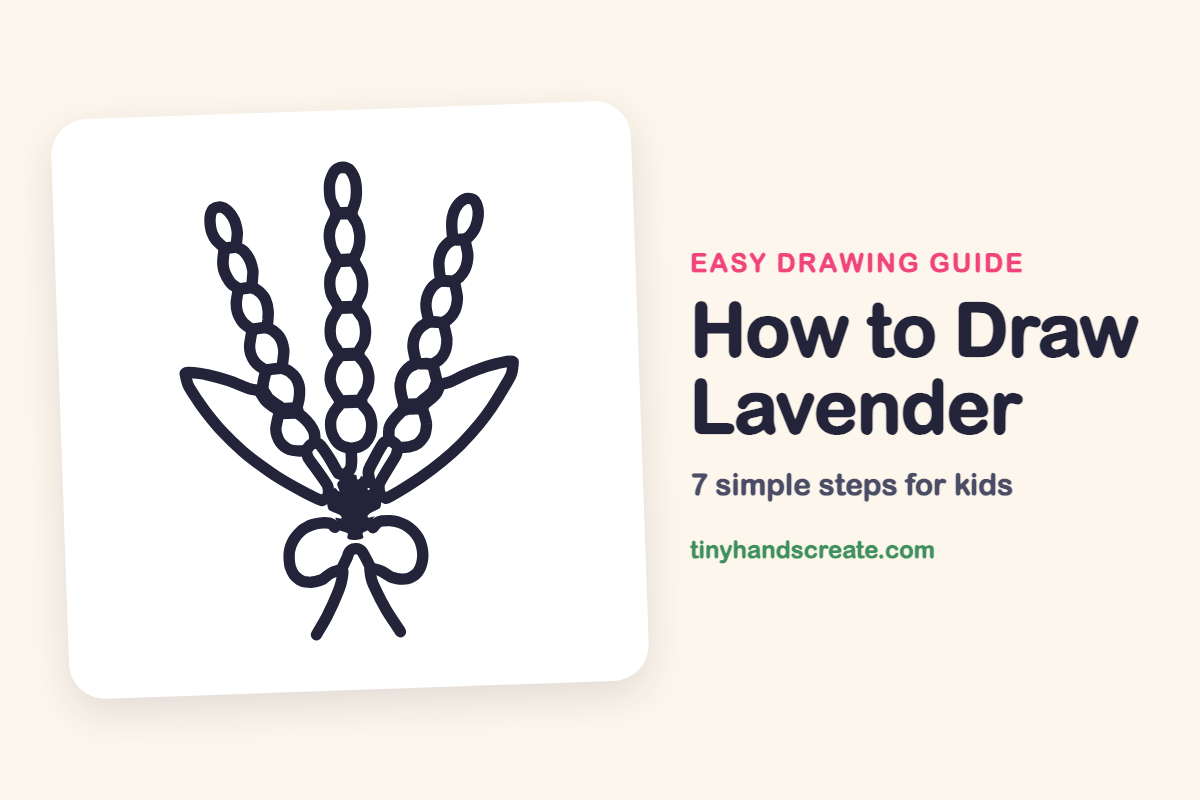
How to Draw Lavender (Easy Step by Step)
A bundle of lavender tied with a bow is a sweet drawing, and it is easier than it looks. It is built from ovals, curved leaf shapes, short thin lines, a little knot, and two loops for the ribbon. Once you can draw a bead-like chain of ovals, you can draw the whole bunch.
- Medium
- 15 minutes
- 7 steps
You need: paper, a pencil, an eraser, and crayons or markers for coloring.
Start drawingIn this article (7 sections)
How to draw lavender step by step
How to Draw Lavender · tinyhandscreate.com
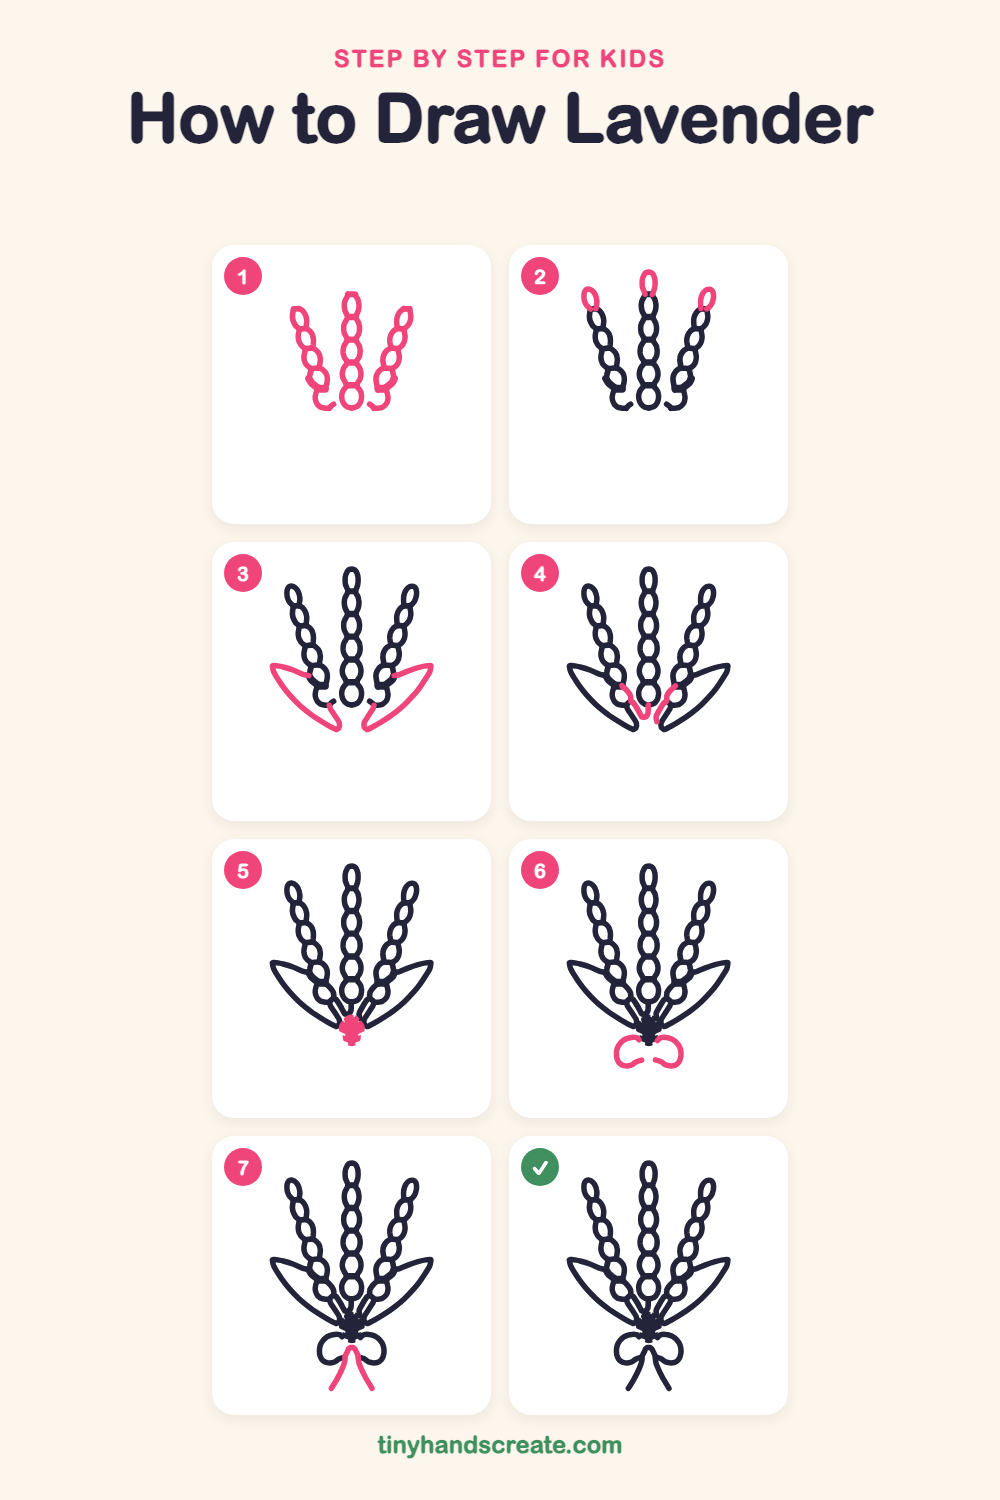
Step 1: Three bead chains
Draw a tall center spike made of stacked ovals, like a chain of beads. Then add one more bead chain on each side, leaning outward like a fan, with a little hook at the bottom of each.
Step 2: Little top buds
Put a small pointed oval on top of each spike to finish the tips. The middle one stands straight and the side ones tilt outward.
Step 3: Two long leaves
Draw a long pointy leaf on each side, like a slim boat. Start each leaf near the bottom of a side spike, sweep it out to a point, then curve it down and in toward the middle.
Step 4: Short stems
On each side of the center spike, draw two short slim lines that slant down toward the middle. They show the stems starting to gather.
Step 5: The tie knot
Where the stems meet at the bottom, draw a small lumpy blob. This is the knot that holds the bunch together.
Step 6: Two bow loops
Draw a loop on the left of the knot and one on the right, like two rounded bunny ears lying on their sides. Start each loop at the knot and curve it out and back, leaving a small gap in the middle.
Step 7: Ribbon tails
Start under the knot with an upside-down V shape. Let the two lines curve down and slightly outward to make two ribbon tails.
All done!
Go over your lines with a marker, then color it in.
Finished your lavender? Keep the pencils out and learn how to draw a gardener or how to draw a kid with an umbrella next.
Tips for drawing lavender
- The bead chains are the trickiest part. Start at the bottom and stack the ovals up, making each one a little smaller so each one touches the one below.
- Make the center spike straight and tall, then tilt the side spikes outward so they do not all look the same.
- For the bow, draw the knot first, then the two loops on each side of it. Try to make both loops about the same size.
Free lavender coloring page
Want to go straight to coloring? Open this lavender coloring page at full size and print it. It is the same drawing you just learned, with clean lines ready for crayons or markers.
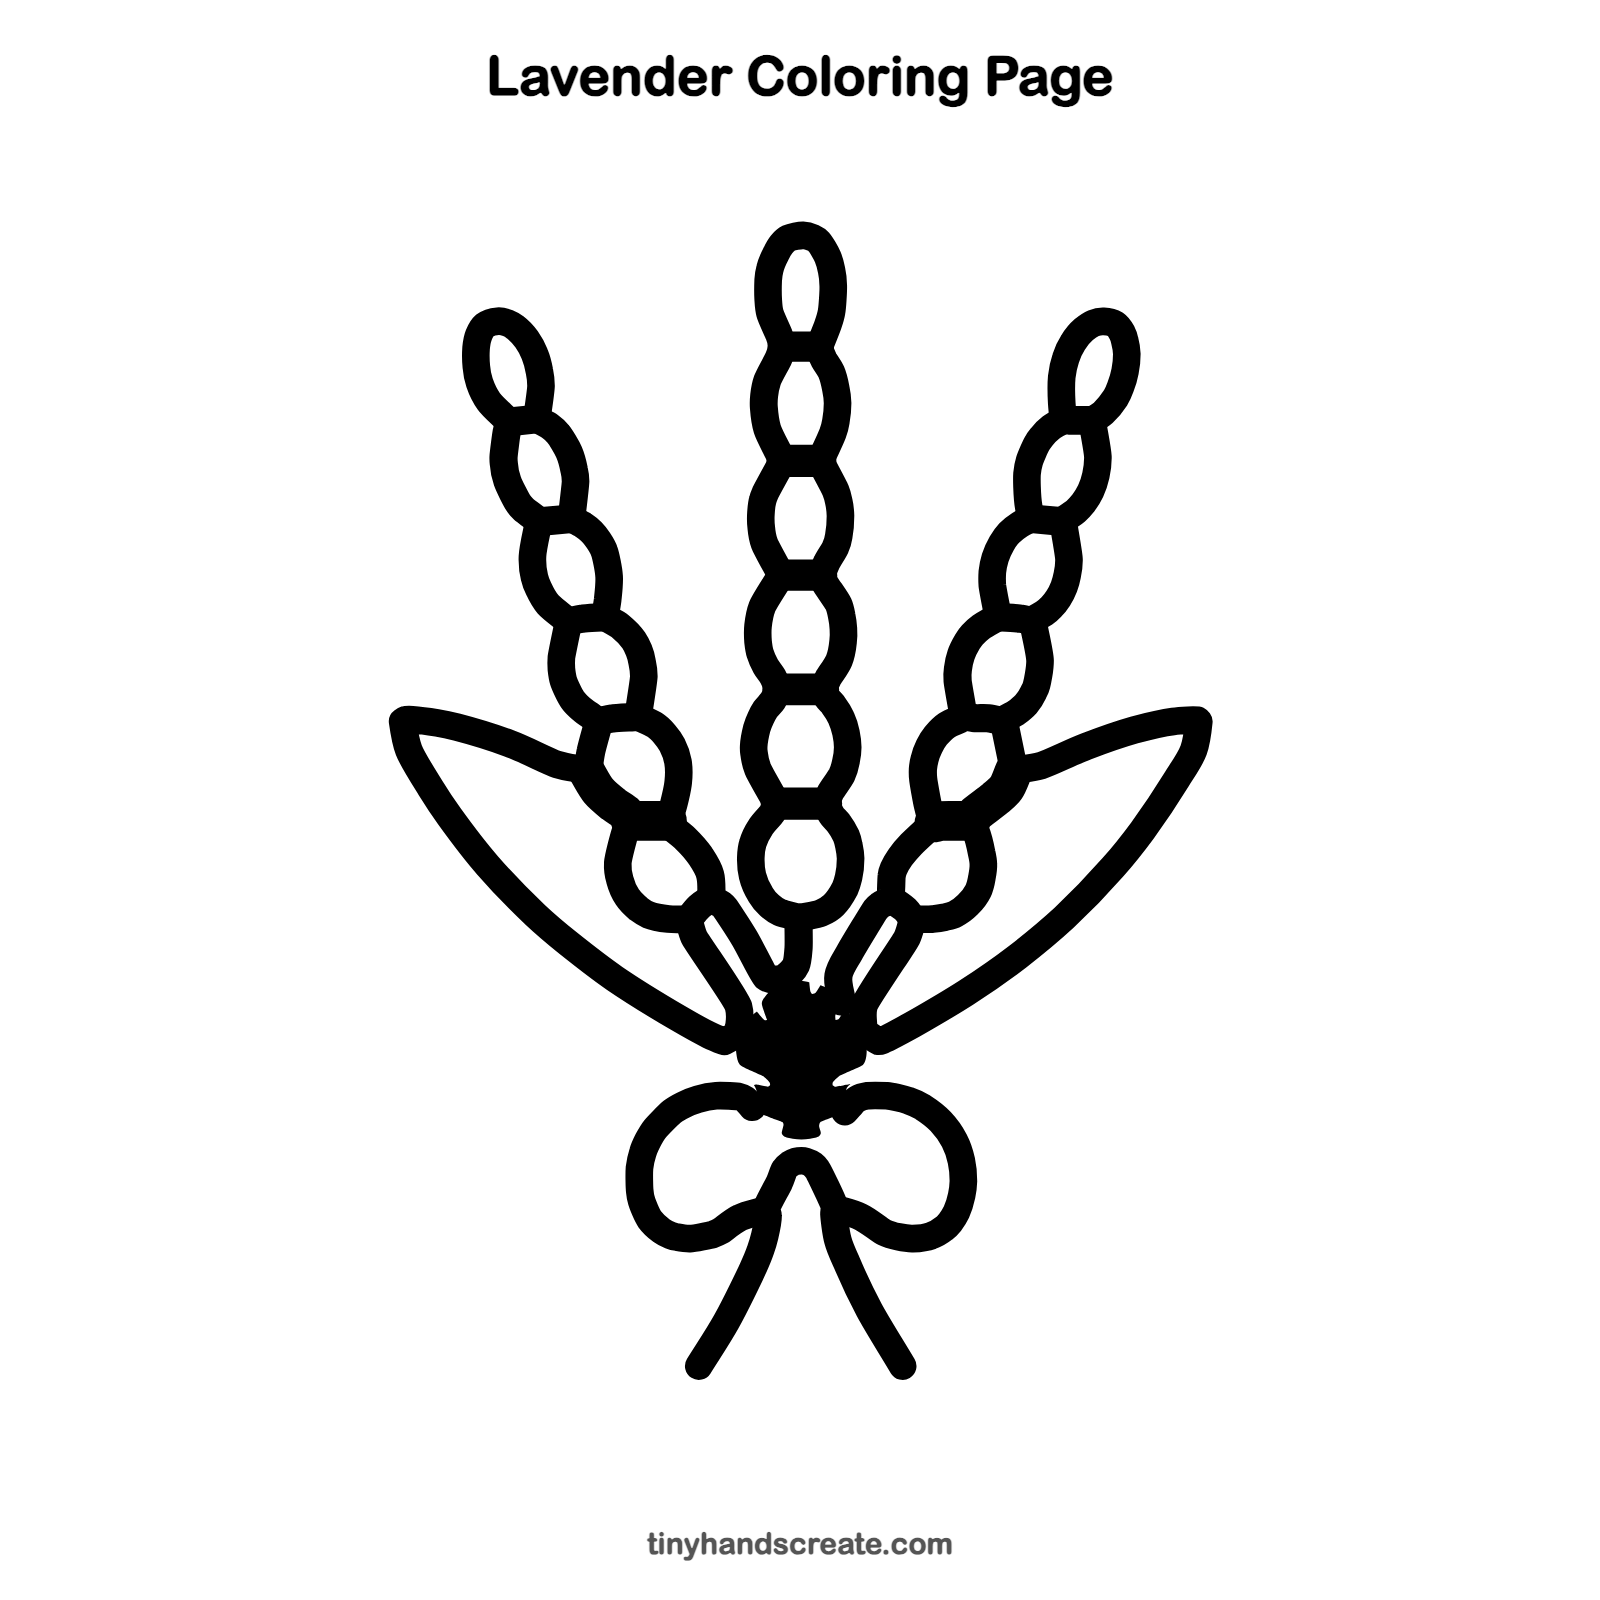
How to color your lavender drawing
Color the spikes in purple and lilac, and the leaves and stems in soft green. For a creative twist, make the bow a bright color like yellow or pink, or use two different purples on the beads.
Lavender fun fact for kids
Lavender flowers are a favorite of bees and butterflies, and people have dried the flowers for hundreds of years to make sweet-smelling sachets for drawers and pillows.
Questions about drawing lavender
What shapes do I need to draw lavender?
You need ovals for the flower spikes, long pointy shapes for the leaves, and short thin lines for the stems. The bow is made from a small knot, two rounded loops, and two tails.
How do I make my lavender look more real?
Make each spike a little different in lean, and keep the ovals slightly uneven. Real flowers are never perfectly neat.
How do I draw the bow so it looks balanced?
Draw the left and right loops about the same size, with the knot in the middle. Then add the two tails so they curve down and slightly outward from under the knot.