How to Draw a Hiker (Easy Step by Step)
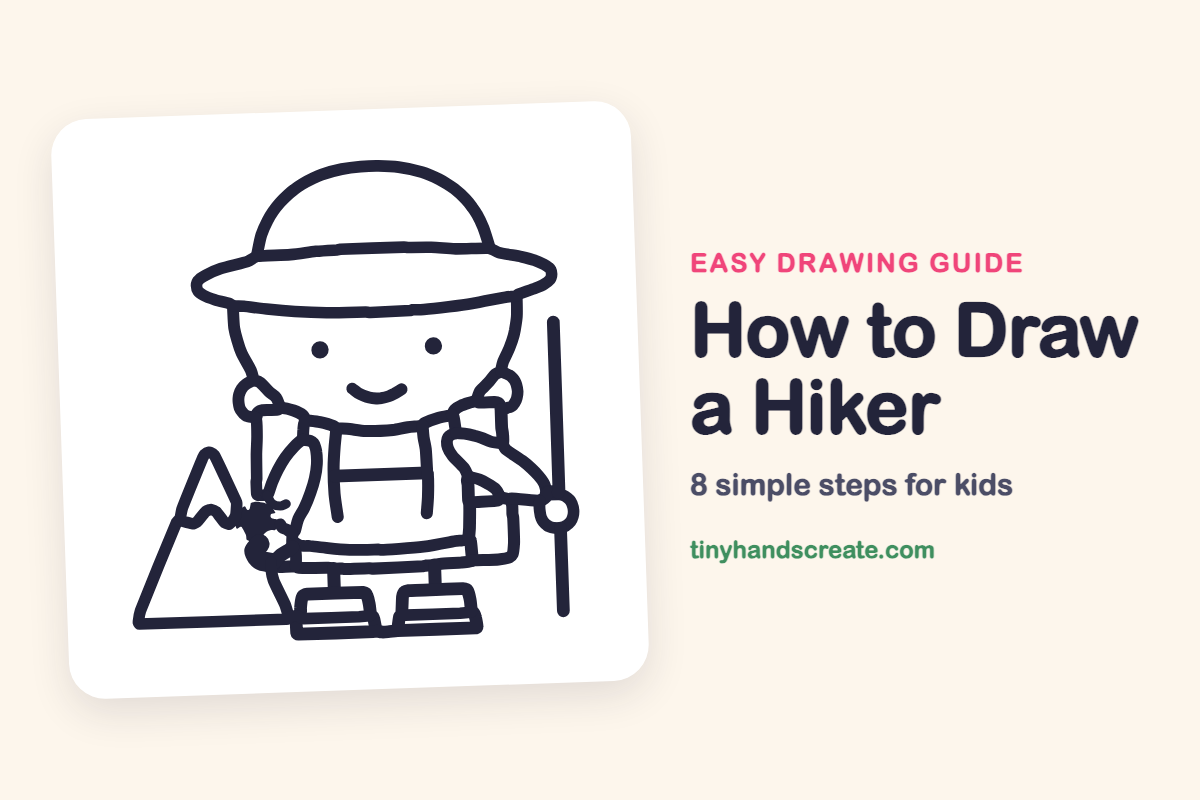
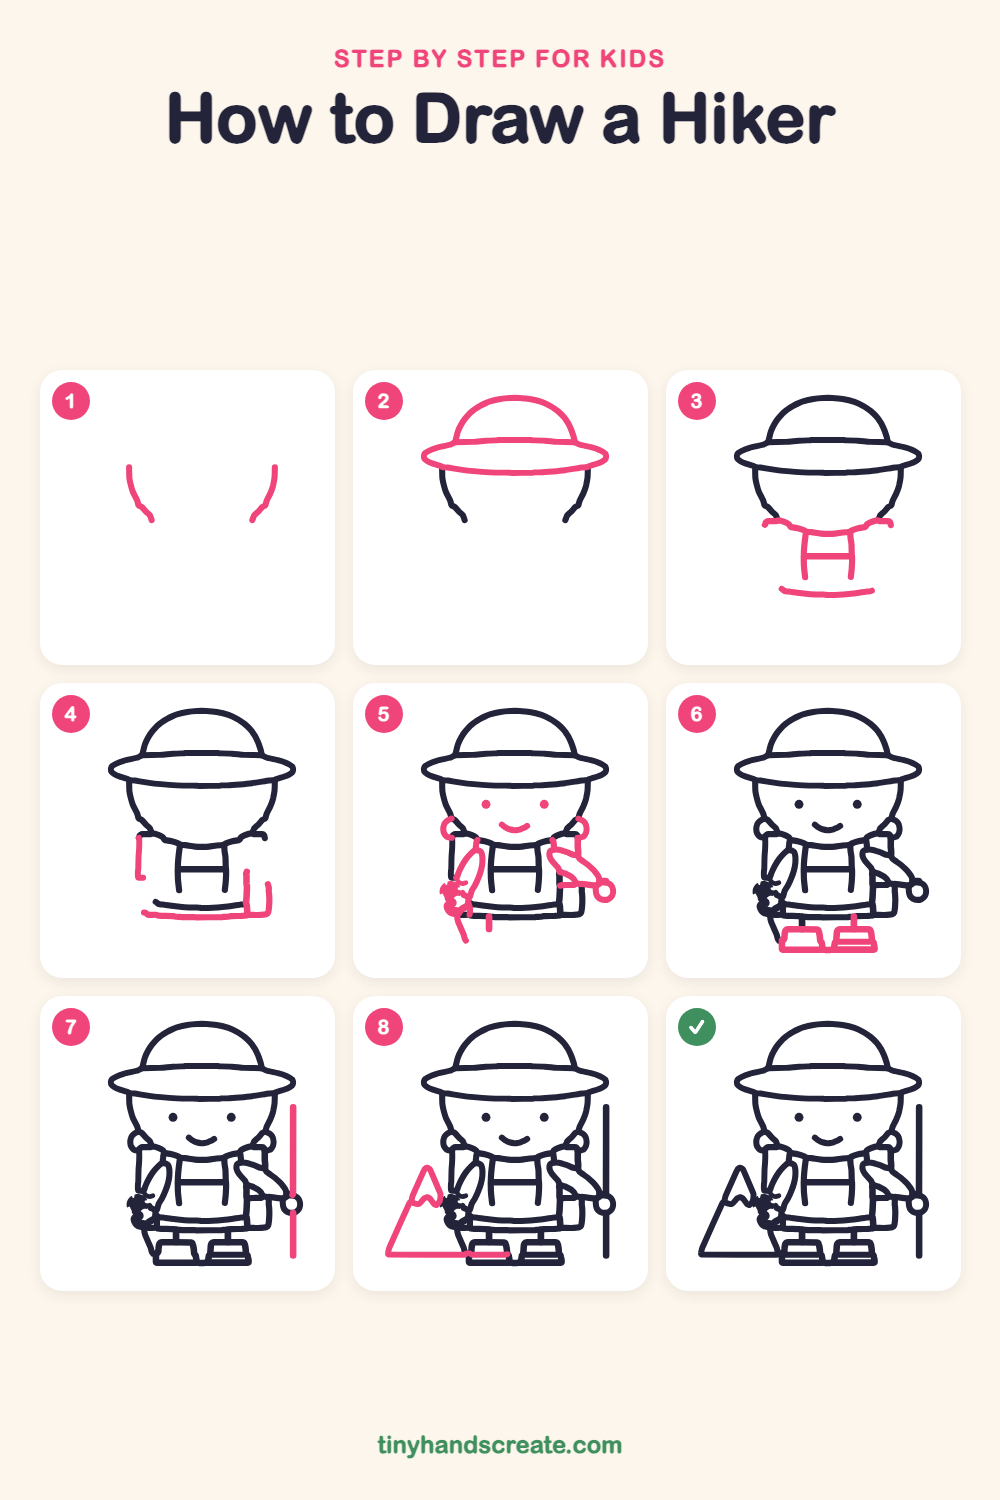
A hiker in a round sun hat with a backpack is a fun character because almost everything is a simple shape. You will use ovals, curves, rectangles and a triangle, and you can add a mountain to finish the adventure.
- Medium
- 15 minutes
- 8 steps
You need: paper, a pencil, an eraser, and crayons or markers for coloring.
Start drawingIn this article (7 sections)
How to draw a hiker step by step
How to Draw a Hiker · tinyhandscreate.com
Step 1: Sides of the face
Draw two short curved lines, one on the left and one on the right, each bending a little inward as it goes down. Leave a big gap between them, because the hat and chin come later.
Step 2: The sun hat
Draw a wide, flat oval across the top for the hat brim. Then add a dome shape sitting on top of the brim, like half a ball.
Step 3: Neck, bib and belt
Under the face, draw a small rectangle with a short bar across it for the neck and the front of the overalls. Add a little wavy line on each side for the shoulders, then a long gentle curve below for the belt.
Step 4: Backpack sides and bottom
Draw a short upright line on the left and another on the right, standing behind the body. Join them near the bottom with a long flat line to make the backpack.
Step 5: Face, arms and shoulder loops
Add two small dots for eyes and a little curve for a smile. Draw a small round loop at each shoulder, then a long leaf shape for each arm, with a small circle for the hand on the right.
Step 6: Hiking boots
At the bottom, draw two little boot shapes side by side, wider at the bottom than the top. Add a short line sticking up on each one.
Step 7: The walking stick
On the right, draw one long straight line standing up. Let it pass through the hand circle and reach down to the boots.
Step 8: The mountain
On the left, draw a big triangle with a pointed top. Add a small zigzag line near the peak for the snowy cap.
All done!
Go over your lines with a marker, then color it in.
Finished your hiker? Keep the pencils out and learn how to draw a mushroom or how to draw a sunflower next.
Tips for drawing a hiker
- Start with the two side lines of the face, then draw the hat brim so it crosses over the top of the face. Leave the gap between them open until the hat is on.
- The backpack sits behind the body, so draw its sides and bottom close to the body and let the arms overlap it.
- Draw the mountain last and a little smaller than you think. Leaving some space between the mountain and the hiker keeps the picture from looking crowded.
Free hiker coloring page
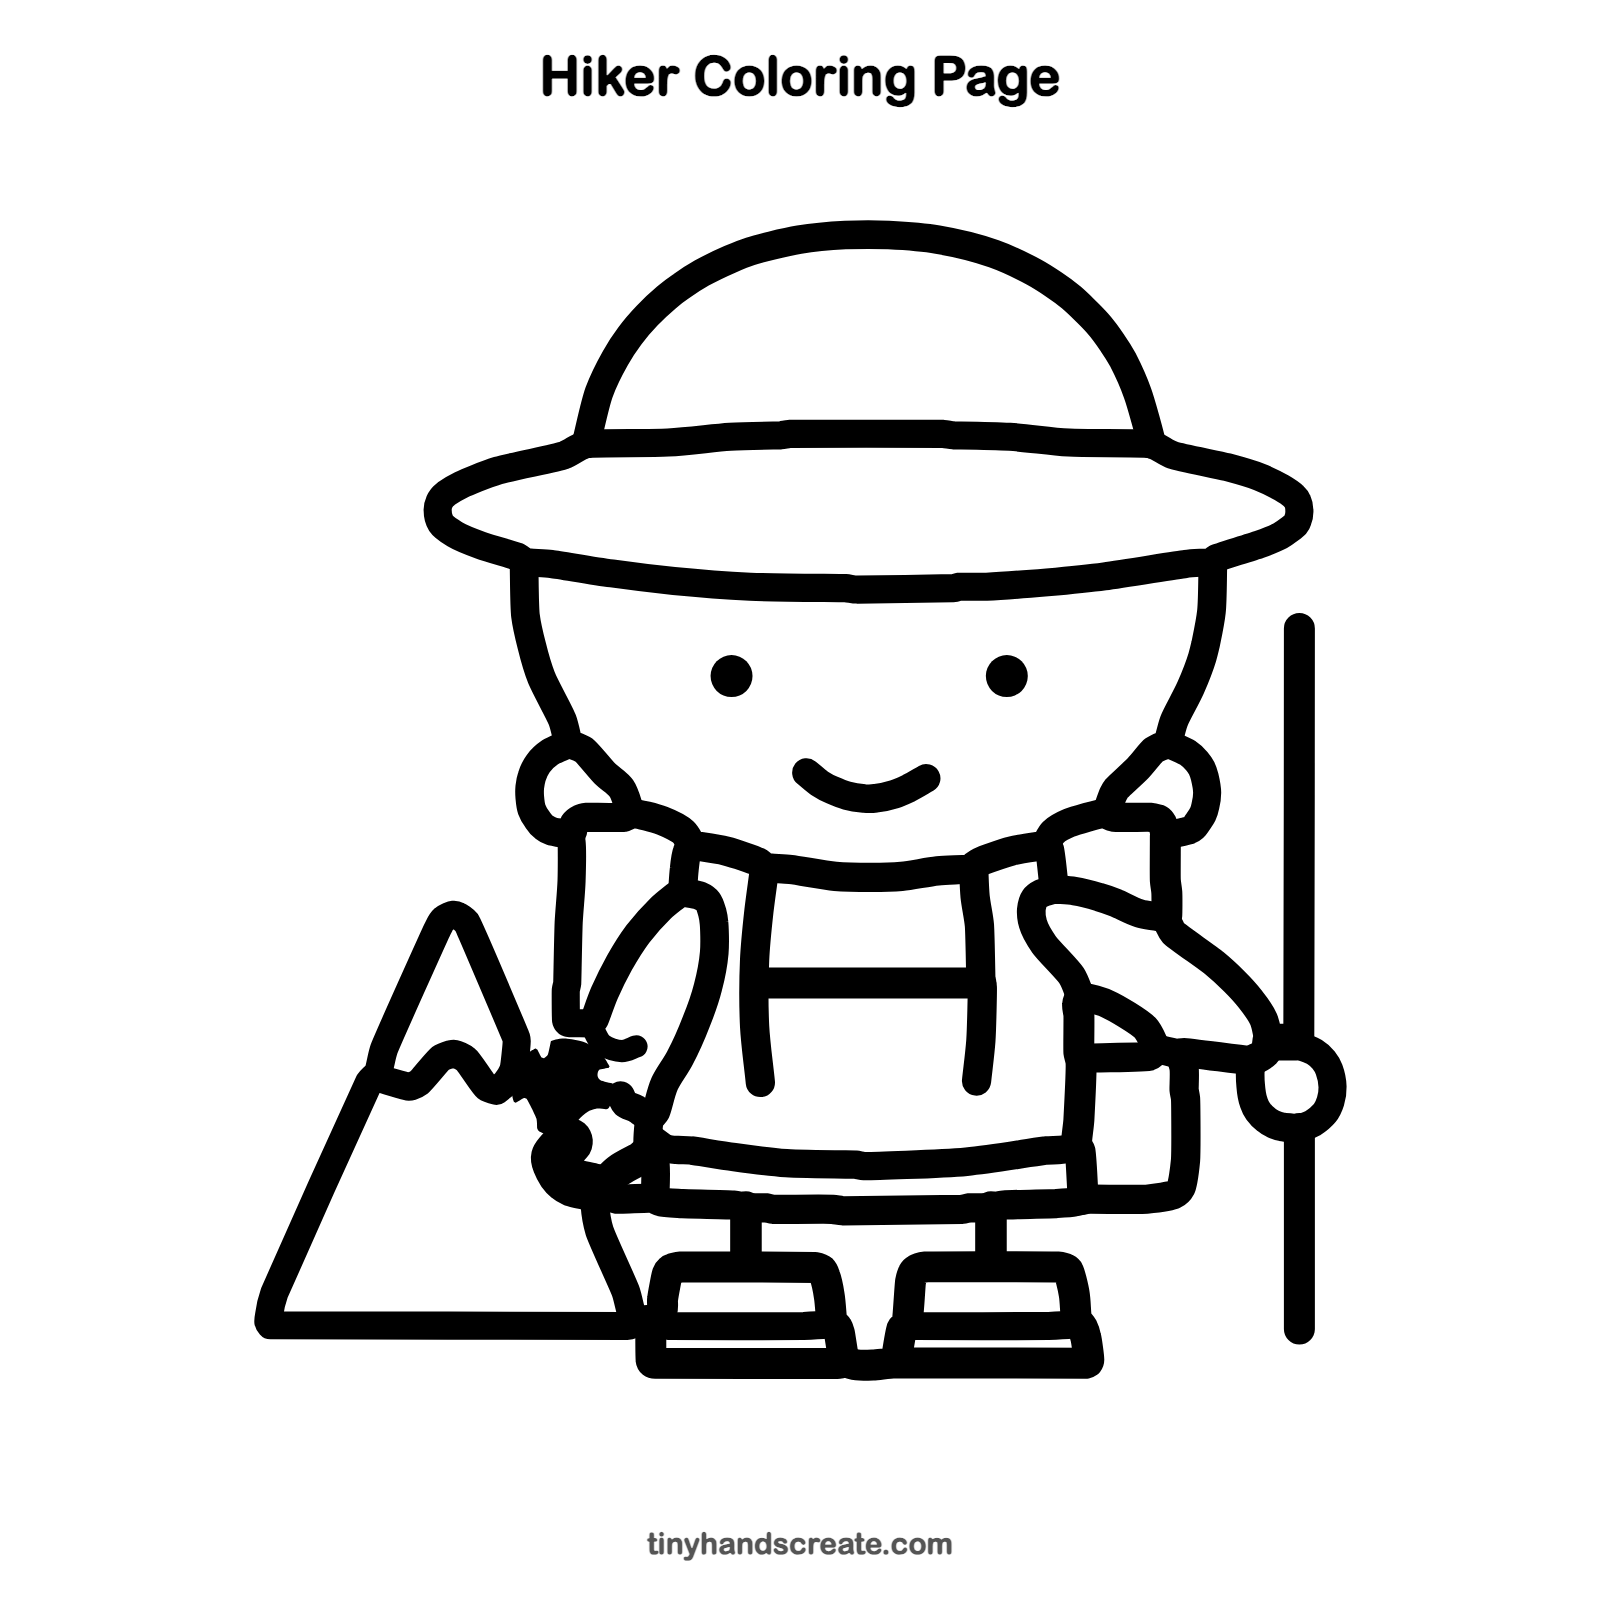
Want to go straight to coloring? Open this hiker coloring page at full size and print it. It is the same drawing you just learned, with clean lines ready for crayons or markers.
How to color your hiker drawing
Try a green or tan hat, bright overalls and a red backpack, with a gray mountain and a white snowy peak. For a creative twist, color the background a sunset orange.
Hiker fun fact for kids
The Appalachian Trail in the eastern United States is about 2,190 miles long, and some hikers walk the whole trail in one trip.
Questions about drawing a hiker
What shapes do I need to draw a hiker?
You need a wide oval and a half circle for the hat, a small rectangle for the neck and bib, long leaf shapes for the arms, small circles for the hands, and a triangle for the mountain.
How do I make my hiker look cuter?
Keep the eyes as small dots and add a little smile. A big round hat also adds charm.
How do I draw a backpack that looks like it is behind the body?
Draw the backpack sides and bottom next to the body, and then let the arms overlap the pack so the pack looks like it is behind.