How to Draw a Pine Cone (Easy Step by Step)
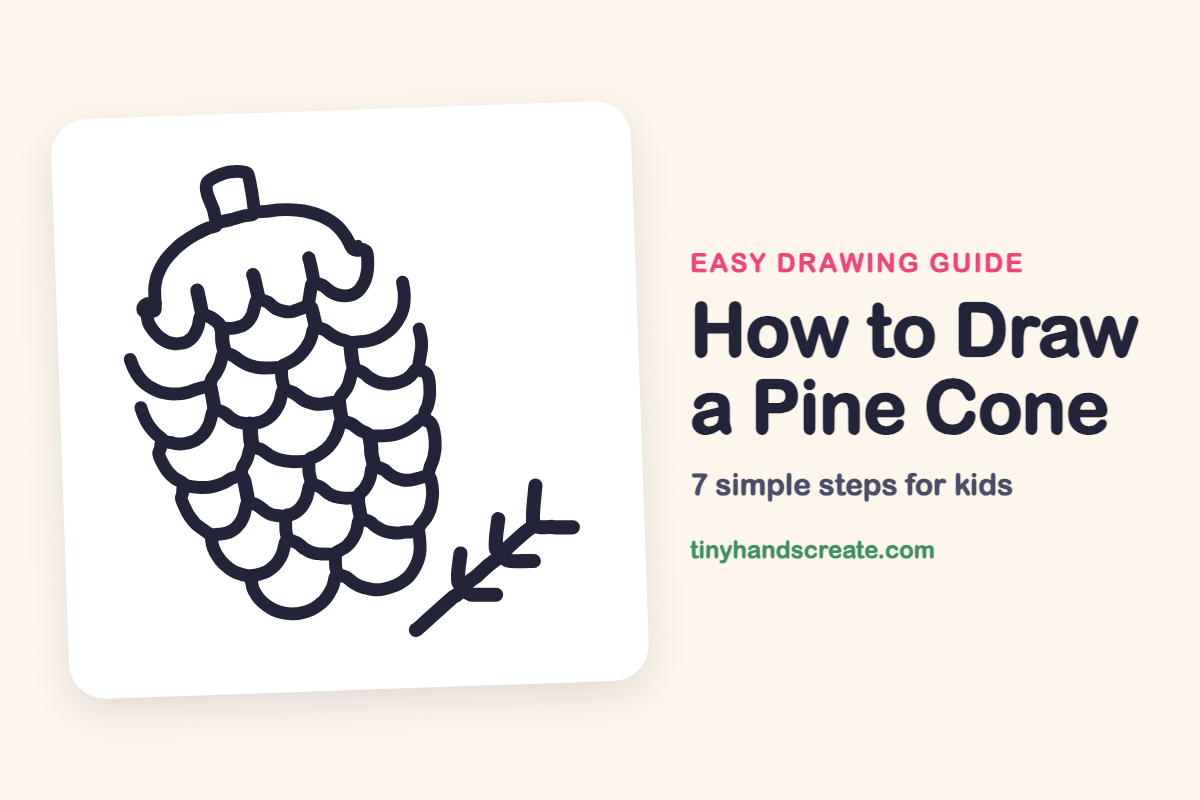
A pine cone looks fancy, but it is built from one simple shape: the U. Start with a curved dome and a tiny stem, then stack rows of overlapping U-shapes below it until you have a cone you can almost feel in your hand. This guide also adds a little pine twig, so your drawing looks like it was found on a forest walk.
- Medium
- 15 minutes
- 7 steps
You need: paper, a pencil, an eraser, and crayons or markers for coloring.
Start drawingIn this article (7 sections)
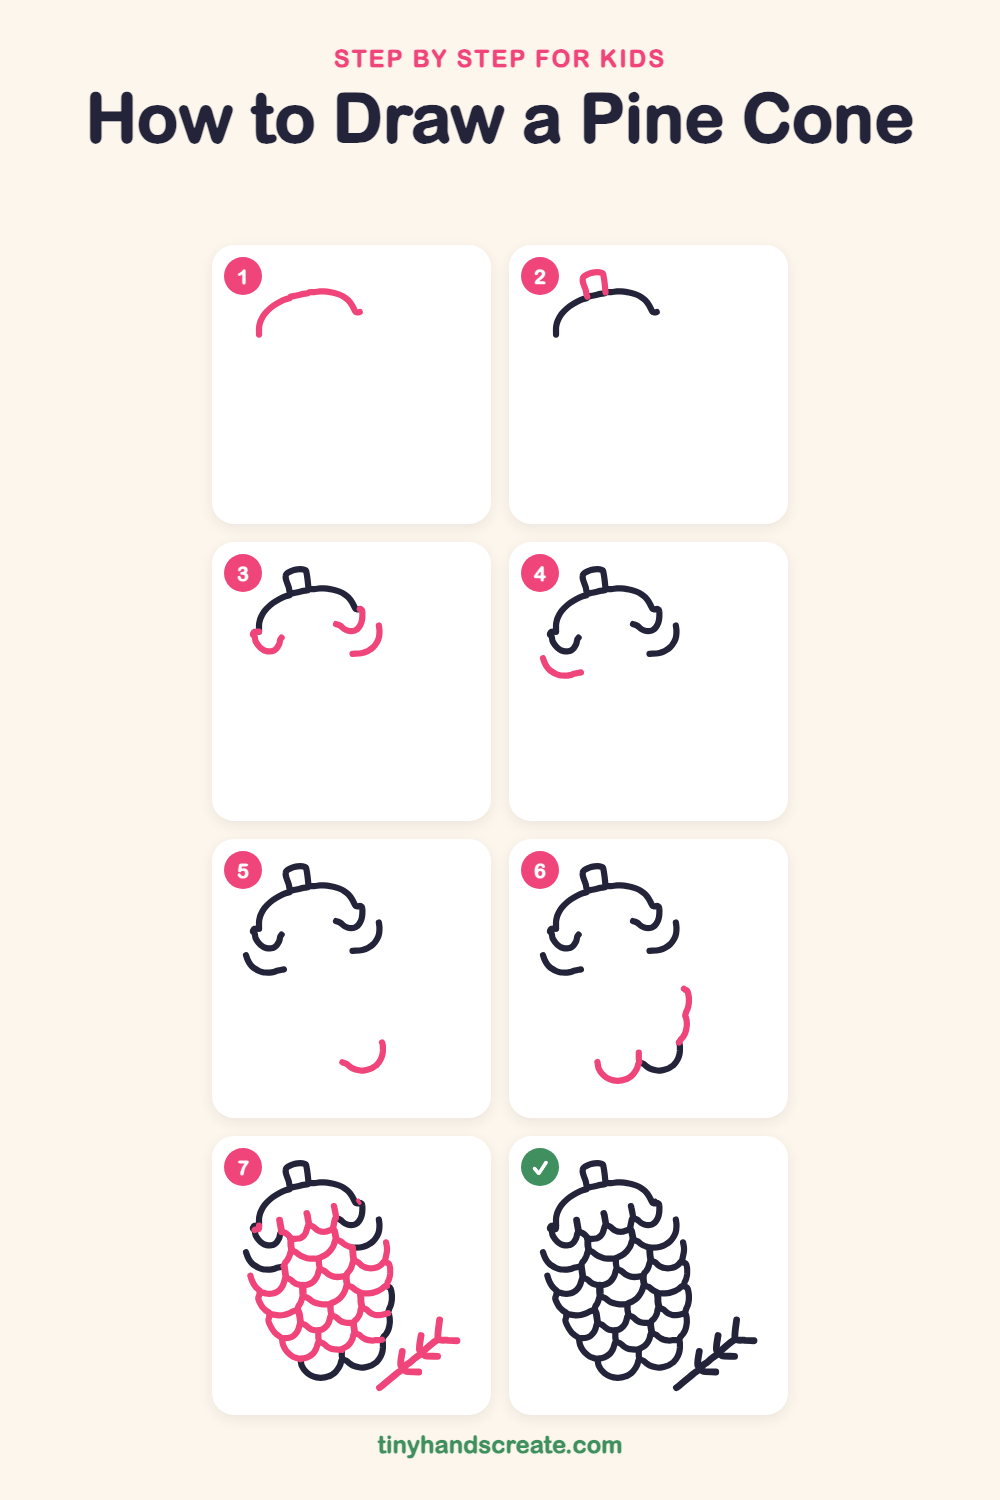
How to draw a pine cone step by step
How to Draw a Pine Cone · tinyhandscreate.com
Step 1: The rounded top
Draw a wide, curved dome, like a rainbow or an upside-down U, that is a little wider on the left. Start low on the left, curve up and over, and stop on the right.
Step 2: The little stem
On top of the dome, draw a small tilted rectangle, like a tiny chimney. Its bottom sides touch the curved top.
Step 3: Scales at the ends
Under each end of the dome, draw a small curled scoop, like a little hook. Then add a short curved line just outside the one on the right.
Step 4: First lower-left scale
Below the left scoop, draw one curved scale shaped like a smile. Leave a small gap between it and the scoop above.
Step 5: Lower-right scale
Near the bottom right, draw a small bowl-shaped curve, like a smile. It floats by itself for now.
Step 6: Bottom scales
At the bottom, draw a round bowl-shaped scale in the middle. Then draw a long, wiggly curve with two bumps up the right side so it joins the bowl shape from the last step.
Step 7: Scales and pine twig
Fill the middle of the cone with rows of overlapping U-shapes, each row tucked between the scales above it. Then draw a short slanted twig beside the cone with little needle lines branching off.
All done!
Go over your lines with a marker, then color it in.
Finished your pine cone? Keep the pencils out and learn how to draw an owl or how to draw a scarecrow next.
Tips for drawing a pine cone
- Make the dome first and keep every scale below it, so the cone has a clear top and does not wobble.
- Draw each row of scales so it tucks between the U-shapes above it, like bricks in a wall. This is the trickiest part, so go slowly.
- Make the scales a bit smaller near the top and bottom, and bigger in the middle, to make the cone look round.
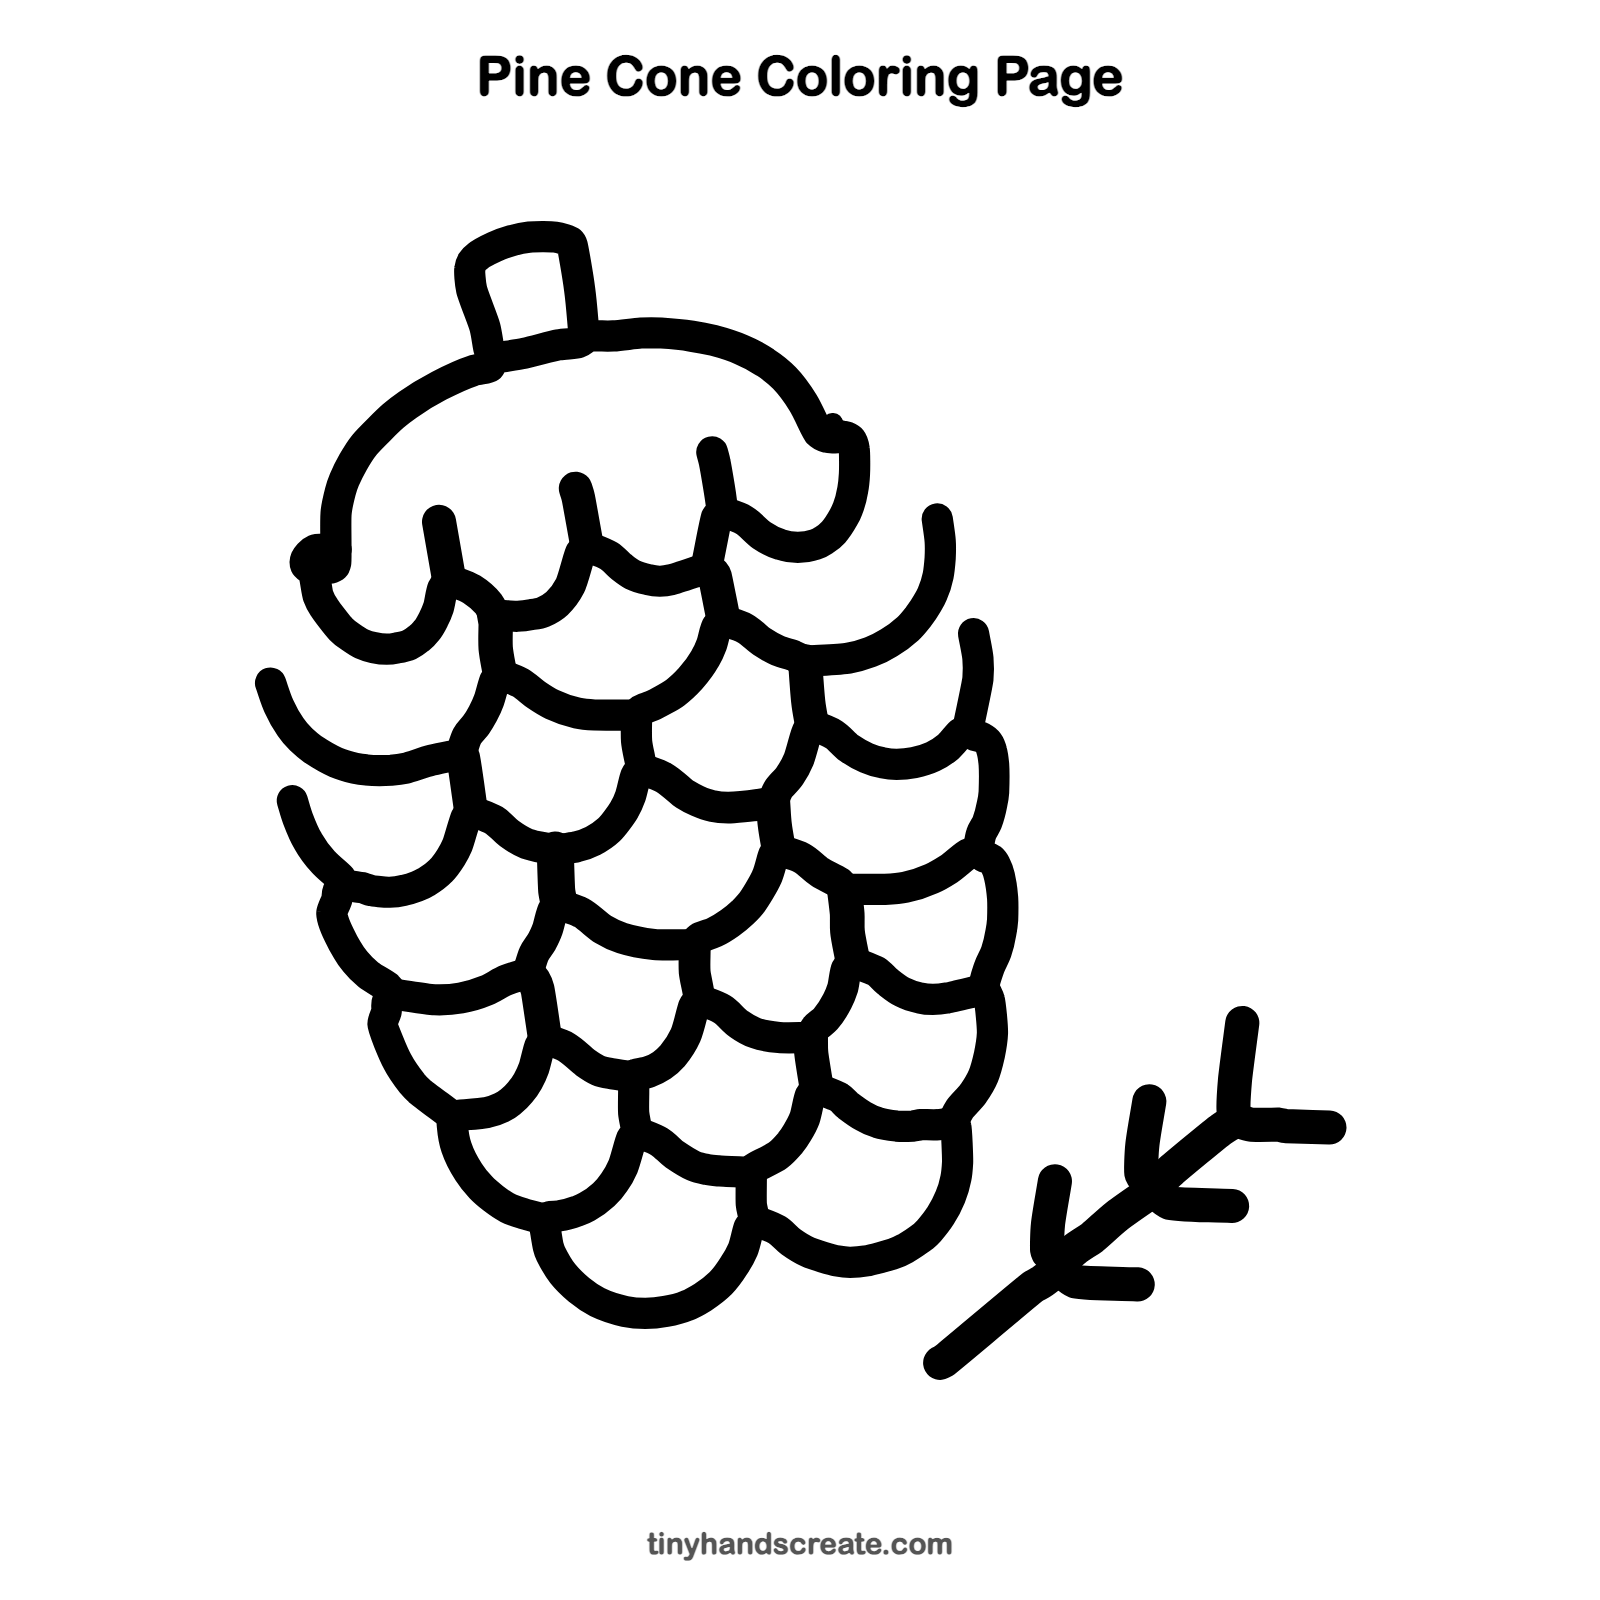
Free pine cone coloring page
Want to go straight to coloring? Open this pine cone coloring page at full size and print it. It is the same drawing you just learned, with clean lines ready for crayons or markers.
How to color your pine cone drawing
Use warm browns, with a darker brown near the bottom of each scale to give it shape. For a twist, color the twig green and make the cone a snowy winter cone with white tips.
Pine cone fun fact for kids
A pine cone closes up when the air is wet and opens up when it is dry, so its seeds can drop out and blow away on dry days.
Questions about drawing a pine cone
What shapes do I need to draw a pine cone?
You need a curved dome for the top, a little rectangle for the stem, and lots of small U-shapes for the scales. A few short lines make the twig.
How do I make the scales look overlapped?
Start each new row so its curves sit in the gaps between the curves of the row above. Rows that tuck together look layered.
How do I make my pine cone look more real?
Color the lower edge of each scale darker and use a few shades of brown. Drawing a pine twig next to it helps too.