How to Draw an Electrician (Easy Step by Step)
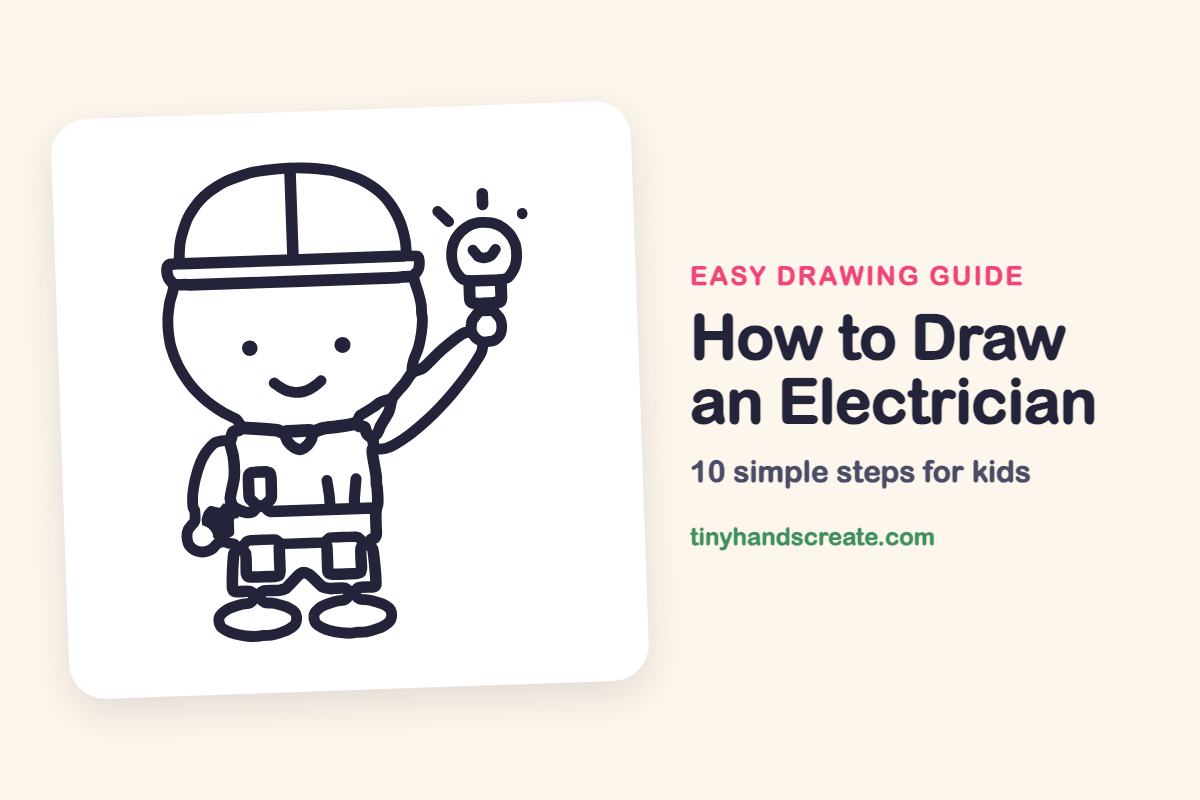
This friendly electrician has a big round head, a hard hat and a glowing light bulb held high. It is built from circles, ovals and a few straight lines, so it is a great first character for young artists. Once you can draw this helper, you can give them any tool you like.
- Easy
- 12 minutes
- 10 steps
You need: paper, a pencil, an eraser, and crayons or markers for coloring.
Start drawingIn this article (7 sections)
How to draw an electrician step by step
How to Draw an Electrician · tinyhandscreate.com
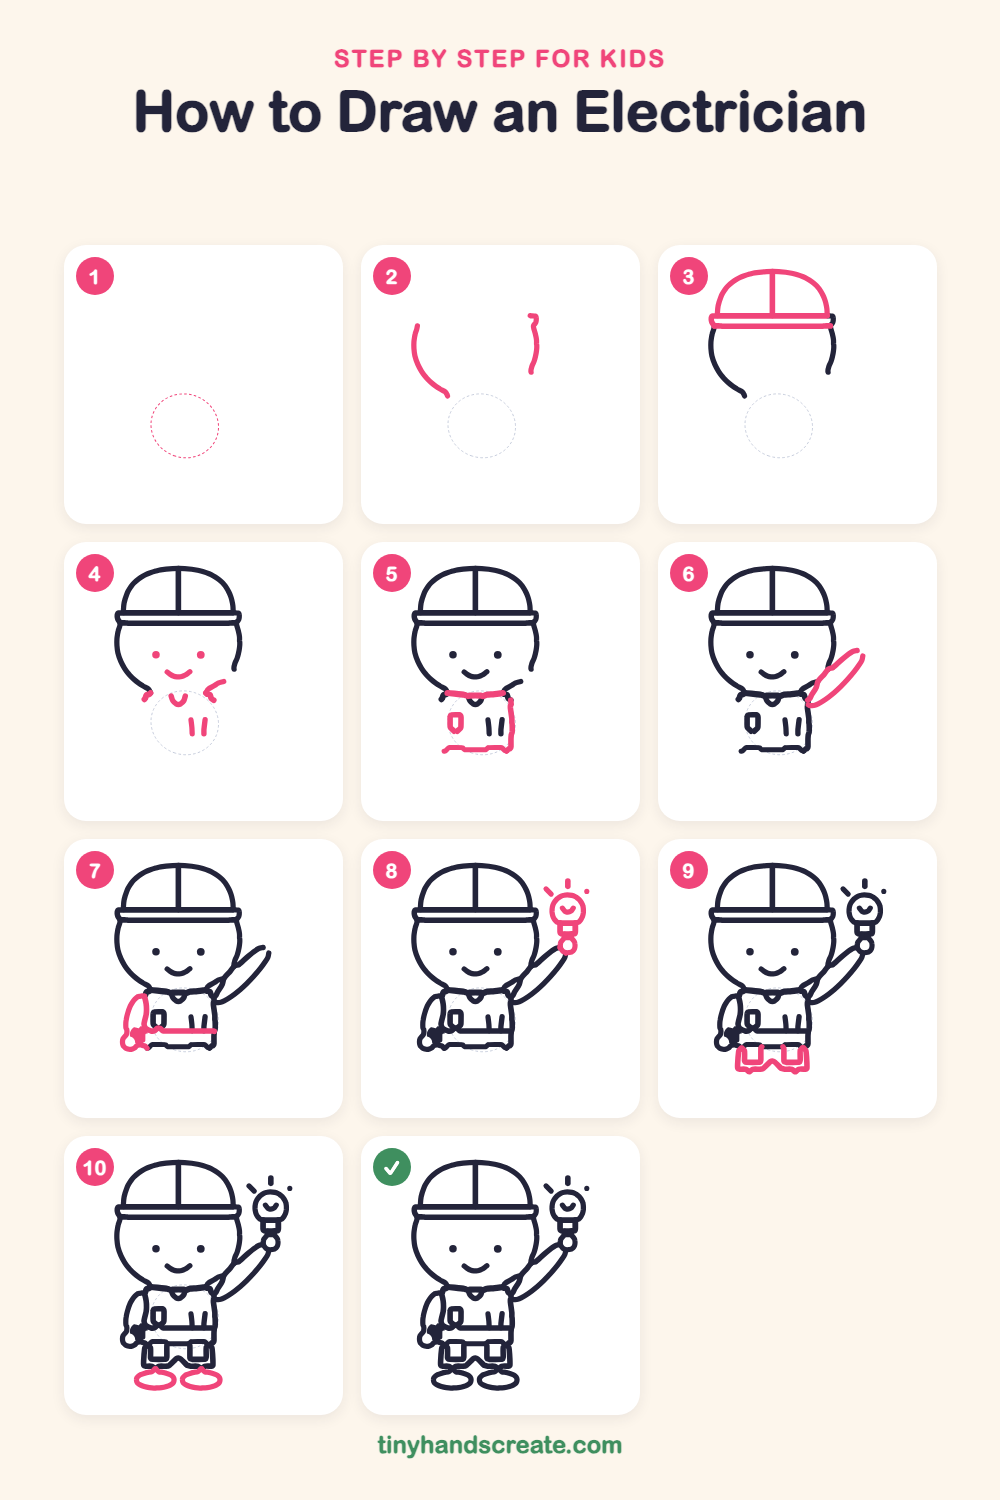
Step 1: Guide shapes
Lightly sketch this oval. It only shows where the big parts go, so press softly. You will erase it at the end.
Step 2: Head sides
Draw a curved line on the left like the side of a big circle, and a shorter curved line on the right. Leave the top and the bottom open for now.
Step 3: The hard hat
Draw a big dome across the top of the head and add a straight line down the middle. Finish with a long, skinny rounded brim along the bottom of the dome.
Step 4: Face and collar
Draw two small dots for eyes and a curved smile underneath. Add a little V shape under the chin for the collar, two tiny lines at the shoulders, and two short lines on the chest.
Step 5: Shirt and pocket
Under the head, draw a short wide box for the shirt, starting with a line across the top. Add a small rounded pocket on the left side of the shirt.
Step 6: Raised sleeve
On the right side of the shirt, draw a long, narrow leaf shape that slants up and out, like the sleeve of a raised arm.
Step 7: Left arm and belt
On the left, draw a curved sleeve hanging down from the shoulder with a small circle at the bottom for the hand. Then draw a straight line across the middle of the shirt for the tool belt.
Step 8: Light bulb and hand
Stretch the raised arm up with a long curved line and draw a small circle for the hand at the top. Above it, draw a round bulb with a small base, a tiny smile inside, and three short lines around it for the glow.
Step 9: Shorts
Under the belt, draw shorts with two square leg openings and a wavy dip between them. The bottom edge is bumpy, not straight.
Step 10: Oval shoes
At the bottom, draw two wide ovals side by side for the shoes, one under each leg.
All done!
Erase the guide shapes, go over your lines, then color it in.
Finished your electrician? Keep the pencils out and learn how to draw an orchestra conductor or how to draw a kid doing yoga next.
Tips for drawing an electrician
- Draw the two sides of the head lightly first. The hat is a dome that sits across the top, so it is easier to place when the head sides are already there.
- The raised arm is the trickiest part. Start with the long leaf-shaped sleeve by the shirt, then add one long curved line up to the hand.
- Draw the light bulb as a circle first, then add the small base underneath. Add the three little rays last, spaced around the top.
Free electrician coloring page
Want to go straight to coloring? Open this electrician coloring page at full size and print it. It is the same drawing you just learned, with clean lines ready for crayons or markers.
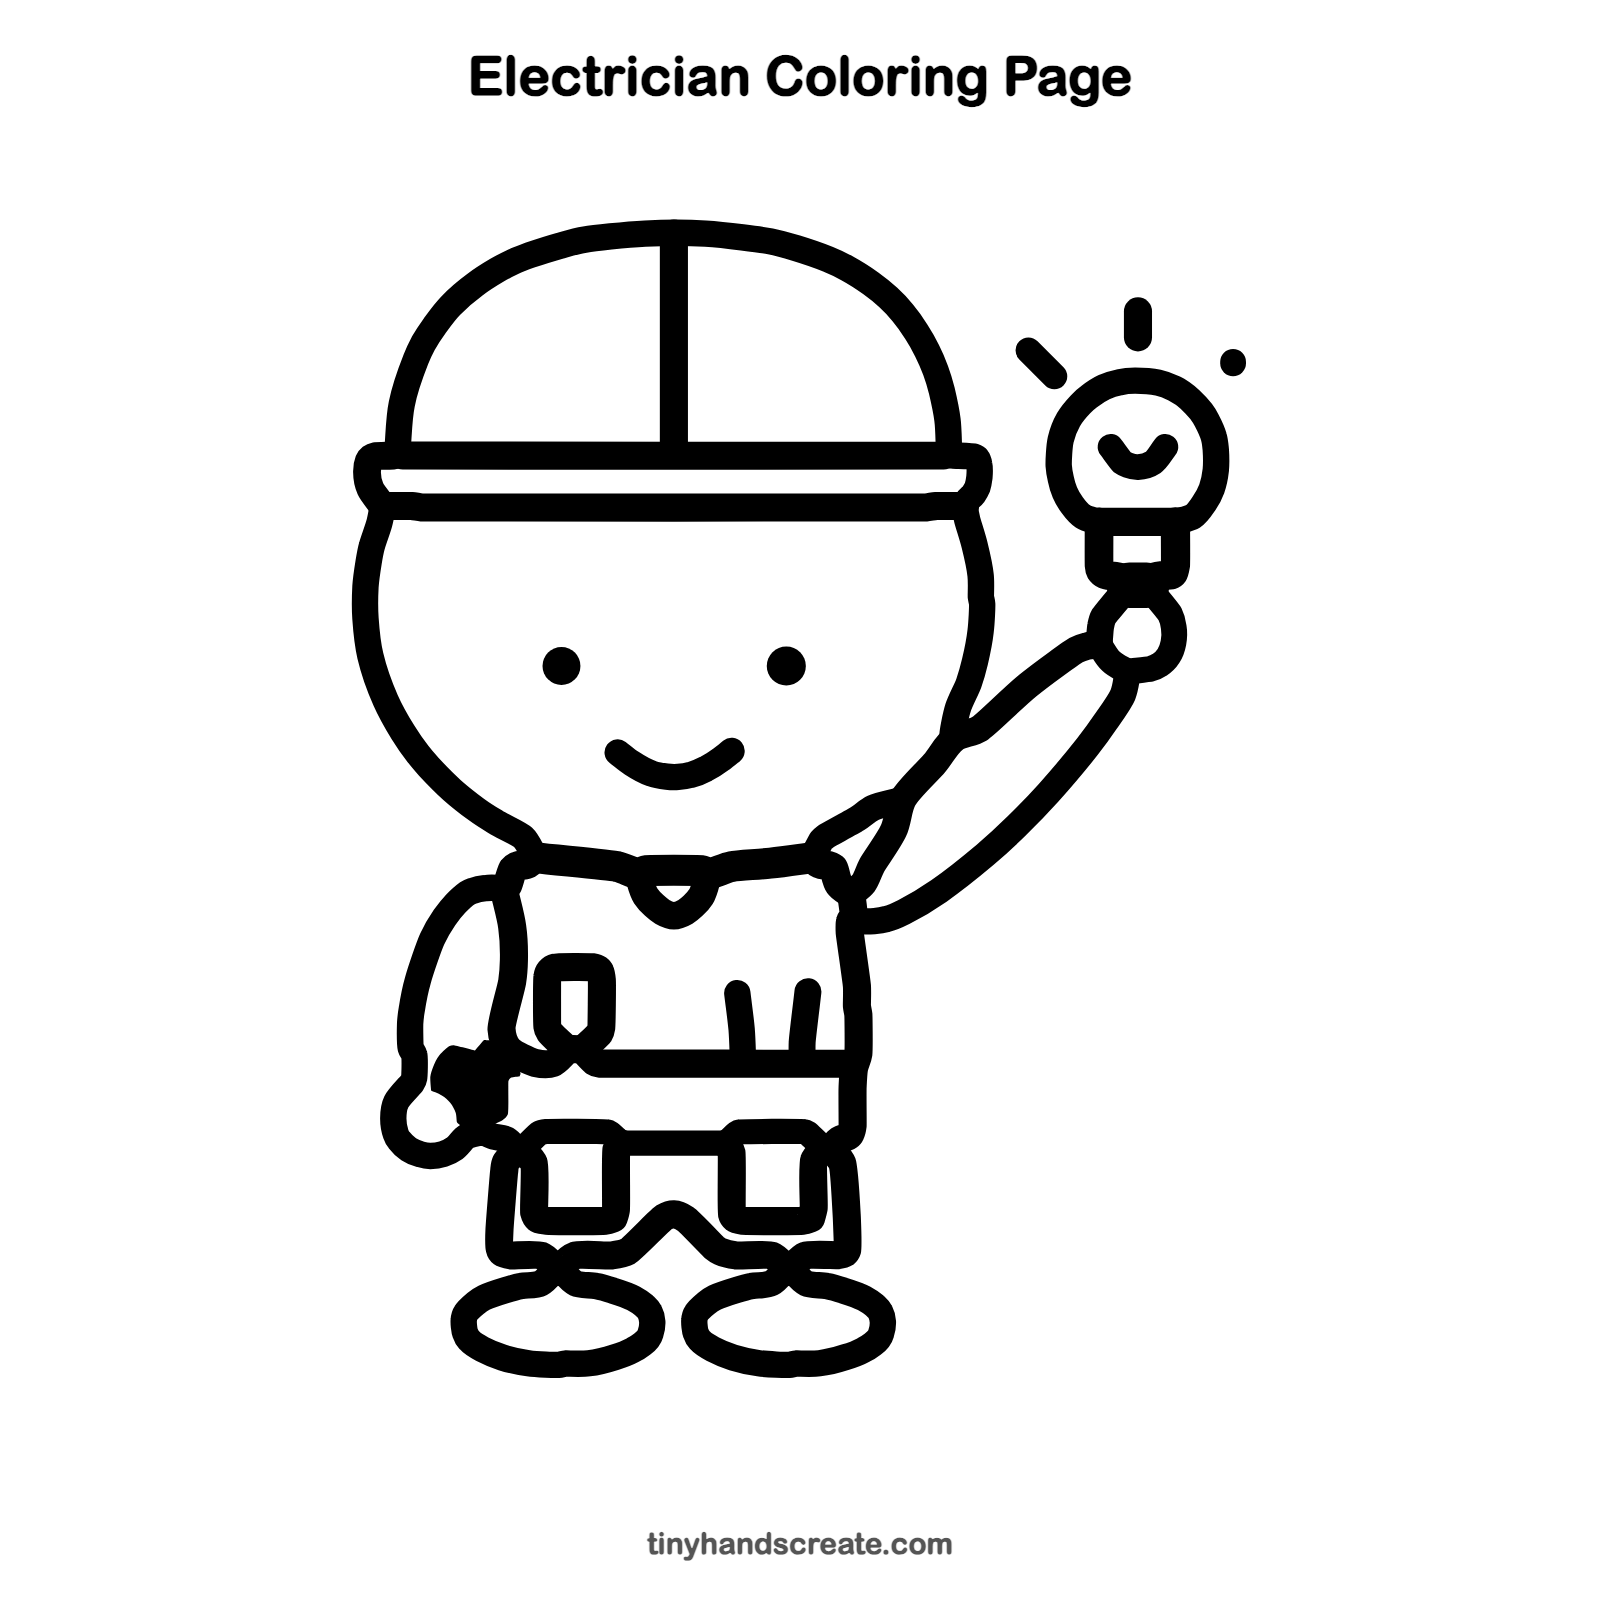
How to color your electrician drawing
Try a yellow or orange hard hat, a blue shirt and brown tool belt, with a bright yellow bulb. For a creative twist, color the glow around the bulb in soft rainbow stripes.
Electrician fun fact for kids
Electricians often use tools with rubber handles because rubber does not let electricity flow through it easily.
Questions about drawing an electrician
What shapes do I need to draw an electrician?
You need curved lines for the head, a dome for the hat, a box for the shirt and two ovals for the shoes. The light bulb is a circle with a small base under it.
How do I make my electrician look friendlier?
Give them a curved smile and two round dot eyes set wide apart. Keep the lines smooth and the head extra round.
How do I draw the hard hat so it sits right?
Draw a dome with a line down the middle, then add a long, skinny rounded brim along the bottom. The hat should sit across the top of the head.