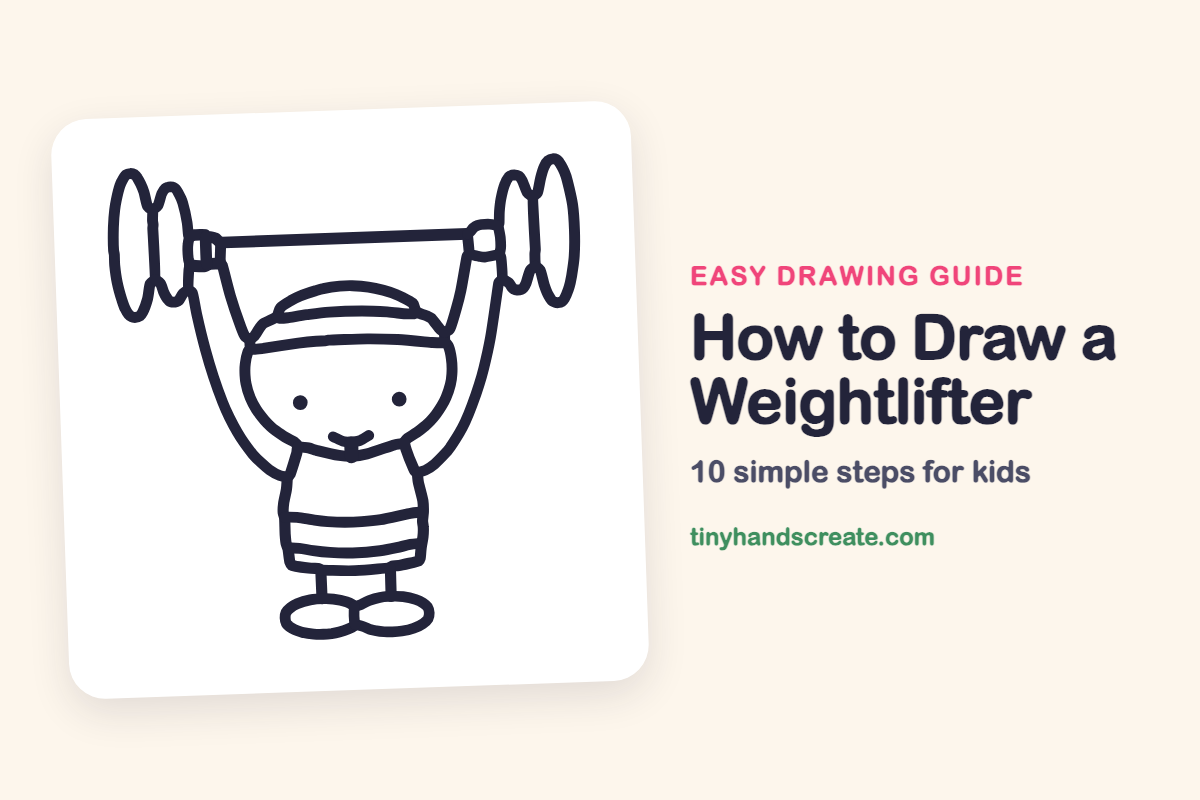
How to Draw a Weightlifter (Easy Step by Step)
A weightlifter is a fun drawing because a small, smiling character holds a big barbell high overhead. It is built from circles, ovals and long straight and curved lines. If you can draw a ball, a stick and a pair of ovals, you can draw this.
- Medium
- 15 minutes
- 10 steps
You need: paper, a pencil, an eraser, and crayons or markers for coloring.
Start drawingIn this article (7 sections)
How to draw a weightlifter step by step
How to Draw a Weightlifter · tinyhandscreate.com
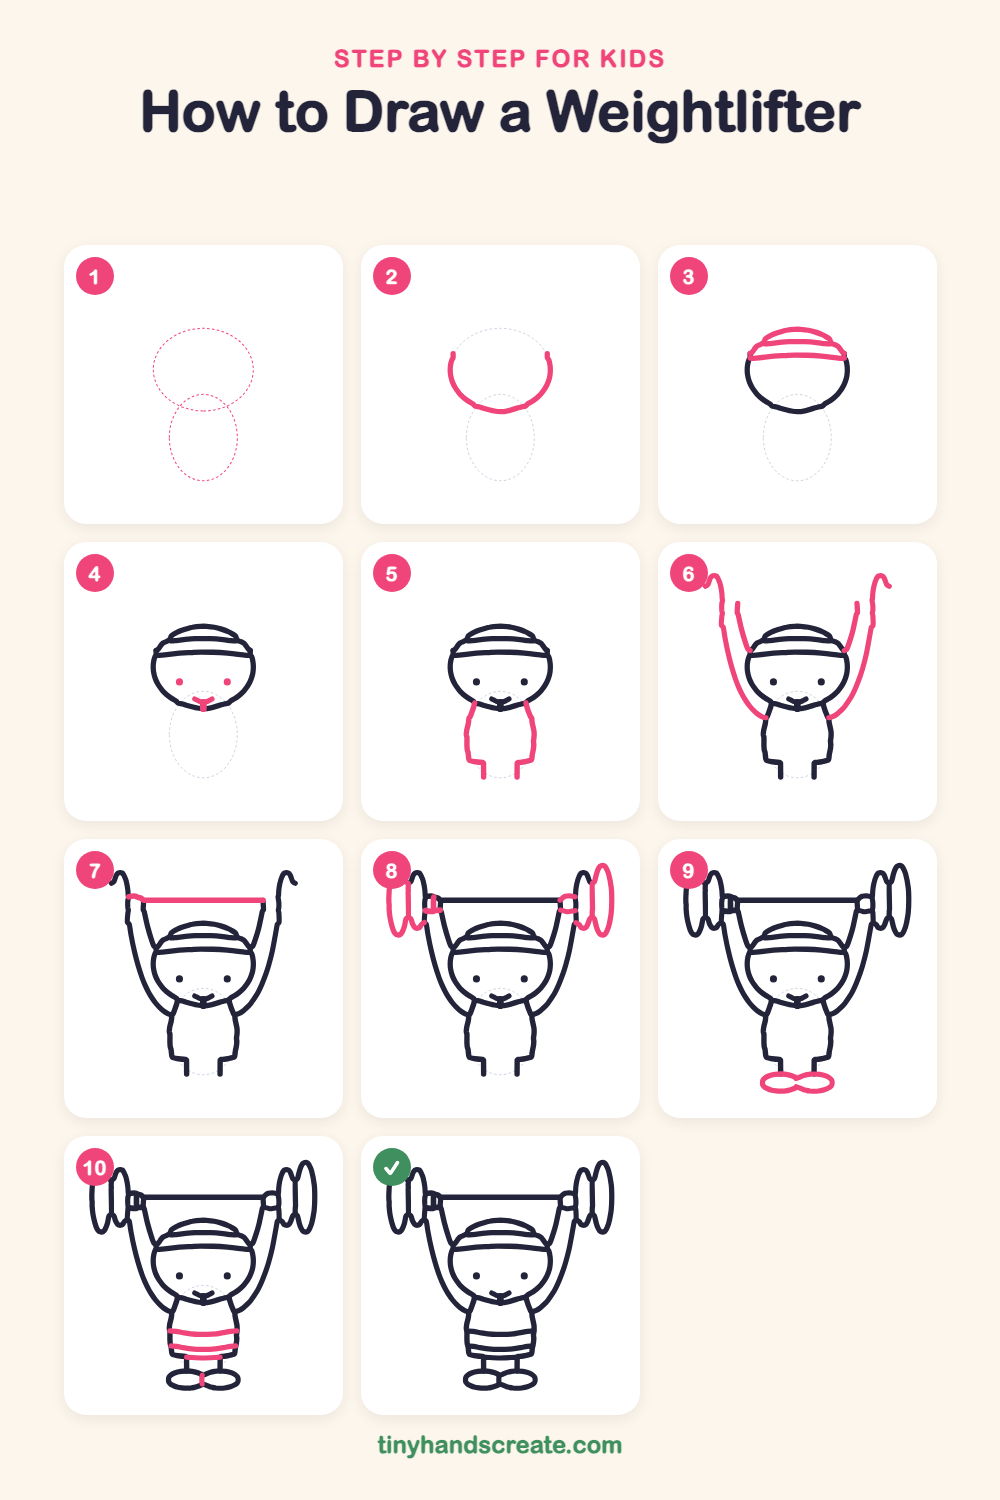
Step 1: Guide shapes
Lightly sketch these 2 ovals. They only show where the big parts go, so press softly. You will erase them at the end.
Step 2: Head outline
Draw a rounded U shape for the bottom of the head, starting at the left side of the middle of your page, curving down, and rising up on the right. Leave the top open for now.
Step 3: Cap and headband
Draw a curved dome across the top of the head for a cap. Then draw a gently curved line just under it, going from one side of the head to the other, for a headband.
Step 4: Eyes and smile
Add two small dots for eyes, spaced apart in the middle of the face. Below them, draw a little curved smile with a tiny line hanging down from its middle.
Step 5: The shirt body
Under the head, draw a line down on each side for the sides of the shirt. At the bottom of each side, add a small step in and a short line down for the tops of the legs.
Step 6: Arms up high
Start at each shoulder and draw a long curved line up past the head, ending in a little curl at the top. Draw a second line beside each one so every arm is a long, thin shape reaching up.
Step 7: The barbell bar
Draw one long straight line across the top, from the top of one arm to the top of the other, like a bar for the hands to hold.
Step 8: Weight plates and fists
At each end of the bar, draw a tall, skinny oval for a weight plate, with a second oval beside it. Add small curved shapes where the hands wrap around the bar.
Step 9: Shoes
At the bottom of the legs, draw two flat ovals side by side for shoes, with the two ovals just touching in the middle.
Step 10: Stripes and belt
Draw two curved lines across the shirt to make stripes. Add another curved line near the bottom of the shirt for the belt, and a tiny line between the shoes.
All done!
Erase the guide shapes, go over your lines, then color it in.
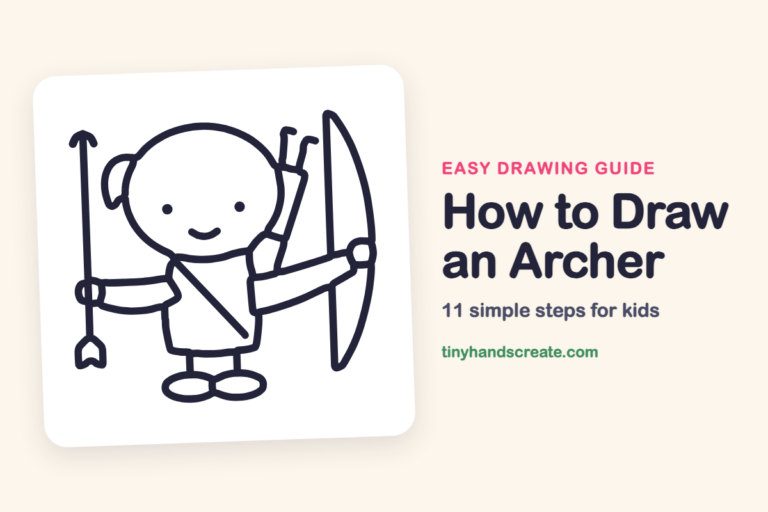
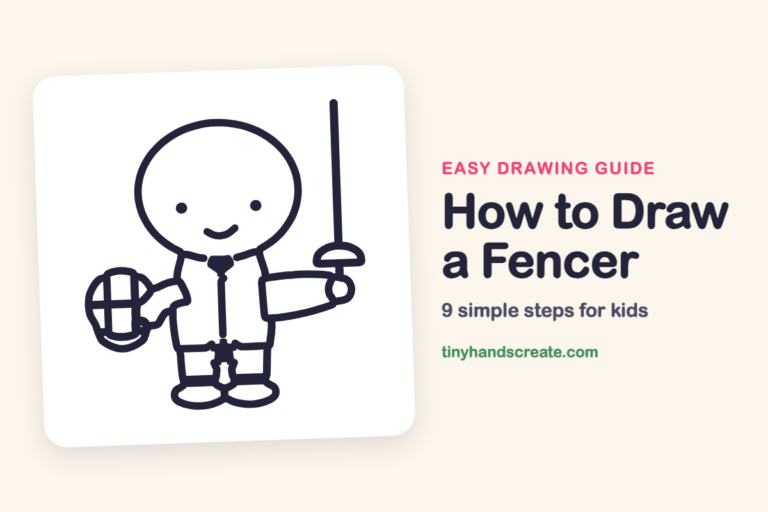
Finished your weightlifter? Keep the pencils out and learn how to draw an archer or how to draw a fencer next.
Tips for drawing a weightlifter
- Draw the bar before the plates, then fit one tall oval on each end. Keep both sides the same height so the barbell looks balanced.
- The arms are the trickiest part. Draw one long gentle curve first, then add the second line next to it so the arm stays about the same width.
- Leave plenty of room above the head for the arms and the bar. If the arms feel too short, start them lower near the shoulders and let them stretch up.
Free weightlifter coloring page
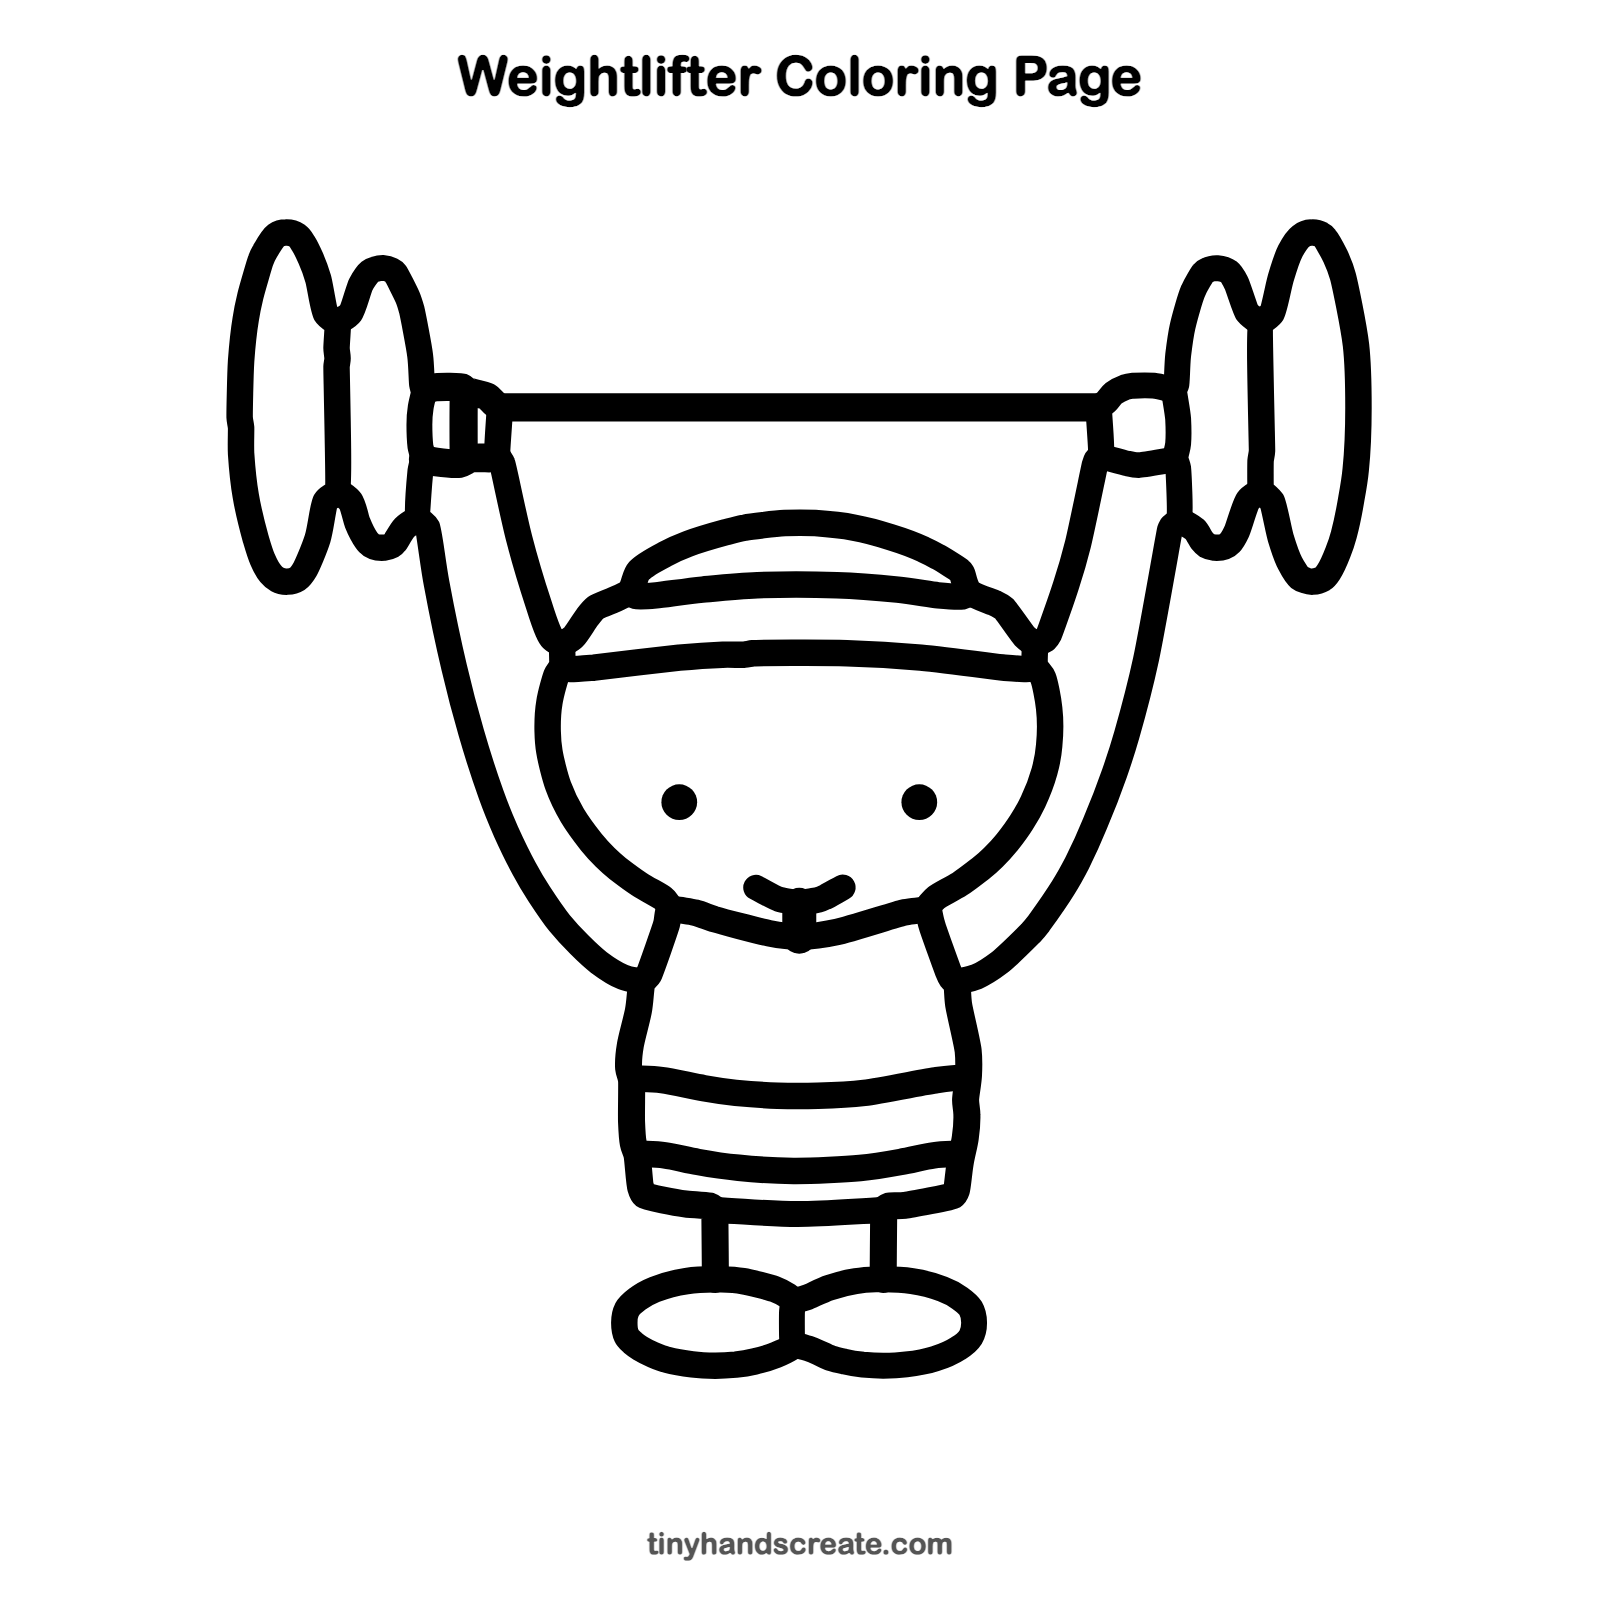
Want to go straight to coloring? Open this weightlifter coloring page at full size and print it. It is the same drawing you just learned, with clean lines ready for crayons or markers.
How to color your weightlifter drawing
Try a red cap and headband, a blue striped shirt, and gray or black plates so they look heavy. For a creative twist, color each plate a different rainbow color.
Weightlifter fun fact for kids
Weightlifting has been part of the modern Olympic Games since the very first ones, held in Athens, Greece, in 1896.
Questions about drawing a weightlifter
What shapes do I need to draw a weightlifter?
You need a rounded shape for the head, tall ovals for the weight plates and flat ovals for the shoes. Add long lines for the arms and the bar, and straight sides for the shirt.
How do I make my weightlifter look strong?
Make the weight plates big and keep the arms stretched up. A big smile and a headband also make the character look tough and happy.
How can I draw the barbell so both sides match?
Draw the straight bar first. Then draw a tall oval of the same size on each end, and add a second oval next to each one.