How to Draw a Lamp (Easy Step by Step)
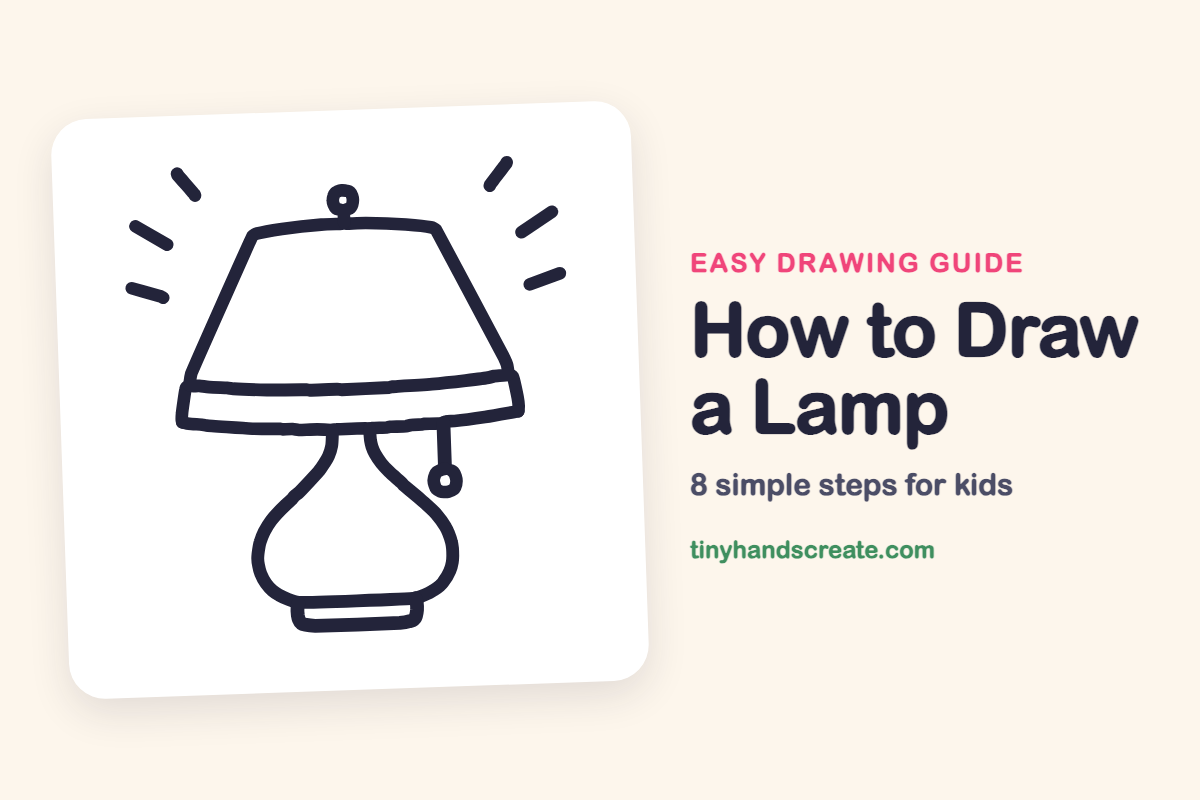
A glowing table lamp is a cozy thing to draw, and it is built from just a few simple shapes. You will start with a wide shade shaped like a trapezoid, add a ribbon band, a pear-shaped base and a little foot, and finish with a knob, a pull chain and light rays. The rays at the end make the whole lamp look like it just switched on.
- Easy
- 10 minutes
- 8 steps
You need: paper, a pencil, an eraser, and crayons or markers for coloring.
Start drawingIn this article (7 sections)
How to draw a lamp step by step
How to Draw a Lamp · tinyhandscreate.com
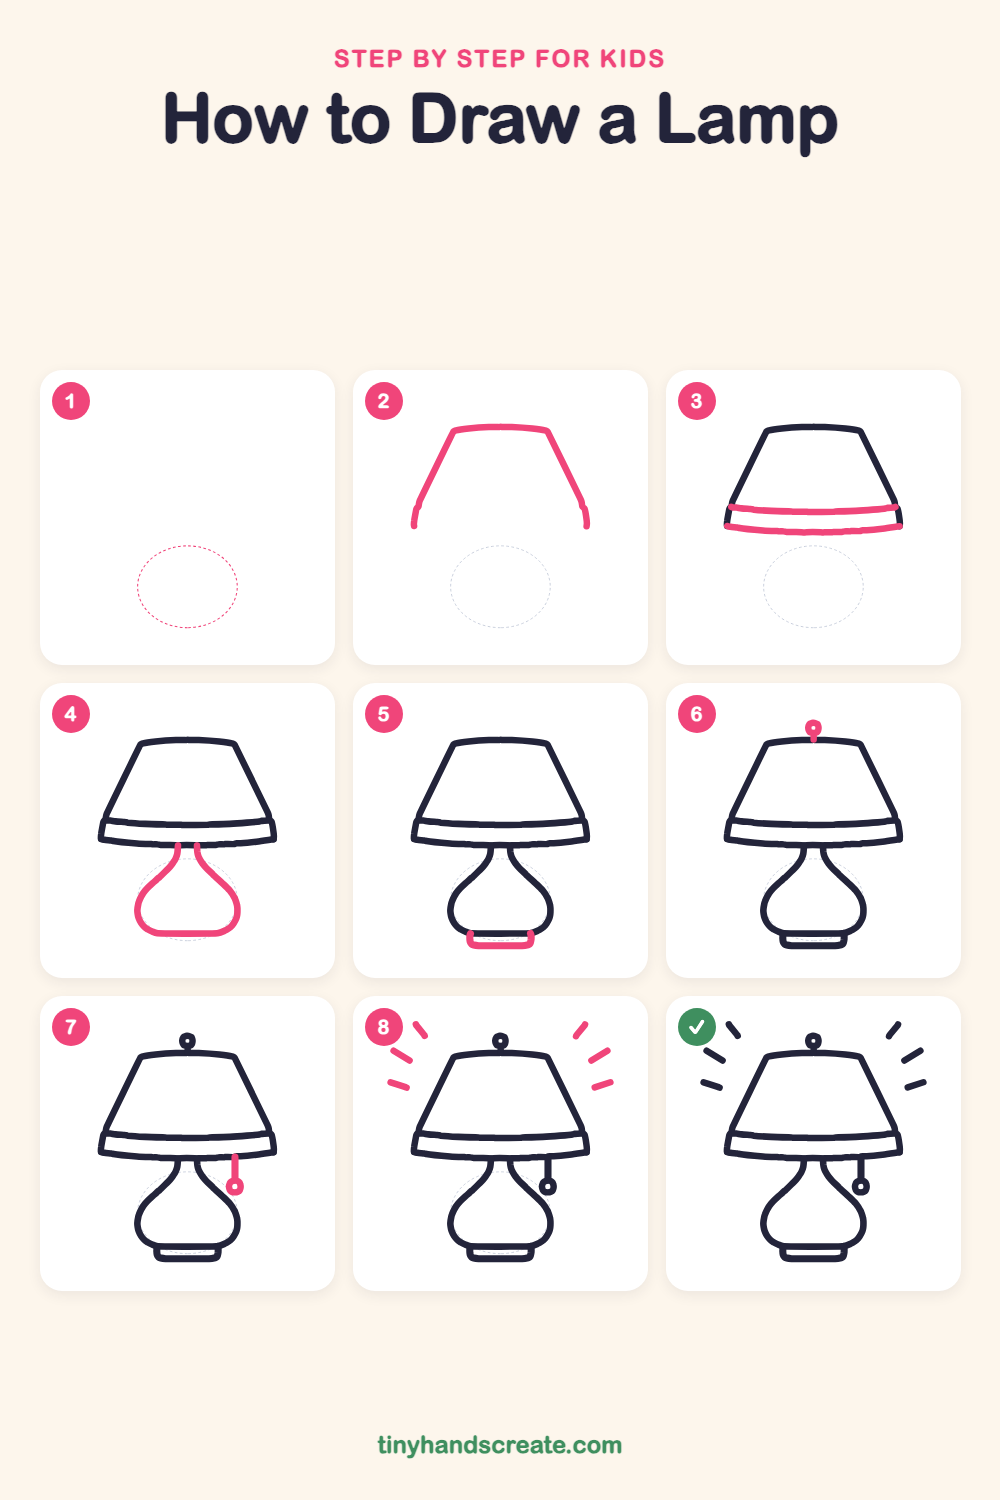
Step 1: Guide shapes
Lightly sketch this oval. It only shows where the big parts go, so press softly. You will erase it at the end.
Step 2: Top of the shade
Draw a gently curved line for the top of the lampshade. From each end, draw a straight line slanting down and outward, so it looks like a wide hat with no bottom yet.
Step 3: The shade band
Close the bottom of the shade with two long, gently curved lines, one above the other. Join their ends with tiny side lines to make a ribbon around the shade.
Step 4: The lamp base
Under the middle of the shade, draw two short lines going down for the neck. Let them swoop out into a big round belly, like a pear, and close the bottom with a flat line.
Step 5: The little foot
Draw a short, wide rounded rectangle under the belly, like a small step the lamp stands on.
Step 6: The top knob
On top of the shade, draw a small circle with a tiny dot inside. Add a very short line joining it to the top of the shade.
Step 7: The pull chain
On the right side, draw a short straight line hanging down from the bottom of the shade. Finish it with a small circle at the end, with a tiny dot inside.
Step 8: Shining light rays
Draw three short lines on the left and three on the right of the shade. Slant them outward like sunbeams so the lamp looks like it is glowing.
All done!
Erase the guide shapes, go over your lines, then color it in.
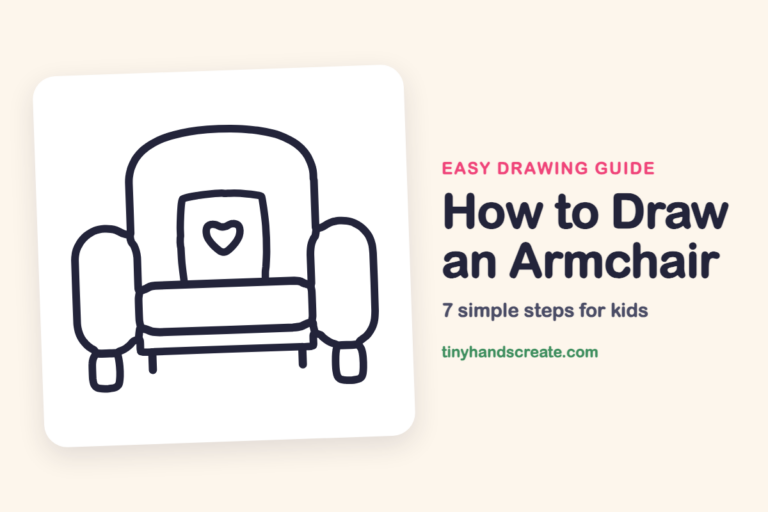
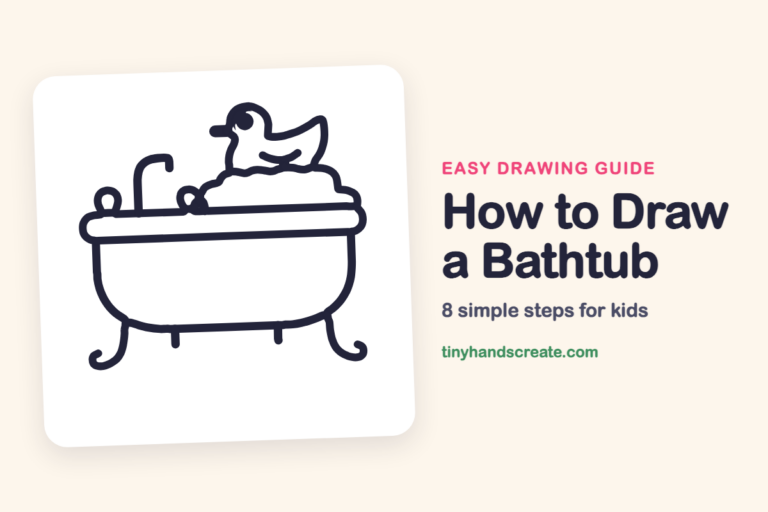
Finished your lamp? Keep the pencils out and learn how to draw an armchair or how to draw a bathtub next.
Tips for drawing a lamp
- The shade is the trickiest part. Draw the top line shorter than the bottom of the shade so the sides slant outward evenly.
- Make the two band lines curve the same way, bending just a little, so they look like a ribbon wrapped around the shade.
- Draw the base starting from the neck and let it swell out slowly. If one side looks different from the other, that is fine, because real lamps are a little uneven too.
Free lamp coloring page
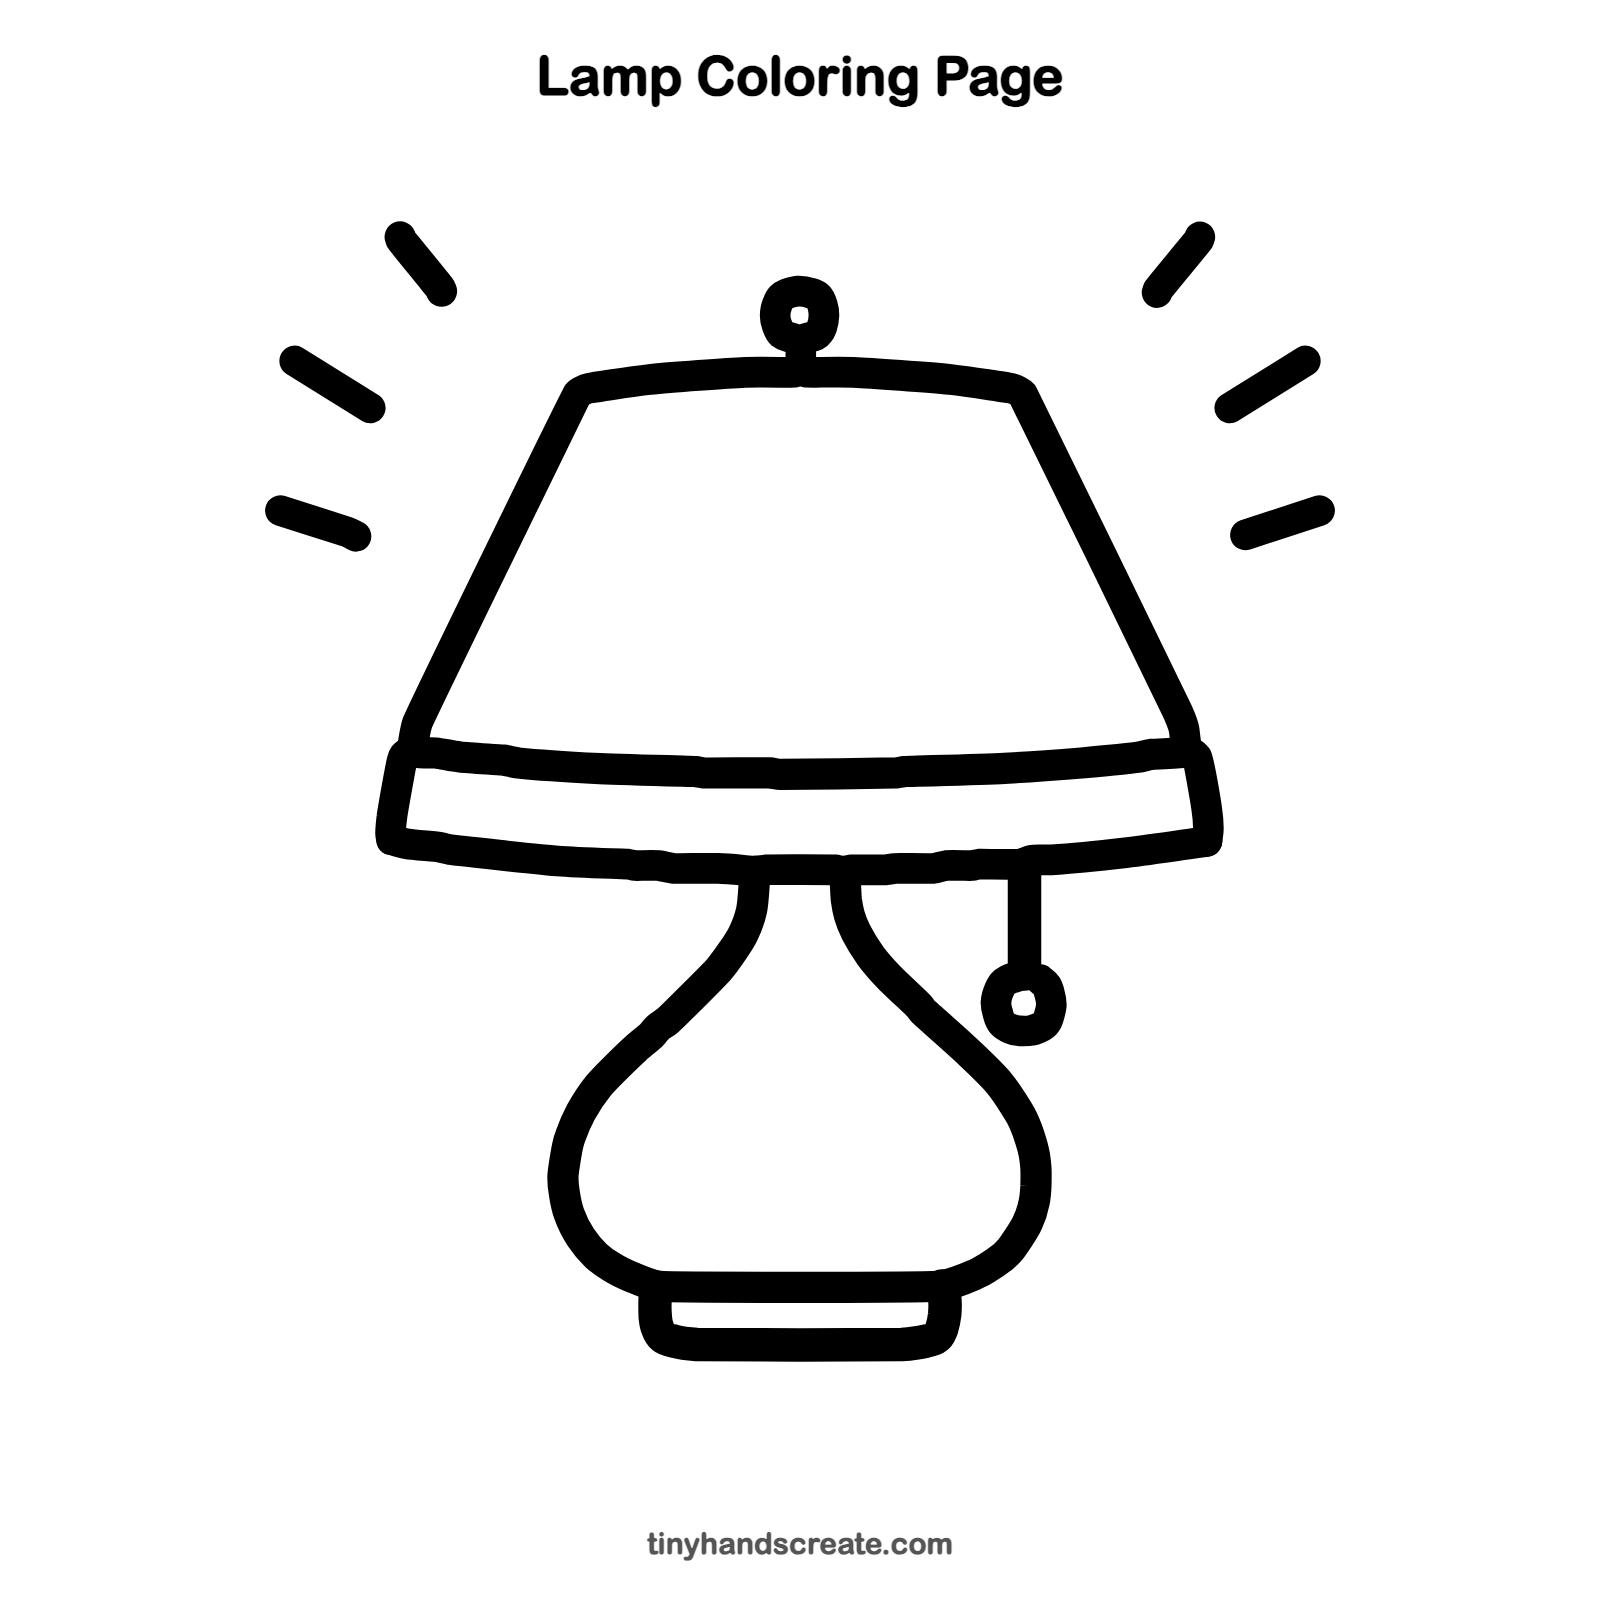
Want to go straight to coloring? Open this lamp coloring page at full size and print it. It is the same drawing you just learned, with clean lines ready for crayons or markers.
How to color your lamp drawing
Try a warm yellow or cream for the shade and a bright blue or green for the base, with yellow rays around it. For a creative twist, color the band with polka dots or stripes, or color a dark night sky behind the lamp so its glow stands out.
Lamp fun fact for kids
The word "lamp" comes from the Greek word "lampas," which meant a torch. People have used lamps of many kinds for thousands of years.
Questions about drawing a lamp
What shapes do I need to draw a lamp?
You need a trapezoid for the shade, a pear shape for the base, and a few small circles and short lines for the knob, the pull chain and the light rays.
How do I make my lamp look like it is turned on?
Add short slanted lines around the shade to show the light shining out. Coloring the shade a bright yellow also helps it look glowing.
How do I draw a lamp shade that looks even?
Start with a short top line and let the two sides slant outward by the same amount. Lightly checking that both sides lean the same way helps a lot.