How to Draw a Sock (Easy Step by Step)
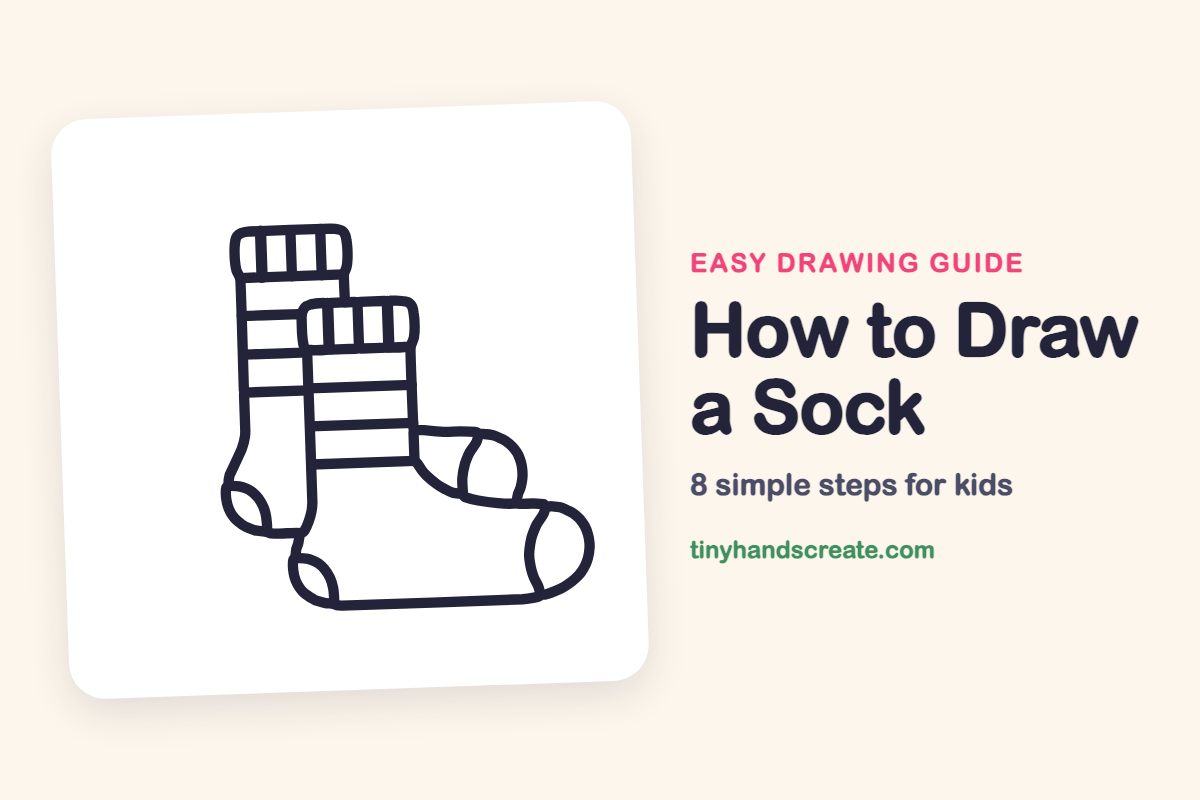
A pair of striped socks is a fun first drawing because it is built from rectangles, curves and straight lines. You draw the back sock first, then the front sock, and add ribbed cuffs, stripes, toes and heels. Overlapping the two socks makes your picture look like a real pair sitting side by side.
- Easy
- 12 minutes
- 8 steps
You need: paper, a pencil, an eraser, and crayons or markers for coloring.
Start drawingIn this article (7 sections)
How to draw a sock step by step
How to Draw a Sock · tinyhandscreate.com
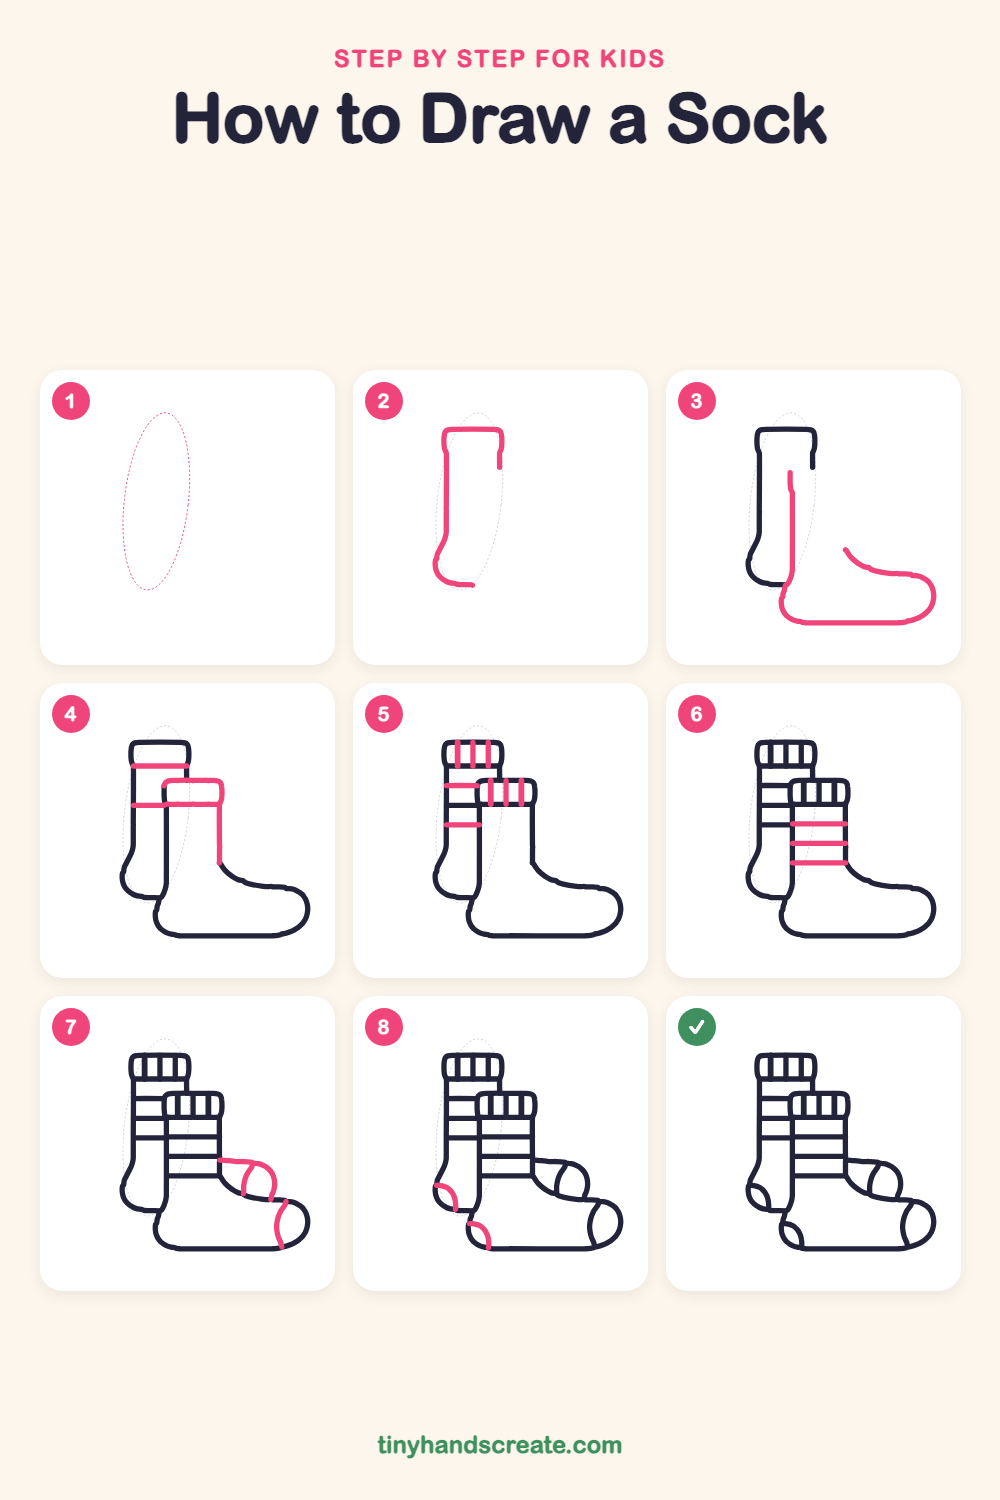
Step 1: Guide shapes
Lightly sketch this oval. It only shows where the big parts go, so press softly. You will erase it at the end.
Step 2: The back sock
Start with the sock behind. Draw the top of a tall leg, then a long line down the left side that curves into a small rounded heel and runs a little way to the right. Leave the right side open, because the other sock will cover it.
Step 3: The front sock
Draw a long line down for the front of the leg, then curve it into a flat bottom and a rounded toe on the right. Finish by sweeping a curved line back up and to the left along the top of the foot.
Step 4: The cuffs
Draw a line across the back sock just under its top to make its cuff. Draw a small rounded rectangle at the top of the front sock, then a straight line down its right side to meet the foot. Add a line across under the front cuff.
Step 5: Cuff ribs and back stripes
Draw three short up-and-down lines inside each cuff, evenly spaced, like ribbing. Then add two straight lines across the back sock's leg.
Step 6: Front sock stripes
Add three straight lines across the front sock's leg, from one edge to the other. Space them out evenly to make cozy stripes.
Step 7: The toe
Start at the edge of the leg and draw a short line going right along the top of the foot, then bend it down into a curved arch. Add one more curved line near the very tip of the toe.
Step 8: The heels
Draw a small curved line in the heel corner of each sock, from the edge down to the bottom, so each makes a little rounded heel patch.
All done!
Erase the guide shapes, go over your lines, then color it in.
Finished your sock? Keep the pencils out and learn how to draw a swing set or how to draw a playground slide next.
Tips for drawing a sock
- Draw the back sock first and stop its lines where the front sock will go. Then you will not have to erase any lines that cross.
- Keep the stripes straight by making each one the same distance from the one above it. Lightly marking the spacing with small dots first helps.
- The toe is the trickiest part. Think of it as a big rounded bump, then add the curved lines on the toe last.
Free sock coloring page
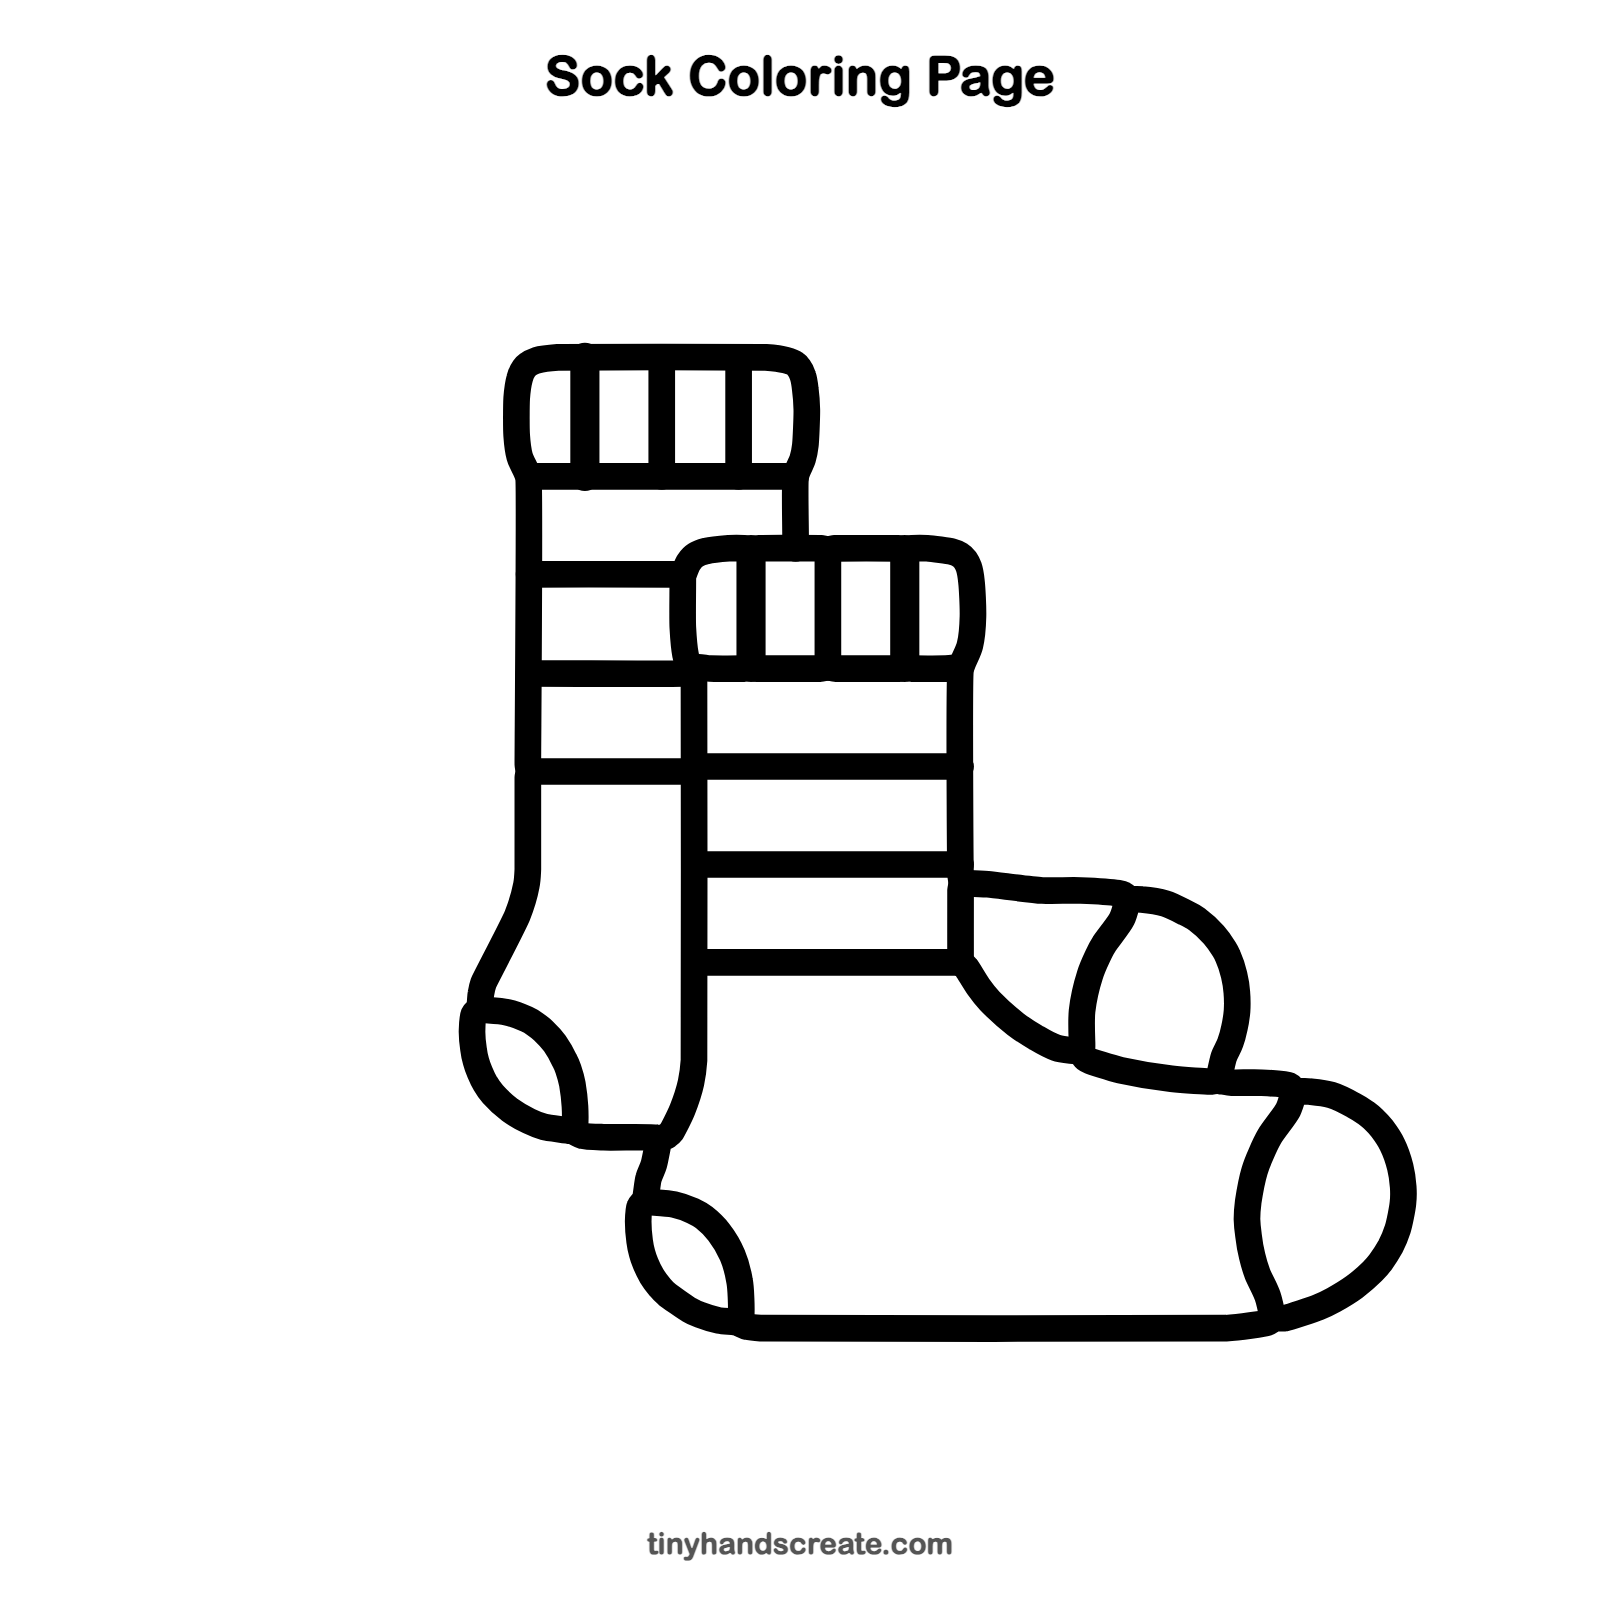
Want to go straight to coloring? Open this sock coloring page at full size and print it. It is the same drawing you just learned, with clean lines ready for crayons or markers.
How to color your sock drawing
Try red, blue and yellow stripes, or match each sock to a favorite sports team. For a creative twist, give each sock a different color pattern on its stripes and cuff.
Sock fun fact for kids
The first knitting machine, called a stocking frame, was invented by William Lee in England in 1589 to make stockings faster than knitting by hand.
Questions about drawing a sock
What shapes do I need to draw a sock?
You need a tall rectangle for the leg and a rounded boot shape for the foot. A smaller rounded rectangle makes the cuff, and straight lines make the stripes.
How do I make my socks look overlapped?
Draw the back sock first, then draw the front sock on top and stop the back sock's lines where they meet. The front sock then looks like it is in front.
How do I make my sock look cuter?
Draw the ribs in the cuff evenly spaced and keep the stripes straight and the same distance apart. Colorful stripes also make the pair look cheerful.