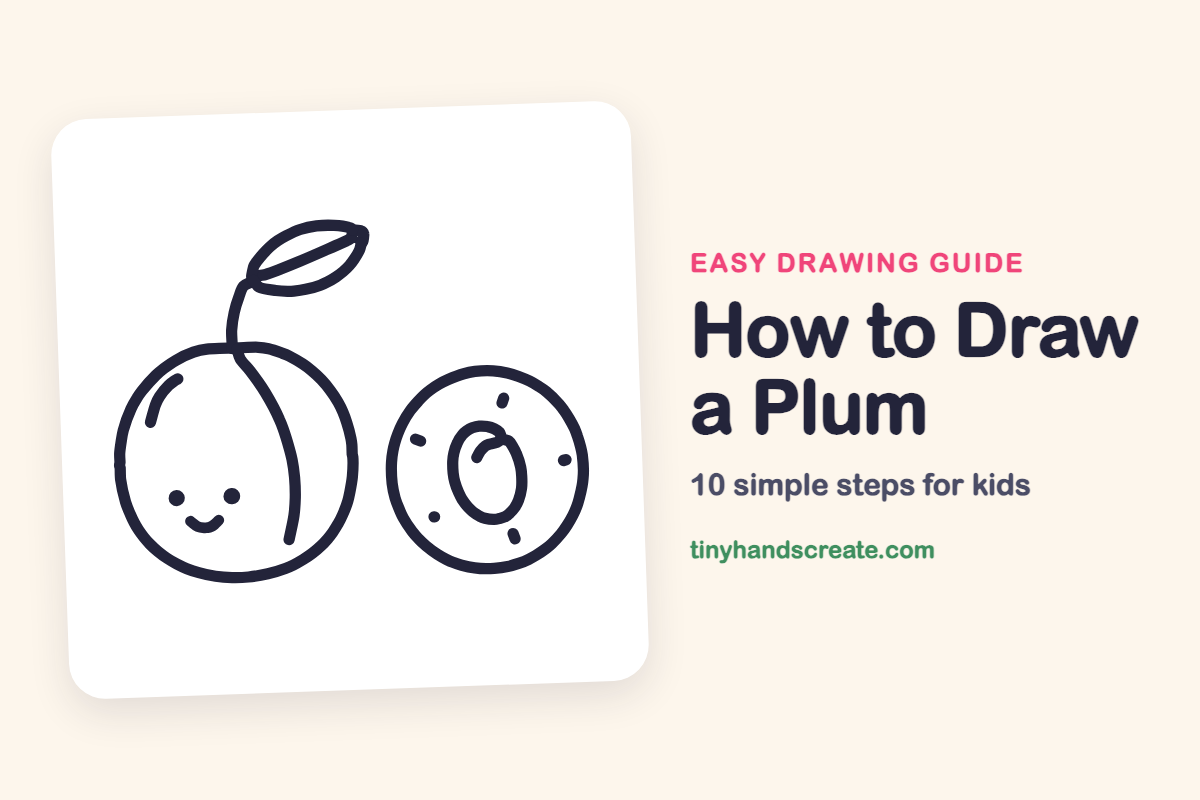
How to Draw a Plum (Easy Step by Step)
A plum is a fun first fruit to draw because it is mostly circles and curves. This guide builds a whole plum with a stem, a leaf and a smiling face, plus a sliced plum showing the pit inside. If you can draw a circle and an oval, you can do this.
- Easy
- 10 minutes
- 10 steps
You need: paper, a pencil, an eraser, and crayons or markers for coloring.
Start drawingIn this article (7 sections)
How to draw a plum step by step
How to Draw a Plum · tinyhandscreate.com
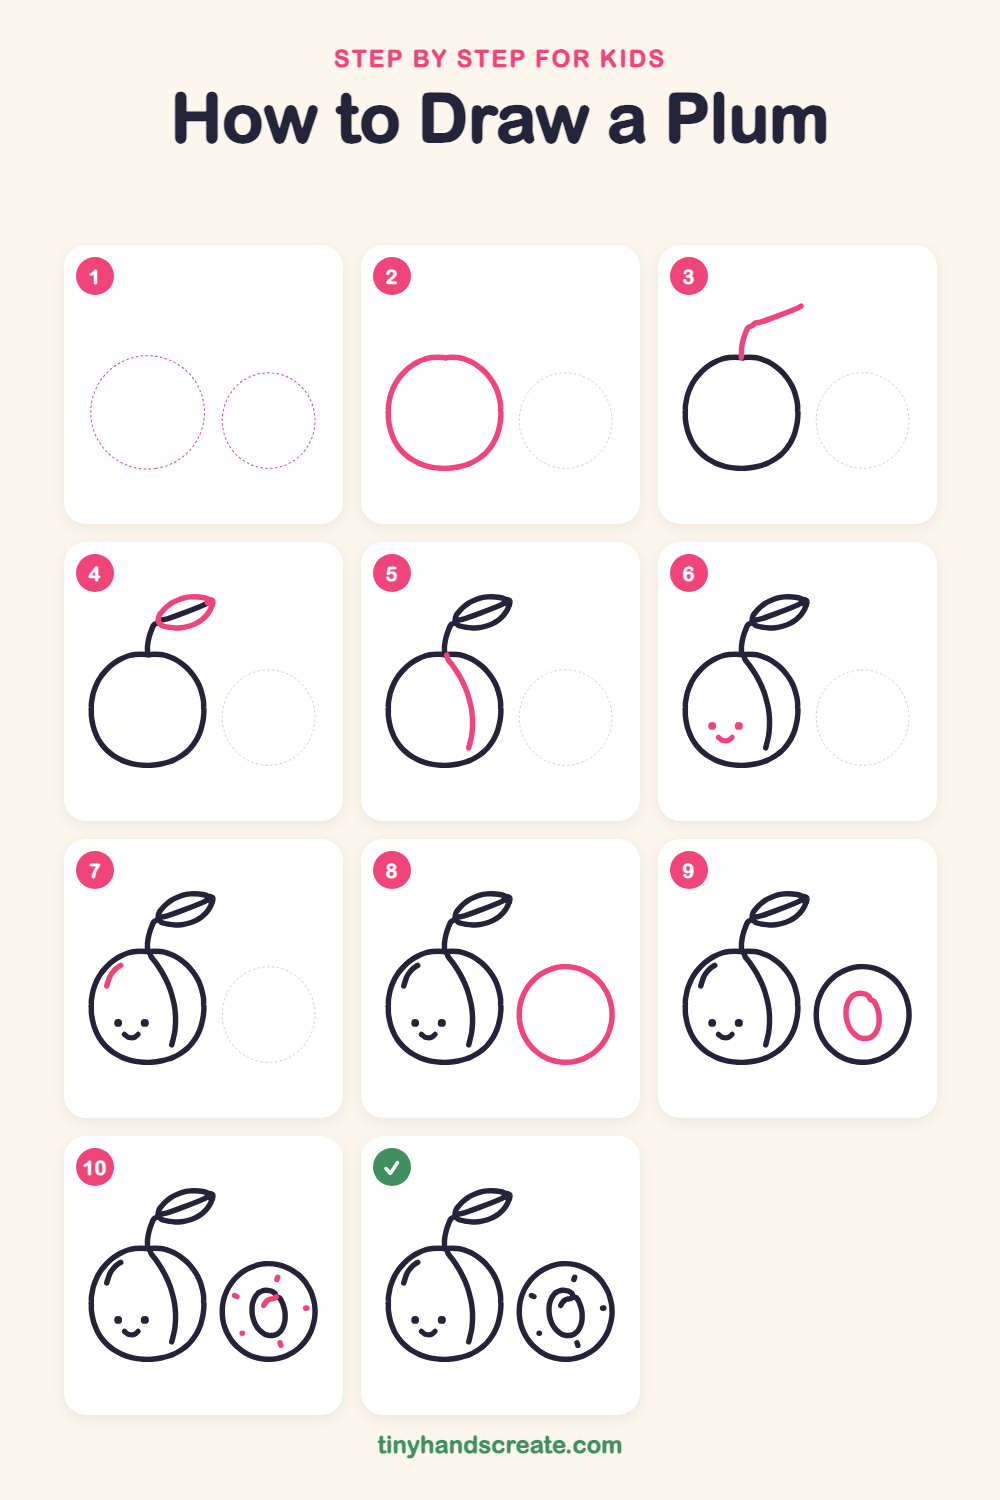
Step 1: Guide shapes
Lightly sketch these 2 ovals. They only show where the big parts go, so press softly. You will erase them at the end.
Step 2: The plum body
Draw a big round circle on the left side of your paper. It should be nice and plump, like a ball.
Step 3: The stem
Start at the top middle of the plum and draw a short curved line going up. Let it bend to the right at the top. This is the stem.
Step 4: The leaf
Around the end of the stem, draw a pointy leaf shape like a little boat. Make a curve above and a curve below, and bring them together at the tip on the right.
Step 5: The plum crease
Start under the stem and draw a long curved line that slides down the right side of the plum. Stop before you reach the bottom.
Step 6: Happy face
Add two little round dots for eyes. Then draw a small smile that curves up between them.
Step 7: The shiny spot
Near the top left inside the plum, draw a short curved line. It shows where the light is shining.
Step 8: The sliced plum
On the right side of your paper, draw another big circle. This is a plum cut in half.
Step 9: The pit
In the middle of the cut plum, draw an oval standing up tall. This is the hard stone in the center.
Step 10: Pit shine and juicy dots
Draw a small curved line at the top of the oval. Then add a few short dashes and dots in the circle around the oval, like little drops of juice.
All done!
Erase the guide shapes, go over your lines, then color it in.
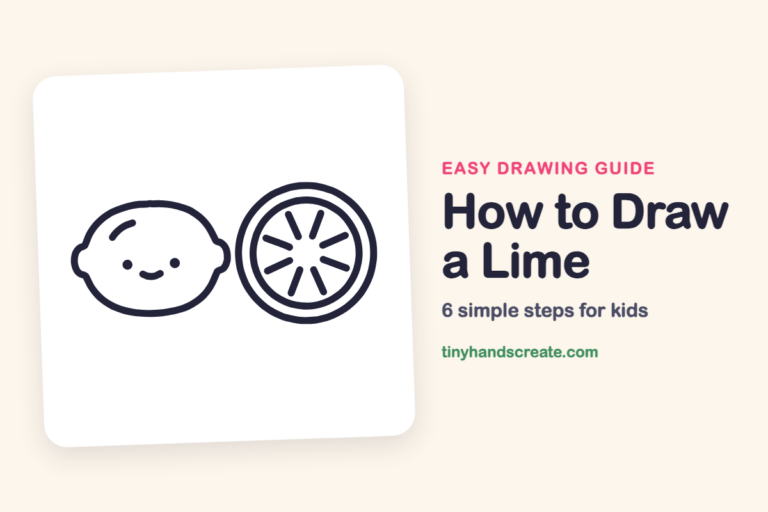
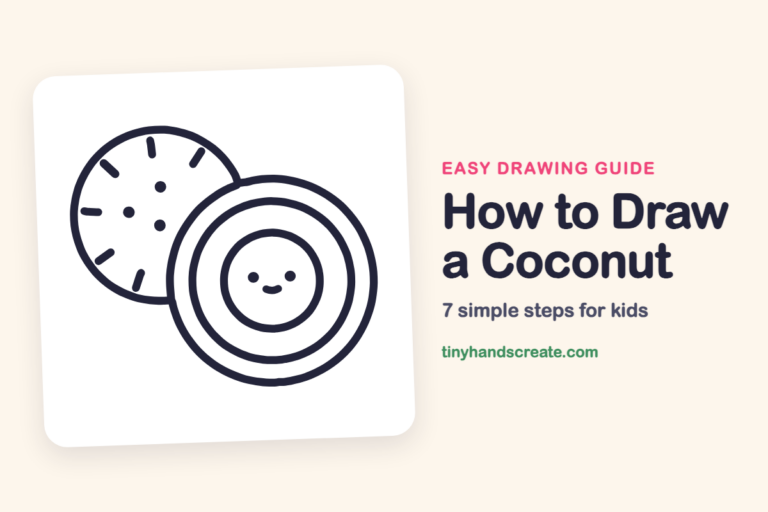
Finished your plum? Keep the pencils out and learn how to draw a lime or how to draw a coconut next.
Tips for drawing a plum
- Draw the big circle lightly first. If it comes out lopsided, a plum is allowed to be a little squished, so it still looks real.
- The curved crease line is the trickiest part. Start right under the stem and pull your pencil down slowly in one smooth swoop.
- For the sliced plum, draw the oval pit in the middle first, then add the little dashes and dots around it, spread out evenly like drops of juice.
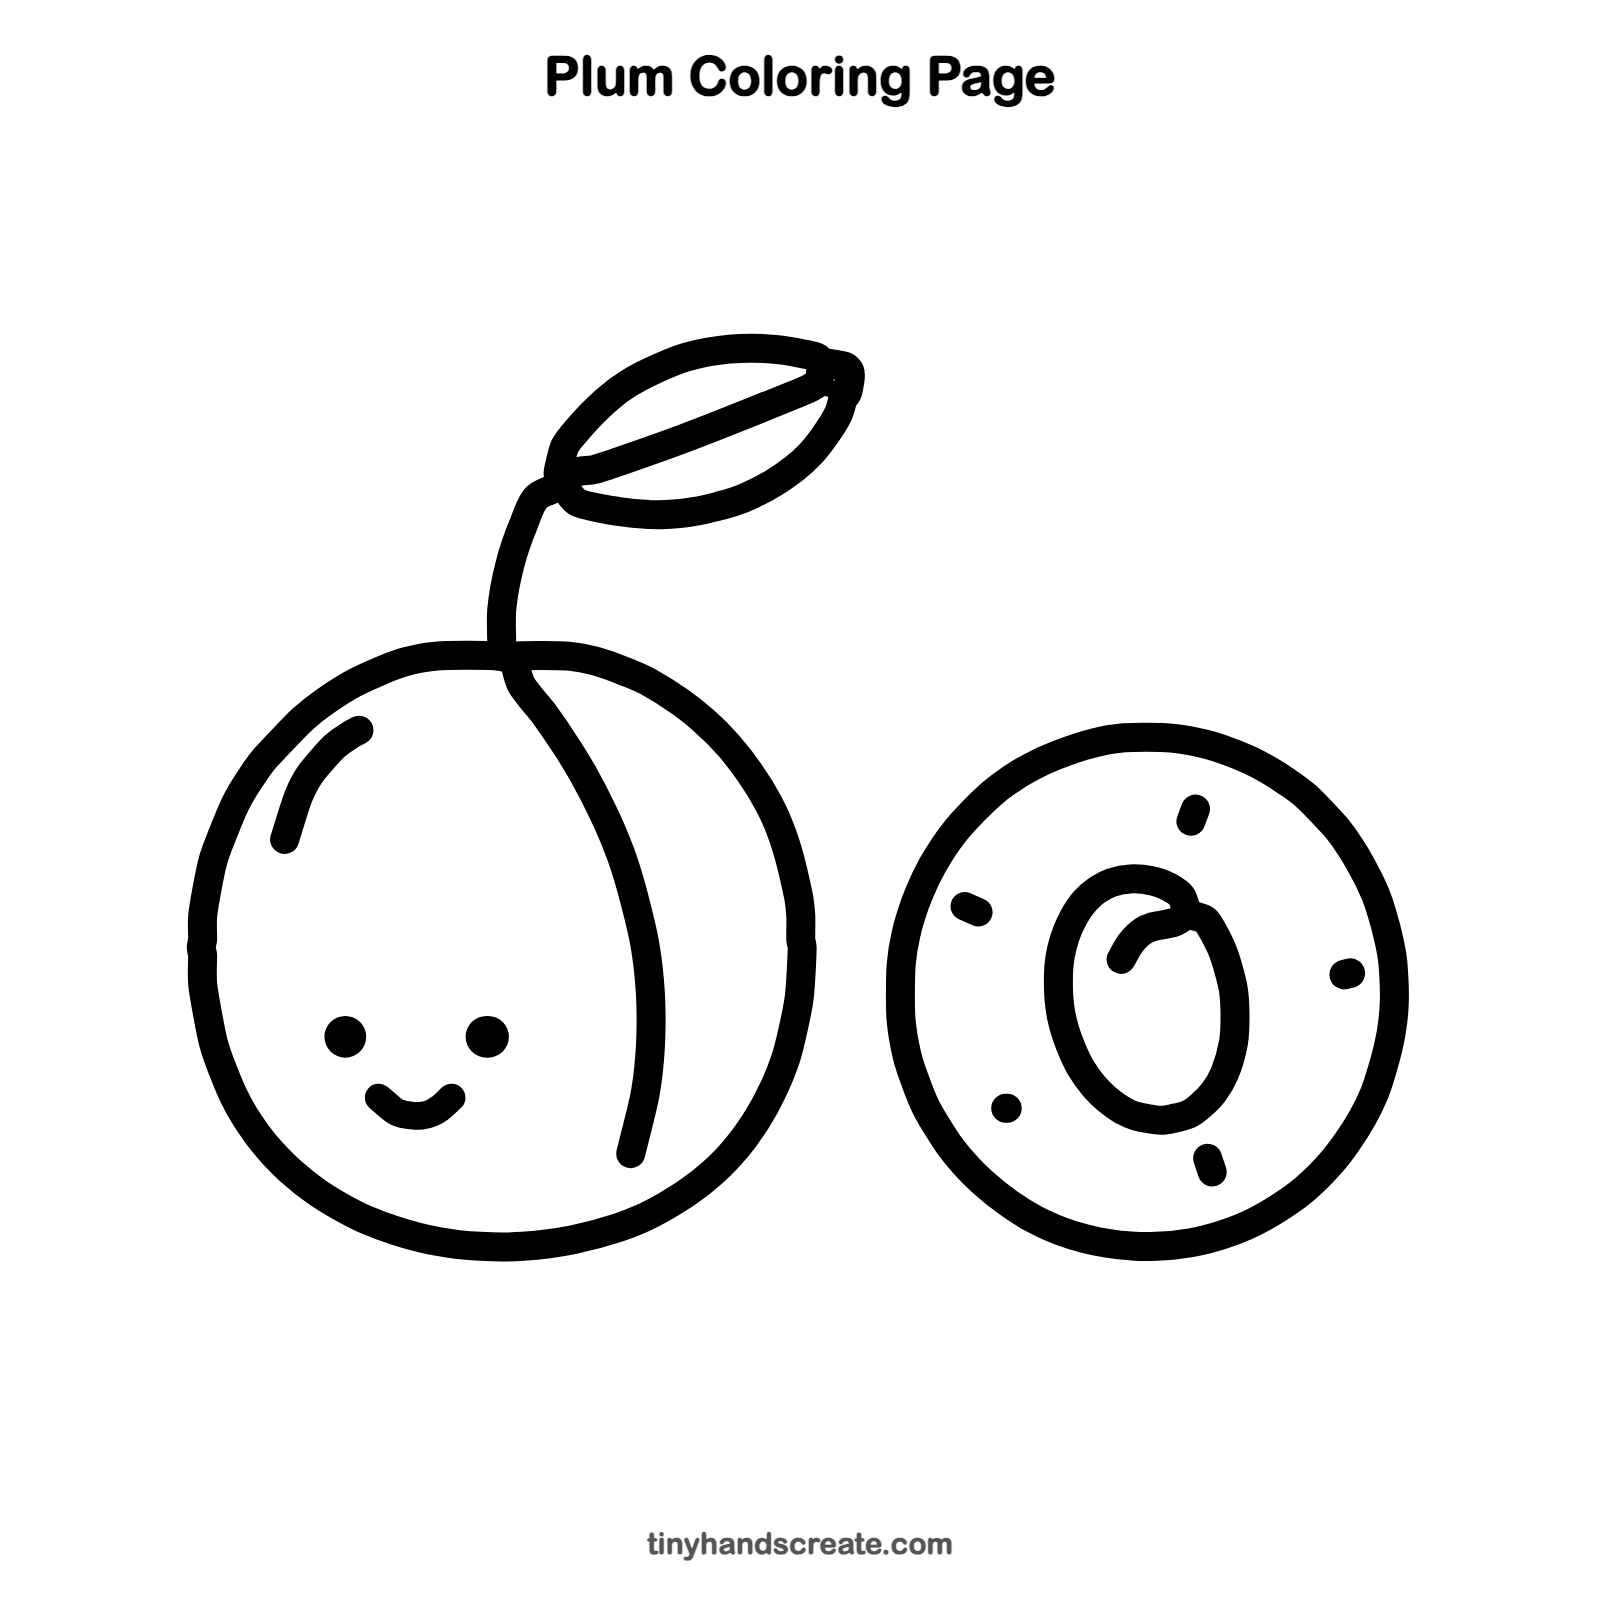
Free plum coloring page
Want to go straight to coloring? Open this plum coloring page at full size and print it. It is the same drawing you just learned, with clean lines ready for crayons or markers.
How to color your plum drawing
Color the whole plum purple and the leaf green, and make the cut plum yellow-orange with a dark purple pit. For a creative twist, give your plum a rainbow of purples, from light lavender to deep grape.
Plum fun fact for kids
A dried plum is called a prune. Plums are stone fruits, which means each one has a single hard pit in the middle with the seed inside it.
Questions about drawing a plum
What shapes do I need to draw a plum?
You need one big circle for the plum, a curved line for the stem, and a pointy leaf shape. A second circle and a small oval make the sliced plum with its pit.
How do I make my plum look cuter?
Place the two dot eyes low and wide apart, then add a small smile between them. A little shiny curve near the top left makes it look round and fresh.
How do I draw a plum cut in half?
Draw a circle, then a tall oval in the middle for the pit. Add a few short dashes and dots around the oval to show the juicy fruit.