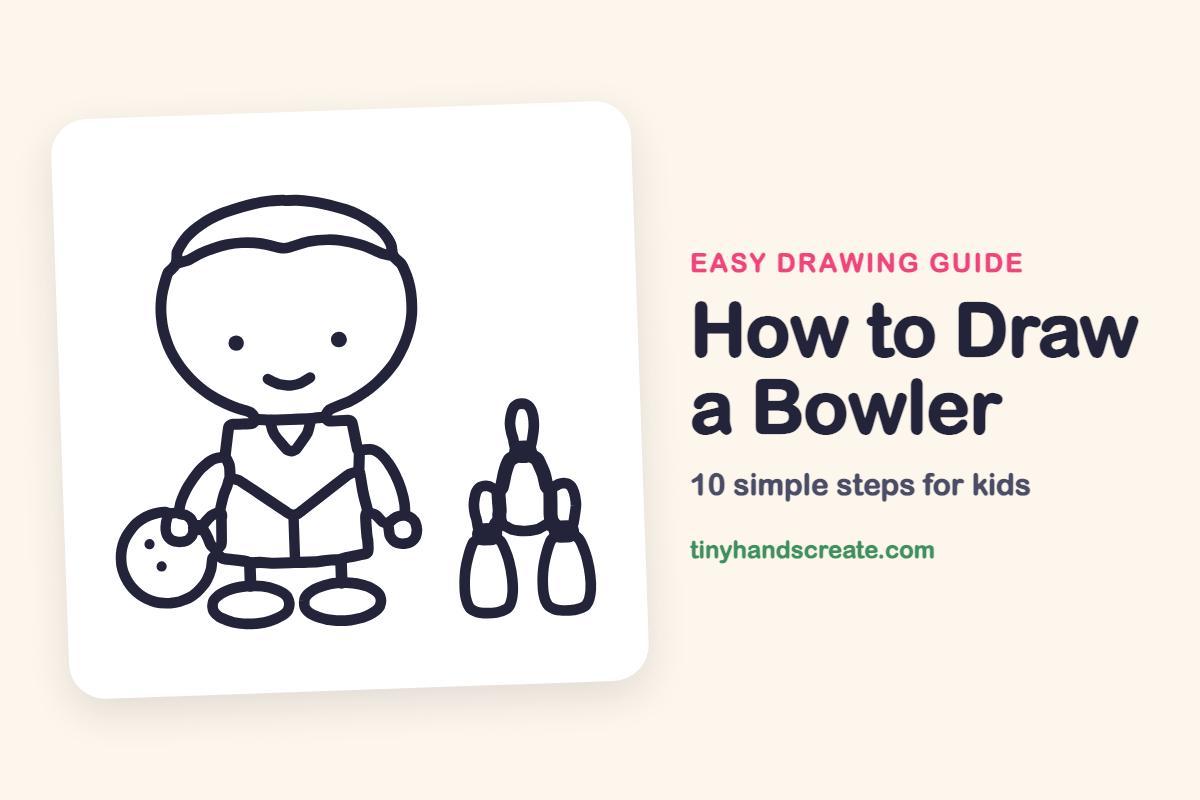
How to Draw a Bowler (Easy Step by Step)
A bowler is a fun drawing because it is built from big friendly shapes. You will draw a wide oval head, a box shirt, round hands and a ball, and three skinny pins. Every part is simple, so it works well for beginners.
- Easy
- 12 minutes
- 10 steps
You need: paper, a pencil, an eraser, and crayons or markers for coloring.
Start drawingIn this article (7 sections)
How to draw a bowler step by step
How to Draw a Bowler · tinyhandscreate.com
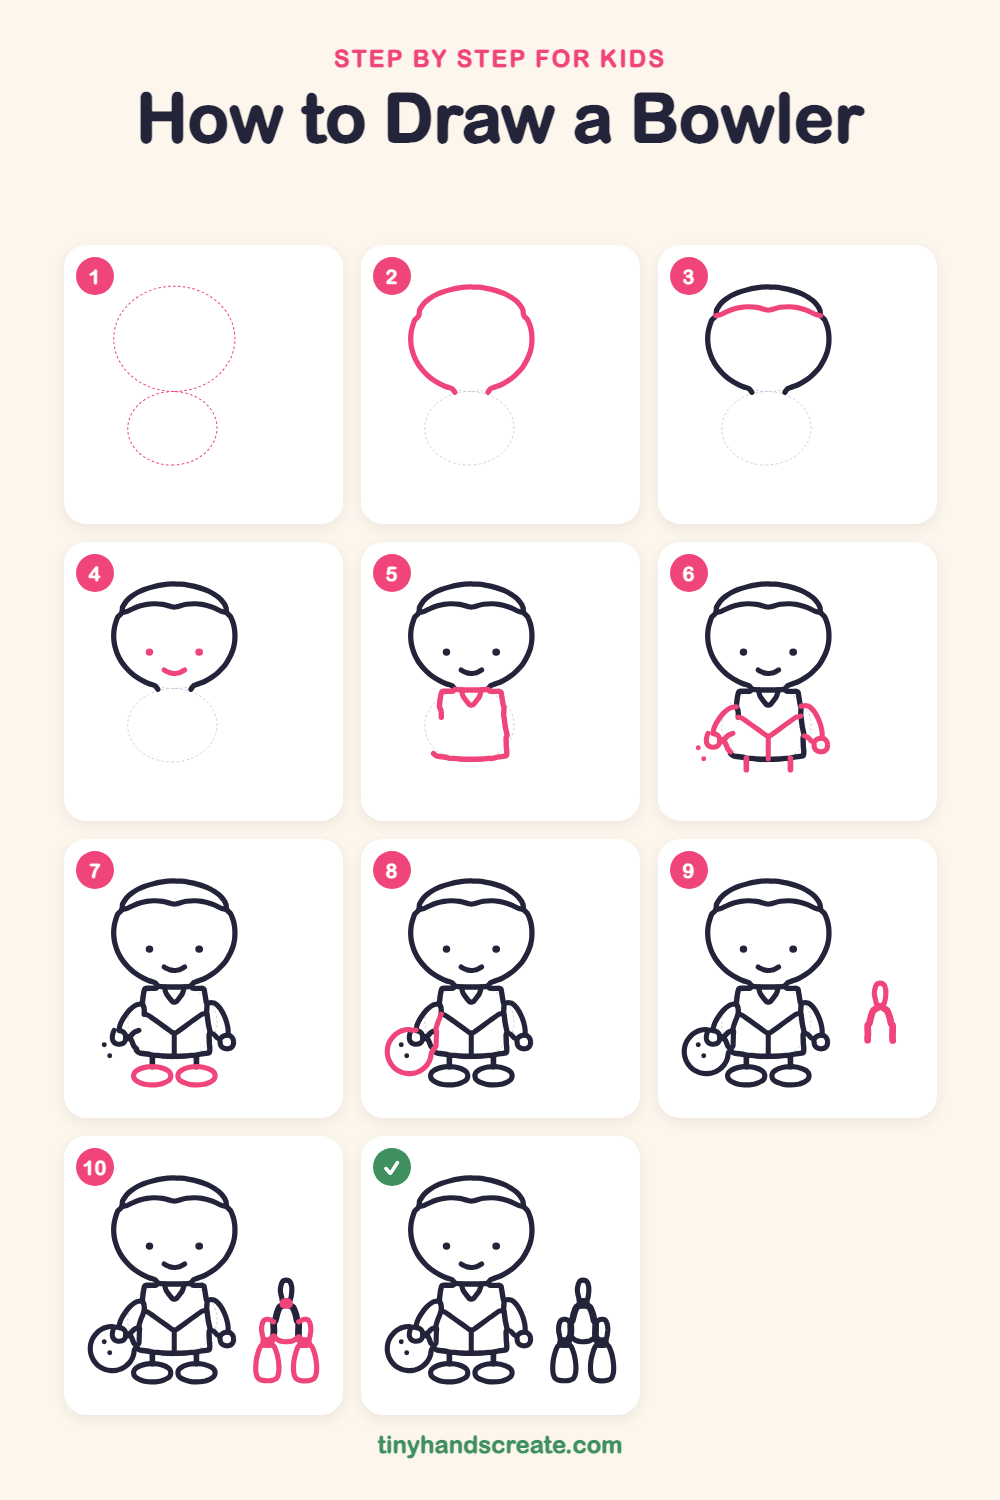
Step 1: Guide shapes
Lightly sketch these 2 ovals. They only show where the big parts go, so press softly. You will erase them at the end.
Step 2: The big round head
Draw a big wide oval for the head near the top of the page. Leave a small gap at the bottom where the neck will go.
Step 3: Hair line
Draw a wavy line across the top of the head that dips into a little point in the middle. This makes the hair.
Step 4: Happy face
Add two small dots for the eyes. Then draw a little curved smile below them.
Step 5: The shirt
Under the head, draw a box with a flat top and bottom for the shirt. Add a small V at the top for the collar.
Step 6: Arms, hands and legs
Draw a curved arm on each side of the shirt and end each one with a small circle hand. Add a V of slanted lines on the shirt with a short straight line down from its point, then two tiny straight legs below the shirt.
Step 7: Shoes
At the bottom of each leg, draw a wide flat oval for a shoe.
Step 8: The bowling ball
Next to the left hand, draw a big circle for the bowling ball. Add a few little dots for finger holes.
Step 9: The top pin
On the right, draw a tall pin: a small oval for the head, a skinny neck, and two curved lines that flare out for the body. Leave the bottom open for now.
Step 10: The two front pins
Draw two more pins in front, one on each side below the top pin. Make each one a small oval on top of a tall rounded body.
All done!
Erase the guide shapes, go over your lines, then color it in.
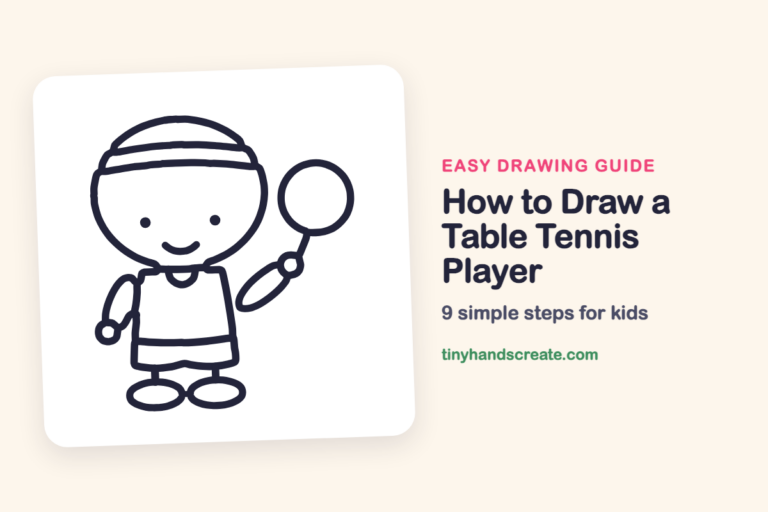
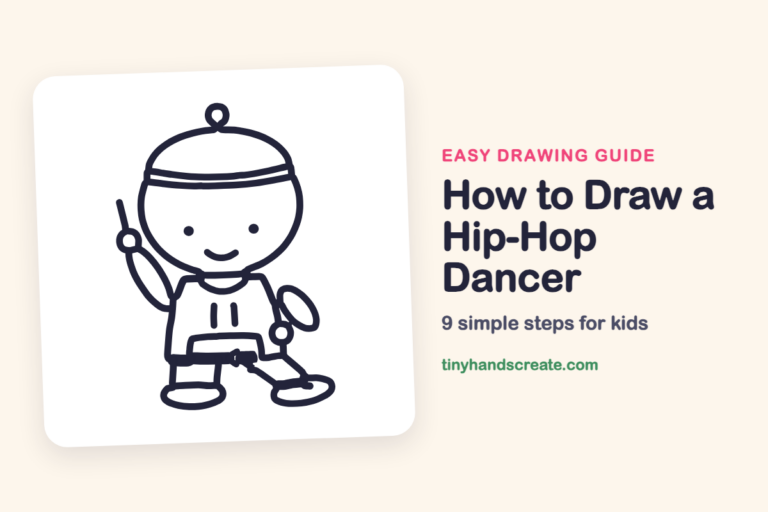
Finished your bowler? Keep the pencils out and learn how to draw a table tennis player or how to draw a hip-hop dancer next.
Tips for drawing a bowler
- Draw the head oval first and make it wider than you think. A big head makes the bowler look cute.
- For the V on the shirt, start each slanted line near an arm and meet in the middle. Then add the short straight line down from the point.
- For the pins, draw the small oval on top first, then the body. Pins look best when the neck is thin and the body is round and wide near the bottom.
Free bowler coloring page
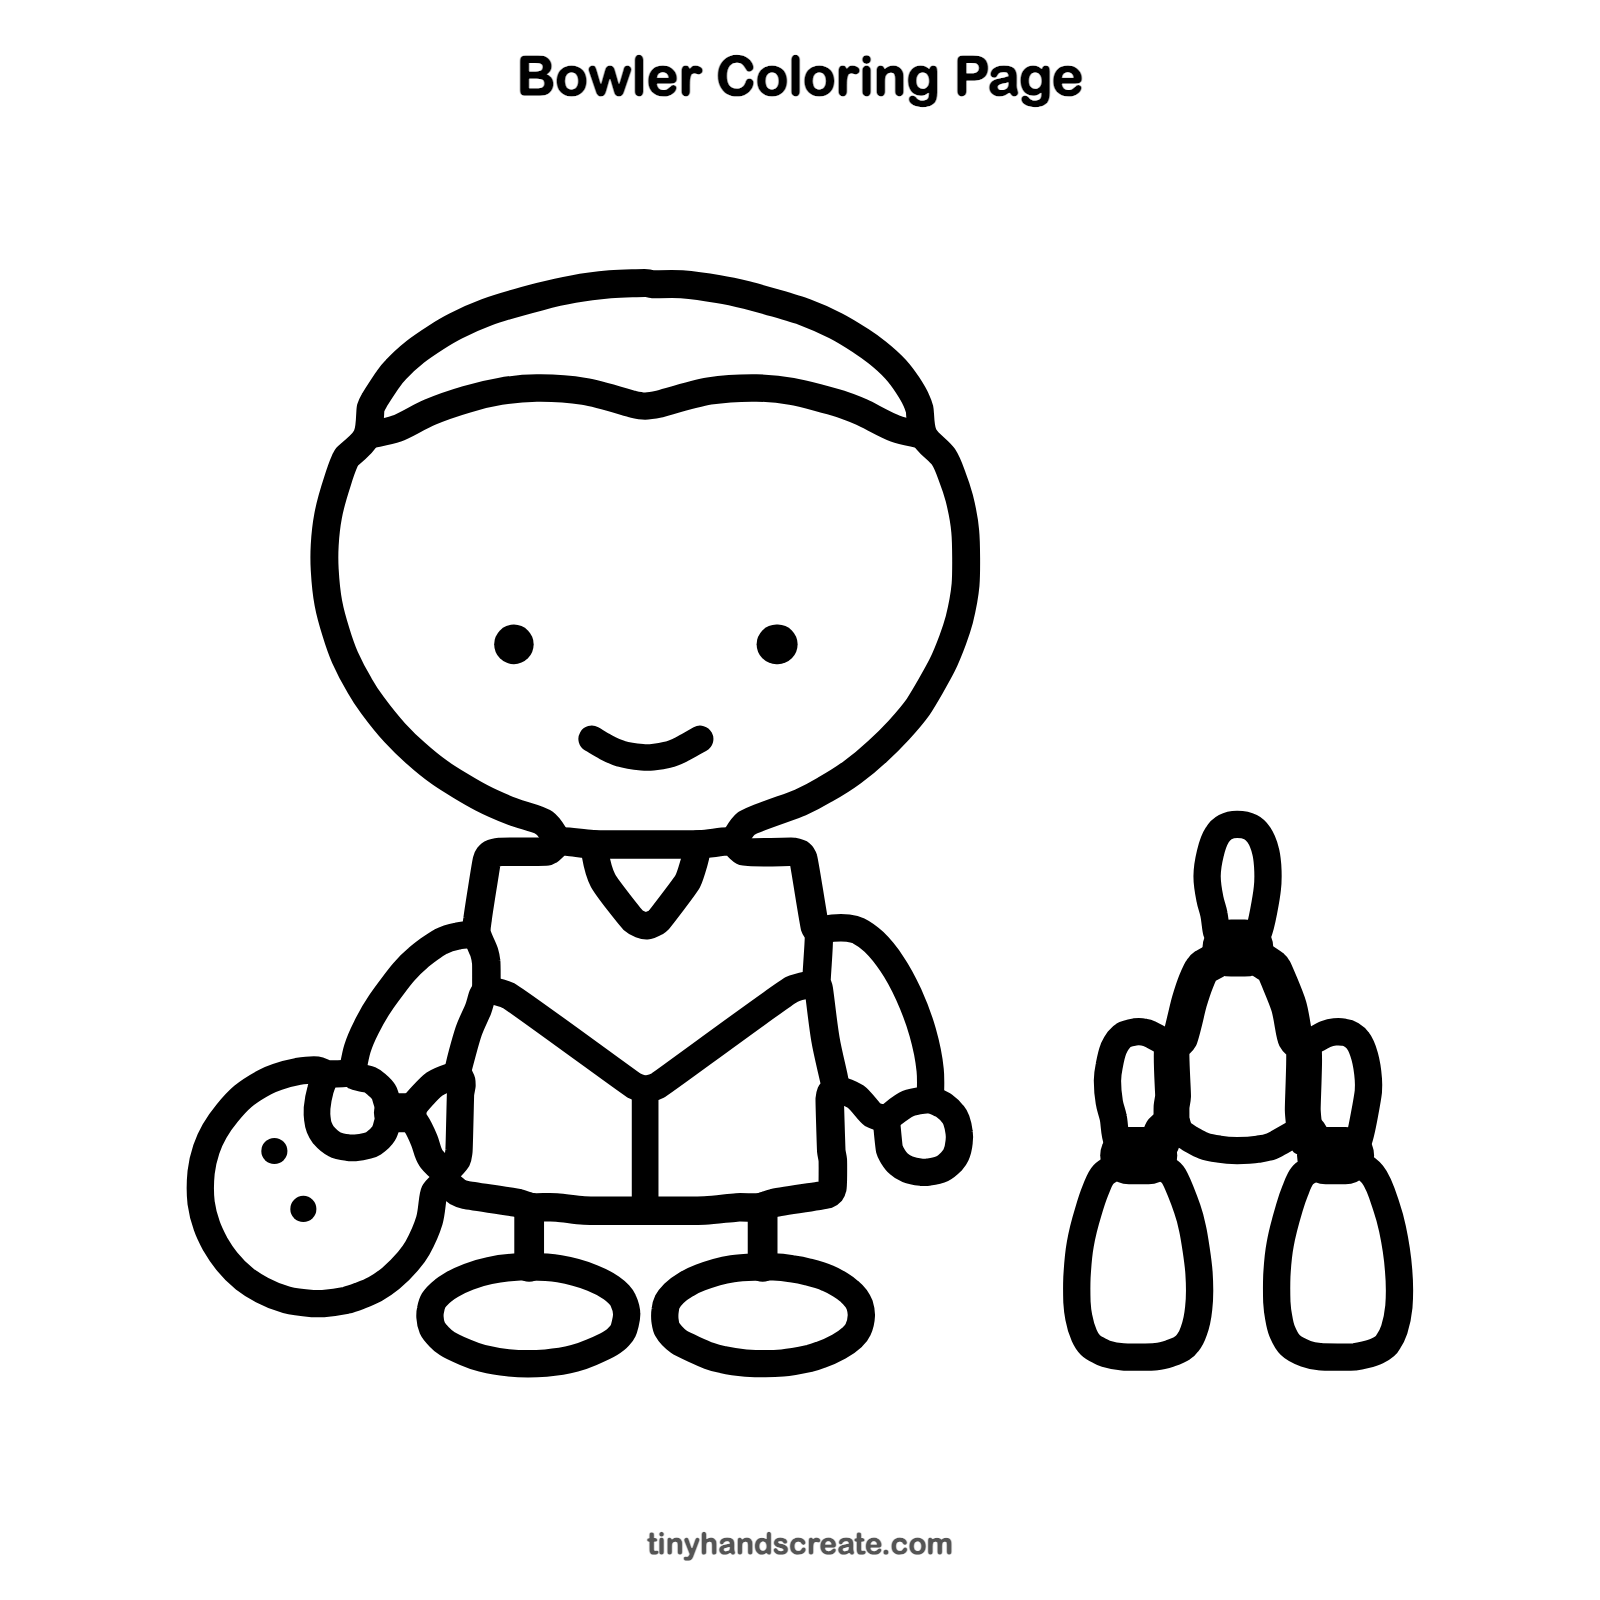
Want to go straight to coloring? Open this bowler coloring page at full size and print it. It is the same drawing you just learned, with clean lines ready for crayons or markers.
How to color your bowler drawing
Try a bright team shirt in blue or red, a black or purple ball, and white pins with a red stripe near the neck. For a twist, give every pin a different funny face.
Bowler fun fact for kids
A bowling lane has ten pins, and they are set up in a triangle with one pin at the front. Knocking all ten down with the first ball is called a strike.
Questions about drawing a bowler
What shapes do I need to draw a bowler?
You need a big oval for the head, a box for the shirt, circles for the hands and ball, and ovals for the shoes. The pins use a small oval on top of a rounded body.
How do I make the bowling pins look right?
Start with a small oval for the top. Then draw a thin neck that widens into a round body.
How do I make my bowler look happier?
Draw the smile as a small curve under the eyes. Making the eyes small round dots also helps.