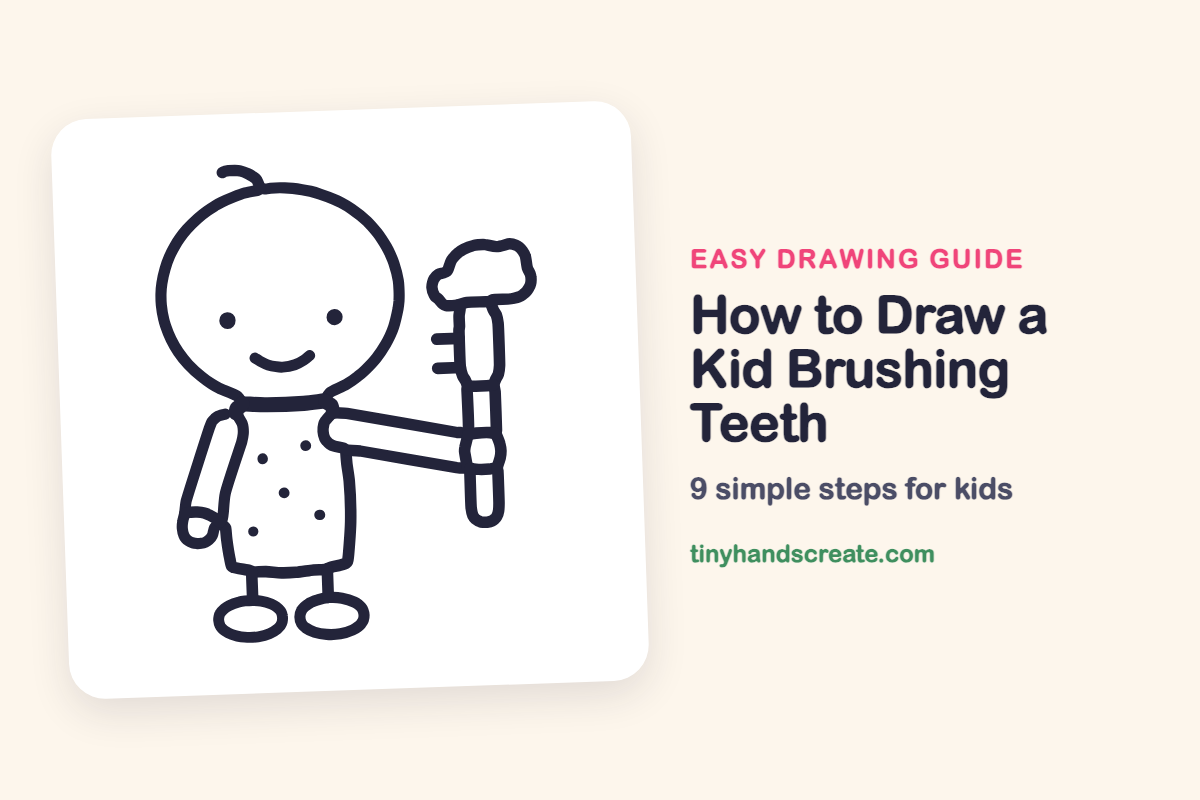
How to Draw a Kid Brushing Teeth (Easy Step by Step)
A kid brushing teeth is a friendly drawing made from a big oval head, a rounded body, and long skinny sausage shapes for the arms. The round head, the short legs, and the foamy toothbrush make it easy to draw and fun to color. It is also a nice way to talk about brushing every morning and night.
- Easy
- 10 minutes
- 9 steps
You need: paper, a pencil, an eraser, and crayons or markers for coloring.
Start drawingIn this article (7 sections)
How to draw a kid brushing teeth step by step
How to Draw a Kid Brushing Teeth · tinyhandscreate.com
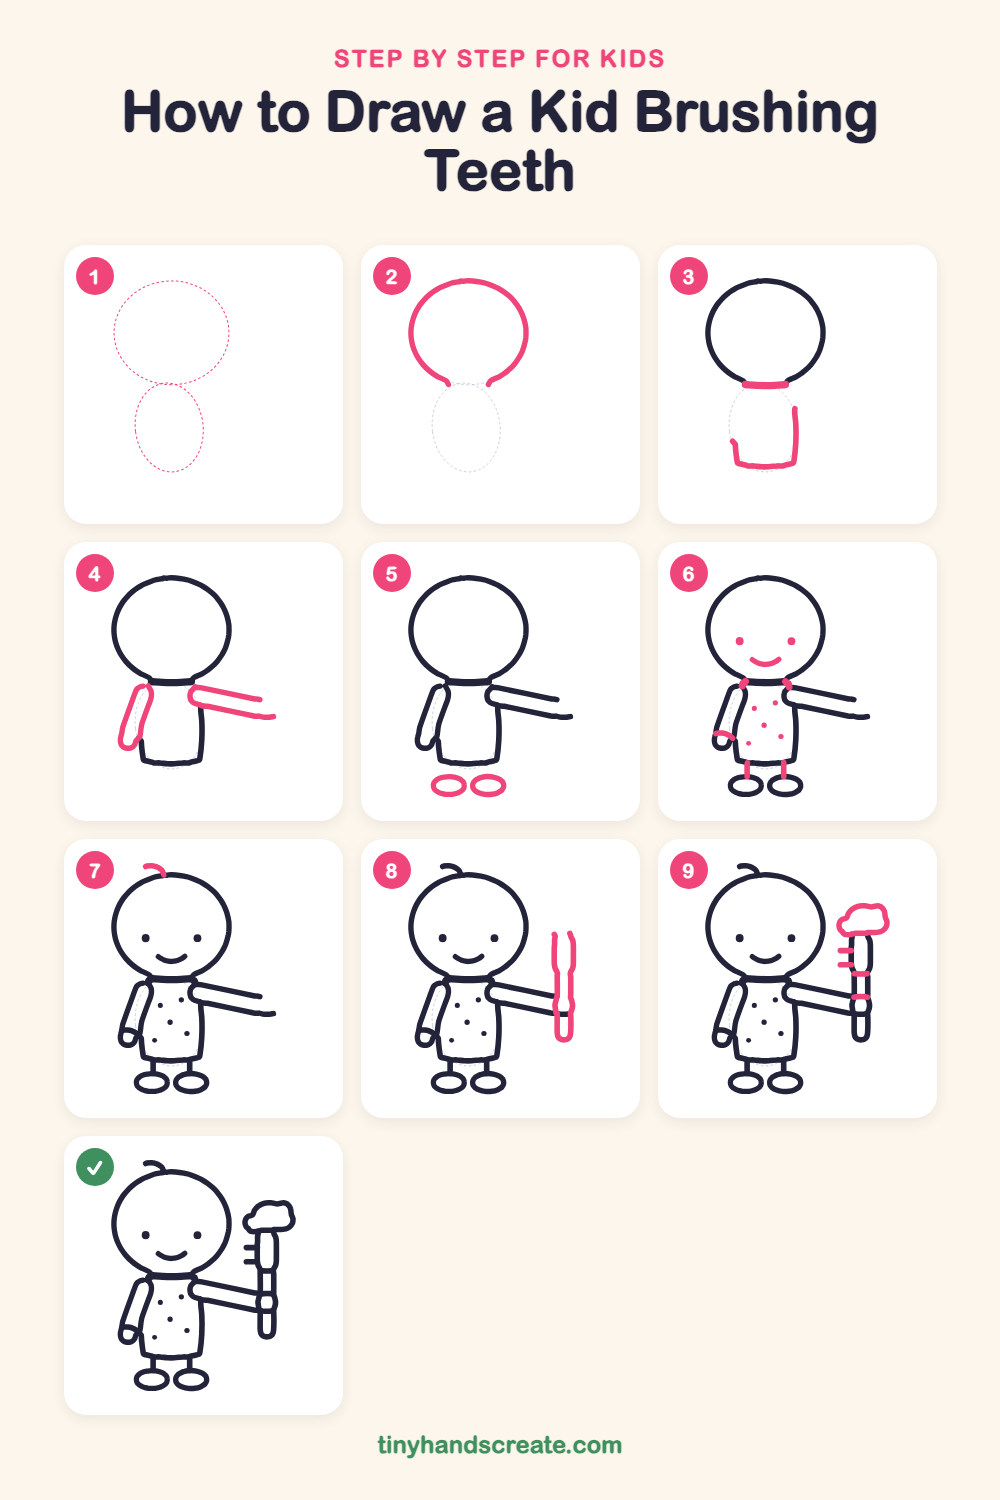
Step 1: Guide shapes
Lightly sketch these 2 ovals. They only show where the big parts go, so press softly. You will erase them at the end.
Step 2: The big round head
Draw a large oval for the head, a little wider than it is tall. Leave a small gap at the bottom where the neck will go.
Step 3: Neck and body
Draw a short flat line across the gap under the head for the neck. Then draw the right side and the bottom of a rounded box below it for the body, a bit narrower at the top and wider at the bottom.
Step 4: Arms
On the left, draw a short, slanted sausage shape going down from the shoulder, with a small rounded hand at the bottom. On the right, draw a long, skinny sausage reaching out sideways from the other shoulder.
Step 5: Shoes
Draw two wide, flat ovals side by side below the body for the shoes. Leave a little space between them and the bottom of the body.
Step 6: Face, legs and shirt spots
Draw two small dots for the eyes and a little curved smile below them, like a bowl. Then draw two short straight lines to join the body to the shoes for legs, and add a few small dots on the body for shirt spots.
Step 7: A little curl of hair
On top of the head, draw one small curly line that starts at the top of the head and curves out and over, like a tiny hook.
Step 8: The toothbrush
At the end of the long arm, draw a tall, skinny shape with rounded ends for the toothbrush handle. Let the end of the arm touch the middle of the handle.
Step 9: Bristles and foam
Draw a few short lines sticking out from the left side near the top of the brush for the bristles. Add two small bands across the handle, then draw a bumpy, cloud-shaped blob of toothpaste foam on top of the brush.
All done!
Erase the guide shapes, go over your lines, then color it in.
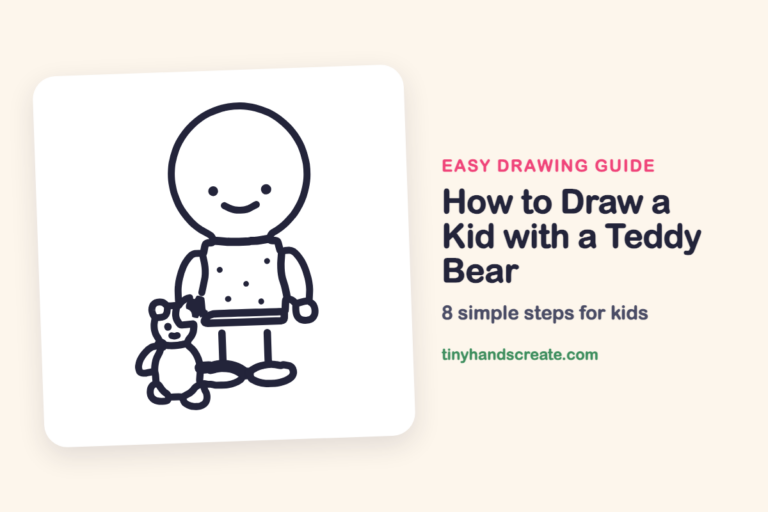
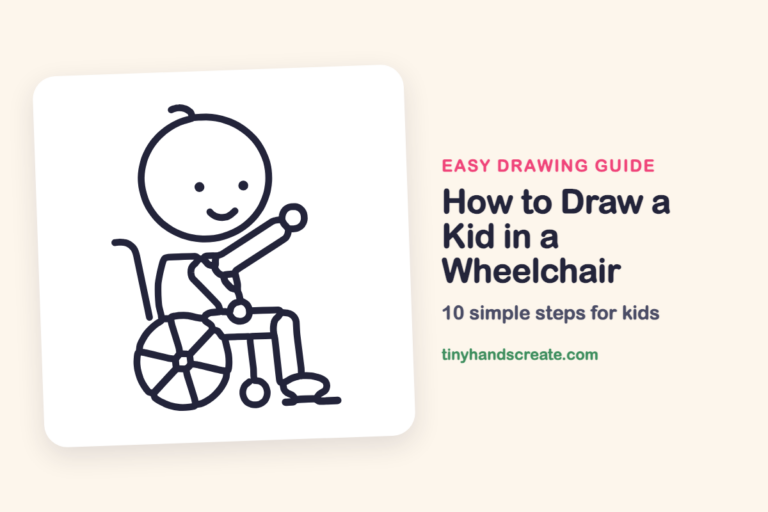
Finished your kid brushing teeth? Keep the pencils out and learn how to draw a kid with a teddy bear or how to draw a kid in a wheelchair next.
Tips for drawing a kid brushing teeth
- Draw the head oval first and keep it big. It is the biggest shape, so everything else fits around it.
- The arm holding the toothbrush is the trickiest part. Draw it as a long, skinny sausage reaching sideways, then add the tall brush so the end of the arm touches its middle.
- Make the foam bumpy by drawing a row of small bumps along the top, like a little cloud.
Free kid brushing teeth coloring page
Want to go straight to coloring? Open this kid brushing teeth coloring page at full size and print it. It is the same drawing you just learned, with clean lines ready for crayons or markers.
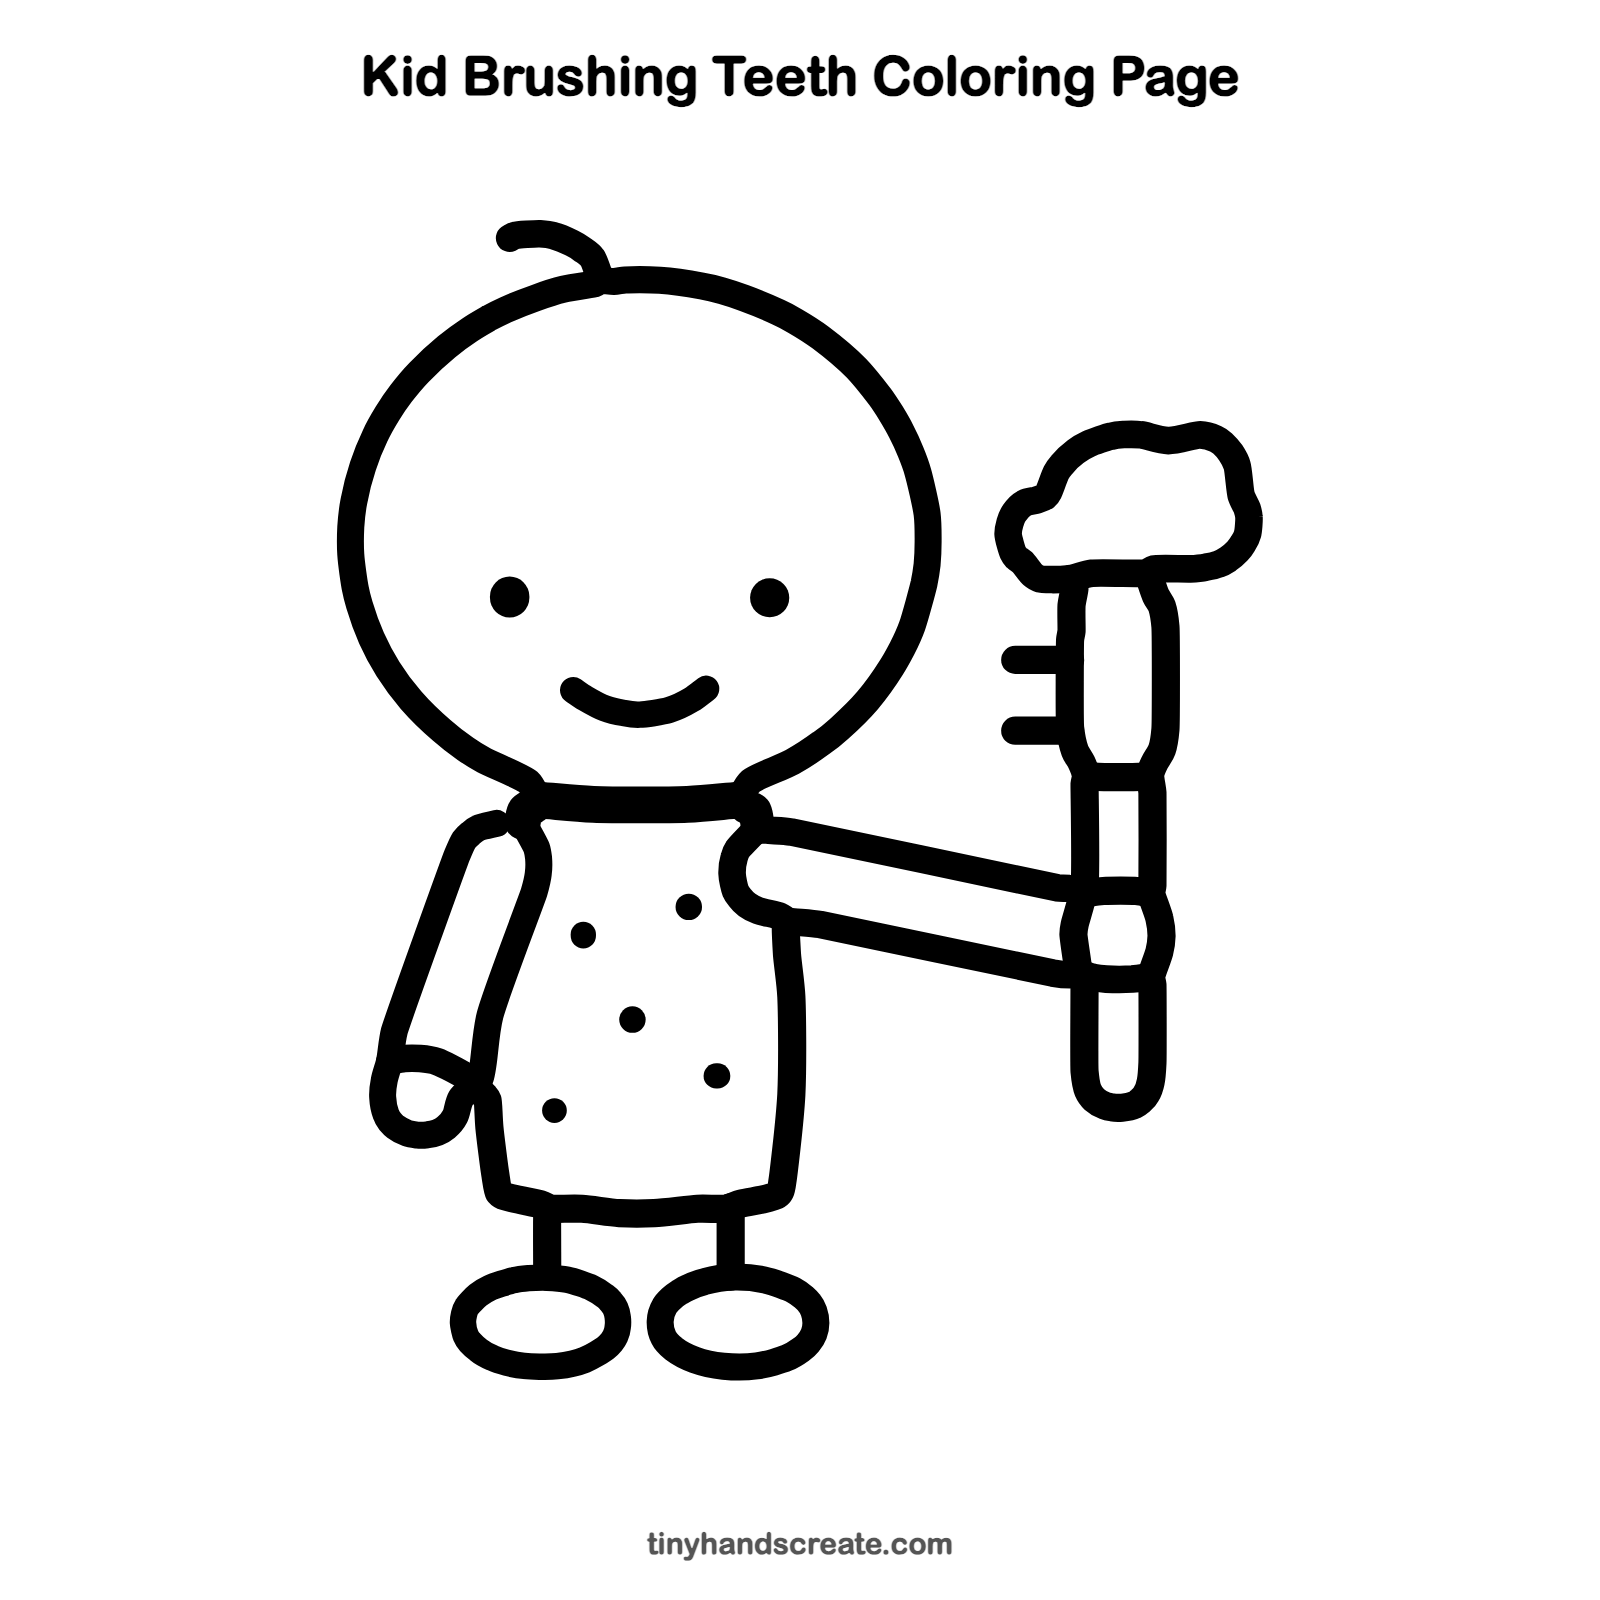
How to color your kid brushing teeth drawing
Try a red or green toothbrush with white foam, and a cheerful shirt in your favorite color. For a creative twist, add tiny rainbow bubbles floating up from the foam.
Kid brushing teeth fun fact for kids
Kids usually grow 20 baby teeth, and dentists suggest brushing for two minutes, twice a day. Try singing your favorite song while you draw, then while you brush.
Questions about drawing a kid brushing teeth
What shapes do I need to draw a kid brushing teeth?
You need a big oval for the head, a rounded box for the body, and long sausage shapes for the arms. Flat ovals for the shoes and a tall skinny shape for the toothbrush finish it off.
How do I make the kid look cuter?
Put the eyes in the middle of the head, a little far apart, and make the smile wide. A tiny curl of hair on top adds extra charm.
How do I draw the toothbrush so it looks right?
Start with a tall, skinny shape with rounded ends. Add a few short lines on one side near the top for bristles, then put a cloud of foam on top.