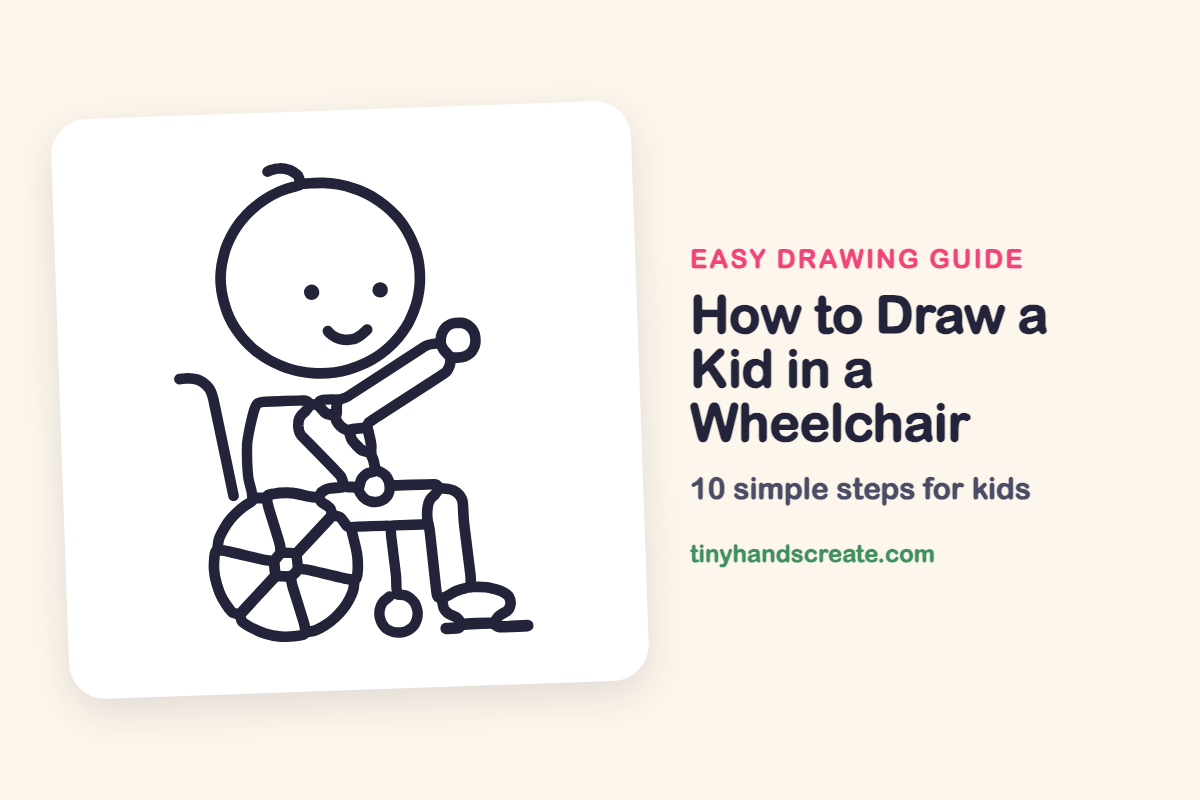
How to Draw a Kid in a Wheelchair (Easy Step by Step)
This friendly kid is waving hello from a wheelchair, and the whole drawing is built from simple shapes. You will use a big circle for the head, a bigger circle for the wheel, and long tube shapes for the arm and leg. It is a great way to practice circles and straight lines.
- Medium
- 15 minutes
- 10 steps
You need: paper, a pencil, an eraser, and crayons or markers for coloring.
Start drawingIn this article (7 sections)
How to draw a kid in a wheelchair step by step
How to Draw a Kid in a Wheelchair · tinyhandscreate.com
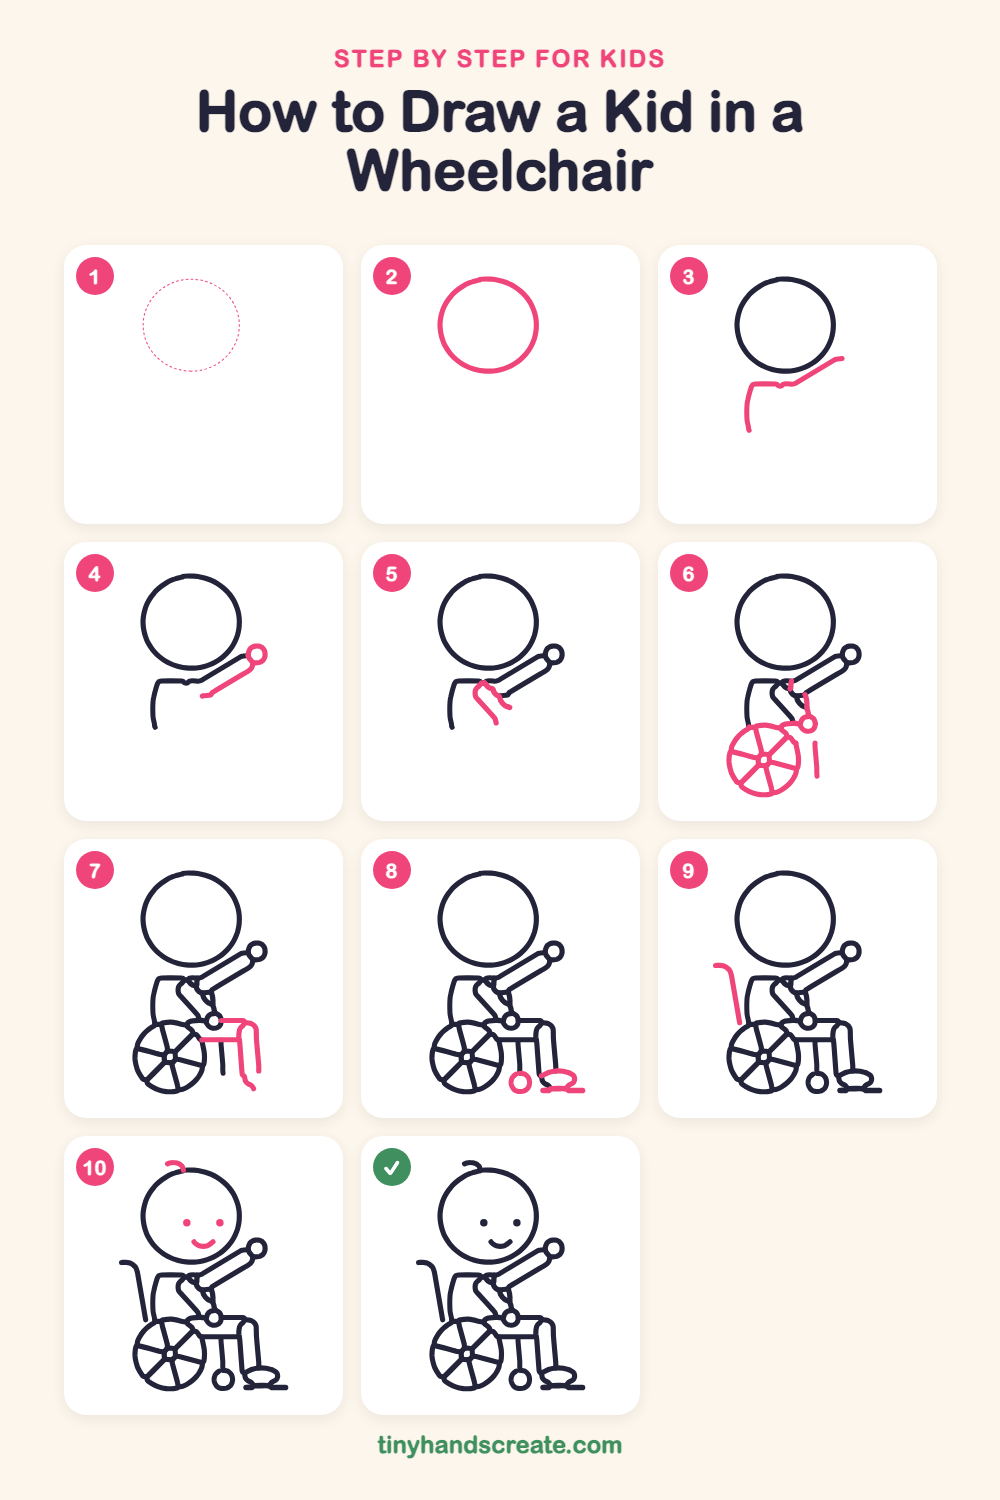
Step 1: Guide shapes
Lightly sketch this oval. It only shows where the big parts go, so press softly. You will erase it at the end.
Step 2: The round head
Draw a big circle near the top of the page for the head. Make it nice and round, and leave plenty of room below it.
Step 3: Back, shoulder and arm
Start low on the left under the head and draw a curved line up for the back. Turn it into a short flat line for the shoulder, then angle it up and to the right to start the raised arm.
Step 4: The raised arm
Draw a second line under the first, going the same way, to make a long, thin arm that waves up toward the right. Finish the end with a small circle for the hand.
Step 5: The resting arm
Under the shoulder, draw a short bent line that slopes down and to the right, like a tiny bent arm resting on the chest.
Step 6: Wheel and lap joint
Draw a large circle at the bottom left for the wheel. Add a tiny circle in the middle, then draw straight lines like bike spokes from the middle out to the rim. Then add a small circle on the right near the top of the wheel, with a short line from the arm down to it.
Step 7: Seat and leg
Draw a flat line from the small circle across to the right for the seat. Then bend it down into a long leg, and draw a second line beside it to make the leg a tube.
Step 8: Shoe and front wheel
At the bottom of the leg, draw a flat oval for the shoe, and a straight line on the ground under it. To the left, draw a small circle for the front wheel.
Step 9: The push handle
Behind the back, draw a tall, slightly slanted line that curls over to the left at the top, like a walking cane.
Step 10: Face and hair
Add two small dots for eyes in the middle of the head, and a curved smile below them. Then draw a little curl on top of the head for a wisp of hair.
All done!
Erase the guide shapes, go over your lines, then color it in.
Finished your kid in a wheelchair? Keep the pencils out and learn how to draw a tram or how to draw a cable car next.
Tips for drawing a kid in a wheelchair
- The wheel is the trickiest part. Draw the circle first, then the small center circle, then add the spokes so they all start from the middle.
- Draw the raised arm as two lines that go the same direction. Keep them close together so the arm looks like a tube of even width.
- Draw the dots for the eyes at the same height and leave space between them and the smile, so the face looks happy and balanced.
Free kid in a wheelchair coloring page
Want to go straight to coloring? Open this kid in a wheelchair coloring page at full size and print it. It is the same drawing you just learned, with clean lines ready for crayons or markers.
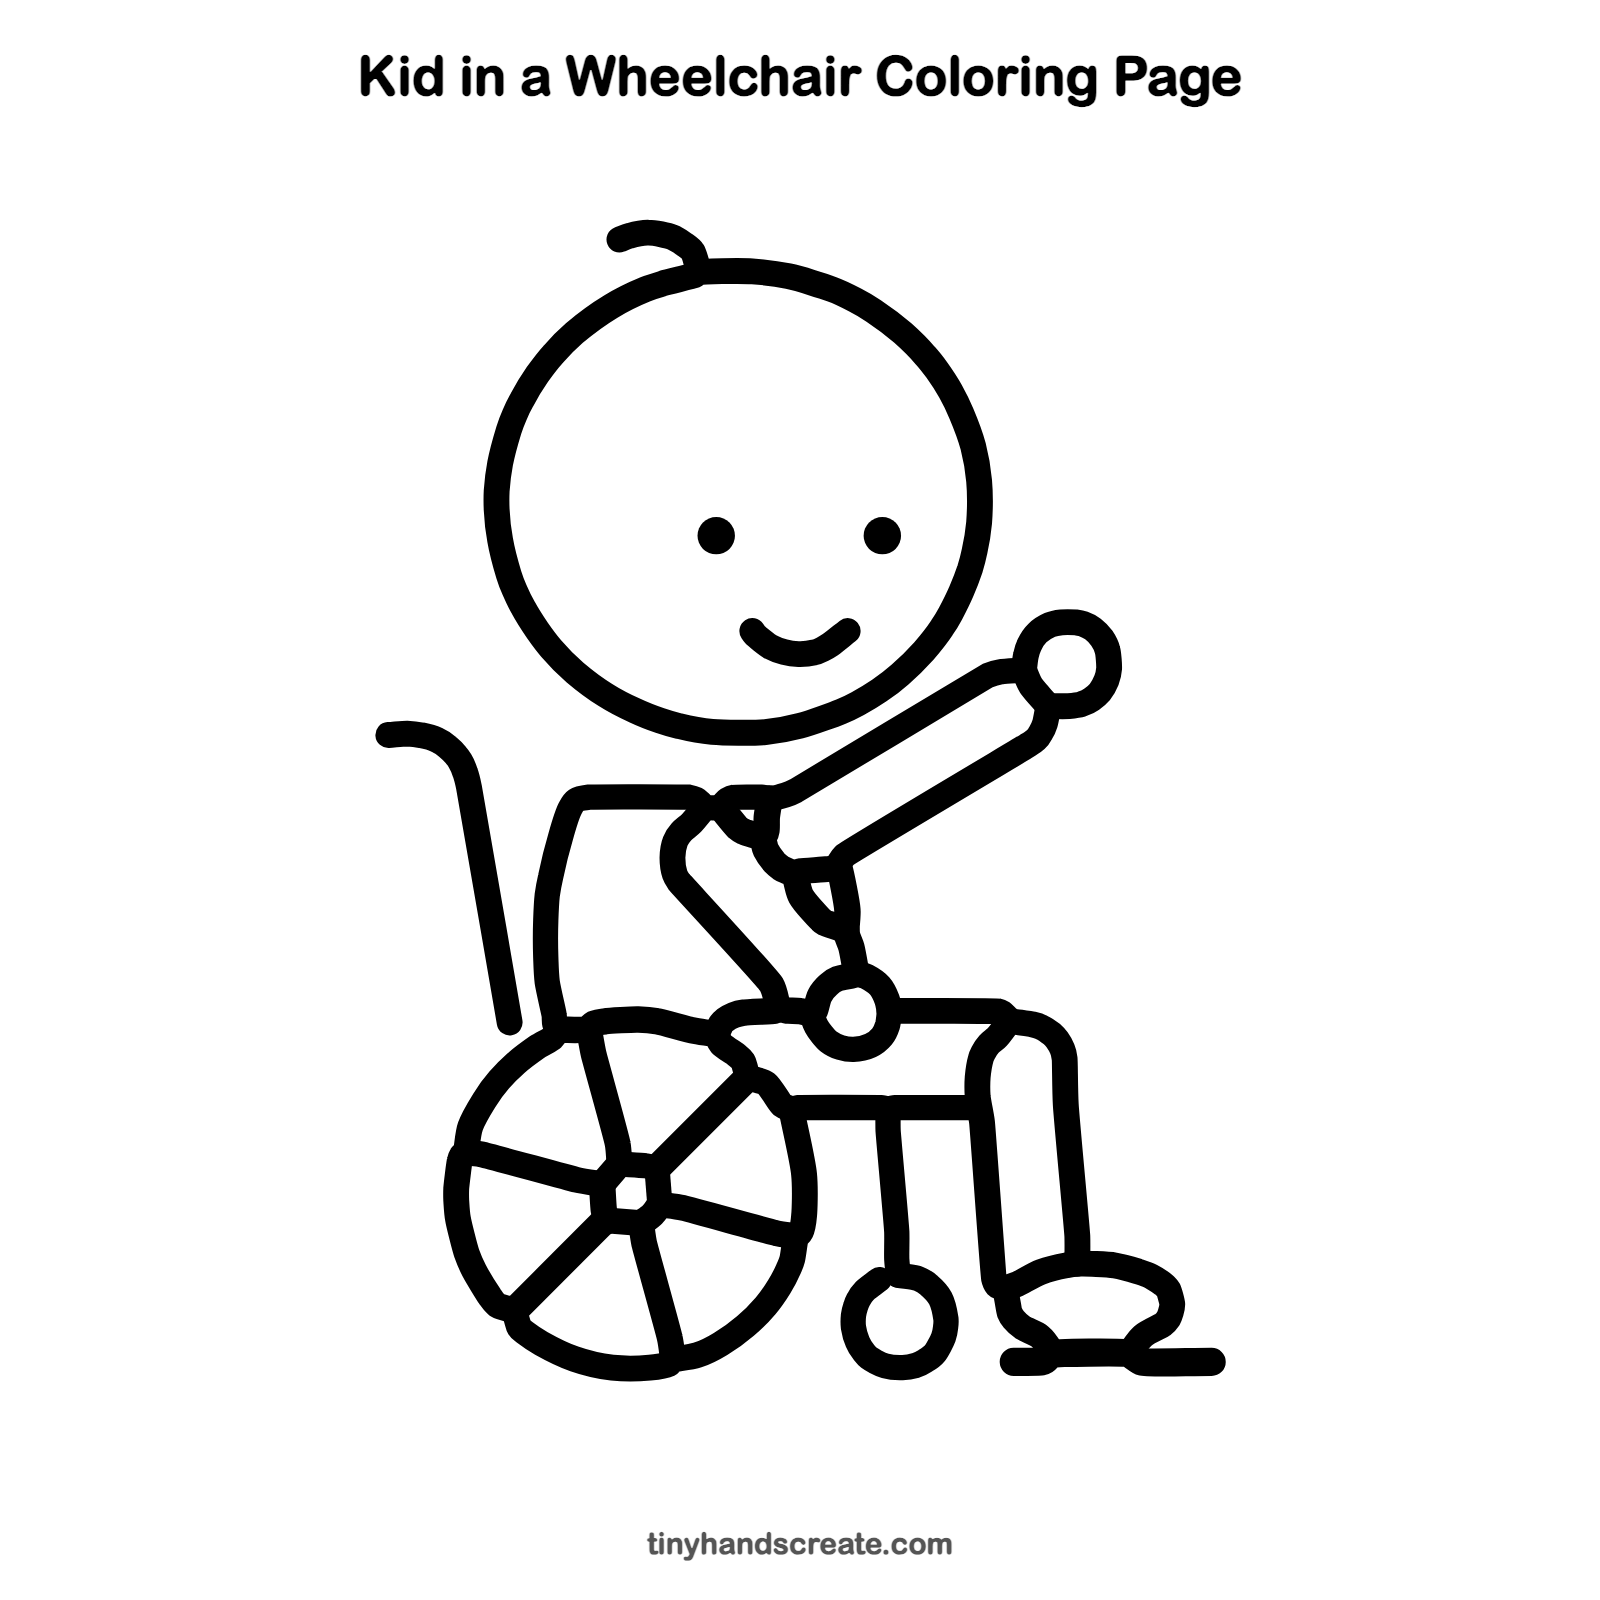
How to color your kid in a wheelchair drawing
Try a yellow shirt, blue pants and a red wheelchair frame, with a dark gray wheel. For a creative twist, color each spoke a different color so the wheel looks like a rainbow.
Kid in a wheelchair fun fact for kids
The wheels on many wheelchairs have a thin outer ring called a push rim. The rider grips it with their hands to roll forward and to turn.
Questions about drawing a kid in a wheelchair
What shapes do I need to draw a kid in a wheelchair?
You need circles for the head, the hand and the wheels, and long rounded tubes for the arm and leg. A few straight lines make the seat, spokes and handle.
How do I draw the wheelchair wheel so it looks round?
Start with a light circle, then trace over it slowly. Draw a small circle at the center and add spokes that stretch from the center to the edge.
How do I make my drawing look more friendly?
Give the kid a big smile and a waving hand. A little curl of hair on top adds even more personality.