How to Draw a Kayak (Easy Step by Step)
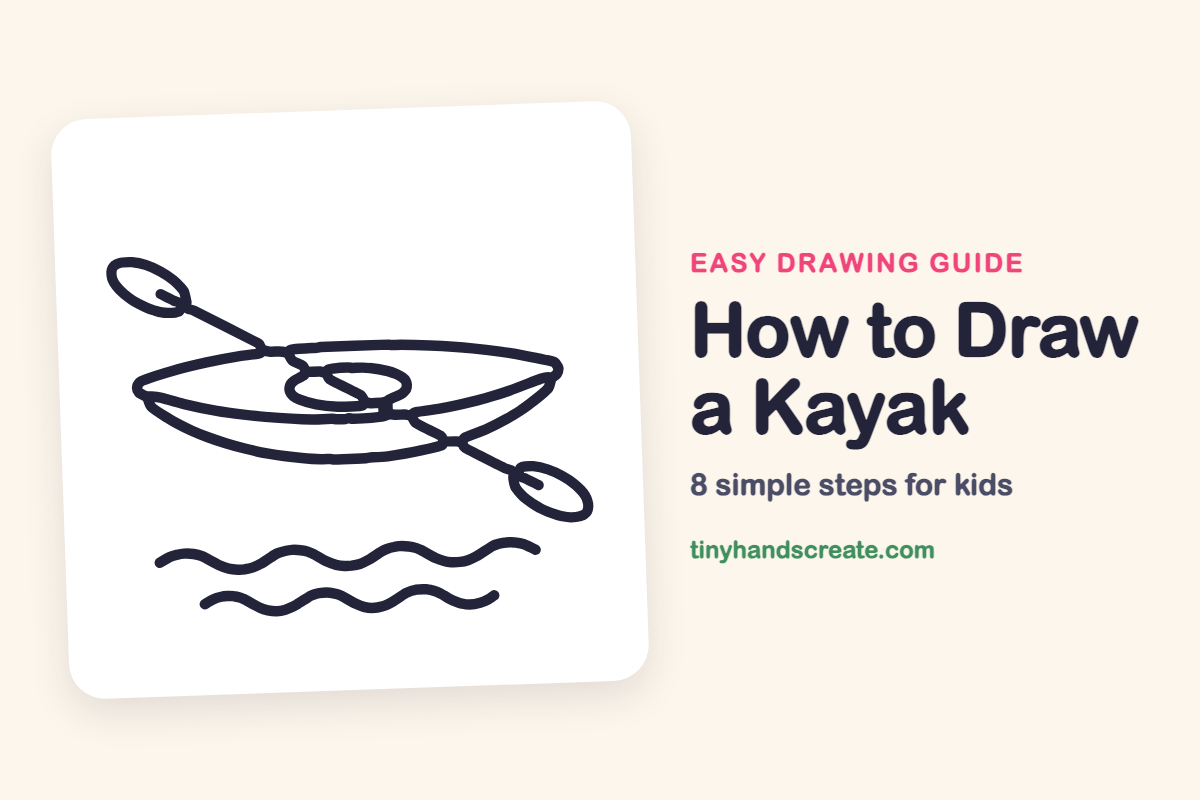
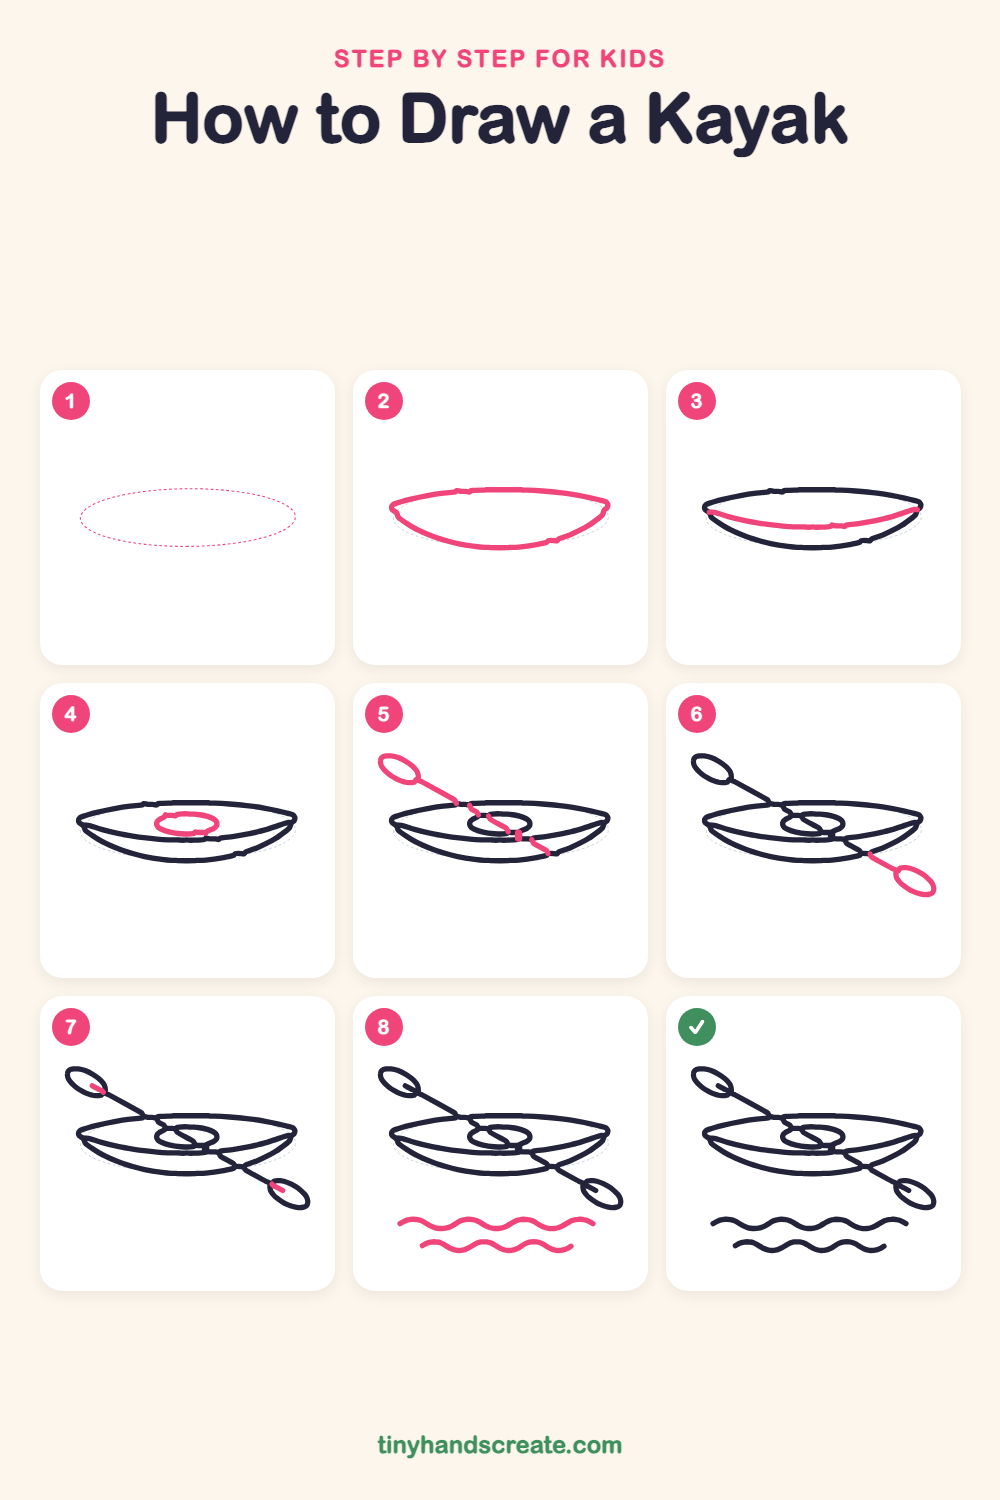
A kayak is a fun drawing because it is built from a few simple shapes: a long pointy leaf shape for the boat, a small oval for the seat, two ovals for the paddle blades joined by a pole, and two wavy lines for the water. Each step adds one part, so you can watch the little boat appear. When you finish, it looks ready for an adventure on a lake.
- Easy
- 10 minutes
- 8 steps
You need: paper, a pencil, an eraser, and crayons or markers for coloring.
Start drawingIn this article (7 sections)
How to draw a kayak step by step
How to Draw a Kayak · tinyhandscreate.com
Step 1: Guide shapes
Lightly sketch this oval. It only shows where the big parts go, so press softly. You will erase it at the end.
Step 2: Boat outline
Draw a long, pointy shape like a leaf or a lemon on its side, with a sharp point at the left end and at the right end. The top curve is gently arched and the bottom curve is deeper.
Step 3: Inside edge line
Draw a gently curved line from the left point to the right point, dipping a little in the middle like a smile. It splits the boat into a top part and a bottom part.
Step 4: The seat hole
In the middle of the top part of the boat, draw a small flat oval, like a squished circle. This is where the paddler sits.
Step 5: Paddle pole and blade
At the top left, draw a tilted oval for the paddle blade. Then draw a long straight line from the oval down to the right, across the boat and over the seat hole, stopping near the bottom edge of the boat.
Step 6: The other paddle blade
Continue the pole a little further down to the right, past the boat. Then draw a tilted oval at the end, matching the first blade.
Step 7: Short blade lines
Add a short line inside each paddle blade, following the slant of the pole. The lines are small, so draw them carefully.
Step 8: The water
Under the boat, draw two wavy lines that go up and down like gentle hills. Make the second one a little shorter and a little lower than the first.
All done!
Erase the guide shapes, go over your lines, then color it in.
Finished your kayak? Keep the pencils out and learn how to draw a blimp or how to draw a fighter jet next.
Tips for drawing a kayak
- Draw the boat outline slowly and let both ends meet in sharp points. Start at the left tip and sweep over to the right tip, then come back along the bottom.
- The paddle pole is one straight line that crosses over the boat and the seat. Keep it steady from the top left blade to the bottom right blade.
- Make the two wave lines by drawing a row of small hills with no sharp corners. Practice a few on scrap paper first.
Free kayak coloring page
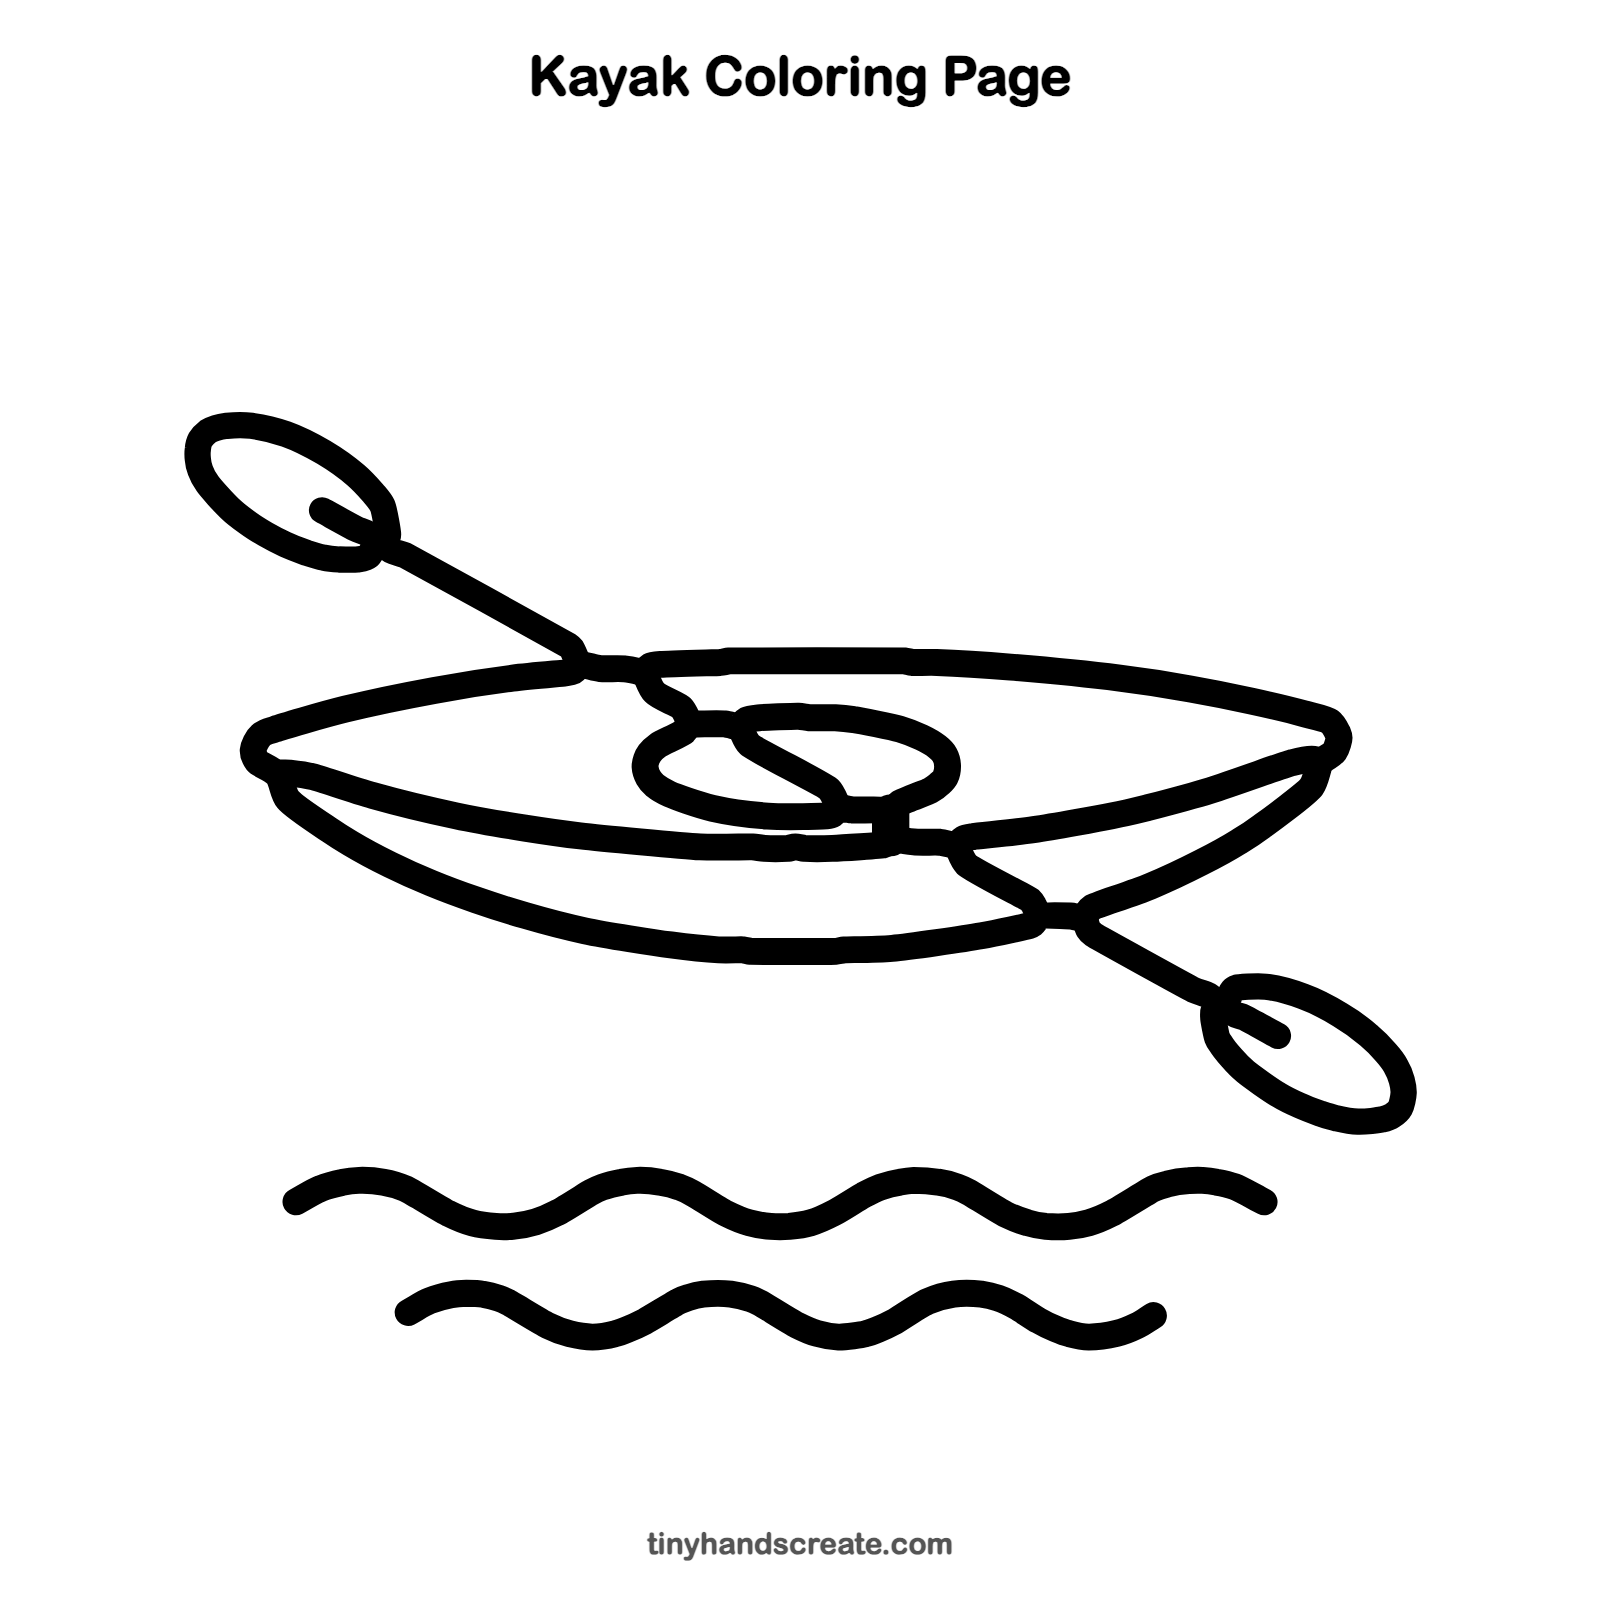
Want to go straight to coloring? Open this kayak coloring page at full size and print it. It is the same drawing you just learned, with clean lines ready for crayons or markers.
How to color your kayak drawing
Try a bright red or yellow kayak, a green paddle and blue water with two shades of blue for the waves. For a creative twist, add a duck swimming beside the boat or a sunset sky behind it.
Kayak fun fact for kids
The first kayaks were made by Arctic peoples such as the Inuit, who stretched animal skins over a light frame of wood or bone.
Questions about drawing a kayak
What shapes do I need to draw a kayak?
You need a long pointy leaf shape for the boat, a small oval for the seat, two tilted ovals joined by a long straight line for the paddle, and two wavy lines for the water.
How do I make my kayak look like it is floating?
Draw the wavy lines under the boat and leave a little space between the boat and the waves. Adding a few extra small waves on each side helps too.
How do I draw a paddle that looks like it crosses the boat?
Draw the boat and seat first. Then draw a blade at the top left and one long straight pole running across the boat to a second blade at the bottom right.