How to Draw a Mummy Cat (Easy Step by Step)
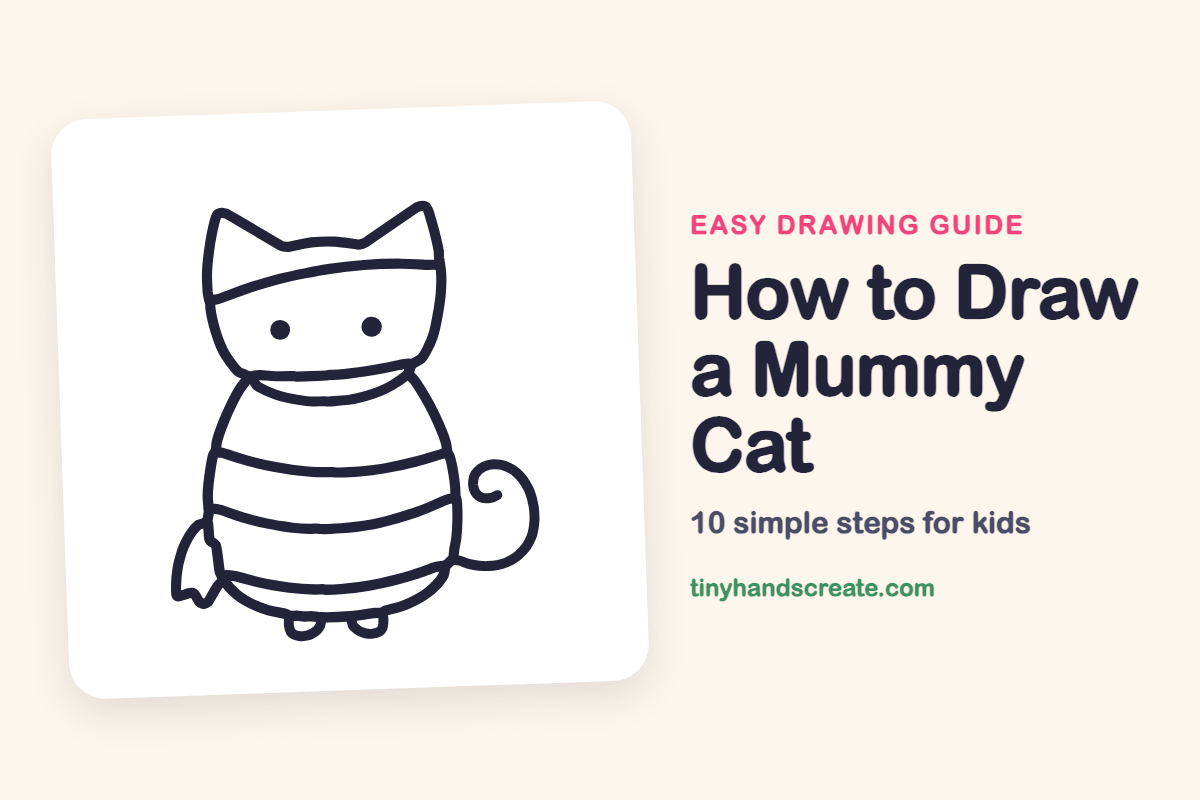
A mummy cat is a cute twist on a Halloween favorite: a sitting cat wrapped in stripes of bandage. It is built from simple shapes: a rounded head with two triangle ears, a big rounded body, curved stripes, two dots for eyes and a curly tail.
- Easy
- 12 minutes
- 10 steps
You need: paper, a pencil, an eraser, and crayons or markers for coloring.
Start drawingIn this article (7 sections)
How to draw a mummy cat step by step
How to Draw a Mummy Cat · tinyhandscreate.com
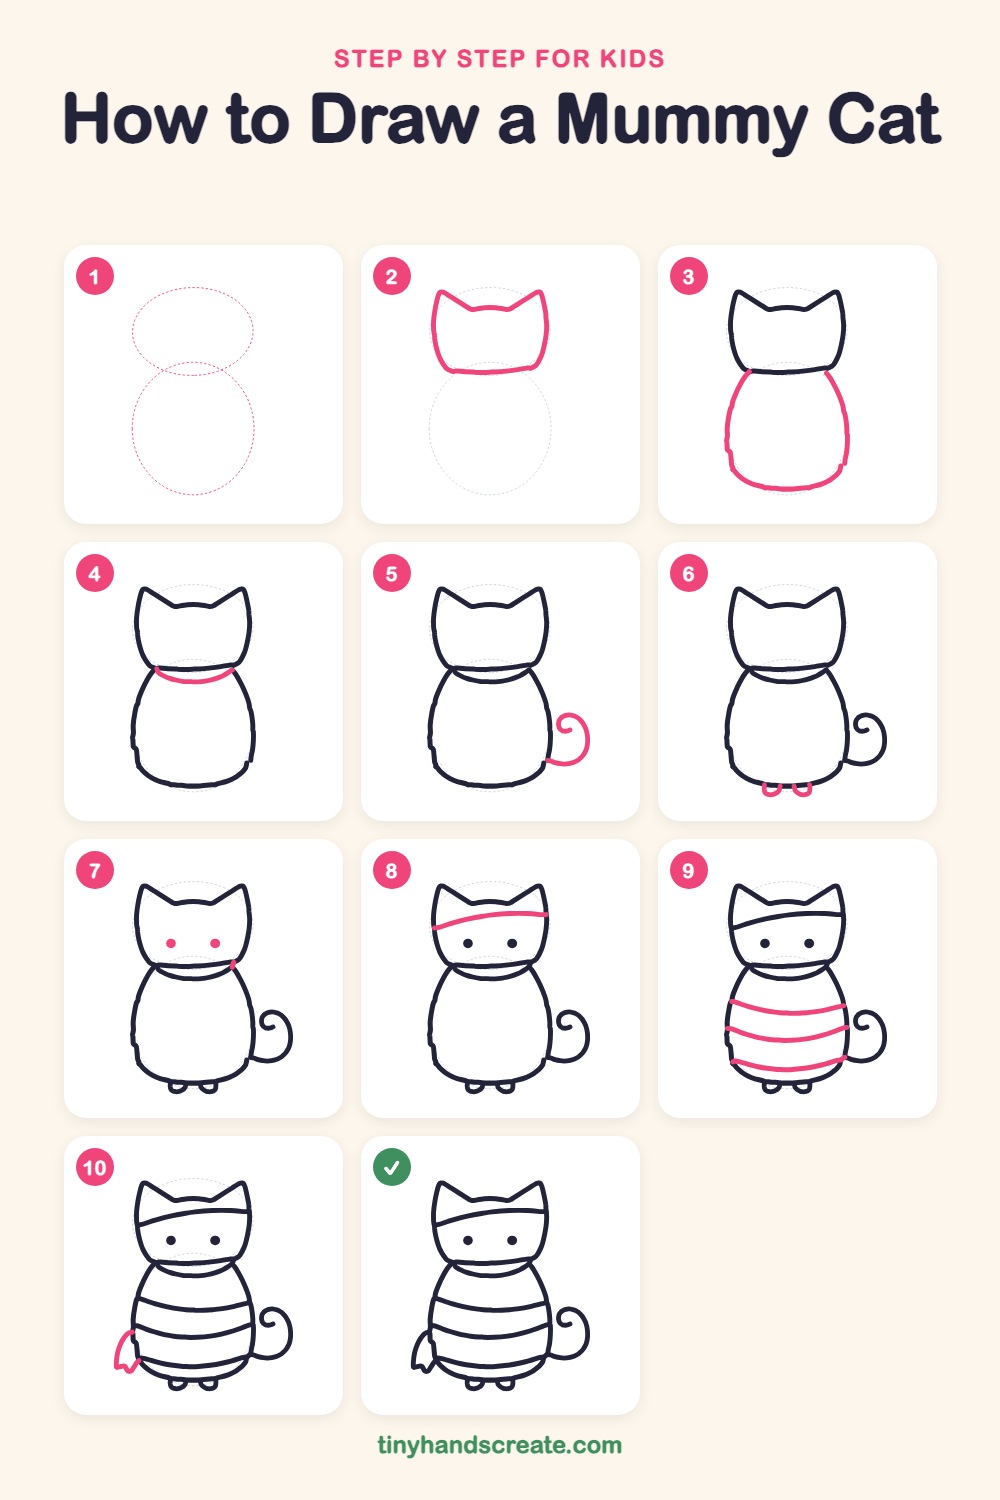
Step 1: Guide shapes
Lightly sketch these 2 ovals. They only show where the big parts go, so press softly. You will erase them at the end.
Step 2: Head with ears
Draw the head outline on top of the light oval. Make the sides curve down to a flat bottom line, and add two pointy triangle ears on top with a little dip between them.
Step 3: The round body
Under the head, draw a big rounded body shape that is a little narrower at the top. Start the two side lines just below the head's bottom corners and curve them down and around to meet at the bottom.
Step 4: Neck wrap
Draw a smile-shaped curve just under the chin, joining the two sides of the body. This is the bandage at the cat's neck.
Step 5: Curly tail
On the right side near the bottom of the body, draw a short line that sweeps out and up, then ends in a curl like a snail shell.
Step 6: Little feet
At the bottom of the body, draw two small U shapes side by side for the paws.
Step 7: Eyes
In the middle of the face, draw two round dots, one on each side, with a gap between them.
Step 8: Head bandage
Draw one gently slanted line across the head, from the left side to the right side, above the eyes and near the bottom of the ears.
Step 9: Body bandages
Draw three curved stripes across the tummy from side to side, one under the other. Let the ends touch the outline on both sides.
Step 10: Loose bandage end
On the lower left side of the body, draw a small flap of cloth hanging down with a pointy, jagged bottom edge, like a bandage coming loose.
All done!
Erase the guide shapes, go over your lines, then color it in.
Finished your mummy cat? Keep the pencils out and learn how to draw a haunted castle or how to draw a ghost family next.
Tips for drawing a mummy cat
- Draw the head and body as light ovals first, then trace over them. It keeps the head from looking too small or too big.
- Make the bandage stripes curve a little in the middle, like gentle smiles. This makes the body look round instead of flat.
- The tail is the trickiest part. Draw a short hook first, then curl the end inward a little at a time.
Free mummy cat coloring page
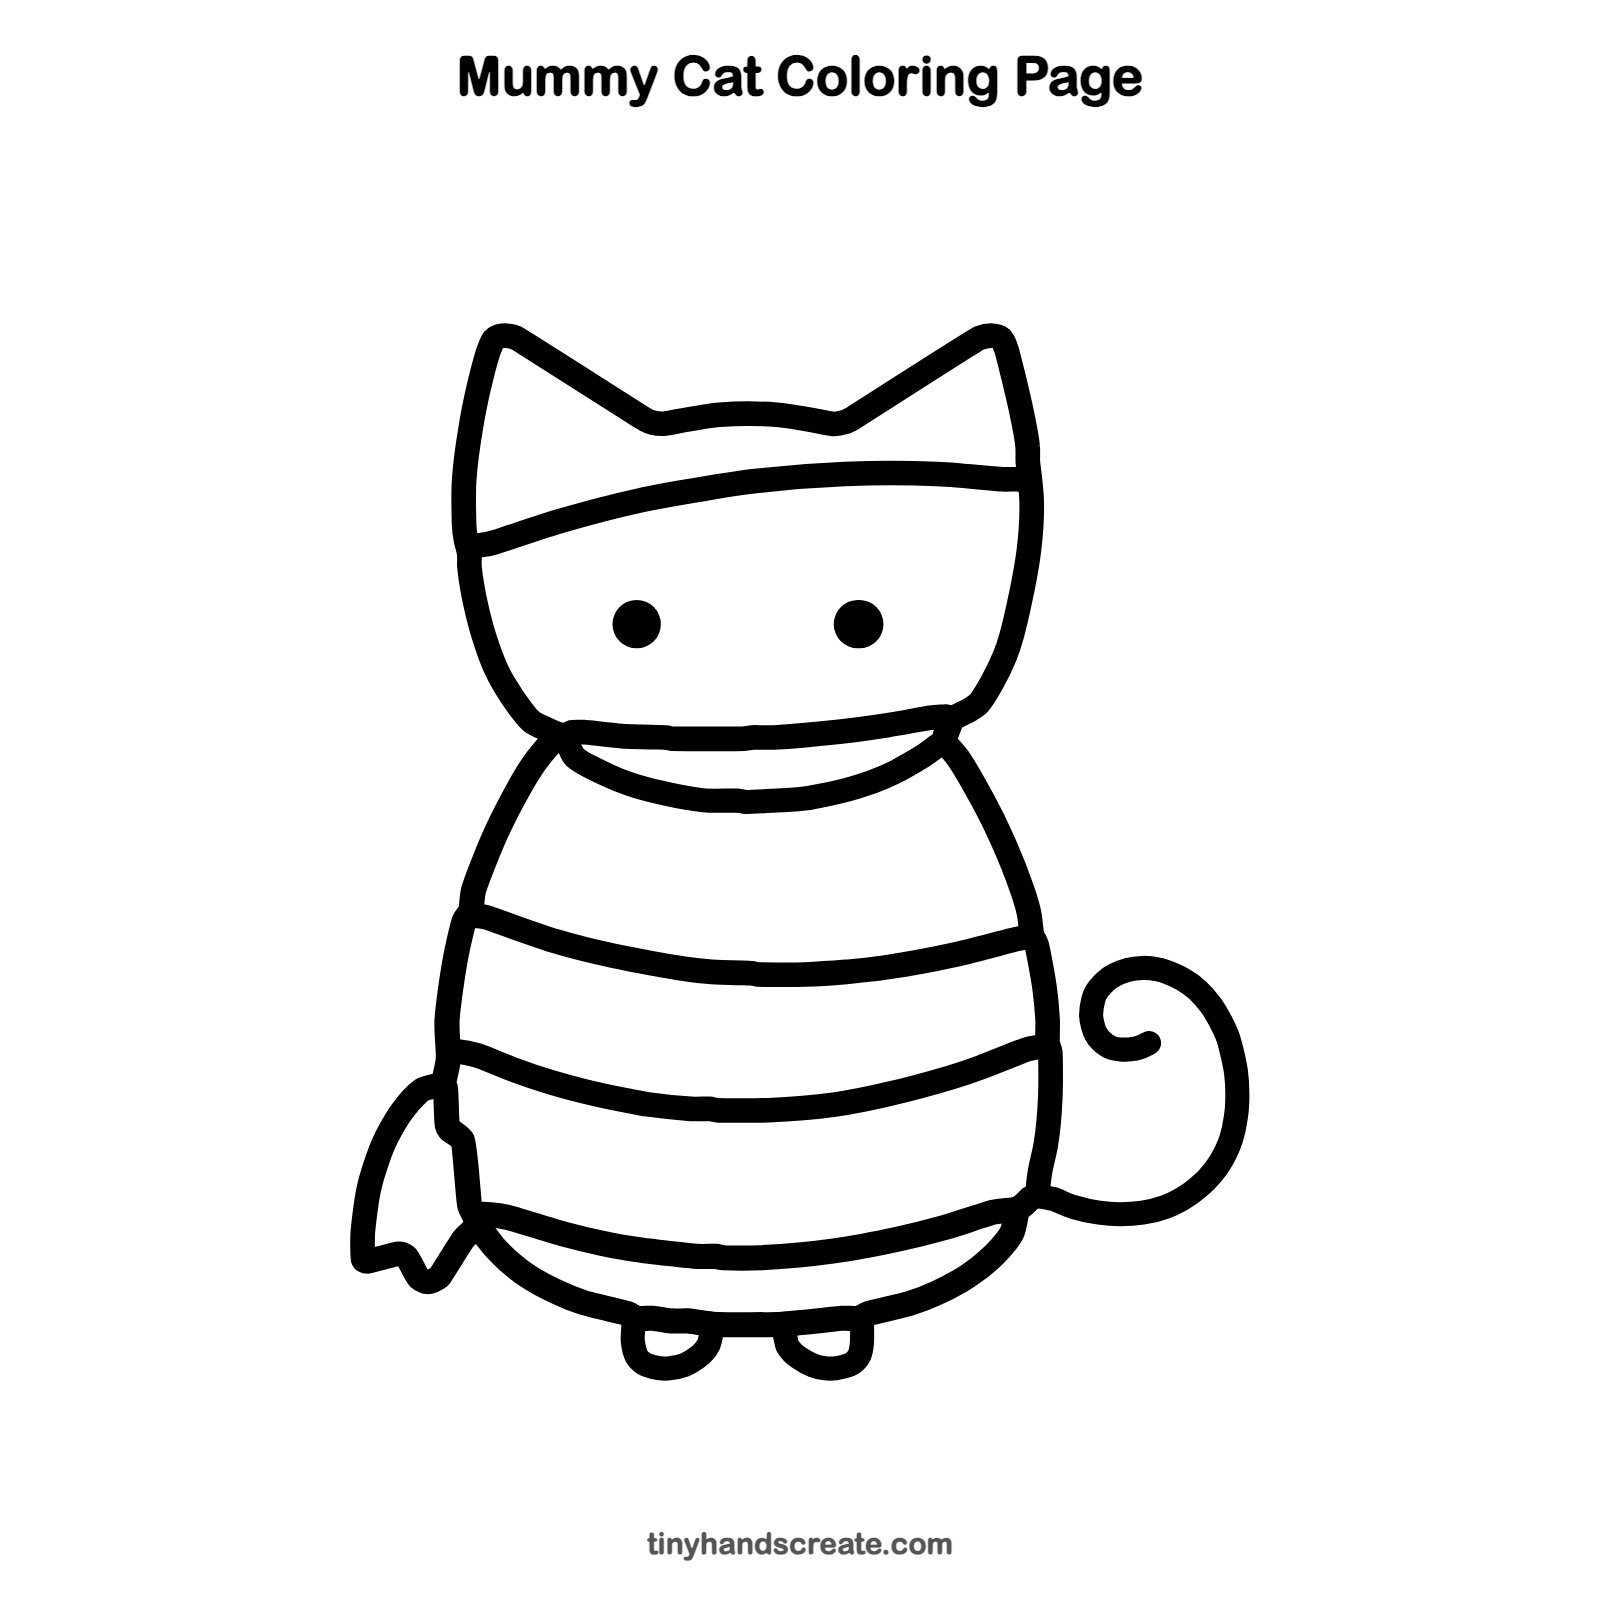
Want to go straight to coloring? Open this mummy cat coloring page at full size and print it. It is the same drawing you just learned, with clean lines ready for crayons or markers.
How to color your mummy cat drawing
Try cream, tan or light gray for the bandages, with bright green or yellow for the eyes. For a creative twist, color the bandages in rainbow stripes for a party mummy cat.
Mummy cat fun fact for kids
Ancient Egyptians cared so much about cats that many were wrapped in linen and preserved as mummies. Archaeologists have found large numbers of them in old animal cemeteries.
Questions about drawing a mummy cat
What shapes do I need to draw a mummy cat?
You need a rounded shape for the head, two triangles for the ears, a large rounded shape for the body, and curved lines for the bandages. Two dots make the eyes and a small curl makes the tail.
How do I make my mummy cat look cuter?
Keep the body round and chubby and the eyes small and wide apart. A loose bandage end hanging off the side adds extra charm.
How do I draw bandage stripes that look wrapped?
Curve each stripe slightly in the middle, so it seems to go around the body. Let the stripe ends touch the outline on both sides.