How to Draw a Jeep (Easy Step by Step)
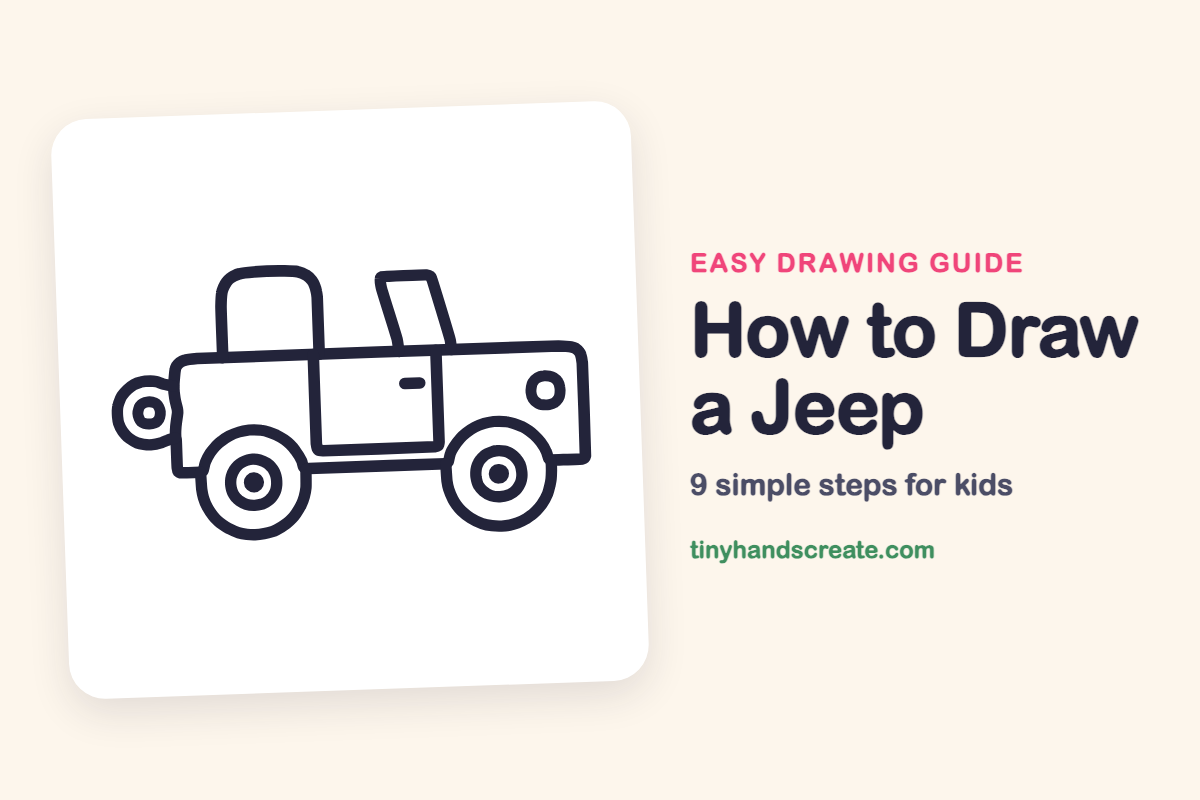
A jeep is a great first vehicle to draw because it is built from simple shapes: rectangles, circles, and a few curves. You will start with one long body outline, then add a seat back, a windshield, a door, wheels, and a spare tire. Once you can draw this jeep, you can make it a different size or add your own details.
- Easy
- 12 minutes
- 9 steps
You need: paper, a pencil, an eraser, and crayons or markers for coloring.
Start drawingIn this article (7 sections)
How to draw a jeep step by step
How to Draw a Jeep · tinyhandscreate.com
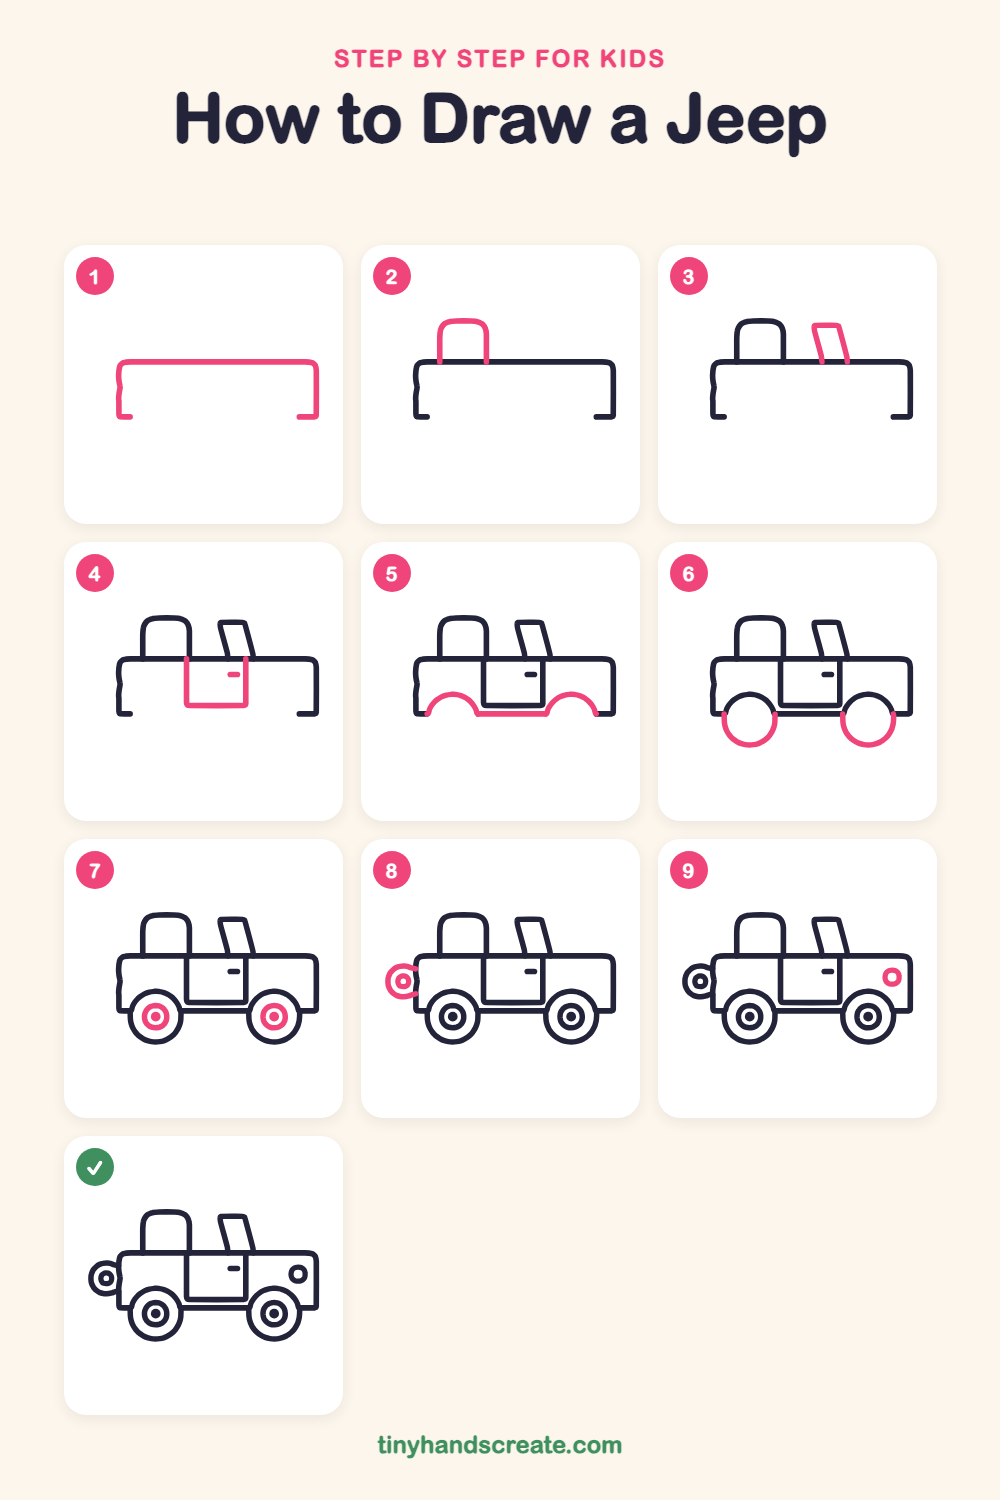
Step 1: Body outline
Draw a long, wide shape like an upside-down U with softly rounded top corners. Start with the left side going up, draw straight across the top, then come down on the right, leaving the bottom open for now.
Step 2: The seat back
On top of the body, near the left, draw a tall shape like a rounded block. Its two sides start on the top edge of the body and meet in a curved top.
Step 3: The windshield
Toward the right, draw a slanted four-sided shape that leans back toward the seat. Its two slanted sides start on the top edge of the body and its top is a short flat line.
Step 4: The door
In the middle of the body, draw a tall rectangle. Start from the top edge of the body and go down, across, and back up. Then add a tiny short line near the top right of the door for the handle.
Step 5: Wheel arches
Draw two half circles that bulge upward from the bottom corners, one on the left and one on the right. Then connect them with a straight line along the bottom of the body.
Step 6: The wheels
Finish each wheel by drawing the bottom half of a big circle that joins the ends of the arch. Now each wheel is a full round circle.
Step 7: Hubcaps
Inside each wheel, draw a smaller circle in the center. Then add a tiny dot in the middle of each one.
Step 8: Spare tire
On the back of the jeep, on the left, draw a circle that tucks behind the body. Add a smaller circle inside it with a tiny dot in the center.
Step 9: The headlight
Near the front of the jeep, on the right, draw a small rounded square with a tiny circle inside it.
All done!
Go over your lines with a marker, then color it in.
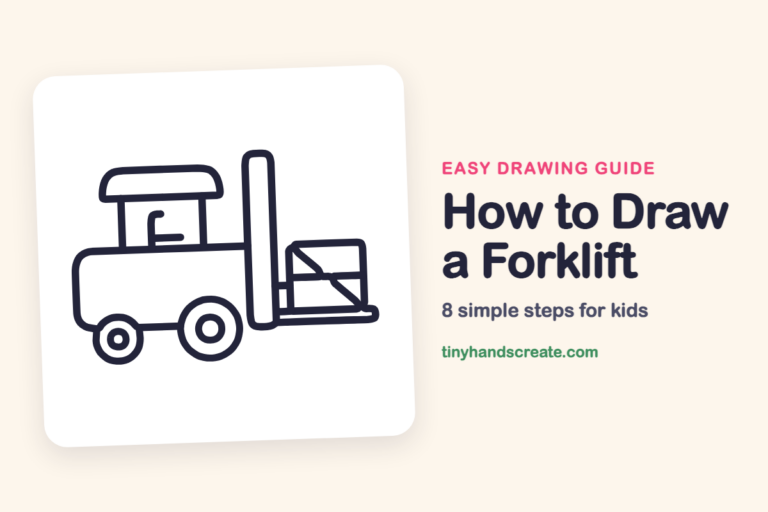
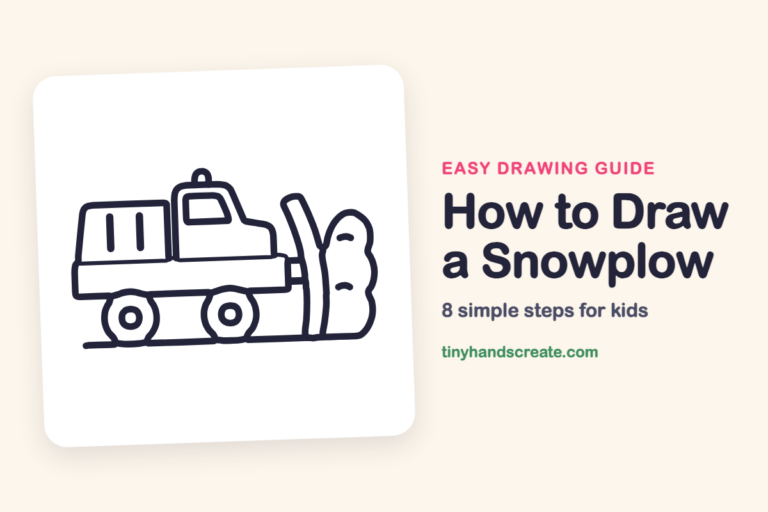
Finished your jeep? Keep the pencils out and learn how to draw a forklift or how to draw a snowplow next.
Tips for drawing a jeep
- Draw the long body first and leave room below it for two big wheels, so the circles do not get squished.
- The wheel arches are the trickiest part. Draw each one as a half circle, then finish the bottom half so the wheel looks completely round.
- Try to make both wheels about the same size, and put the smaller circles right in the center of each one.
Free jeep coloring page
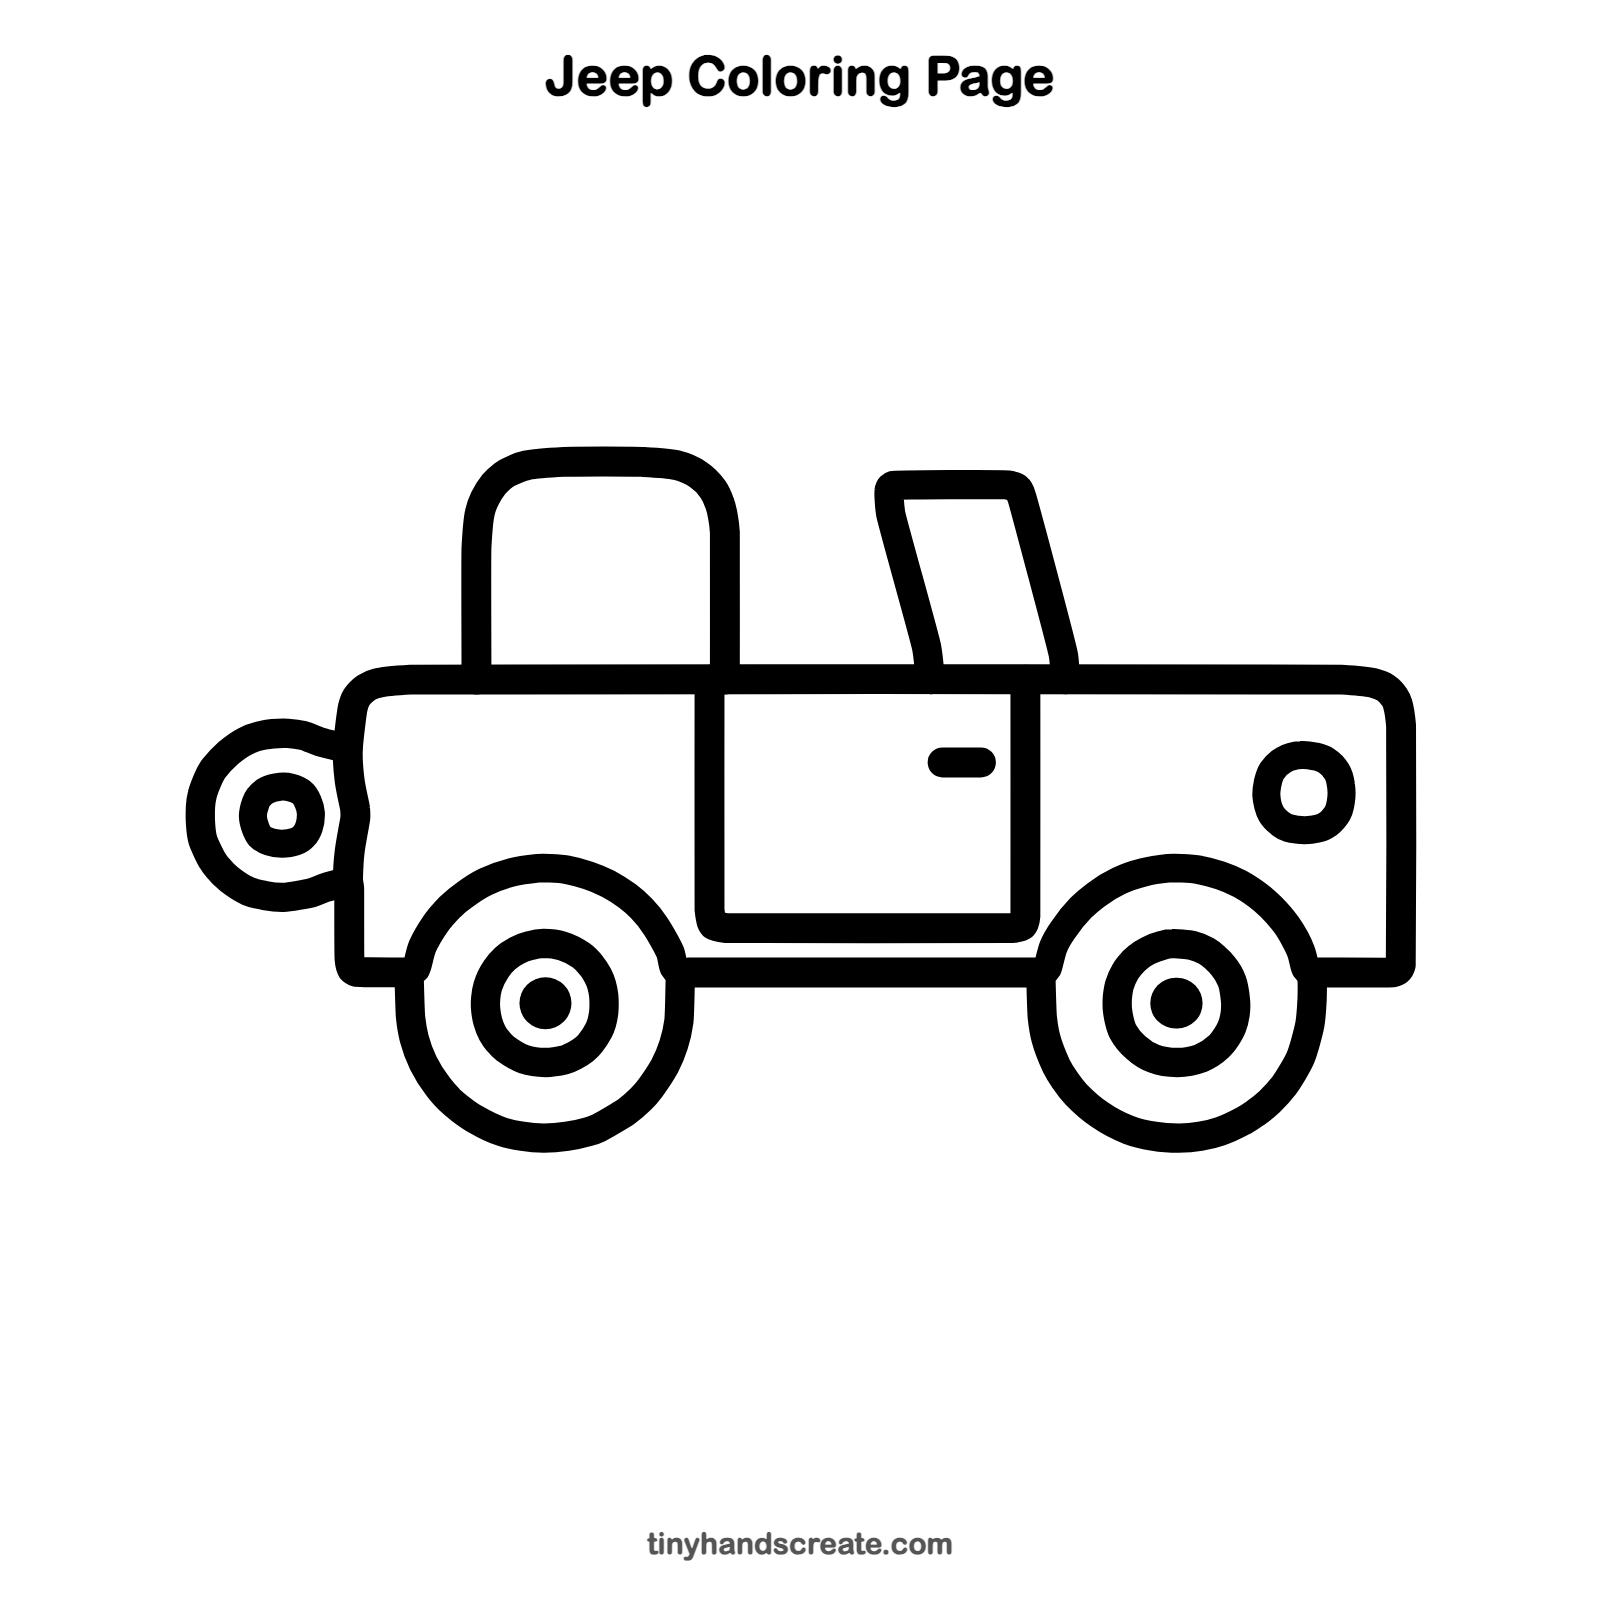
Want to go straight to coloring? Open this jeep coloring page at full size and print it. It is the same drawing you just learned, with clean lines ready for crayons or markers.
How to color your jeep drawing
Try a bright green or sunny yellow body with black tires and gray hubcaps. The spare tire can be black with a gray center, and the headlight can be a sunny yellow.
Jeep fun fact for kids
Jeeps became famous in World War II, when the U.S. Army used small, tough four-wheel-drive vehicles built by Willys and Ford.
Questions about drawing a jeep
What shapes do I need to draw a jeep?
You need a long body outline, a rectangle for the door, a tall rounded block for the seat back, and circles for the wheels, hubcaps, and spare tire. The windshield is a slanted four-sided shape and the headlight is a small rounded square.
How do I make my jeep wheels look round?
Draw the top half as an arch first, then add the bottom half to meet it. Going slowly and turning your paper can help you make a smooth curve.
Where does the spare tire go?
Draw it on the back of the jeep, on the left side, so it tucks behind the body. Add a smaller circle with a dot inside to finish it.