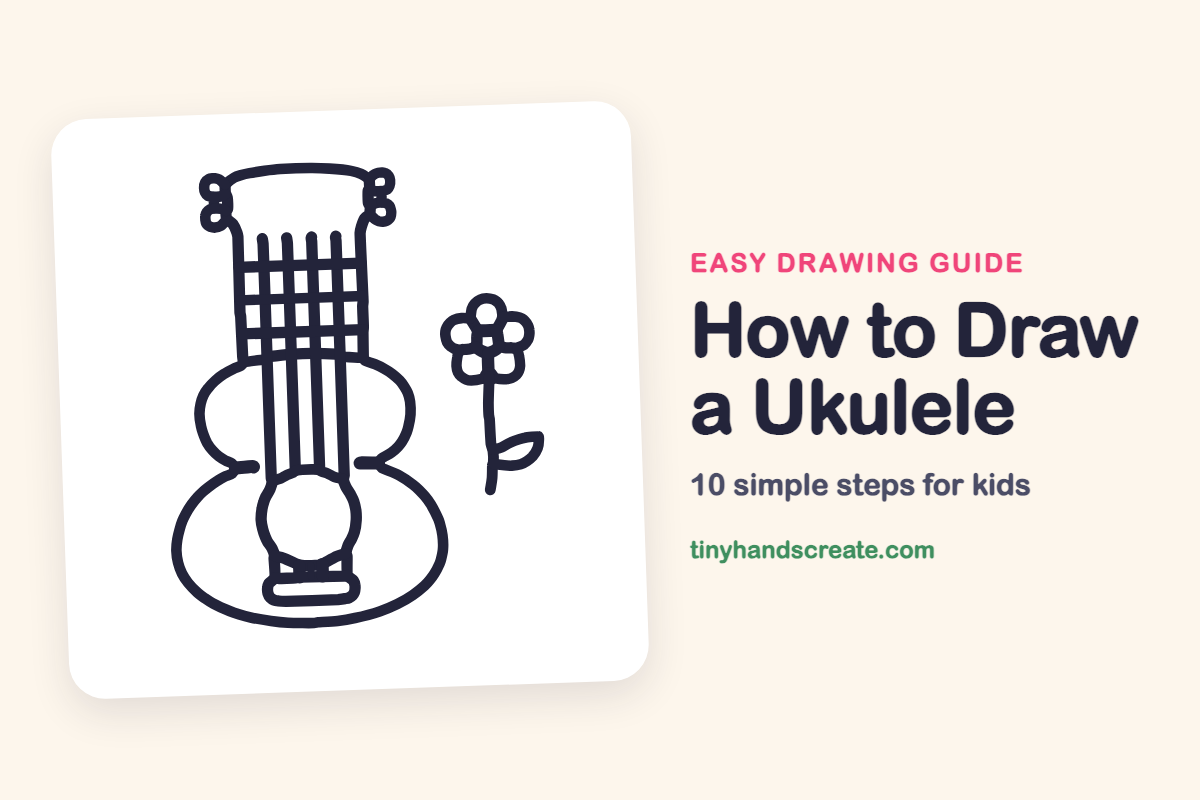
How to Draw a Ukulele (Easy Step by Step)
A ukulele is a friendly little guitar, and it is built from shapes kids already know: two rounded bumps for the body, a long rectangle for the neck, and a circle for the sound hole. Straight string lines and a cheerful flower next to it make this drawing easy to finish and fun to decorate.
- Medium
- 15 minutes
- 10 steps
You need: paper, a pencil, an eraser, and crayons or markers for coloring.
Start drawingIn this article (7 sections)
How to draw a ukulele step by step
How to Draw a Ukulele · tinyhandscreate.com
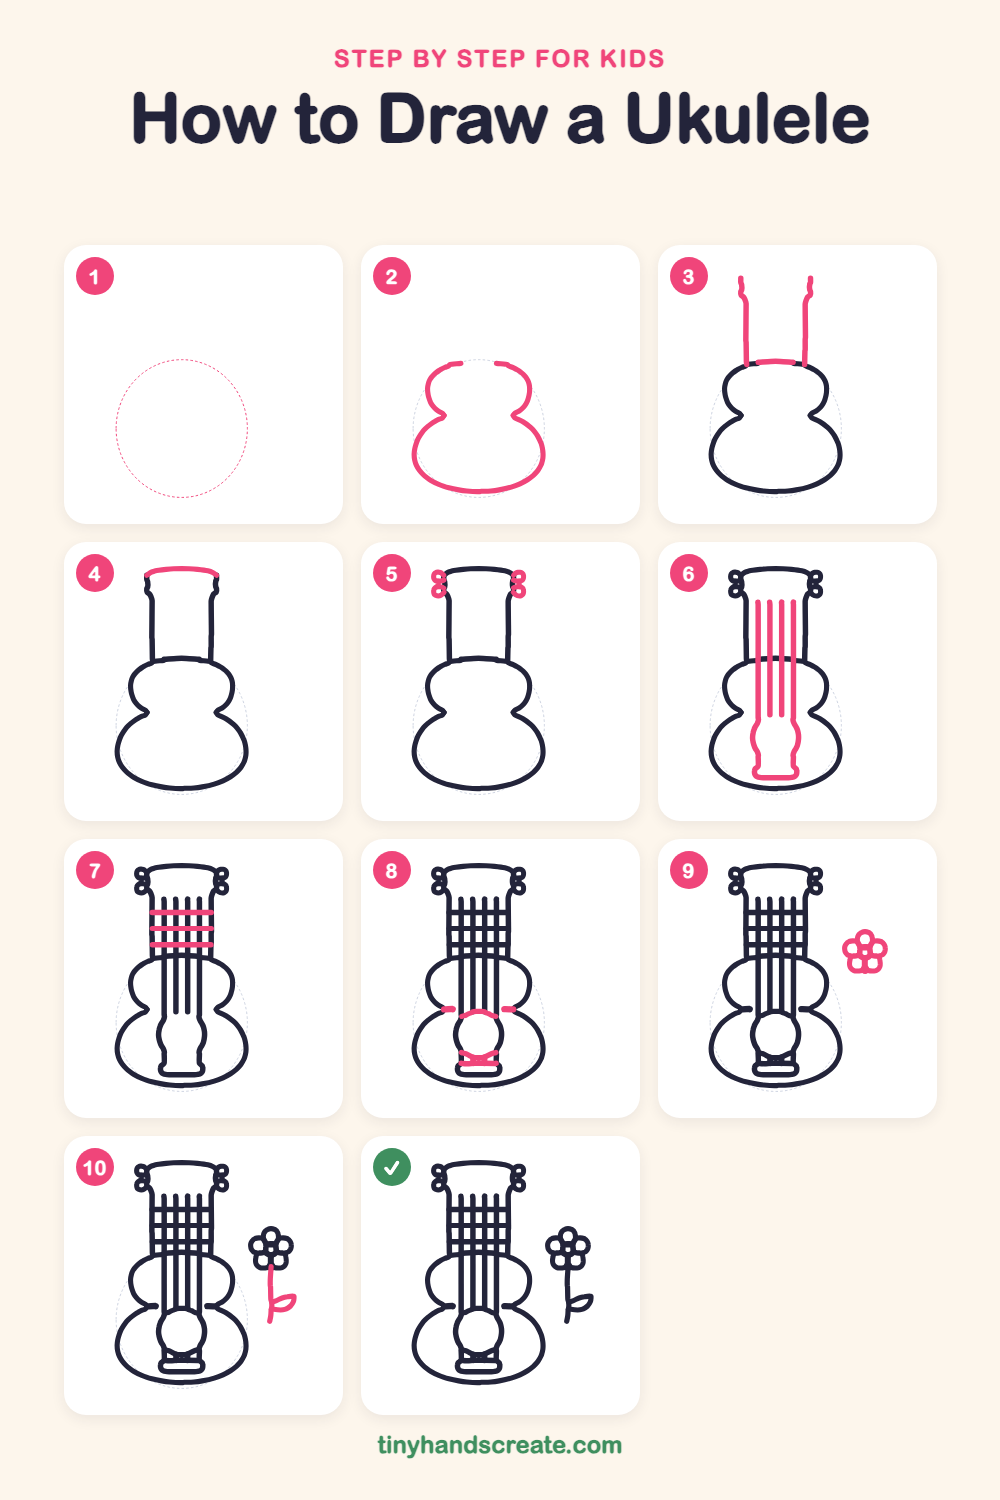
Step 1: Guide shapes
Lightly sketch this oval. It only shows where the big parts go, so press softly. You will erase it at the end.
Step 2: The body
Draw a rounded shape like a peanut or a figure 8: a smaller bump on top and a much wider bump on the bottom, pinched in at the middle. Leave a small gap at the top of the upper bump.
Step 3: The long neck
Draw two long straight lines going up from the top bump, a little apart from each other. Then add a short curved line across the top of the body to close the gap between them.
Step 4: The headstock
At the top of the neck, draw a gently curved line from one neck line to the other. This is the top edge of the headstock.
Step 5: Tuning pegs
Draw two tiny stacked loops, like a little figure 8, on the left side of the headstock. Draw the same two loops on the right side to match.
Step 6: The strings
Draw four long straight lines from the headstock down the neck and over the body, evenly spaced. At the bottom, draw a rounded shape with a flat base around the ends of the lines.
Step 7: The frets
Draw three short straight lines going across the neck, from one edge to the other. They cross over the strings and make little boxes.
Step 8: Sound hole and bridge
Draw a curved line over the top of the round sound hole, and add a short line on each side of the body at the pinched middle. Near the bottom, draw a few short crossing lines for the bridge.
Step 9: A flower friend
Next to the ukulele, draw a tiny circle and put five round petals around it, like a daisy. Each petal is a small circle that touches its neighbors.
Step 10: Stem and leaf
Draw a long, gently curved line going down from the flower for the stem. Add a pointed leaf shape sticking out to the right.
All done!
Erase the guide shapes, go over your lines, then color it in.
Finished your ukulele? Keep the pencils out and learn how to draw an electric guitar or how to draw music notes next.
Tips for drawing a ukulele
- Draw the body first and make the bottom bump bigger than the top one. If the two bumps are about the same size, it will look more like a vase than a ukulele.
- The strings are the trickiest part. Use the edge of a ruler or a book for the long lines, or draw them slowly with a steady hand, starting at the top.
- Keep the four string lines evenly spaced and straight. It is easier to fix a light pencil line than a dark one.
Free ukulele coloring page
Want to go straight to coloring? Open this ukulele coloring page at full size and print it. It is the same drawing you just learned, with clean lines ready for crayons or markers.
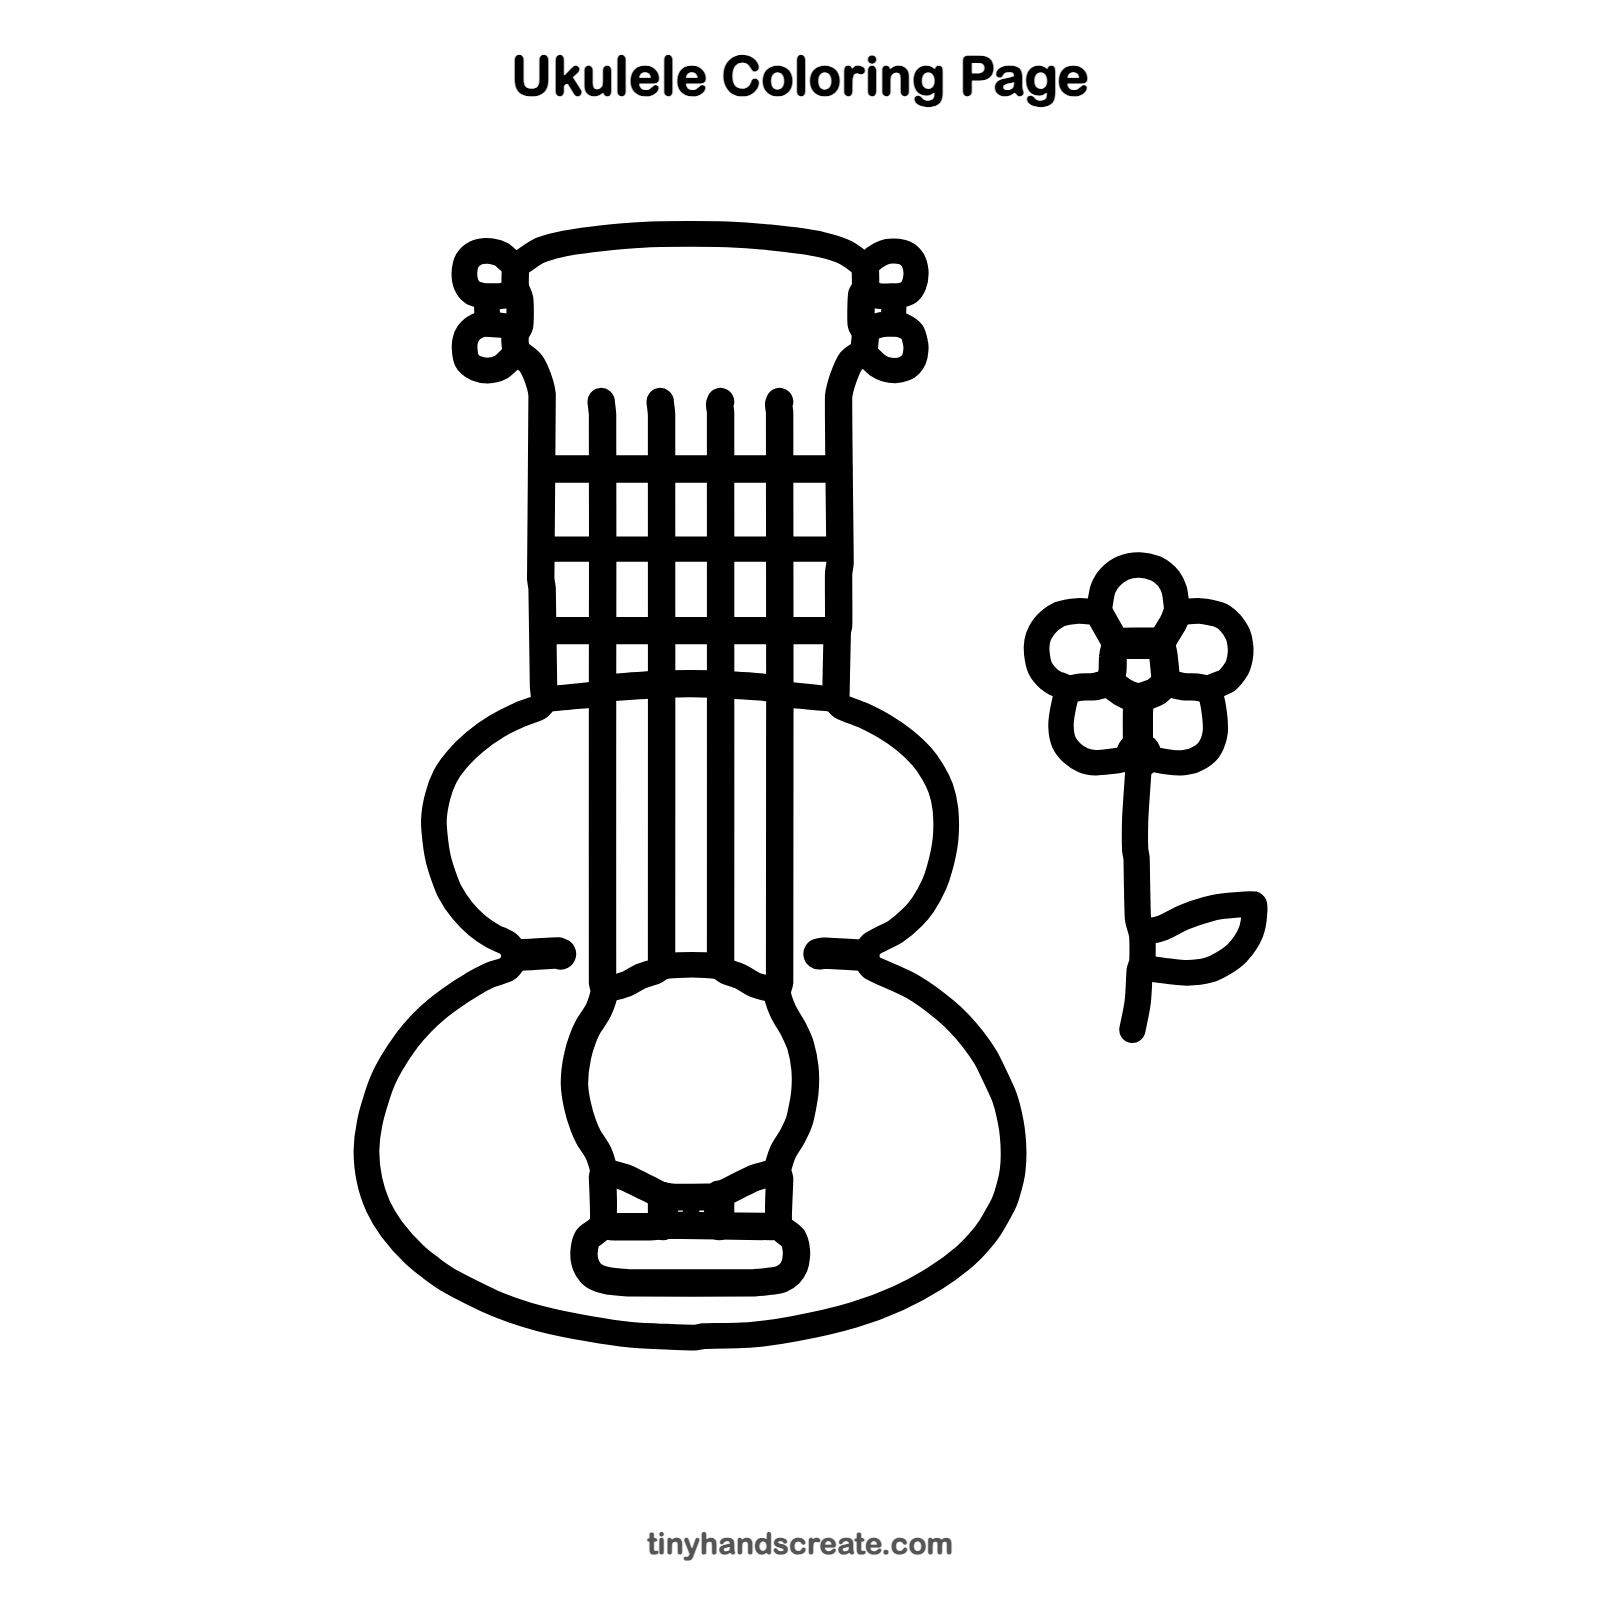
How to color your ukulele drawing
Try warm wood colors like orange, tan, and brown for the body, with dark brown for the neck and gray or yellow for the strings. For a creative twist, make the ukulele rainbow striped and give the flower bright, bold petals.
Ukulele fun fact for kids
A ukulele usually has just four strings, while most guitars have six.
Questions about drawing a ukulele
What shapes do I need to draw a ukulele?
You need two rounded bumps for the body, a long rectangle for the neck, a curved cap for the headstock, and a circle for the sound hole. Straight lines make the strings and frets.
How do I make my ukulele look more real?
Add the three lines across the neck for the frets and the little bridge with crossing lines near the bottom. Those small details make it look like an instrument.
Why does my ukulele look crooked?
Draw the neck lines straight up from the middle of the body, and compare the left and right sides as you go. A light pencil line down the middle can help you keep it even.