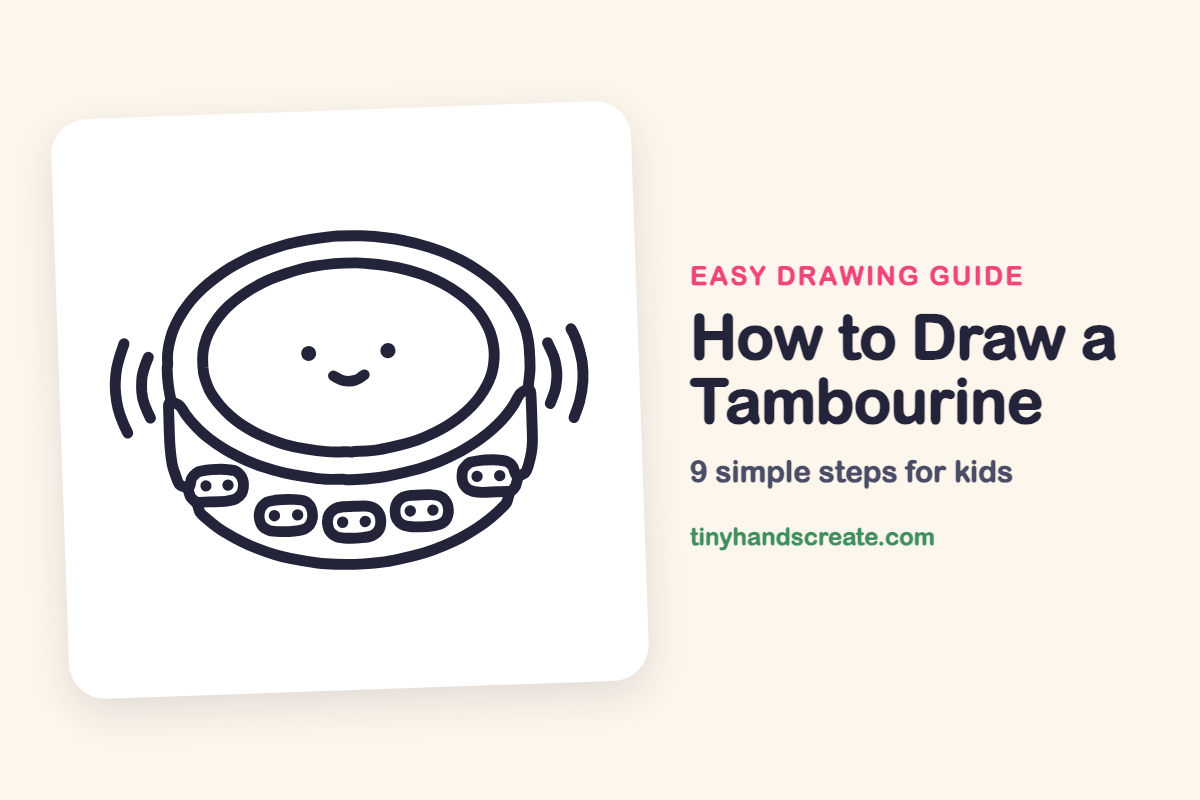
How to Draw a Tambourine (Easy Step by Step)
A tambourine is a fun drawing because it is mostly ovals and rounded rectangles, and this one has a smiling face. You start with a short drum shape, then add the skin, the face, the jingles and the curved sound lines that make it look like it is shaking.
- Easy
- 12 minutes
- 9 steps
You need: paper, a pencil, an eraser, and crayons or markers for coloring.
Start drawingIn this article (7 sections)
How to draw a tambourine step by step
How to Draw a Tambourine · tinyhandscreate.com
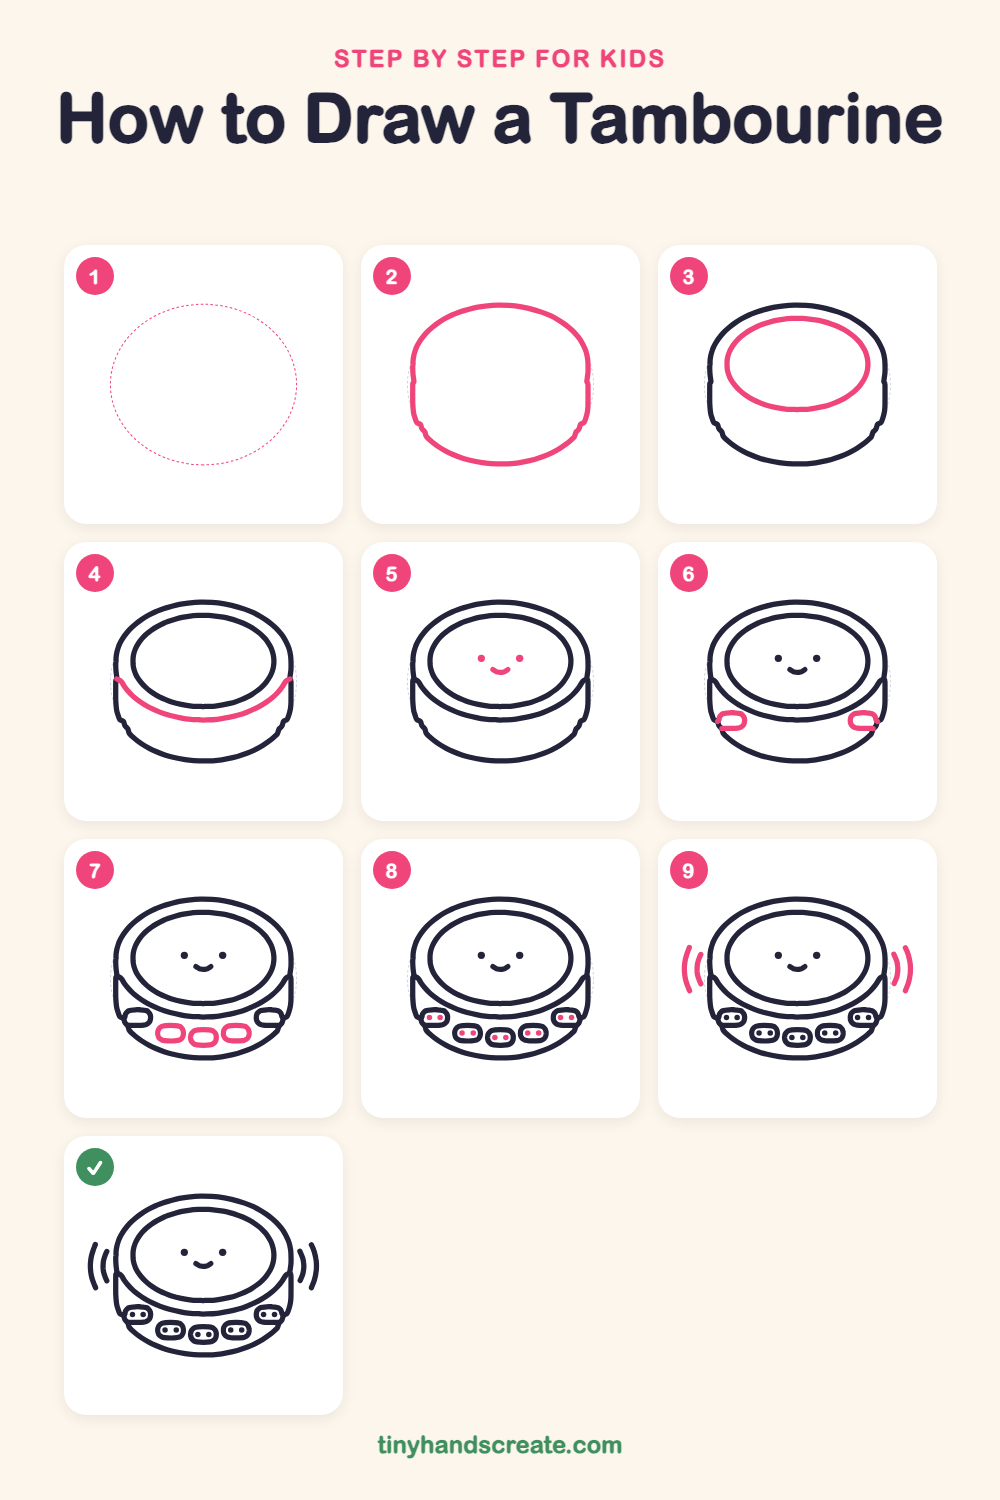
Step 1: Guide shapes
Lightly sketch this oval. It only shows where the big parts go, so press softly. You will erase it at the end.
Step 2: The drum body
Draw one big rounded shape like a short drum. Start with a wide curved top, bring the two sides straight down, and finish with a curve along the bottom.
Step 3: The drum skin
Inside the top of the drum, draw a smaller oval that sits in the middle. This is the stretched skin you tap with your hand.
Step 4: The front rim
Draw a long smiling curve across the front of the drum. Start it at the left side, sweep it down below the skin oval, and bring it up to the right side.
Step 5: A happy face
Add two little dots for eyes in the middle of the skin. Under them, draw a small curved smile.
Step 6: Side jingle slots
Draw a small rounded rectangle on the far left and another on the far right, low on the front of the drum. Make them look like fat pill shapes.
Step 7: Front jingle slots
Between the two side slots, draw three more rounded rectangles in a row. Make the middle one sit a little lower than its neighbors.
Step 8: Jingle dots
Put two small dots inside every rounded slot. These are the shiny metal jingles.
Step 9: Sound waves
On each side of the tambourine, draw two curved lines that bend like parentheses. The shorter one sits close to the drum and the longer one sits outside it.
All done!
Erase the guide shapes, go over your lines, then color it in.
Finished your tambourine? Keep the pencils out and learn how to draw a ukulele or how to draw an electric guitar next.
Tips for drawing a tambourine
- Draw the drum body wide and short. If it is too tall, the tambourine will look like a bucket instead of a drum.
- The curve across the front is the trickiest line. Draw it lightly first so it follows the bottom of the skin oval.
- Draw the five jingle slots at about the same size, then put the two dots in each one last so they stay evenly spaced.
Free tambourine coloring page
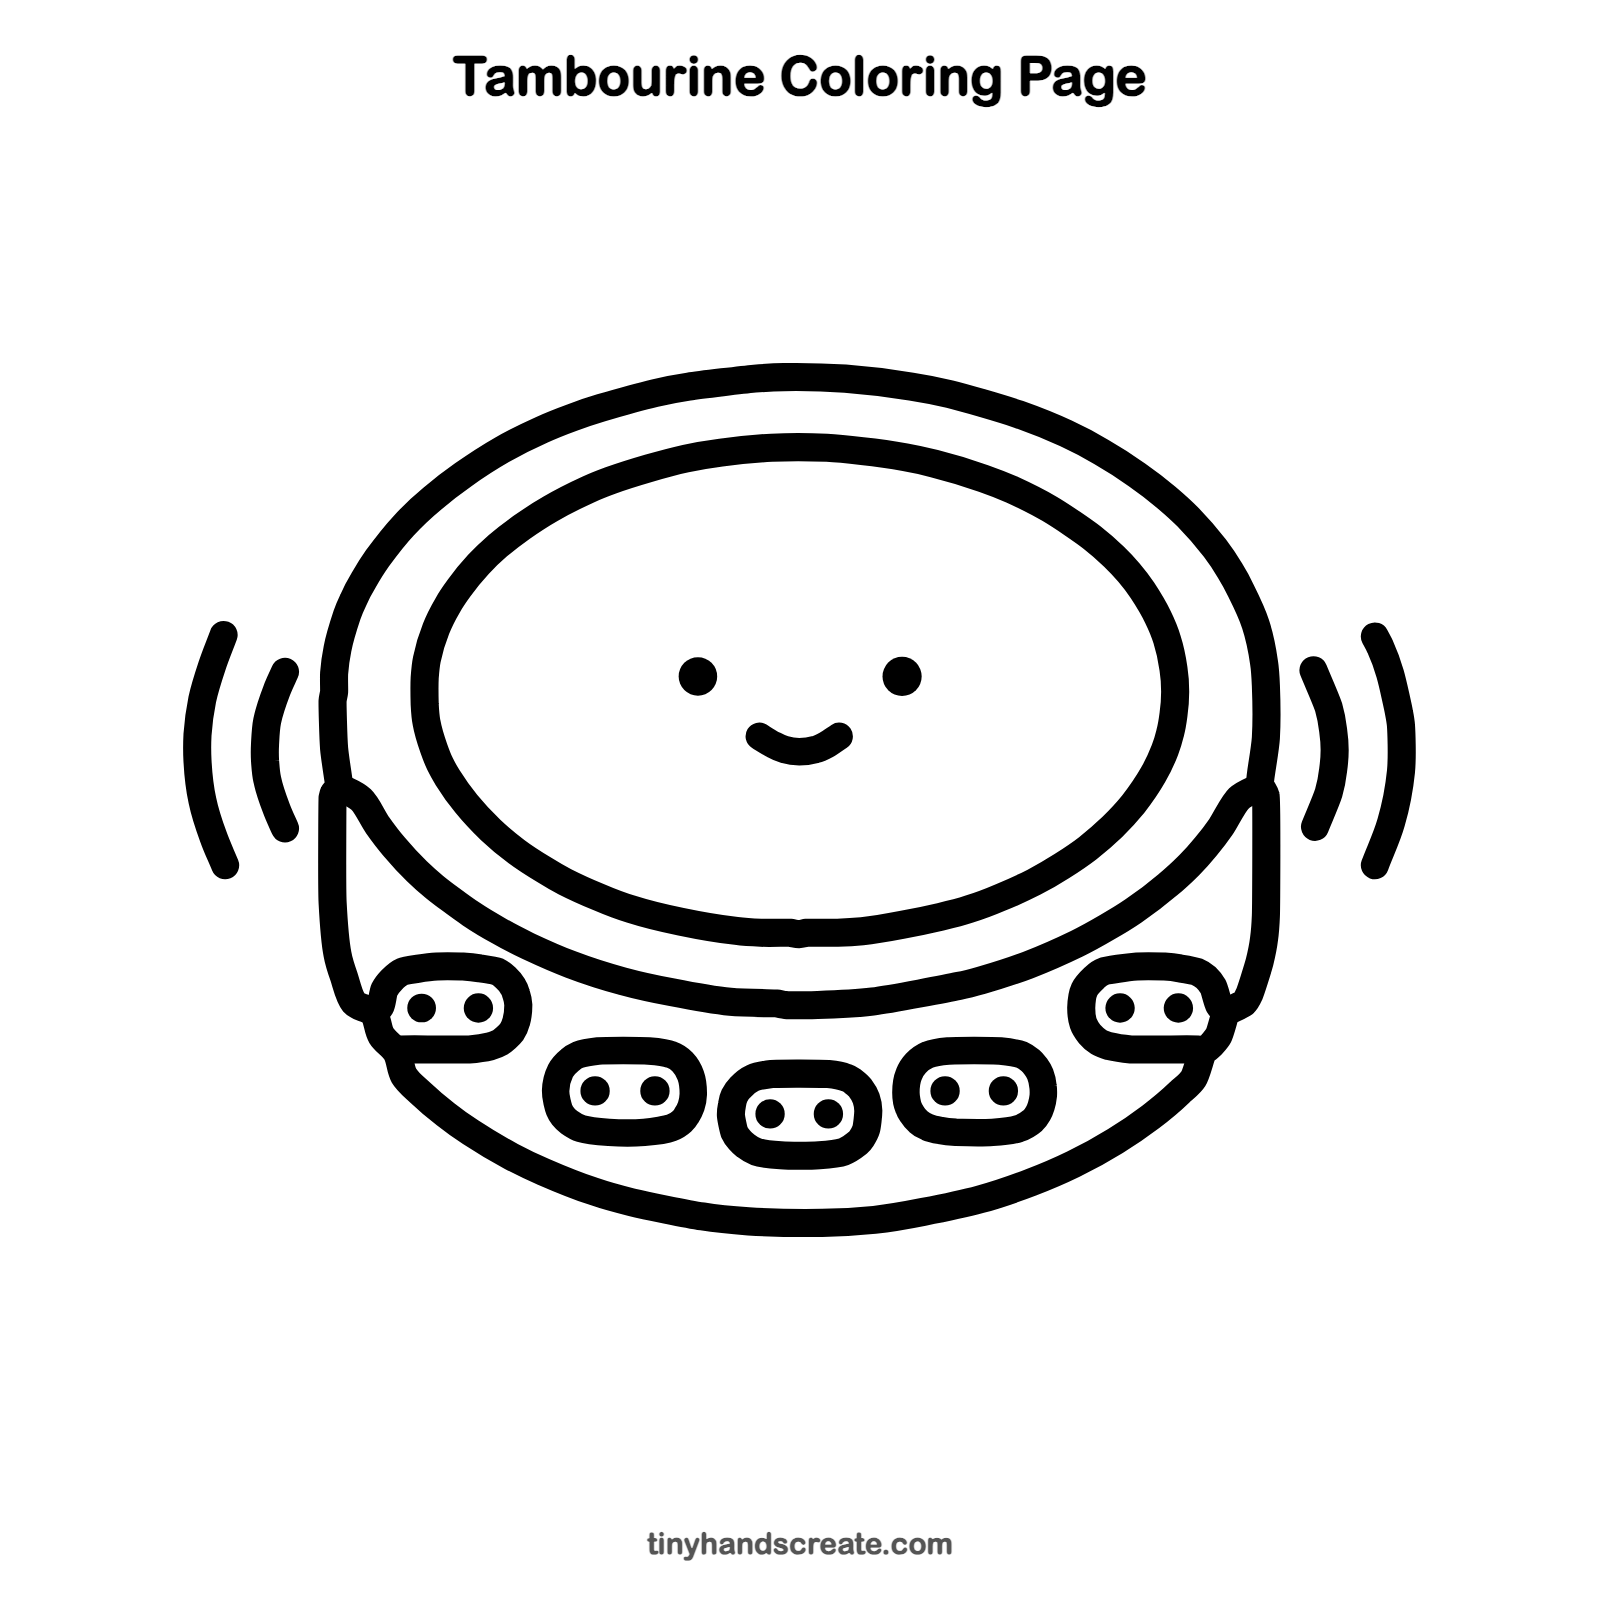
Want to go straight to coloring? Open this tambourine coloring page at full size and print it. It is the same drawing you just learned, with clean lines ready for crayons or markers.
How to color your tambourine drawing
Try a warm tan or brown for the drum skin and a bright color like blue or red for the rim. For a creative twist, color each jingle slot a different color so the tambourine looks like a rainbow.
Tambourine fun fact for kids
The little metal discs on a tambourine are called jingles, and they ring when you shake or tap the drum. People have played tambourines for thousands of years.
Questions about drawing a tambourine
What shapes do I need to draw a tambourine?
You need one rounded drum shape, one smaller oval for the skin, and five rounded rectangles for the jingle slots. A few curved lines finish the rim and the sound waves.
How do I make my tambourine look like it is shaking?
Add curved lines on both sides of the drum, like the ones you see around a ringing bell. Two lines on each side works well.
How do I make my tambourine look cuter?
Give it a happy face on the drum skin with two dot eyes and a small smile. Keeping the eyes wide apart makes the face look friendly.