How to Draw a Photographer (Easy Step by Step)
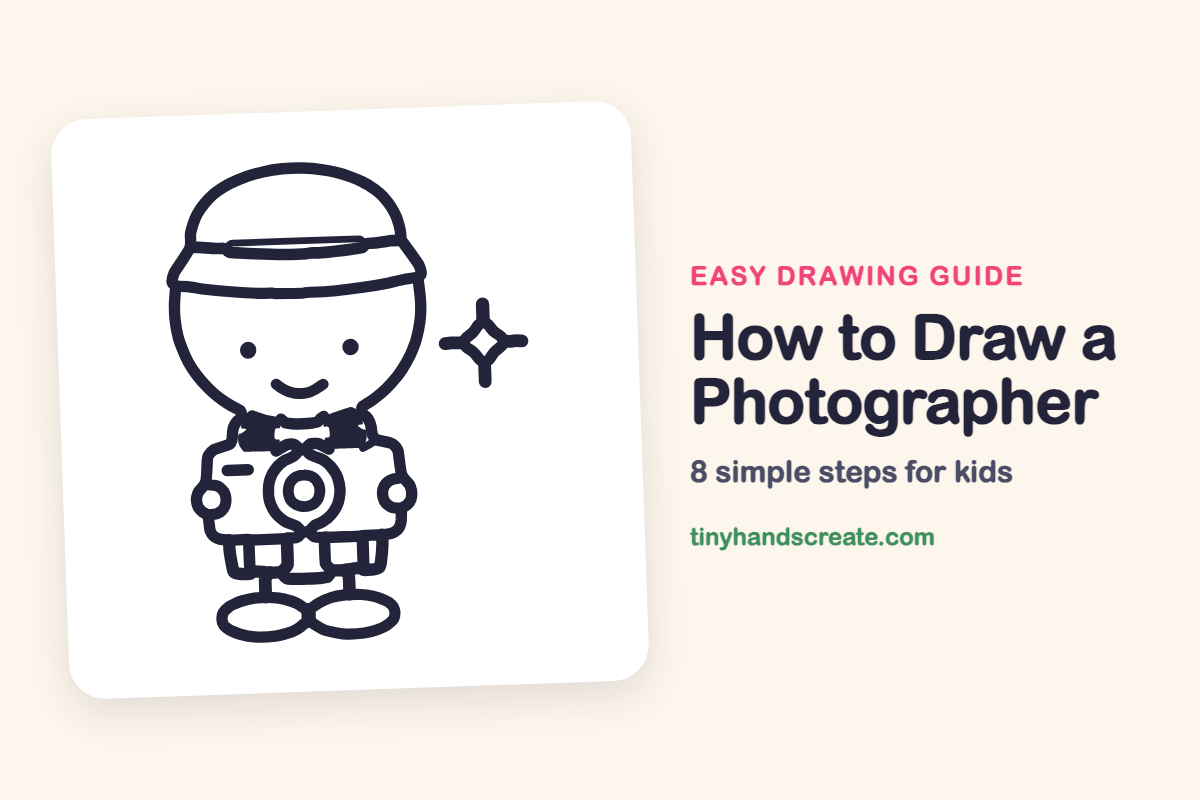
This little photographer is built from circles, ovals and rounded shapes, so it is a great drawing for beginners. The bucket hat, the bow tie and the big camera lens make the character look ready for a photo walk. A sparkle beside the head adds a fun finishing touch.
- Easy
- 15 minutes
- 8 steps
You need: paper, a pencil, an eraser, and crayons or markers for coloring.
Start drawingIn this article (7 sections)
How to draw a photographer step by step
How to Draw a Photographer · tinyhandscreate.com
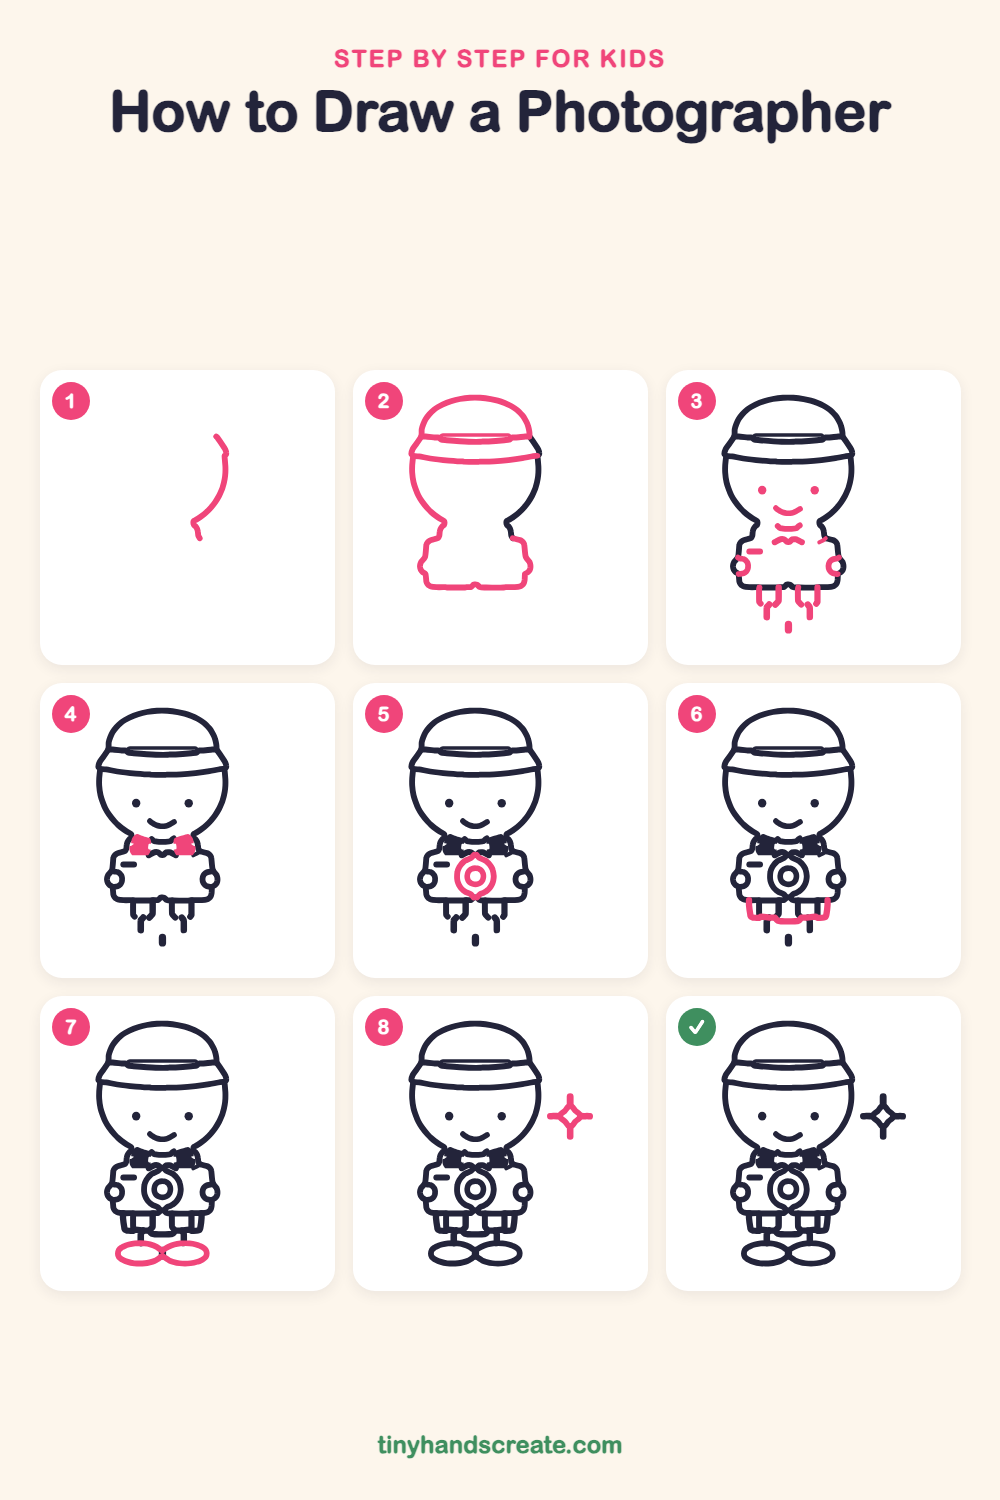
Step 1: Side of the head
Draw a curved line like the right side of a circle, bending in toward the bottom. Add a tiny hook at the end where the neck will be.
Step 2: Hat and body
Draw a dome for the hat with a wide curved brim and a band line just above the brim. Then finish the left side of the head and draw the body below it, with a flat bottom and little bumps on each side.
Step 3: Face, hands and legs
Add two small dots for eyes and a curved smile. Draw a small circle on each side of the body for the hands, a short dash on the body, and two short pairs of lines under it for the legs.
Step 4: The bow tie
Under the chin, draw two small bow shapes that meet in the middle, like a bow tie.
Step 5: The camera lens
In the middle of the body, draw a round shape for the lens. Draw a smaller circle inside it, and a tiny circle in the center.
Step 6: Shorts
Under the camera, draw a wide shape with a flat bottom for the shorts. Add short straight lines down from the top so it looks like two legs.
Step 7: Two big shoes
At the bottom, draw two wide flat ovals for the shoes. Let the two ovals touch in the middle.
Step 8: The sparkle
Next to the head, draw a small four-pointed star with curved sides, like a twinkle.
All done!
Go over your lines with a marker, then color it in.
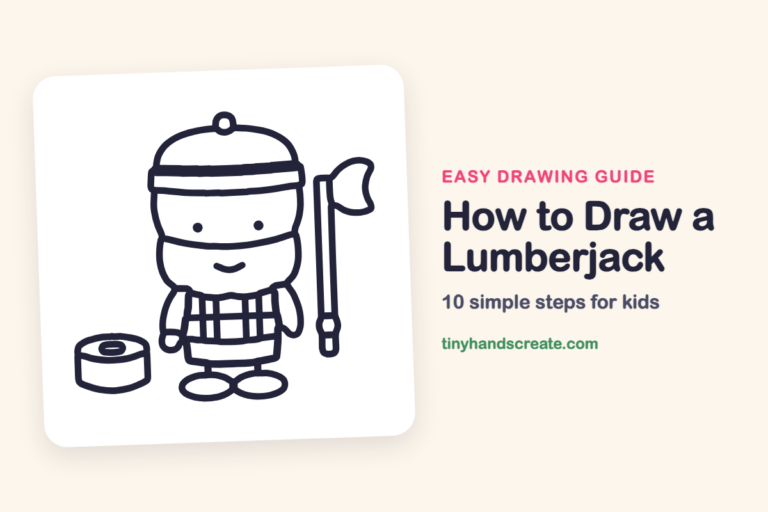
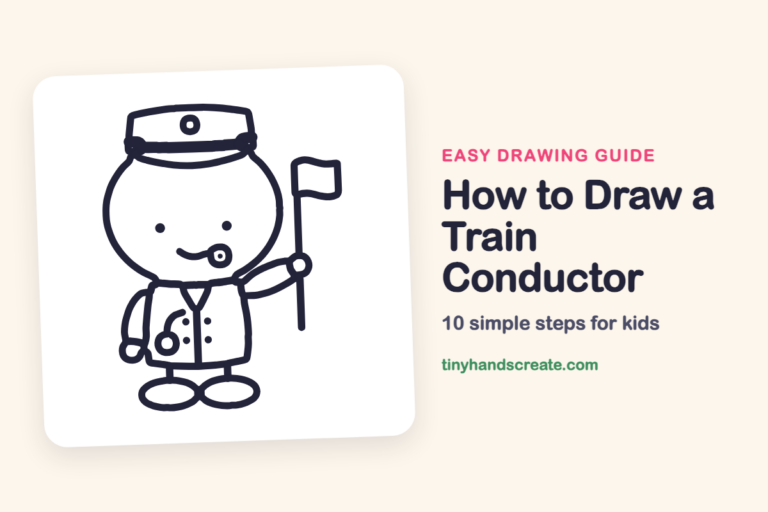
Finished your photographer? Keep the pencils out and learn how to draw a lumberjack or how to draw a train conductor next.
Tips for drawing a photographer
- Draw the hat with a wide brim so it sticks out past both sides of the head, and keep your lines light at first.
- For the lens, draw one round shape, then a smaller circle inside it, then a tiny circle in the center so they all line up.
- Make the two shoes the same size by drawing one oval, then copying its width for the other.
Free photographer coloring page
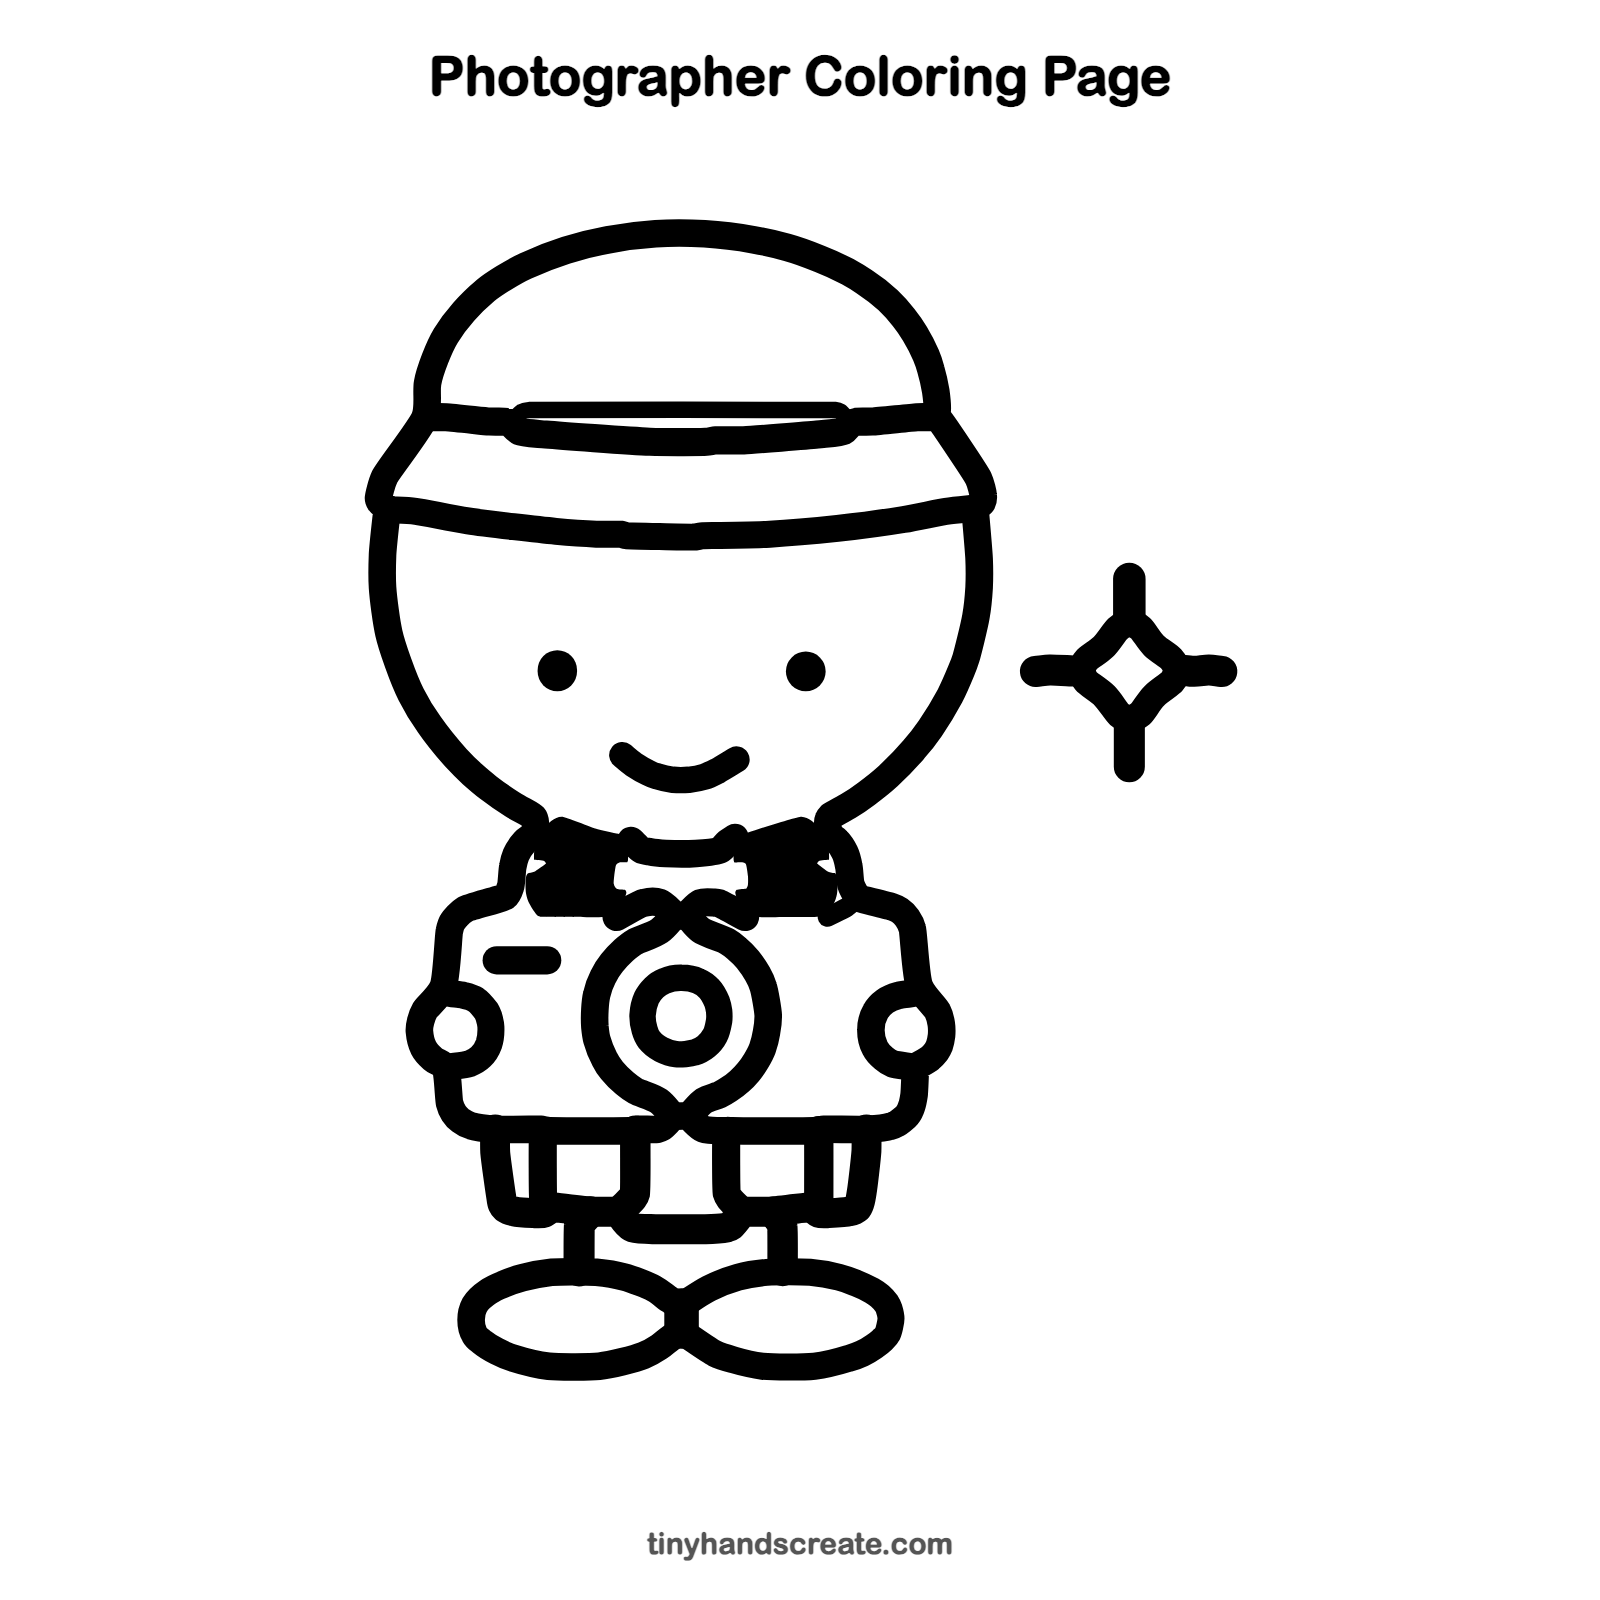
Want to go straight to coloring? Open this photographer coloring page at full size and print it. It is the same drawing you just learned, with clean lines ready for crayons or markers.
How to color your photographer drawing
Try a khaki hat and shorts, a red or blue bow tie, a gray camera, and bright shoes. For a creative twist, color the sparkle gold.
Photographer fun fact for kids
The oldest surviving photograph from a camera was taken around 1826 by Nicéphore Niépce in France, and it needed many hours of light to make a single picture.
Questions about drawing a photographer
What shapes do I need to draw a photographer?
You need a circle for the head, a dome for the hat, a rounded box for the body and camera, small circles for the hands, and two ovals for the shoes. Circles inside circles make the lens.
How do I make my photographer look cuter?
Place the eyes low and far apart on the big round head, and give a wide smile. A large hat and big shoes also make the character look sweet.
How do I draw the camera lens so it looks round?
Draw the outer round shape first, then a smaller circle inside it, leaving an even gap. Going slowly and turning your paper helps.