How to Draw an Opossum (Easy Step by Step)
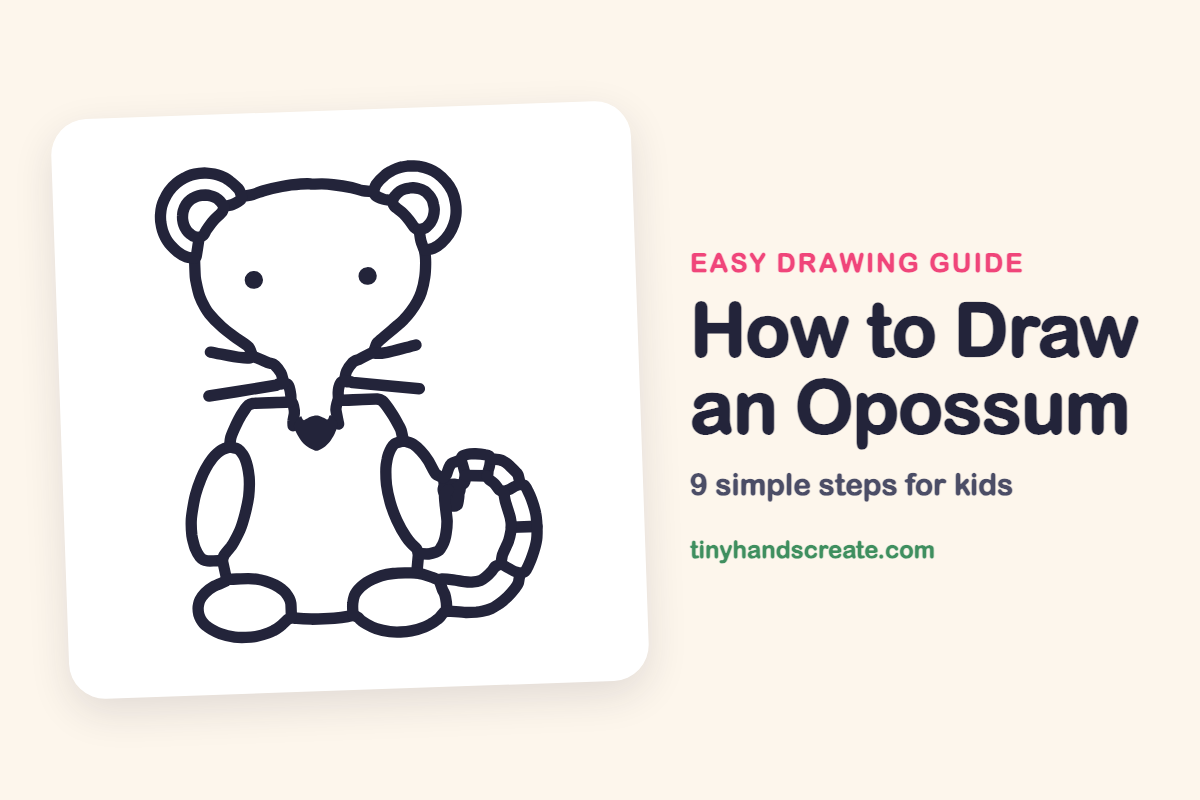
This opossum sits up and looks friendly. It is made from a dome-shaped head with a narrow snout, two round ears, a few ovals for arms and feet, and a thick striped tail. Every part is a simple shape, so it is a good drawing for beginners.
- Easy
- 15 minutes
- 9 steps
You need: paper, a pencil, an eraser, and crayons or markers for coloring.
Start drawingIn this article (7 sections)
How to draw an opossum step by step
How to Draw an Opossum · tinyhandscreate.com
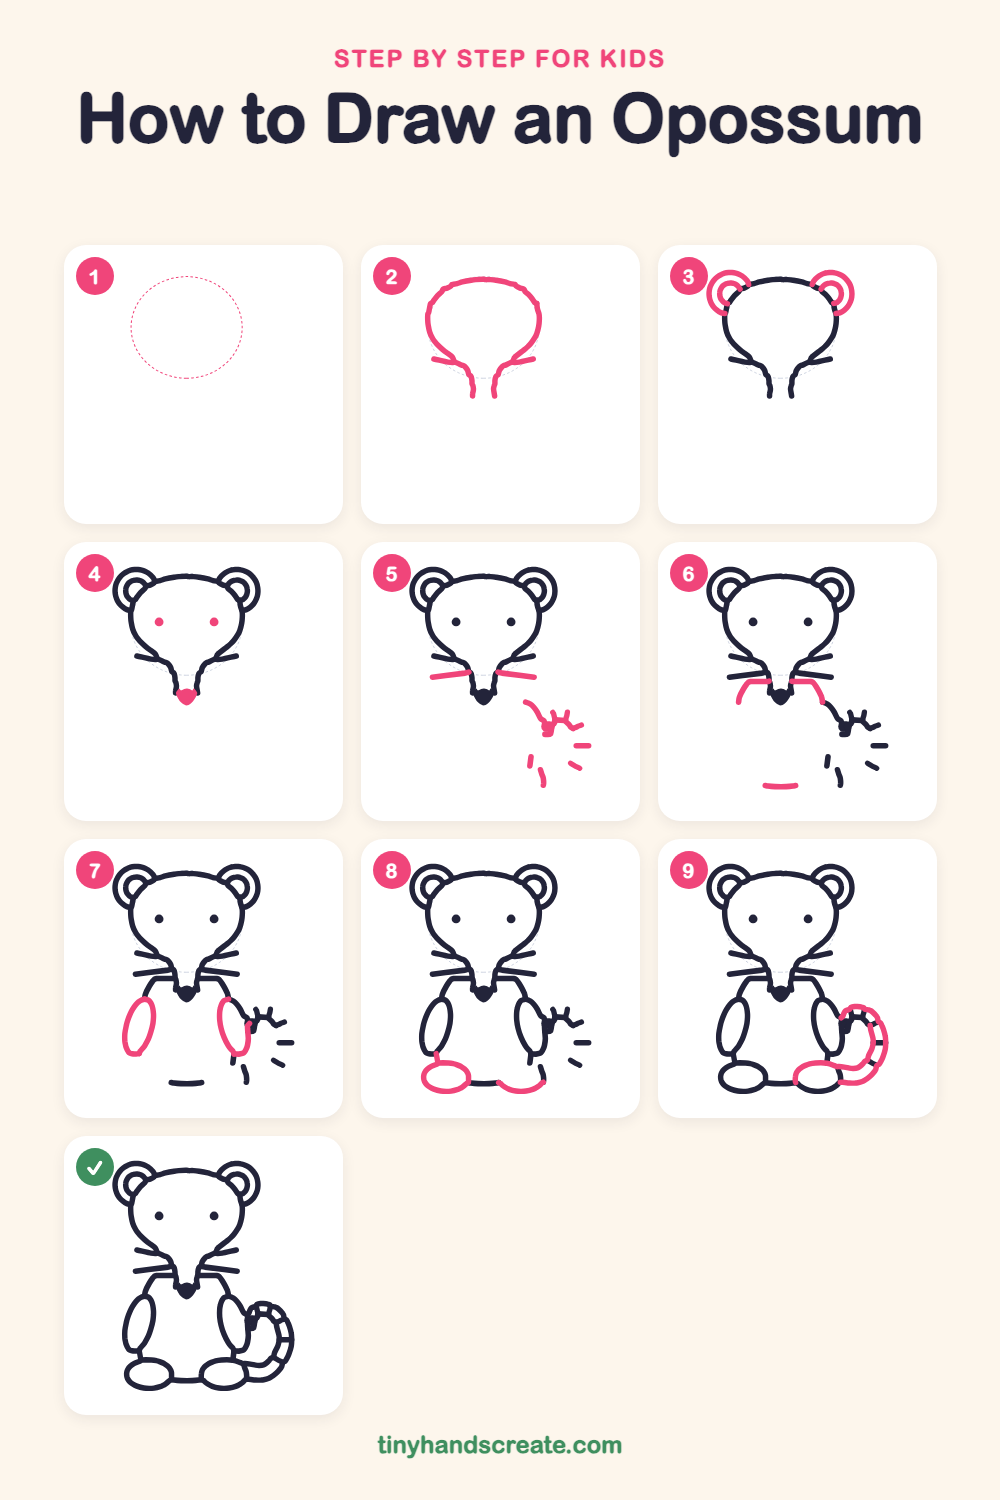
Step 1: Guide shapes
Lightly sketch this oval. It only shows where the big parts go, so press softly. You will erase it at the end.
Step 2: Head outline
Start with a wide curved line across the top, like a dome. Let both sides curve down and in, then end in two short lines that make a narrow snout at the bottom.
Step 3: Two round ears
Draw a circle on each top corner of the head, overlapping the dome. Then draw a smaller curved line inside each circle.
Step 4: Eyes and nose
Draw two small dots for eyes, one on each side of the face. Then draw a little rounded triangle at the tip of the snout and fill it in for the nose.
Step 5: Whiskers
Draw one long straight line sticking out from each side of the snout, just under the short whisker lines you already have. Make the two sides match.
Step 6: Shoulders and tummy
Under the snout, draw a curved line on each side that goes out and down for the shoulders. Then add a short curved line near the bottom for the base of the tummy.
Step 7: Arms
Draw a tall, skinny oval on each side of the body, tilted a little. They hang down along the sides, joining the shoulder lines.
Step 8: Feet
At the bottom left, draw a wide, flat oval for a foot. On the right, draw a curved line along the bottom to begin the other foot.
Step 9: The striped tail
Start near the right side of the body and draw two curved lines side by side that sweep down and around the right foot, making a thick tail. Add short lines across it for stripes.
All done!
Erase the guide shapes, go over your lines, then color it in.
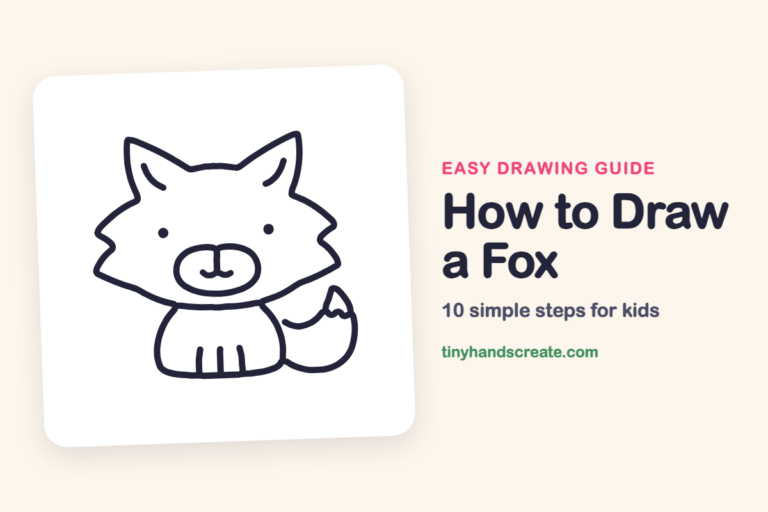
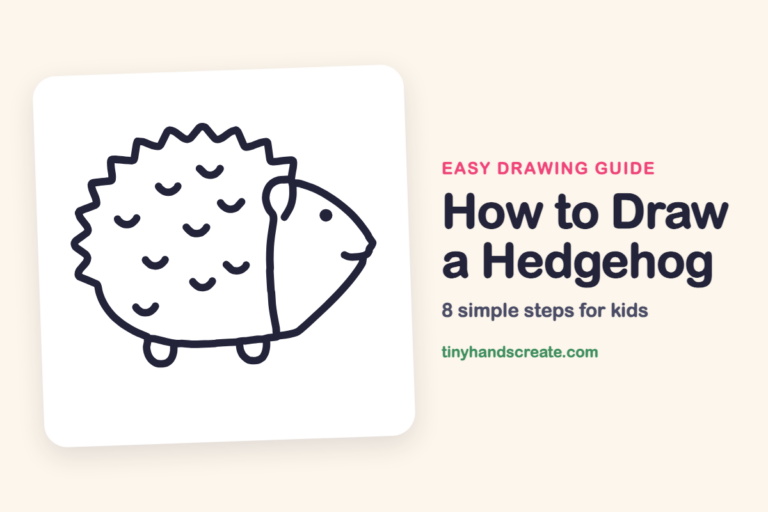
Finished your opossum? Keep the pencils out and learn how to draw a fox or how to draw a hedgehog next.
Tips for drawing an opossum
- Draw the head as a wide dome first, then let the sides curve in toward a narrow snout. The snout is the trickiest part, so go slowly.
- Make the arms and feet from ovals and draw the two sides about the same size. Tilt the arms a little so they look relaxed.
- Draw the tail last with two curved lines side by side, then add the stripes. Short lines across the tail are easier than drawing each stripe as a box.
Free opossum coloring page
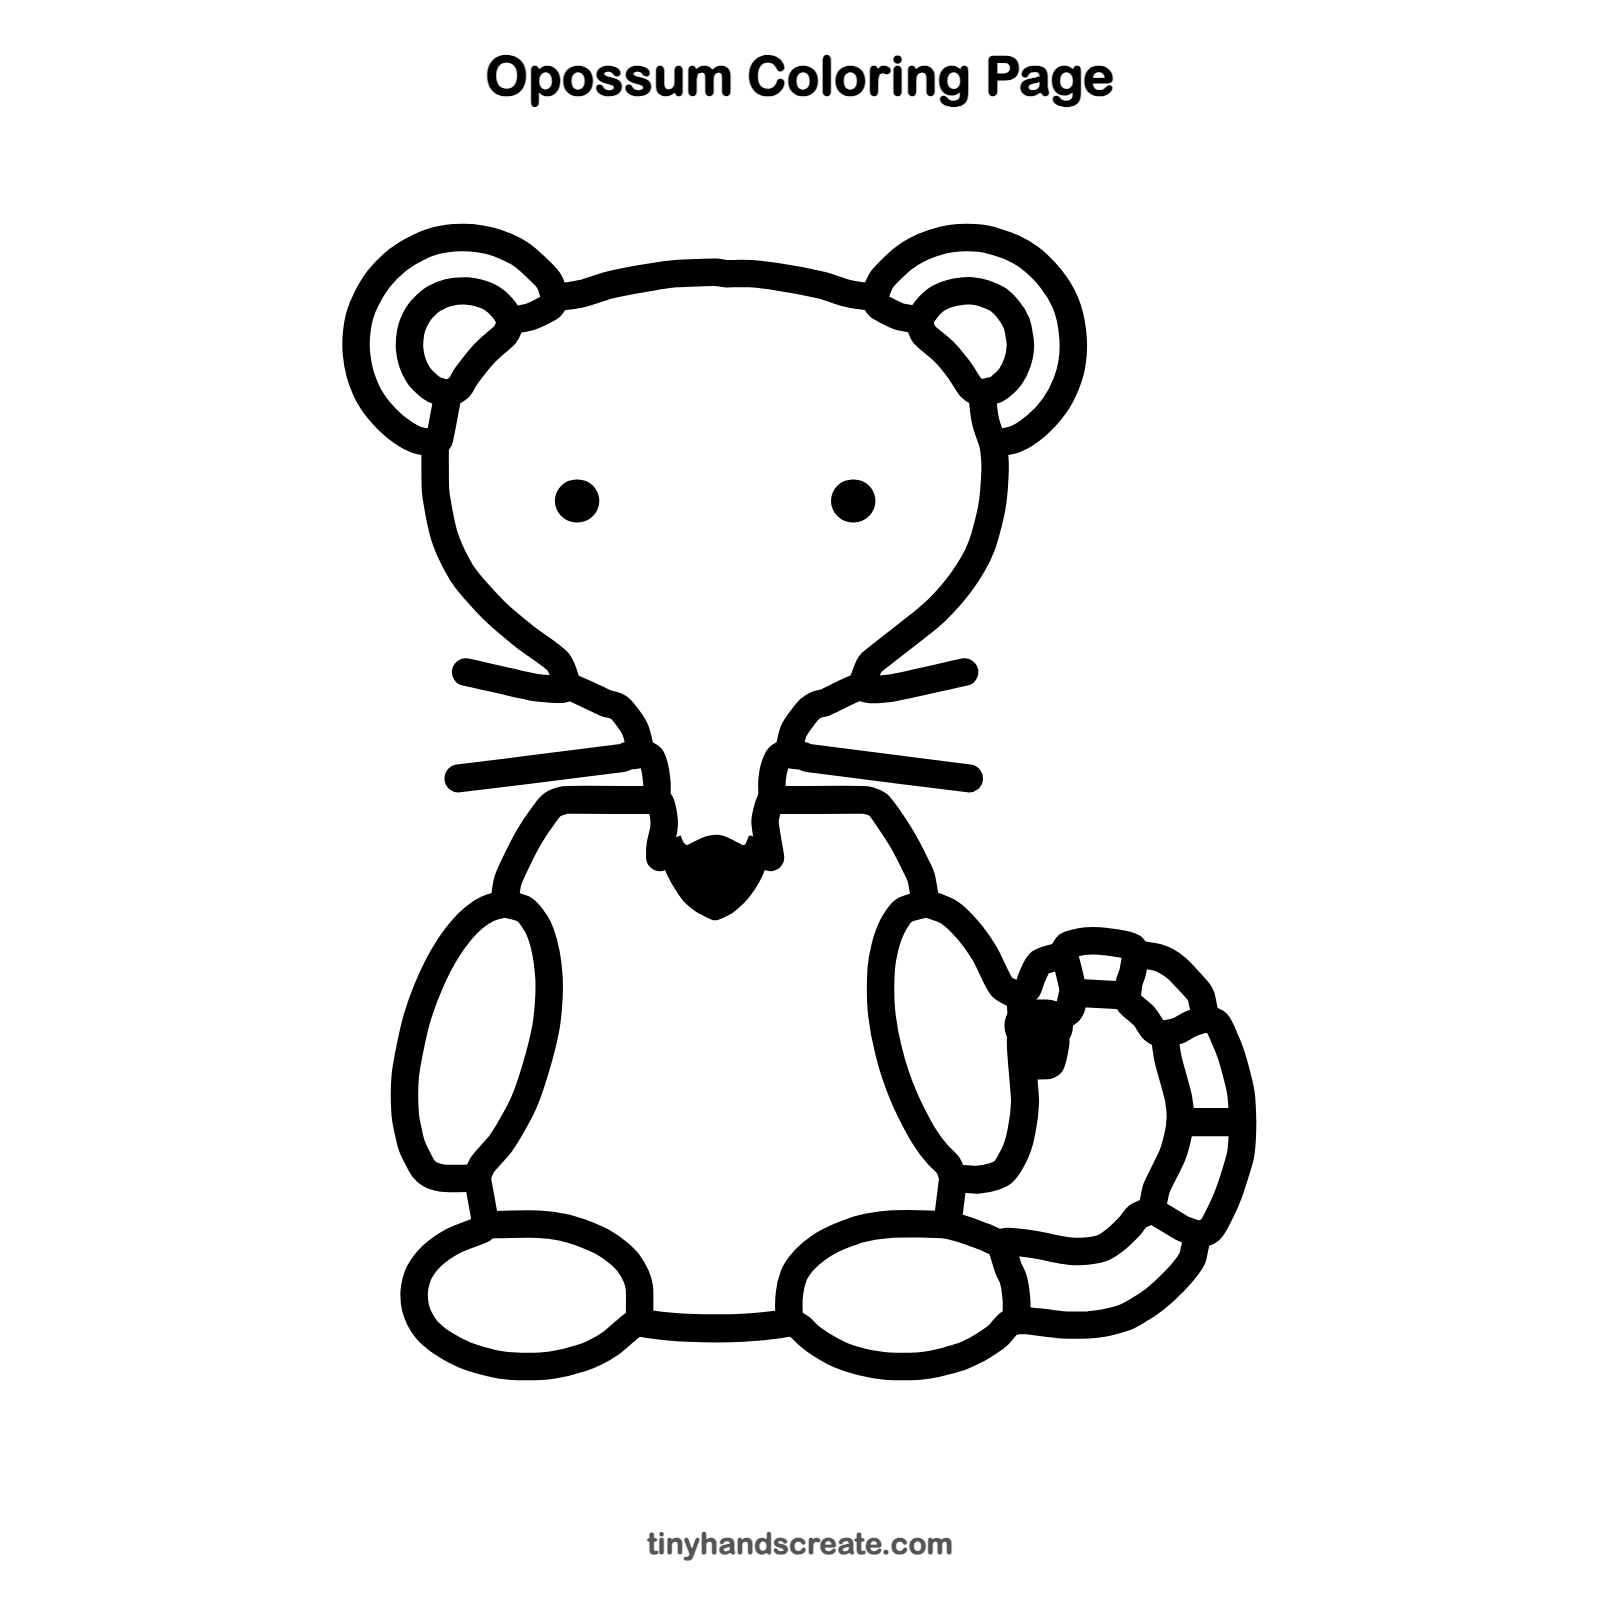
Want to go straight to coloring? Open this opossum coloring page at full size and print it. It is the same drawing you just learned, with clean lines ready for crayons or markers.
How to color your opossum drawing
Try soft gray for the body, pink for the inside of the ears and nose, and white for the face. For a creative twist, color the tail in rainbow stripes.
Opossum fun fact for kids
The Virginia opossum is the only marsupial that lives north of Mexico. Baby opossums ride on their mother's back after they leave her pouch.
Questions about drawing an opossum
What shapes do I need to draw an opossum?
You need a dome shape for the head, circles for the ears, and ovals for the arms and feet. The tail is a thick curved shape with stripes across it.
How do I make my opossum look cuter?
Make the eyes small and set them far apart, and draw the ears nice and round. A little filled-in nose at the tip of the snout also helps.
How do I draw an opossum tail?
Start at the side of the body and draw two curving lines side by side that sweep down and around the foot. Then add short lines across to make stripes.