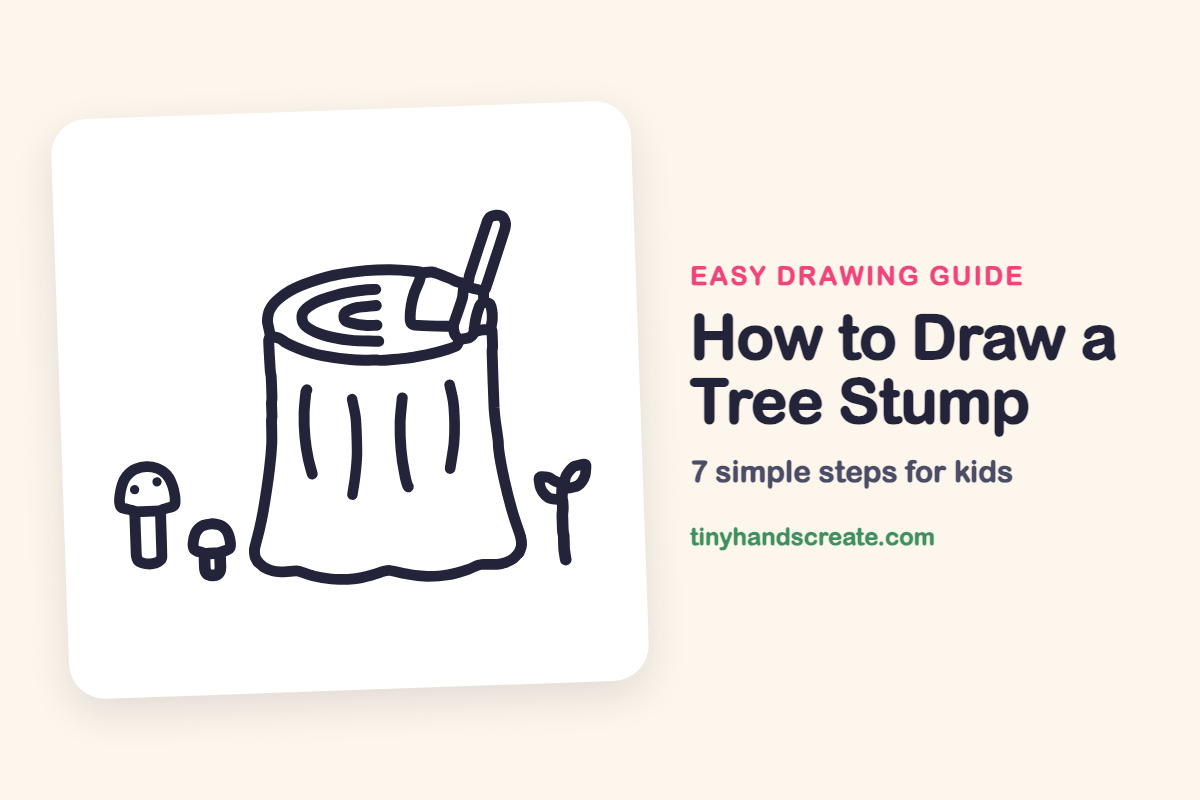
How to Draw a Tree Stump (Easy Step by Step)
A tree stump is a friendly drawing because it is mostly a wide oval, a tall shape that gets wider at the bottom, and a few curved lines. This one comes with an axe, two mushrooms, and a baby sprout, so it tells a little story about new life growing after a tree is gone. Every part is made of simple shapes you already know.
- Easy
- 15 minutes
- 7 steps
You need: paper, a pencil, an eraser, and crayons or markers for coloring.
Start drawingIn this article (7 sections)
How to draw a tree stump step by step
How to Draw a Tree Stump · tinyhandscreate.com
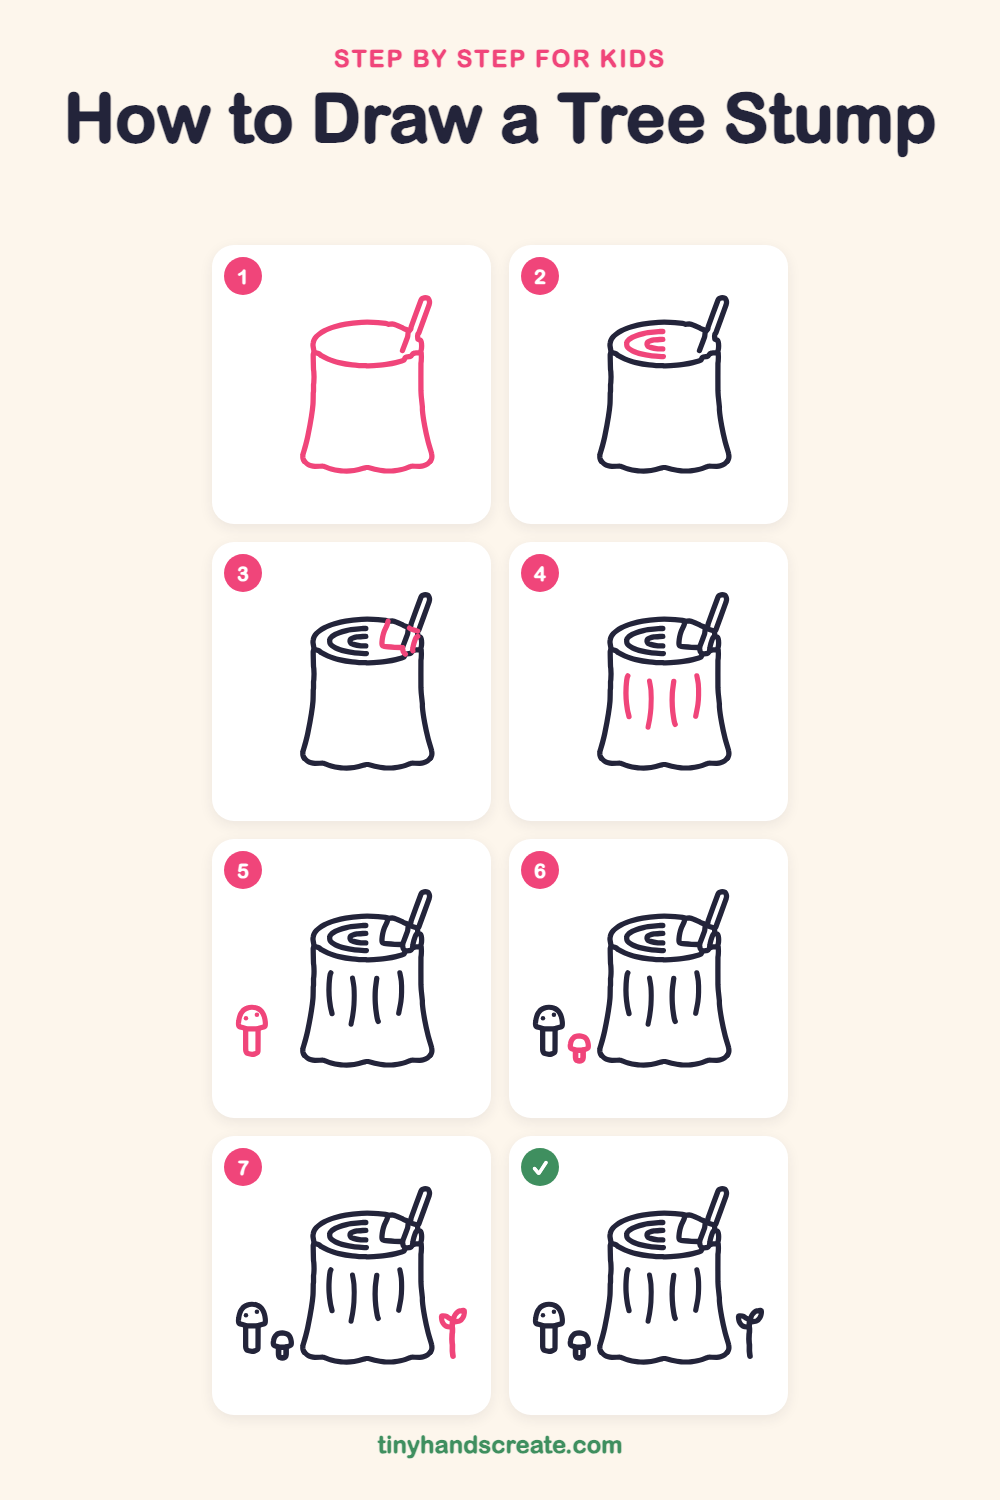
Step 1: Stump and handle
Draw a wide, flat oval for the top. Pull two slightly curved lines down from its sides, getting wider toward the bottom, and close them with a wavy line along the ground. Then add a tall, thin stick that starts inside the oval near the right side and tilts up and to the right, like an axe handle.
Step 2: Tree rings
Inside the top oval, draw a curved C shape that opens to the right. Then tuck a smaller C inside it, like a rainbow turned on its side.
Step 3: The axe head
Near the top of the handle, draw a small four-sided blade, a bit like a slanted square. Add a couple of short curved lines where the handle meets the edge of the stump.
Step 4: Bark lines
On the front of the stump, draw four long, gently curved lines going up and down. Make them different lengths so the bark looks bumpy.
Step 5: The big mushroom
On the left, draw a dome for the mushroom cap with a flat bottom. Draw a tall U shape hanging down from the cap for the stem. Put two little dots on the cap.
Step 6: The small mushroom
Next to the big mushroom, draw a smaller dome for the cap. Add a short, stubby stem under it.
Step 7: The sprout
On the right of the stump, draw a straight line growing up from the ground. At the top, add two small leaf shapes, one on each side, like two little pointy ovals.
All done!
Go over your lines with a marker, then color it in.
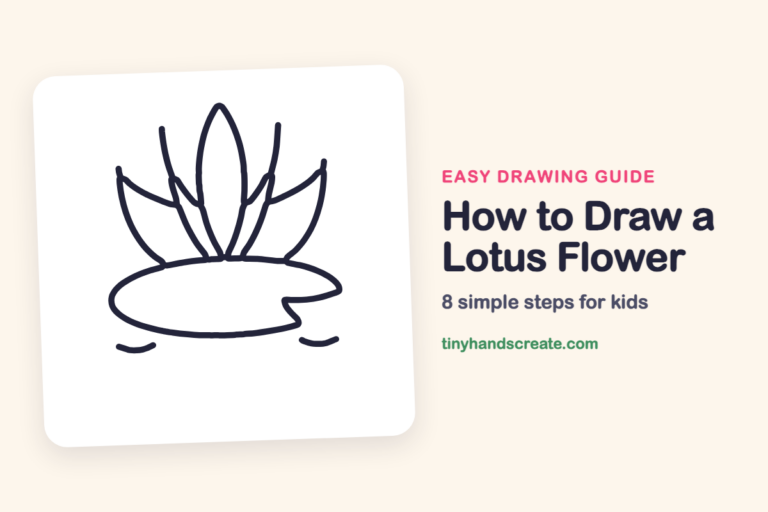
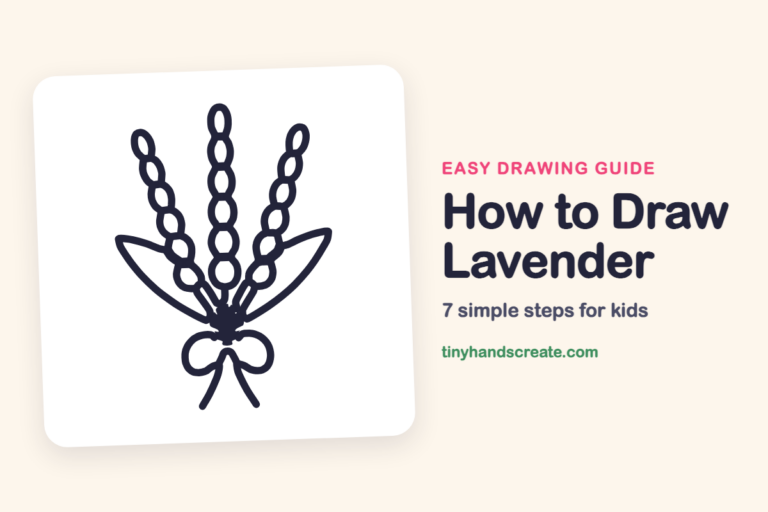
Finished your tree stump? Keep the pencils out and learn how to draw a lotus flower or how to draw lavender next.
Tips for drawing a tree stump
- Start the stump top as a wide, flat oval. If it is too round, the stump will look like a drum.
- Make the sides lean outward as they go down, so the bottom is wider than the top. This helps the stump look like it is gripping the ground.
- Draw the axe handle with two lines that stay the same distance apart. A ruler or a pencil laid on the page can help you keep them straight.
Free tree stump coloring page
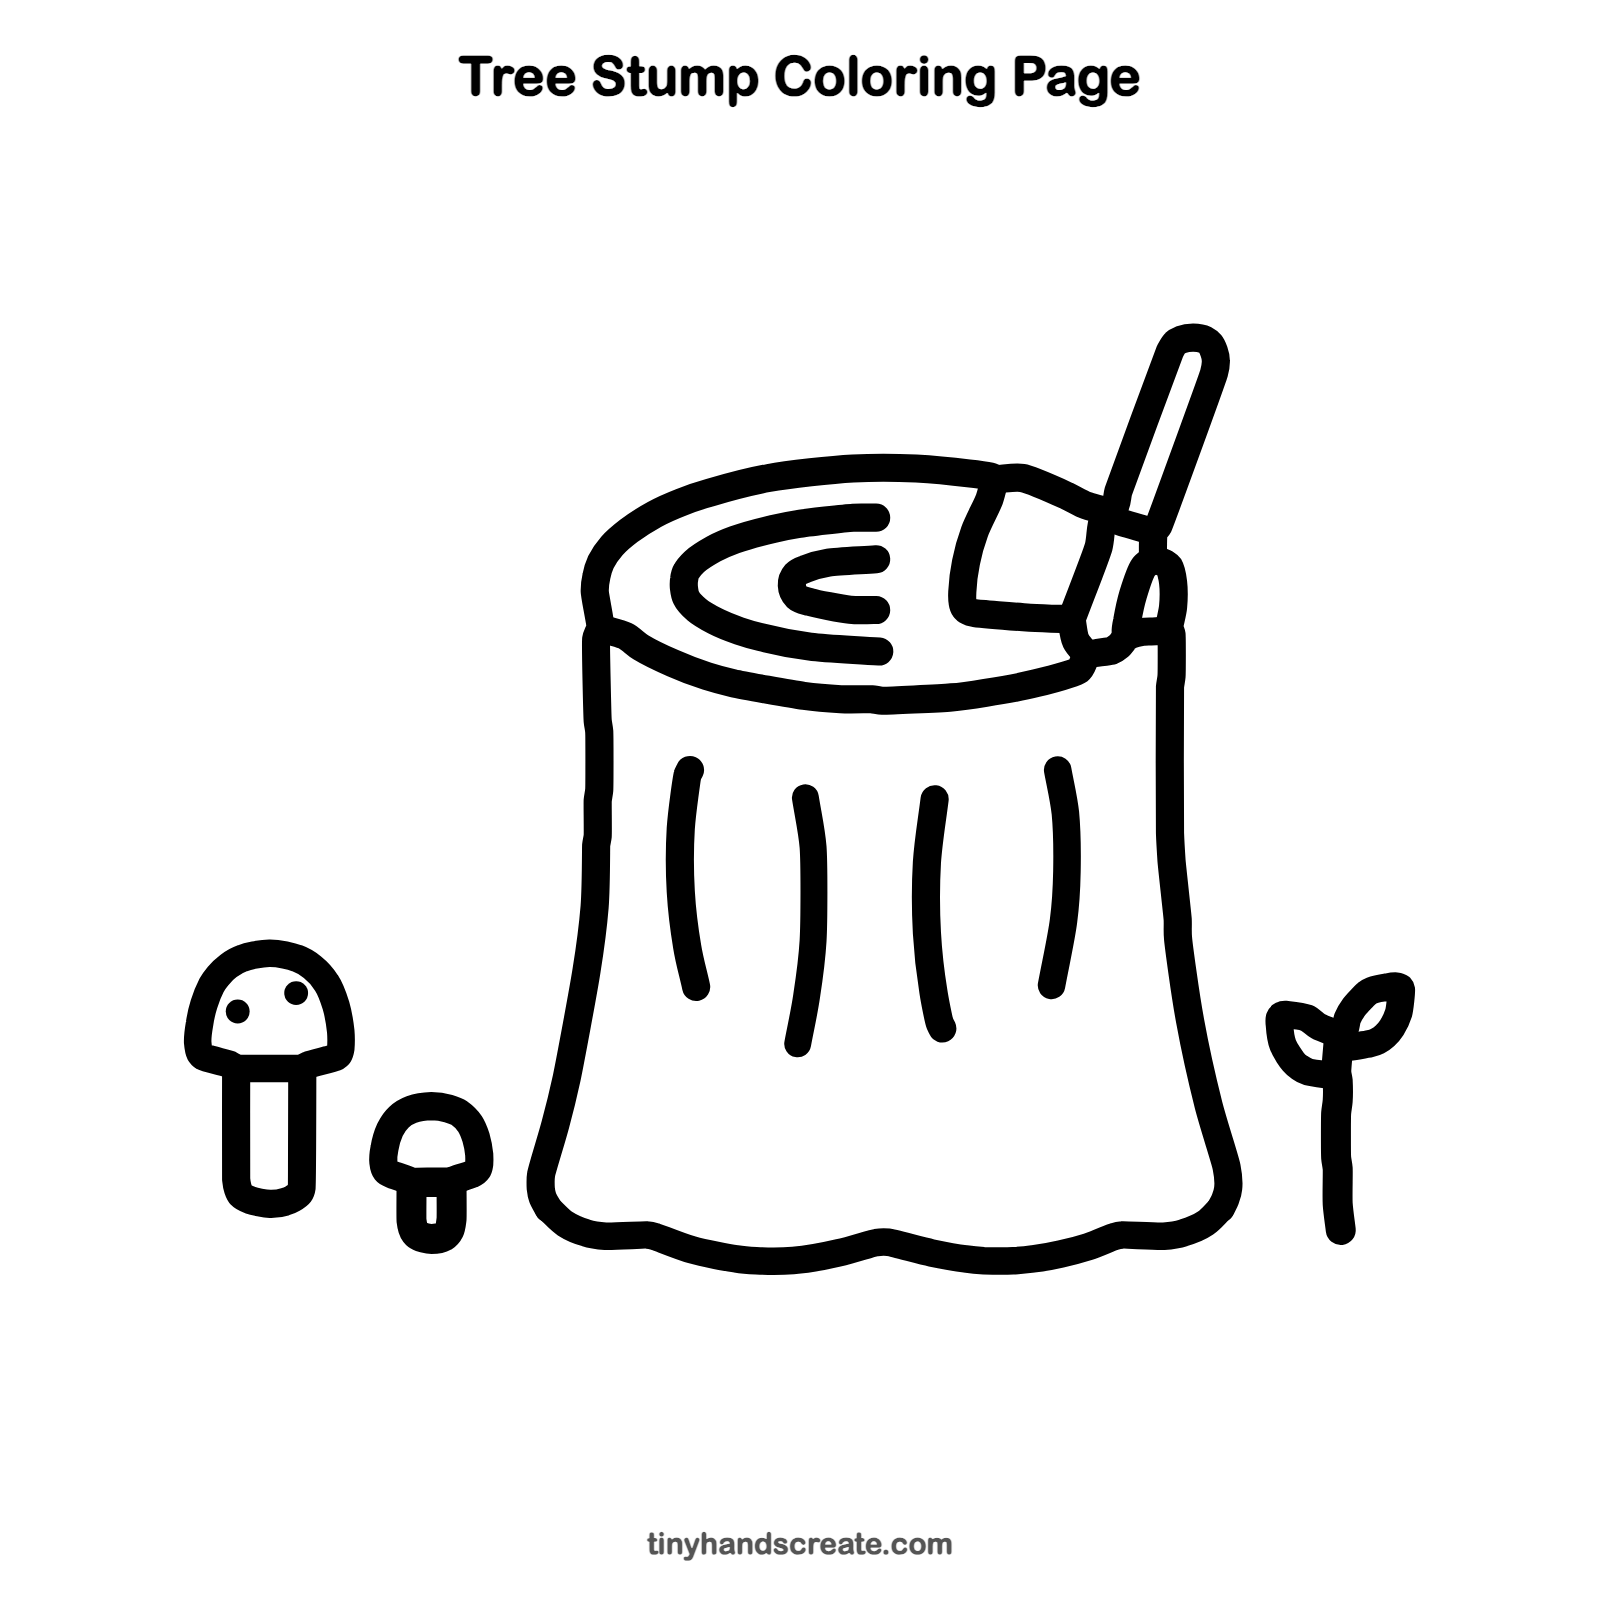
Want to go straight to coloring? Open this tree stump coloring page at full size and print it. It is the same drawing you just learned, with clean lines ready for crayons or markers.
How to color your tree stump drawing
Try warm browns for the stump, light tan for the rings, and red for the mushroom caps. Color the sprout leaves a fresh green, and add a little gray to the axe blade.
Tree stump fun fact for kids
You can count the rings inside a tree stump to see how old the tree was. Each ring is usually one year of growth, and wide rings mean the tree had a good year with plenty of rain.
Questions about drawing a tree stump
What shapes do I need to draw a tree stump?
You need a wide oval for the top and two curved lines for the sides that get wider toward the bottom. Add curved C shapes for the rings and a few long, thin curves for the bark.
How do I draw the rings inside a stump?
Draw one C shape that opens to the right, then a smaller C inside it. You can add more C shapes inside if you want an older tree.
How do I make my tree stump look more real?
Make the bottom line wavy so the stump looks uneven on the ground, and draw the bark lines at different lengths. Small details like mushrooms and a sprout make the scene feel alive.