How to Draw a Librarian (Easy Step by Step)
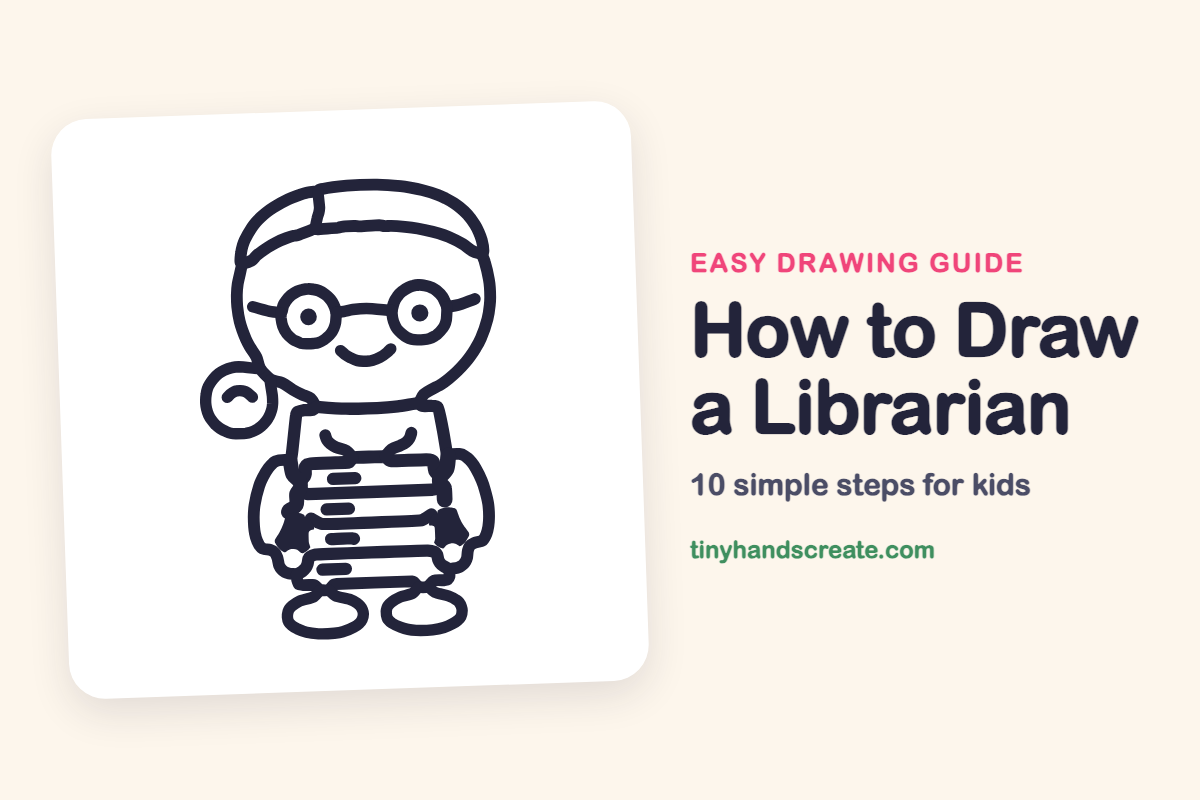
A librarian is a friendly character with a big smile, round glasses and a stack of books held in both arms. This drawing is built from simple shapes: a round head, circles for glasses, a small circle for a hair bun and a few flat rectangles for the books. You can finish it in one sitting and then invent a story about which books are on the pile.
- Medium
- 15 minutes
- 10 steps
You need: paper, a pencil, an eraser, and crayons or markers for coloring.
Start drawingIn this article (7 sections)
How to draw a librarian step by step
How to Draw a Librarian · tinyhandscreate.com
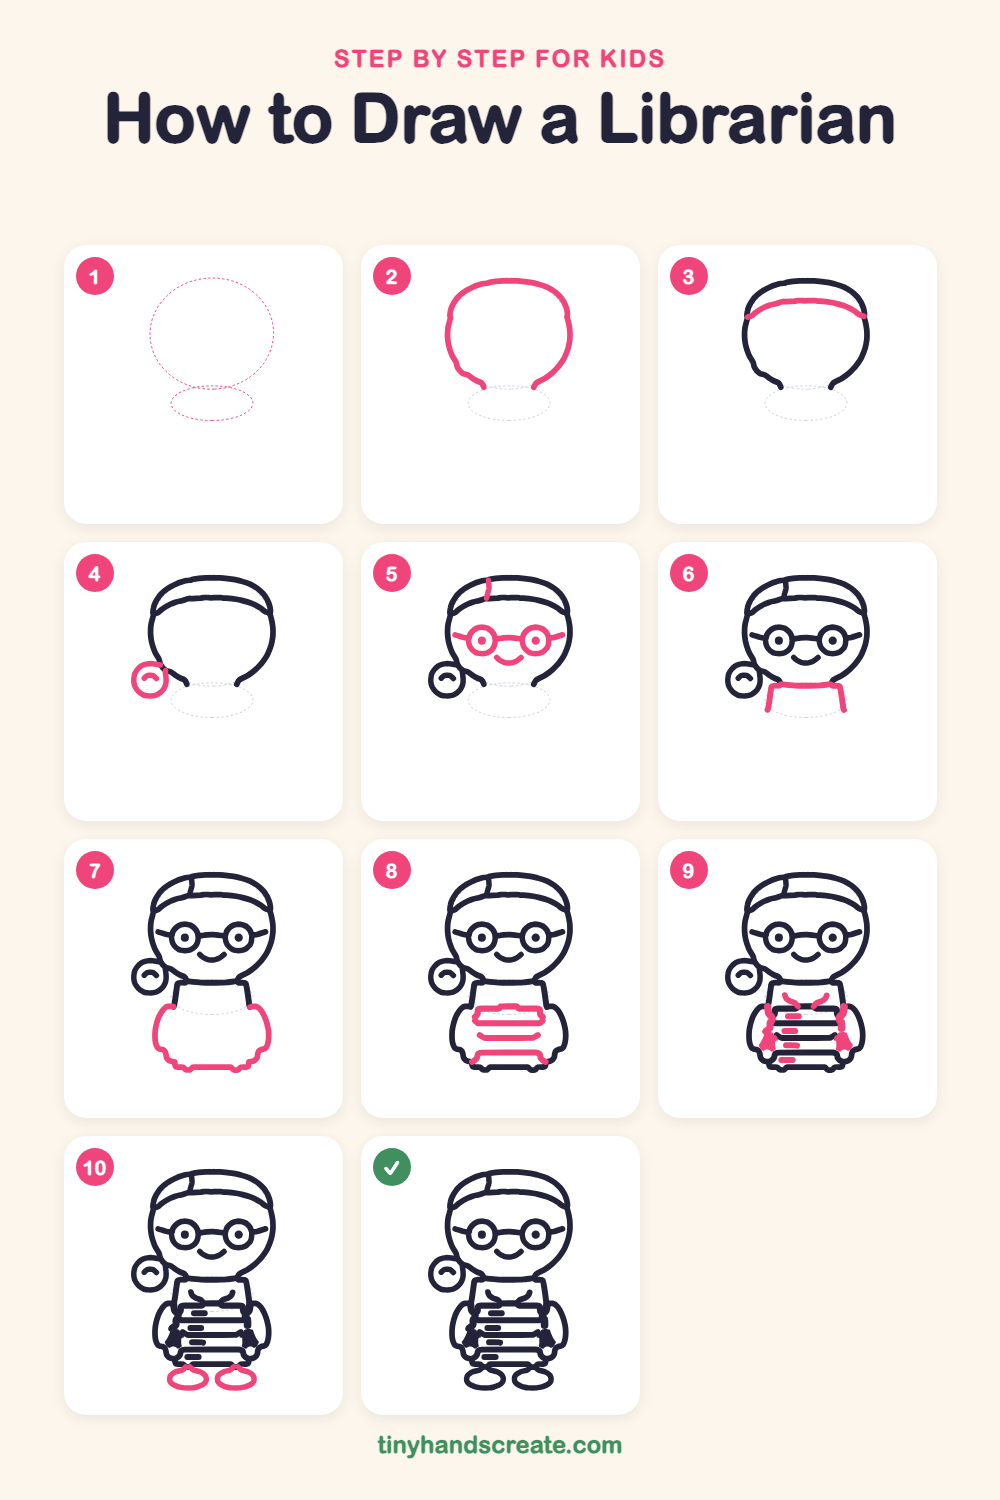
Step 1: Guide shapes
Lightly sketch these 2 ovals. They only show where the big parts go, so press softly. You will erase them at the end.
Step 2: Head outline
Draw the top and sides of a big, round head, like an upside-down bowl. Leave the bottom open and finish each side with a short little stub where the neck will be.
Step 3: The hairline
Draw a curved line across the upper part of the head, from one side to the other, like a headband. This marks where the hair meets the forehead.
Step 4: The hair bun
On the left side of the head, near the bottom, draw a small circle for a hair bun. Add a tiny curved line inside it, like a little hill.
Step 5: Glasses and face
Draw two circles for glasses with a dot in the middle of each one, and join them with a short bridge. Add a short arm going out from each side, a curved smile below, and a small short line at the top of the hair for a part.
Step 6: The shoulders
Under the head, draw a wide U-shaped line for the top of the sweater. Start at the neck on the left, run straight across below the chin, and end with a short slanted line down on each side.
Step 7: Arms and book space
Draw one big rounded shape around the middle of the body for the arms. Start below the shoulder on one side, curve out and down, wiggle along the bottom, and come back up on the other side.
Step 8: The stack of books
Inside the arms, draw three long, flat rounded rectangles stacked one above the other. Make them about the same width, with the top book just under the chin.
Step 9: Hands, collar and labels
Draw a small hand on each side of the stack, gripping the books. Add two small curved lines at the neck for the collar, and a short dash on each book for its label.
Step 10: The shoes
At the very bottom, draw two small ovals side by side for the shoes, one under each side of the stack. Leave a little gap between them.
All done!
Erase the guide shapes, go over your lines, then color it in.
Finished your librarian? Keep the pencils out and learn how to draw a crossing guard or how to draw a kid inventor next.
Tips for drawing a librarian
- Draw the two glasses circles about the same size. Start with the left one, then match the right one to it, and connect them with a short bridge.
- Keep the three books about the same width and stack them straight, so the pile looks neat and the arms look like they are hugging it.
- The hair bun is a small circle that sticks out from the left side of the head. Draw it near the bottom of the head so it peeks out beside the cheek.
Free librarian coloring page
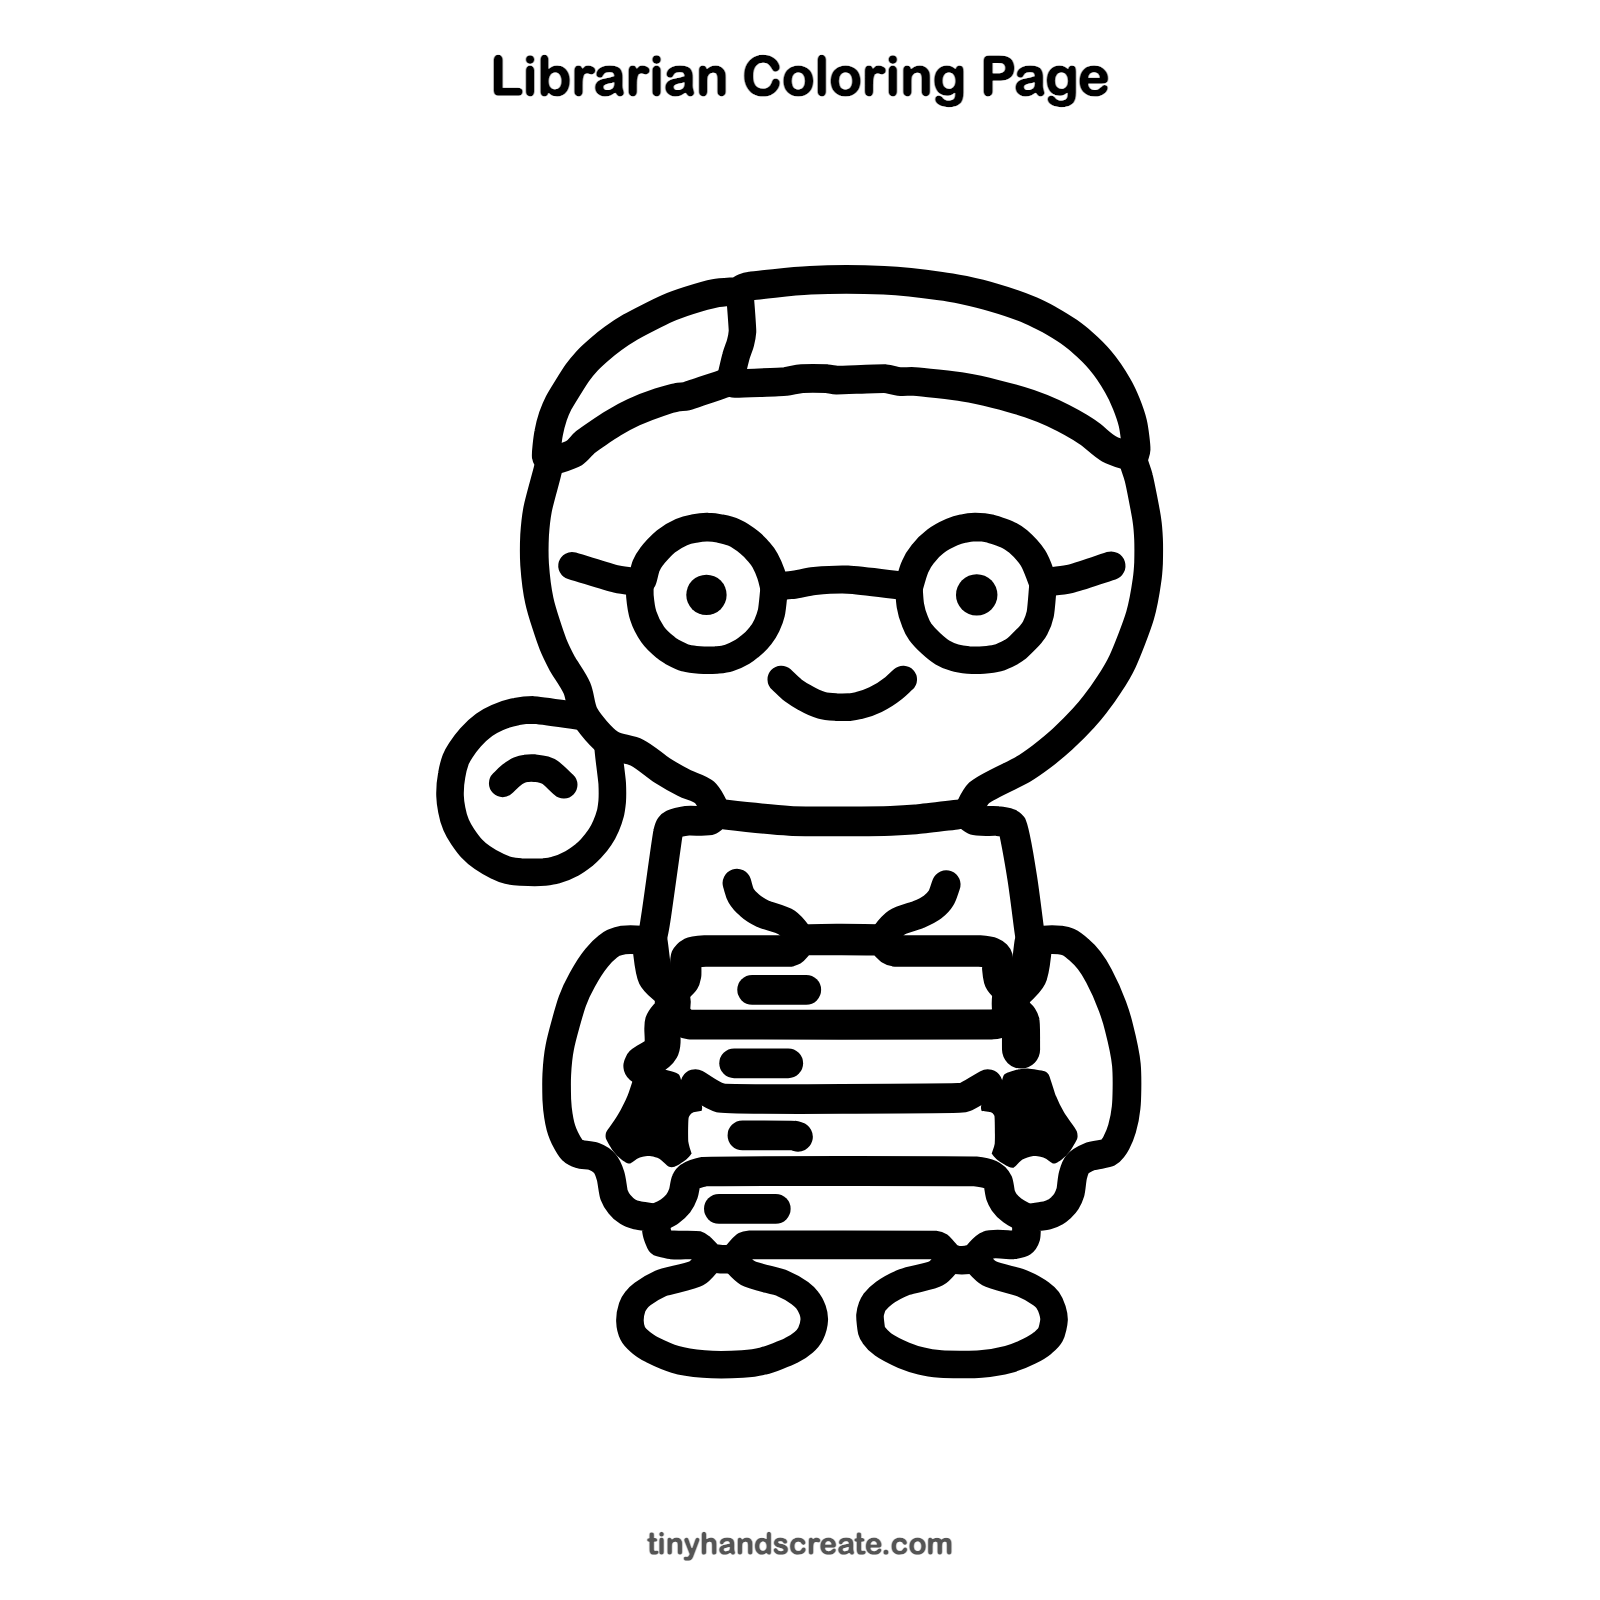
Want to go straight to coloring? Open this librarian coloring page at full size and print it. It is the same drawing you just learned, with clean lines ready for crayons or markers.
How to color your librarian drawing
Try warm brown hair, a green sweater and a different bright color for each book so the stack looks like a rainbow. Color the lenses of the glasses a light blue if you like.
Librarian fun fact for kids
Benjamin Franklin and his friends started one of the first lending libraries in America, the Library Company of Philadelphia, in 1731.
Questions about drawing a librarian
What shapes do I need to draw a librarian?
You need a big round head, two circles for the glasses, a small circle for the hair bun and a few long flat rectangles for the books. Two small ovals make the shoes.
How do I make my librarian look friendlier?
Draw a wide, curved smile and keep the eyes as simple dots inside the glasses. Tilting the smile up a little at the ends makes it look extra happy.
How do I draw a stack of books that looks neat?
Draw each book as a flat rounded rectangle and keep the left and right edges lined up. Add a short line on each one for a label so they look like real books.