How to Draw a Carpenter (Easy Step by Step)
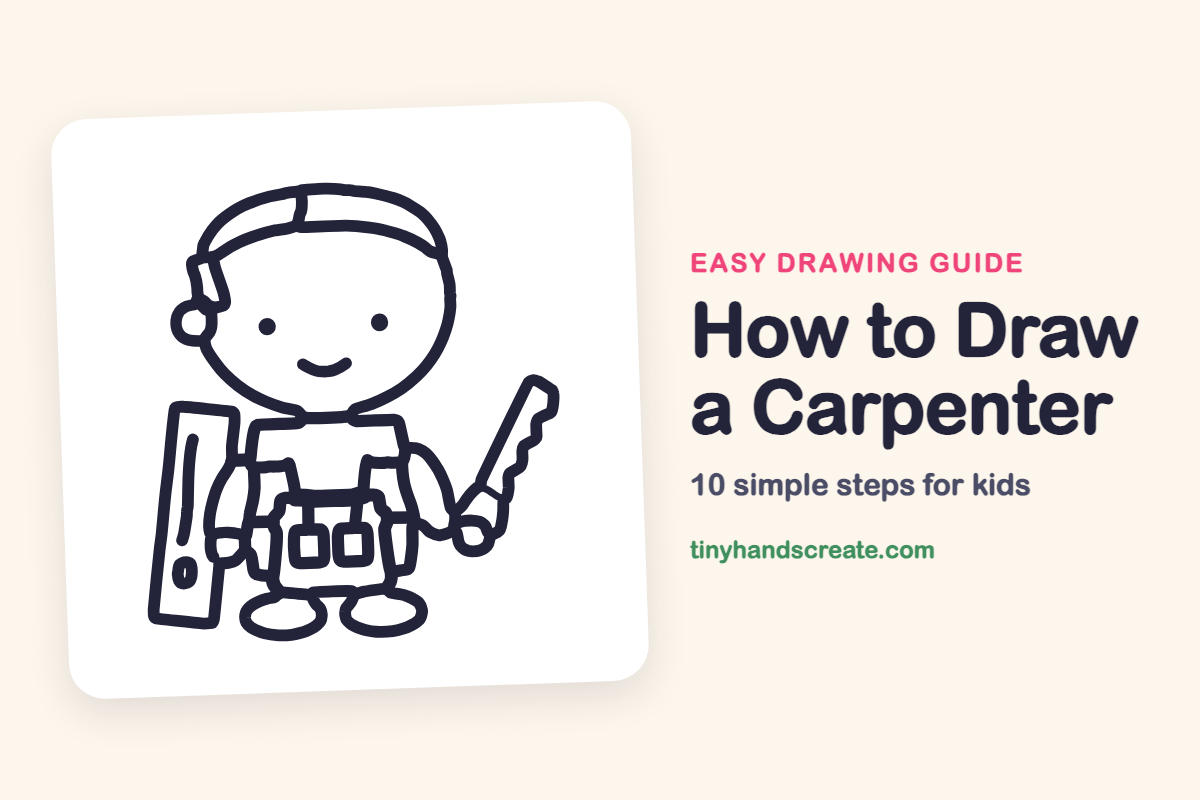
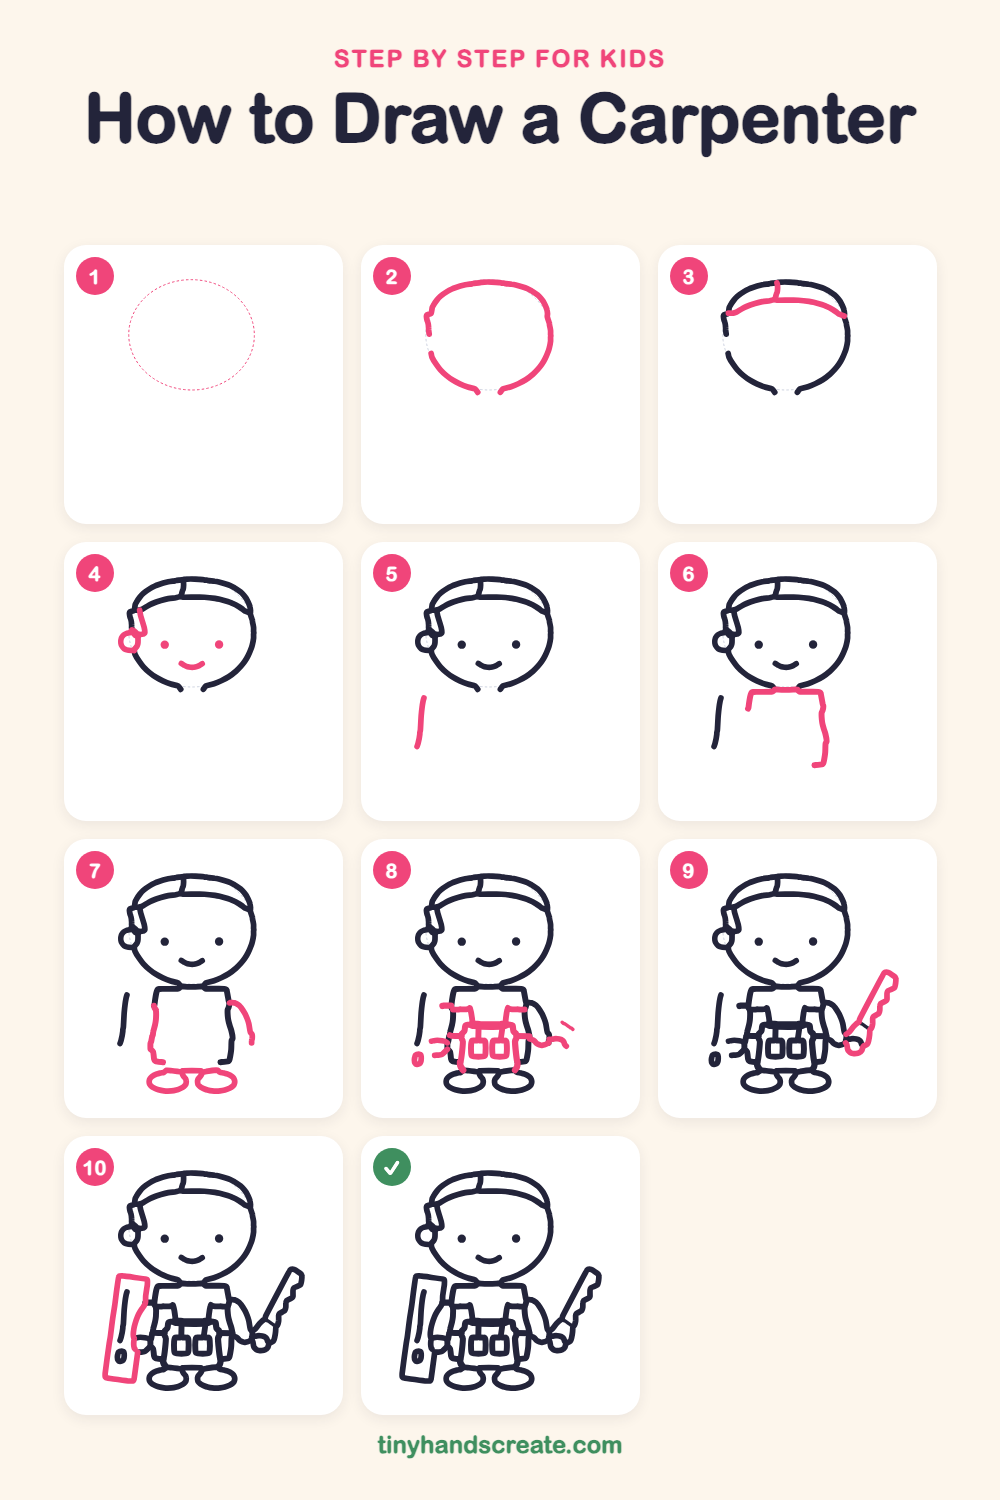
This carpenter is ready for work with a saw in one hand and a wooden board on the other side. The drawing is built from simple shapes: a big circle for the head, a boxy body, ovals for the feet, and a few squares and a long rectangle for the pockets and the board.
- Medium
- 15 minutes
- 10 steps
You need: paper, a pencil, an eraser, and crayons or markers for coloring.
Start drawingIn this article (7 sections)
How to draw a carpenter step by step
How to Draw a Carpenter · tinyhandscreate.com
Step 1: Guide shapes
Lightly sketch this oval. It only shows where the big parts go, so press softly. You will erase it at the end.
Step 2: The big round head
Draw a big circle for the head, a little wider than it is tall. Leave a small gap at the bottom where the neck will meet the body.
Step 3: Headband across the head
Draw a curved line across the top of the head, from one side to the other, for the headband. Add a short line going up from the middle of it to split the hair.
Step 4: Ear and happy face
On the left side of the head, draw a small circle for the ear with a short slanted line above it. Then add two small dots for eyes and a little curved smile below them.
Step 5: A tall thin line
Below the head on the left, draw one tall, thin line that leans a tiny bit. Leave space between it and the head.
Step 6: The top of the body
Under the head, draw the top and sides of a short, wide box with rounded corners. Leave the bottom open for now.
Step 7: Arm and feet
Finish the left side of the body with a straight line going down. Draw a curved line on the right side of the body for the arm. Then add two flat ovals at the bottom for the feet.
Step 8: Overalls and pockets
Draw two straps that go down from the shoulders to a wide bib on the tummy. Add two small squares side by side on the bib for pockets, and a few little curved marks near the hands.
Step 9: The saw
On the right, by the hand, draw a long tilted handle with a round end. Then draw a zigzag edge along one side for the saw teeth.
Step 10: The wooden board
On the left, draw a tall, thin rectangle that leans a little to one side. Add a long curved line inside it near the body side.
All done!
Erase the guide shapes, go over your lines, then color it in.
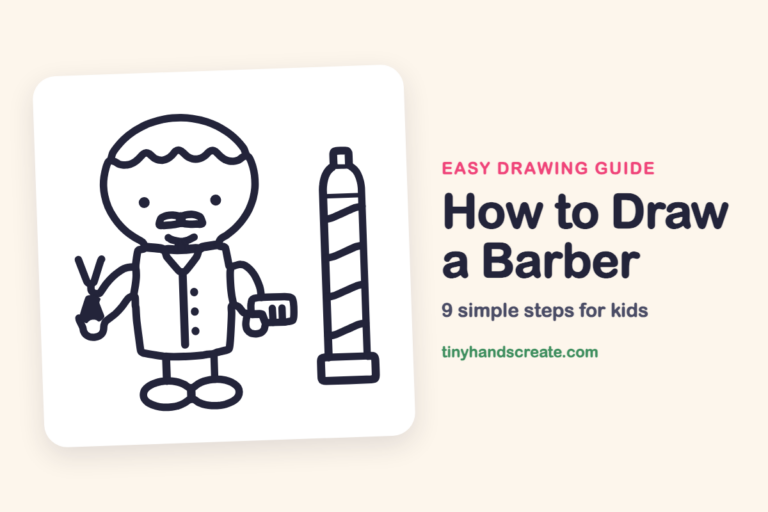
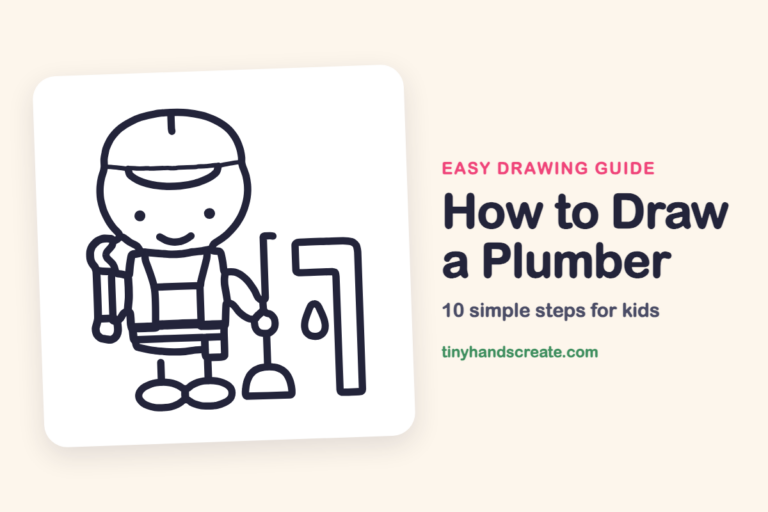
Finished your carpenter? Keep the pencils out and learn how to draw a barber or how to draw a plumber next.
Tips for drawing a carpenter
- Draw the head circle first and keep it big. The body and feet all fit underneath it.
- The saw is the trickiest part. Draw the long tilted handle first, then add the zigzag teeth one small bump at a time.
- Make the two pocket squares about the same size. Draw them side by side so they match.
Free carpenter coloring page
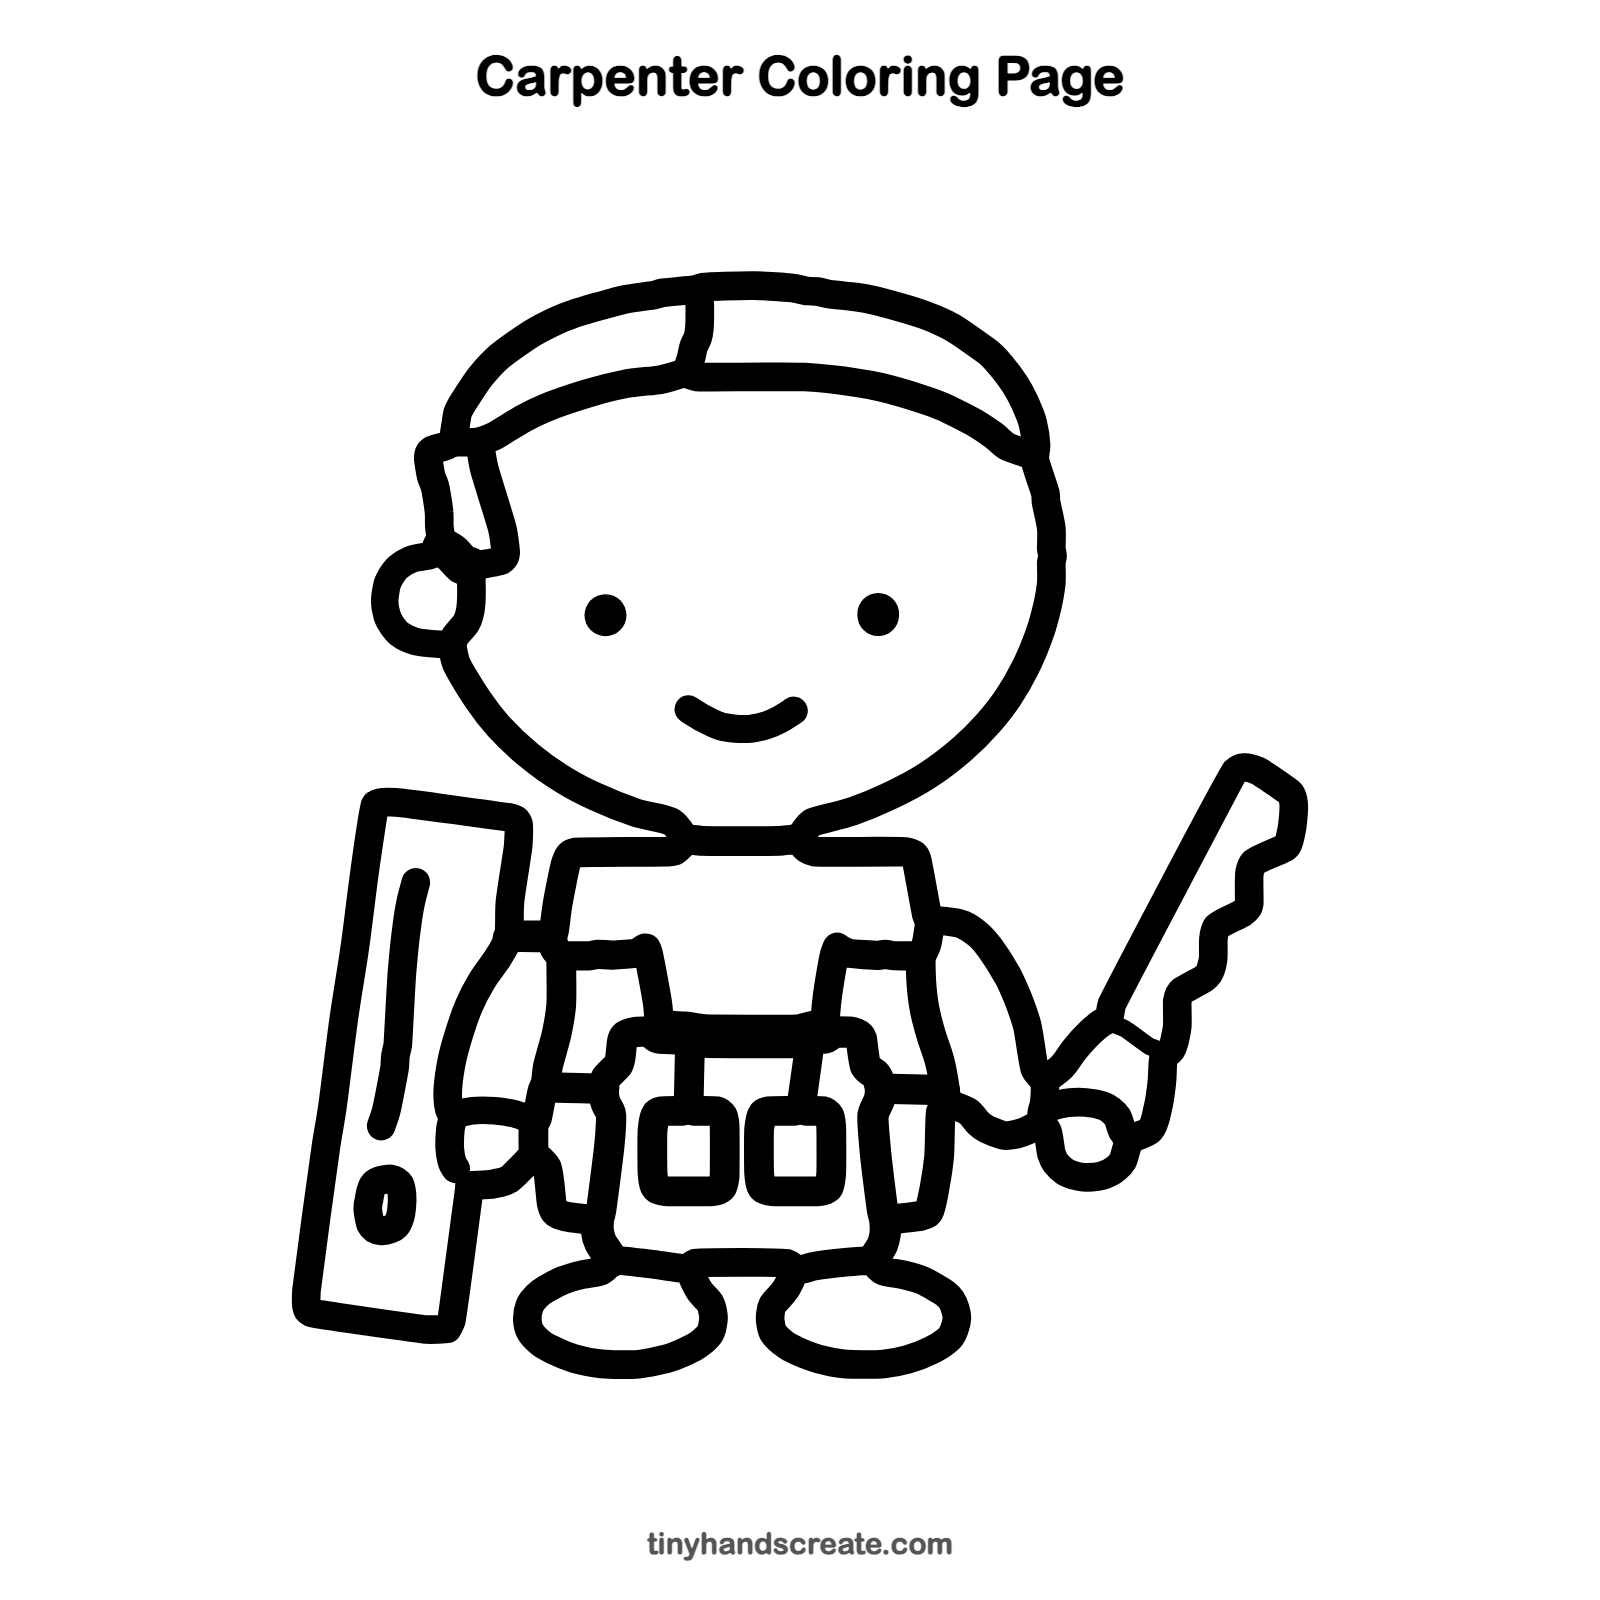
Want to go straight to coloring? Open this carpenter coloring page at full size and print it. It is the same drawing you just learned, with clean lines ready for crayons or markers.
How to color your carpenter drawing
Try a blue shirt, yellow overalls, and brown for the wooden board and the saw handle. Color the headband red and the hair any color you like.
Carpenter fun fact for kids
Carpenters often keep a flat pencil tucked behind one ear so they can mark a board right where they need to cut it.
Questions about drawing a carpenter
What shapes do I need to draw a carpenter?
You need a big circle for the head, a rounded box for the body, and flat ovals for the feet. A tall rectangle makes the board, two small squares make the pockets, and a zigzag line makes the saw.
How do I draw a saw for kids?
Start with a long, tilted handle that has a round end. Then draw small zigzag bumps along one edge for the teeth.
How do I make my carpenter look friendlier?
Give the carpenter a wide, curved smile and two round eyes set a little apart. Keeping the head circle big and round also makes the carpenter look friendly.