How to Draw a Lynx (Easy Step by Step)
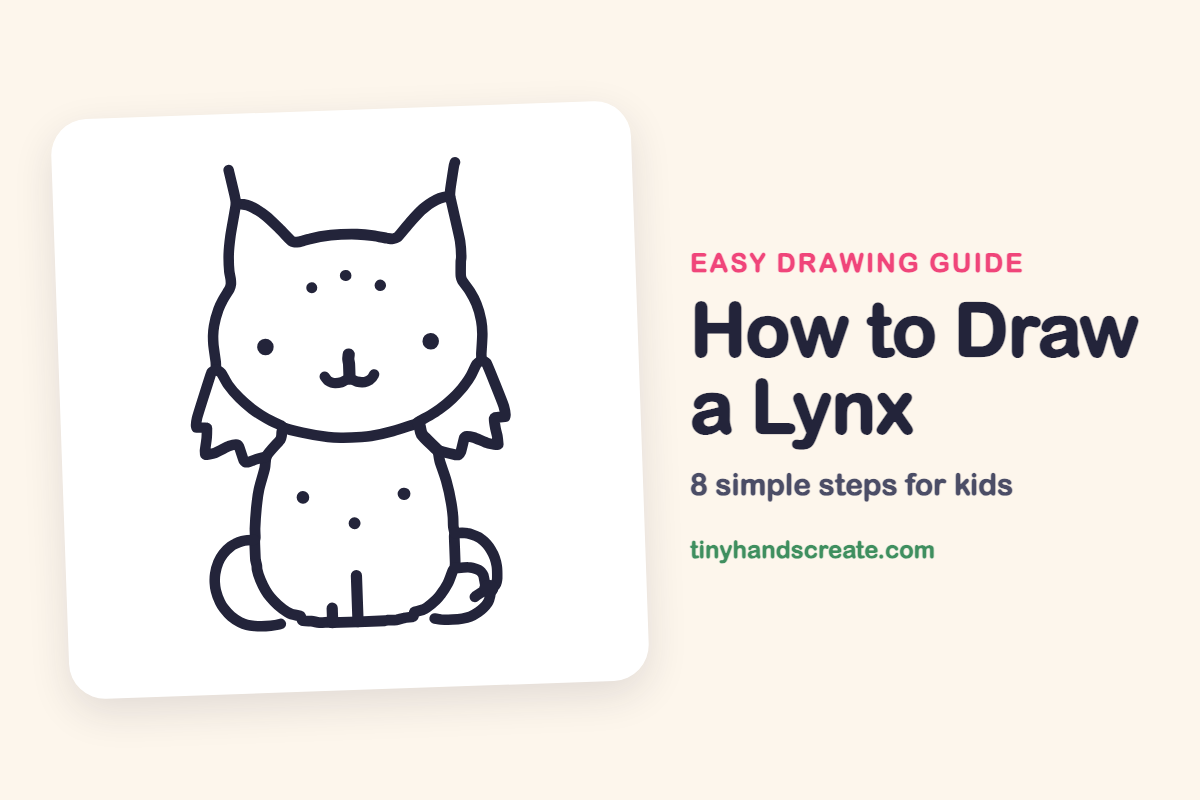
This lynx is built from friendly, simple shapes: a wide rounded head, an egg-shaped body, and two curly tails. The tall ear tufts and fluffy zigzag cheeks are what make it look like a lynx and not a regular cat. Once the big shapes are down, the little dots and smile bring it to life.
- Easy
- 12 minutes
- 8 steps
You need: paper, a pencil, an eraser, and crayons or markers for coloring.
Start drawingIn this article (7 sections)
How to draw a lynx step by step
How to Draw a Lynx · tinyhandscreate.com
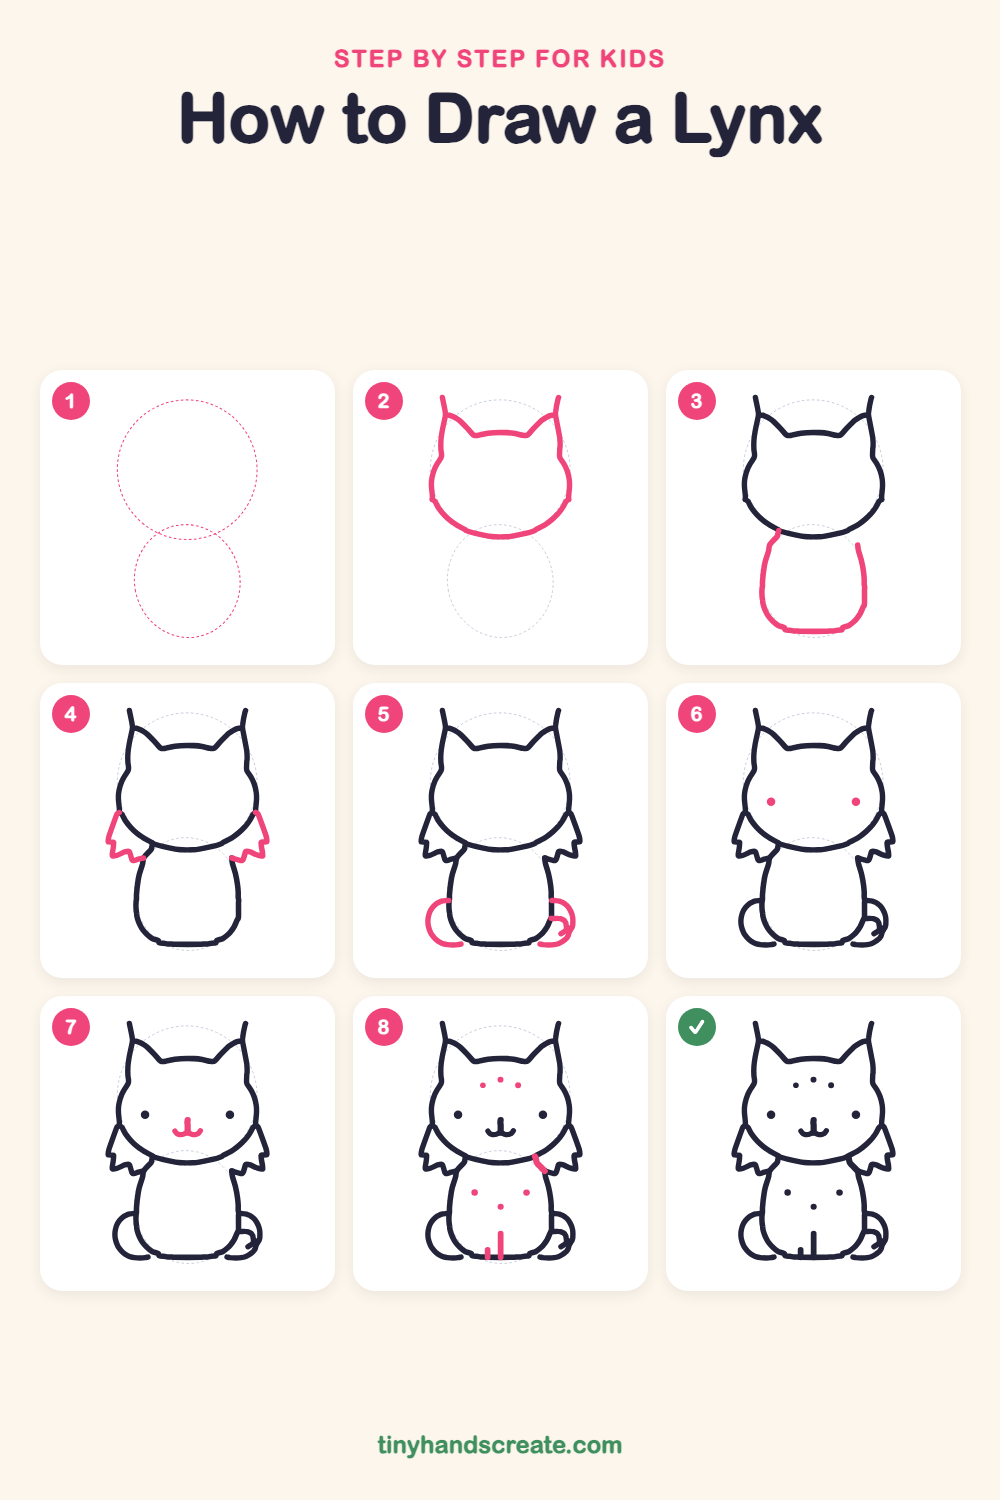
Step 1: Guide shapes
Lightly sketch these 2 ovals. They only show where the big parts go, so press softly. You will erase them at the end.
Step 2: Head and ear tufts
Draw a wide, rounded head shape. At the top, make two pointed ears, each with a thin line sticking up like a tuft, and a gentle dip between them.
Step 3: The body
Under the head, draw a rounded shape like an egg with a flat bottom. Start on the left below the chin, curve down and around the bottom, and stop on the right side. The top stays open.
Step 4: Fluffy cheek fur
On each side of the face, draw a zigzag patch of fur. Start at the cheek, make a few pointy zigzags going down, and end near the shoulder. Make the two sides match.
Step 5: Curly tails
At the bottom of the body, draw a C-shaped curve on the left that swings out and back to the body. On the right, draw a matching curve that ends in a little curl.
Step 6: The eyes
Add two round dots for eyes, one on each side of the face. Keep them level and the same size.
Step 7: Nose and smile
In the middle of the face, draw a short line going down for the nose. At its bottom, draw a small curved smile that bends up on both sides.
Step 8: Spots and toes
Dot three spots on the forehead and three on the tummy. Add a little curved line on the shoulder, then two short straight lines at the bottom of the body for the toes.
All done!
Erase the guide shapes, go over your lines, then color it in.
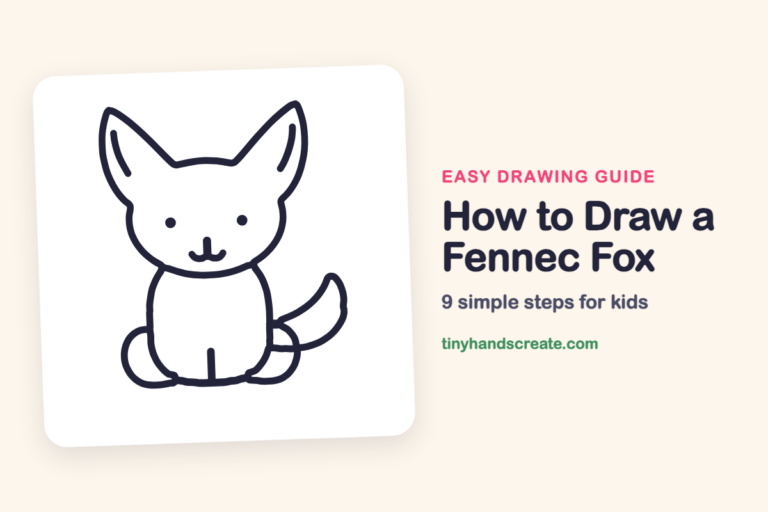
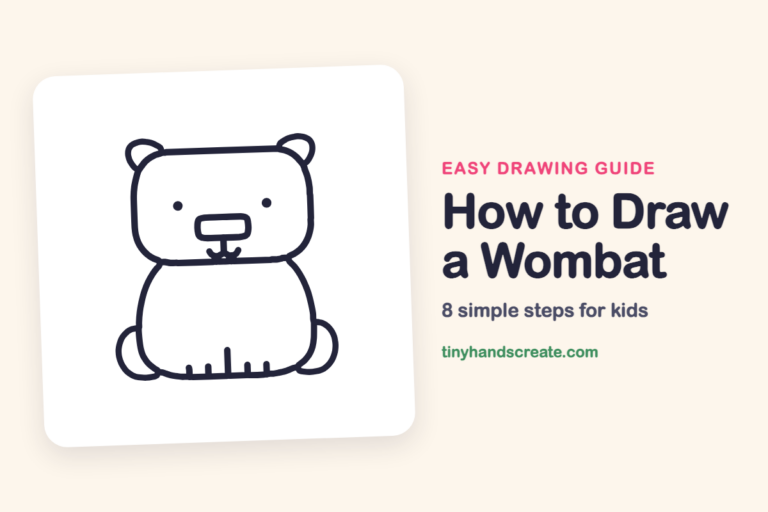
Finished your lynx? Keep the pencils out and learn how to draw a fennec fox or how to draw a wombat next.
Tips for drawing a lynx
- Draw the two ear tufts at the same height, then connect them to the head. Matching tufts make the lynx look balanced.
- The zigzag cheek fur is the trickiest part. Make a few short, pointy zigzags going down each side, and keep both sides about the same size.
- Draw the curly tails with one slow, smooth motion each, and keep them close to the bottom of the body.
Free lynx coloring page
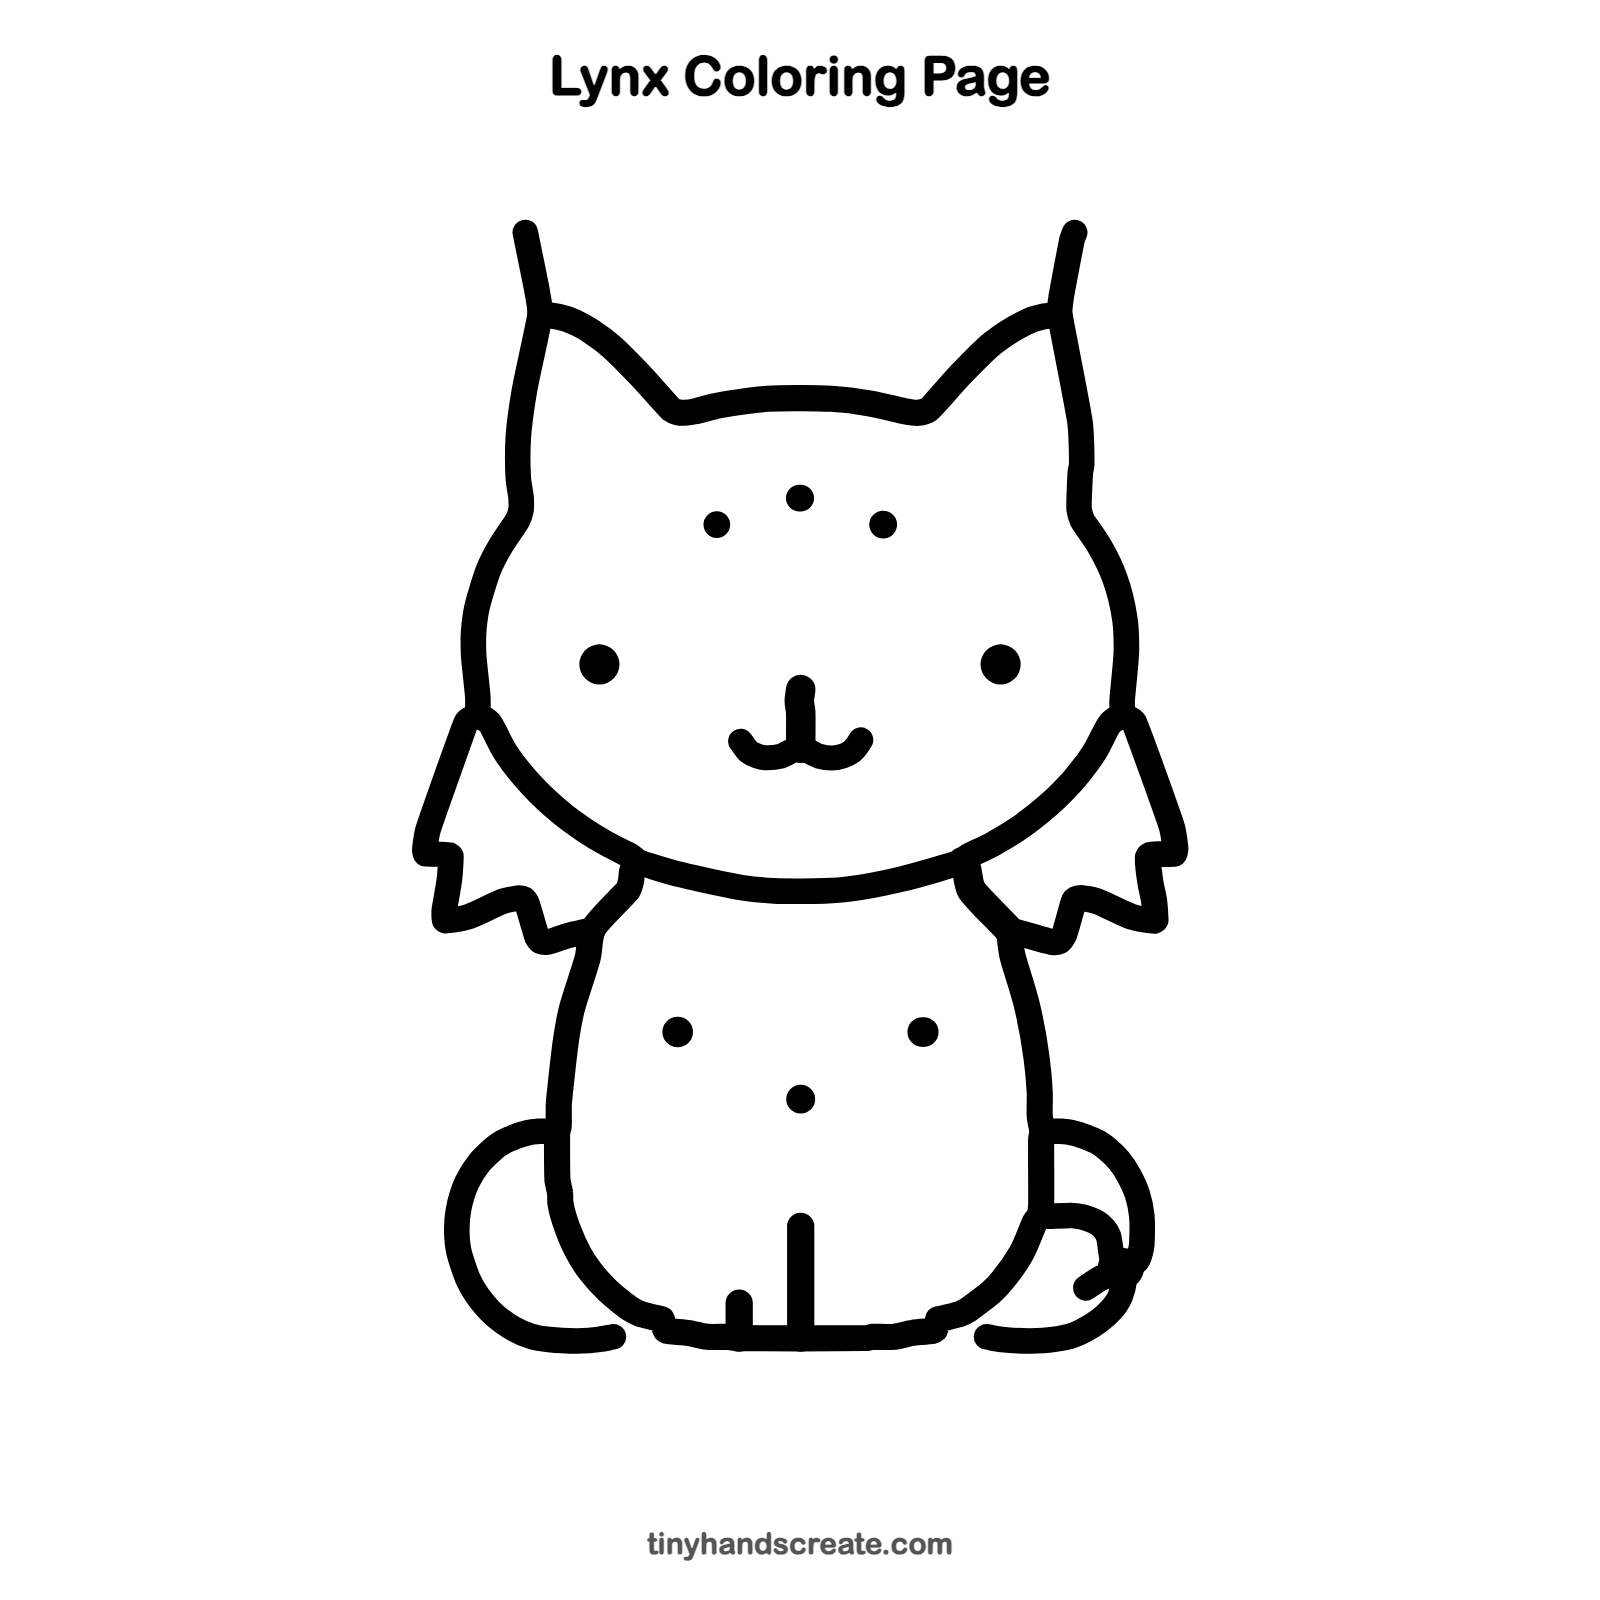
Want to go straight to coloring? Open this lynx coloring page at full size and print it. It is the same drawing you just learned, with clean lines ready for crayons or markers.
How to color your lynx drawing
Try warm tan and golden brown for the fur, with darker brown on the ear tufts and cheeks. For a creative twist, color the lynx in snowy blues and whites and add falling snowflakes around it.
Lynx fun fact for kids
A Canada lynx has big, furry paws that spread wide and work like snowshoes on deep snow.
Questions about drawing a lynx
What shapes do I need to draw a lynx?
You need a wide rounded shape for the head with pointed ears, and an egg shape for the body. Add zigzags for the cheek fur and curved lines for the tails.
How do I make my lynx look cuter?
Keep the eyes as small, round dots set wide apart, and keep the nose and smile small. Matching cheek fur on both sides makes the face look sweet and balanced.
How is a lynx different from a house cat?
A lynx has long ear tufts and fluffy fur around its cheeks. In this drawing, those are the thin lines on the ear tips and the zigzag cheeks.