How to Draw a Black Panther (Easy Step by Step)
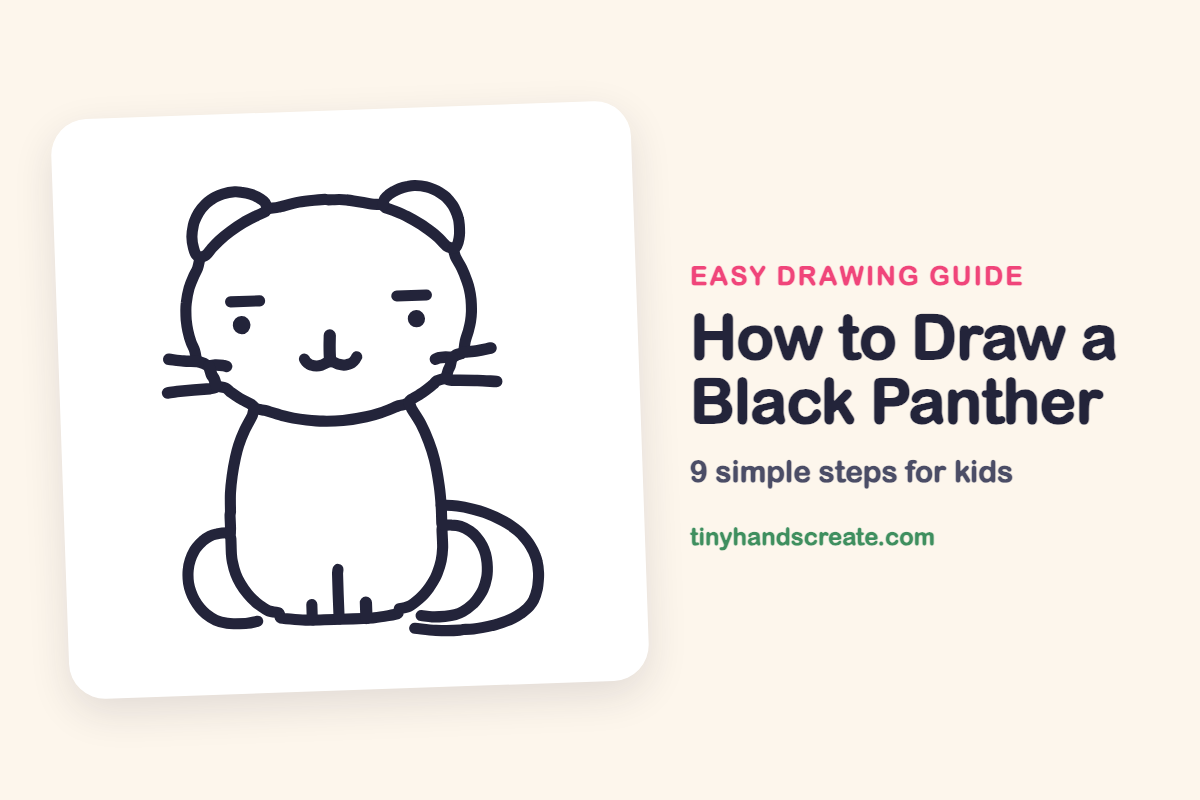
This black panther sits tall with a big round head, little round ears, and a curled tail. It is built from simple shapes: an oval, half circles, and a few curved lines, so it is a friendly first big-cat drawing. The sleepy eyes and tiny smile give it a calm, cuddly look.
- Easy
- 12 minutes
- 9 steps
You need: paper, a pencil, an eraser, and crayons or markers for coloring.
Start drawingIn this article (7 sections)
How to draw a black panther step by step
How to Draw a Black Panther · tinyhandscreate.com
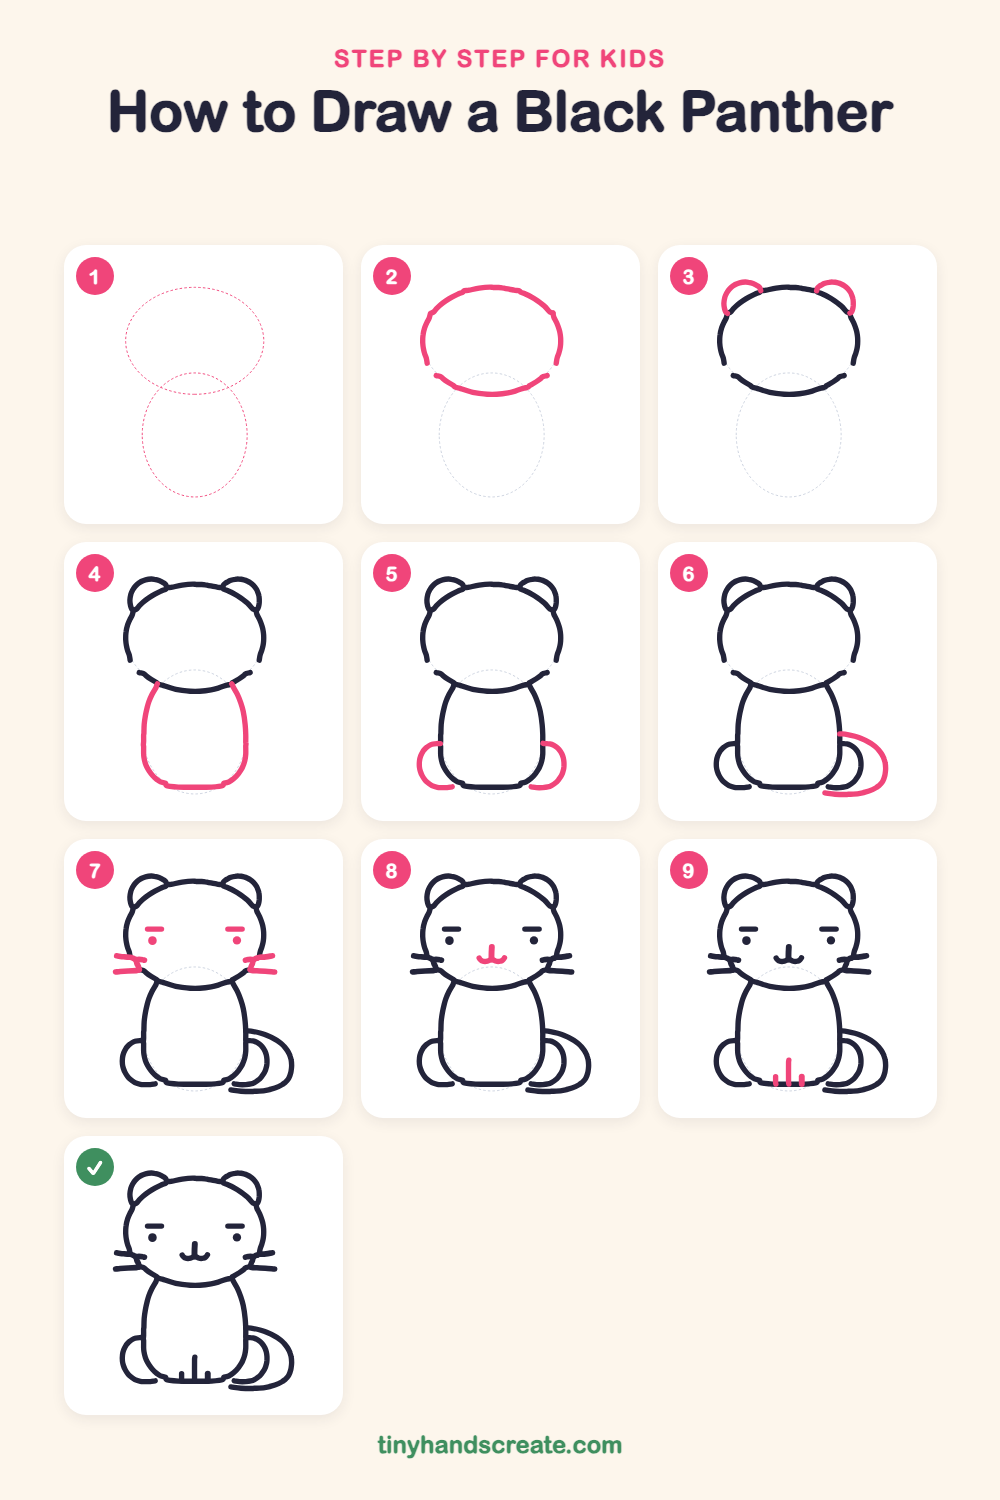
Step 1: Guide shapes
Lightly sketch these 2 ovals. They only show where the big parts go, so press softly. You will erase them at the end.
Step 2: The head
Start with a big wide oval for the head. Draw it a little wider than it is tall, so the face looks soft and round.
Step 3: The round ears
Add a half circle on each top corner of the head. Let the ends of each curve tuck into the head line so the ears look attached.
Step 4: The sitting body
Under the chin, draw two curved lines that go down and bulge out a little, like a rounded bell. Close the bottom with a flat curve so the panther sits on the ground.
Step 5: The back legs
On each side of the bottom of the body, draw a curved C shape for a back leg tucked beside the panther. Start each curve at the body line and sweep it down and around to the ground.
Step 6: The curled tail
Start at the right side of the body and draw a swooping curve out and down. Finish with a short line along the ground, making a curled tail.
Step 7: Eyes and whiskers
Draw a short flat line for each sleepy eyebrow, then a small dot underneath it for each eye. On each cheek, draw two short whisker lines that point outward.
Step 8: Nose and smile
In the middle of the face, draw a tiny short line going down for the nose. At its bottom, add a small curvy smile that curls up on both sides.
Step 9: The front toes
At the bottom of the body, draw three short straight lines going up from the ground line. Make the middle one a little taller to show the front paws.
All done!
Erase the guide shapes, go over your lines, then color it in.
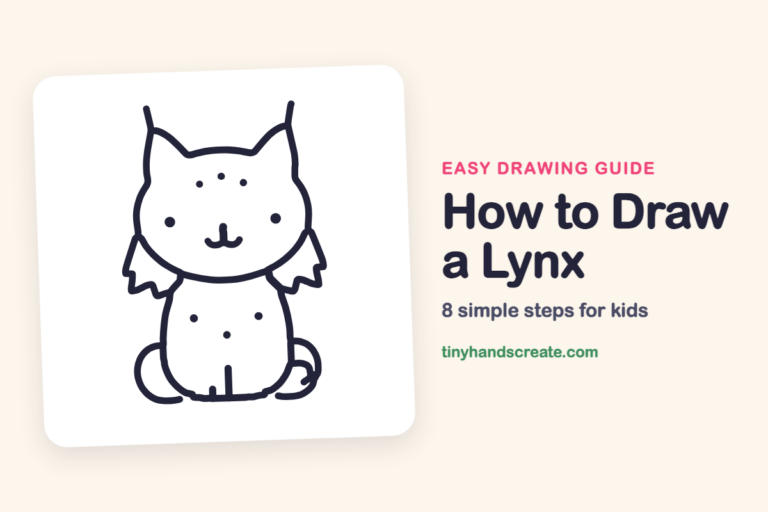
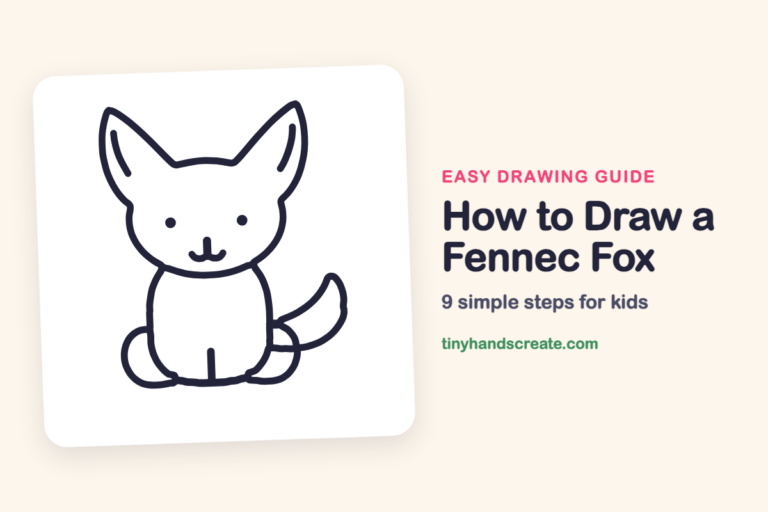
Finished your black panther? Keep the pencils out and learn how to draw a lynx or how to draw a fennec fox next.
Tips for drawing a black panther
- Draw the head oval first and make it wider than it is tall. The wide face is what makes this panther look so cute.
- The tail is the trickiest part. Start at the body and draw one slow, smooth curve without stopping, then add the short line along the ground.
- Keep the eyes level with each other. Draw both eyebrow lines first, then place a dot under each one so they match.
Free black panther coloring page
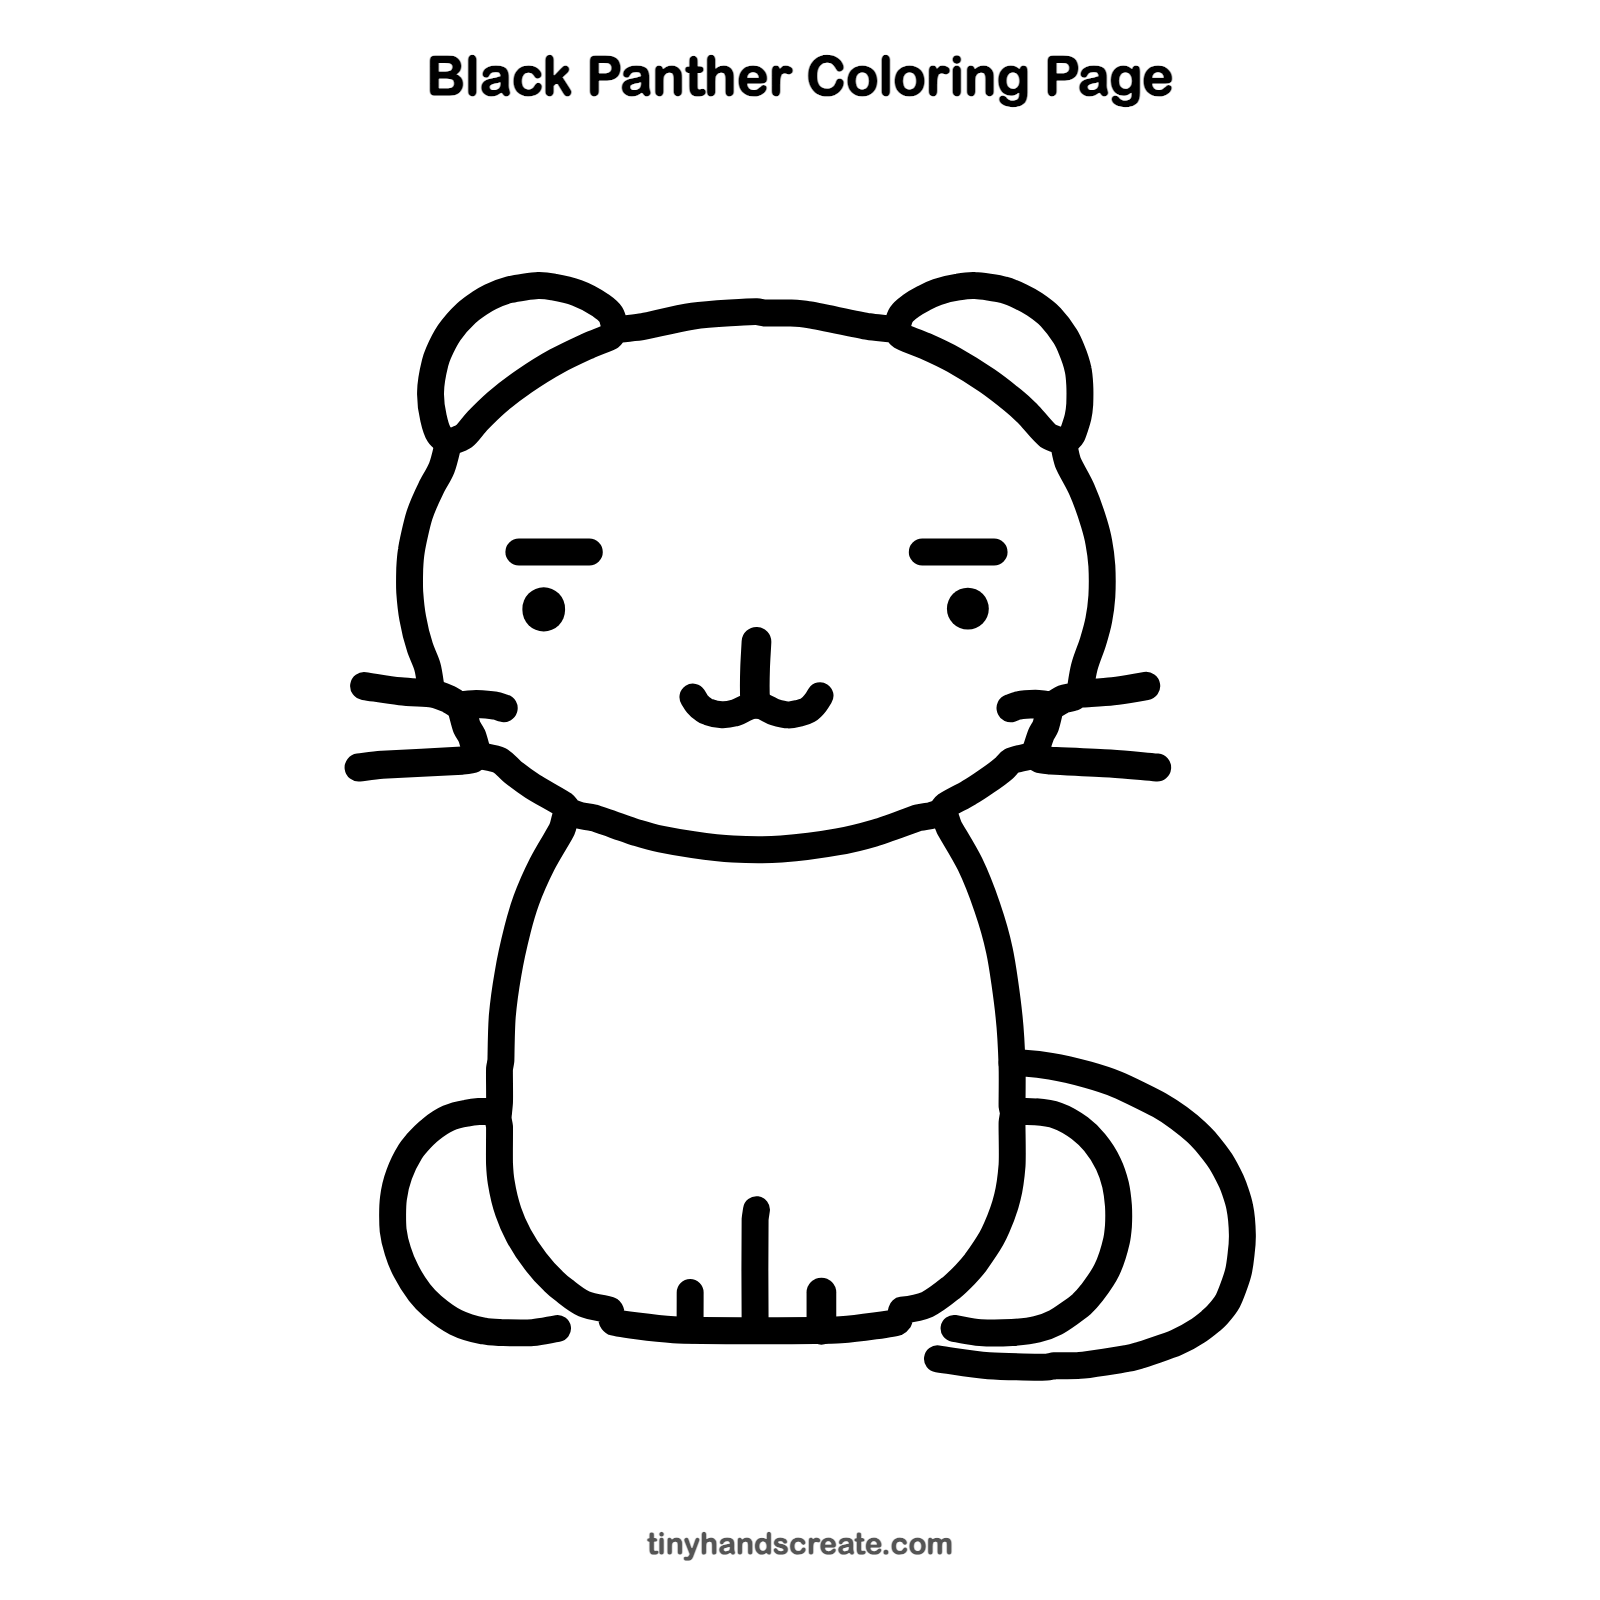
Want to go straight to coloring? Open this black panther coloring page at full size and print it. It is the same drawing you just learned, with clean lines ready for crayons or markers.
How to color your black panther drawing
Color the panther deep black or dark blue-gray, and leave the face lines light so the eyes and whiskers stand out. For a creative twist, add spots with a dark purple marker so they only show up in the light, just like a real black panther.
Black panther fun fact for kids
Black panthers are not a separate kind of cat. They are leopards or jaguars born with extra dark fur, and if you look closely in bright light you can still see their spots hiding in the black.
Questions about drawing a black panther
What shapes do I need to draw a black panther?
You need a big oval for the head, two half circles for the ears, and a rounded bell shape for the body. Add some curved lines for the back legs and tail, and you are done.
How do I make my panther look cuter?
Keep the eyes small with sleepy eyebrow lines, and keep the smile tiny. Round ears and a big round head also make it look soft and friendly.
How long does it take to draw a black panther?
Most kids finish this drawing in about 10 to 15 minutes. Take your time on the tail curve, since that is the part that takes the most practice.