How to Draw a Scorpion (Easy Step by Step)
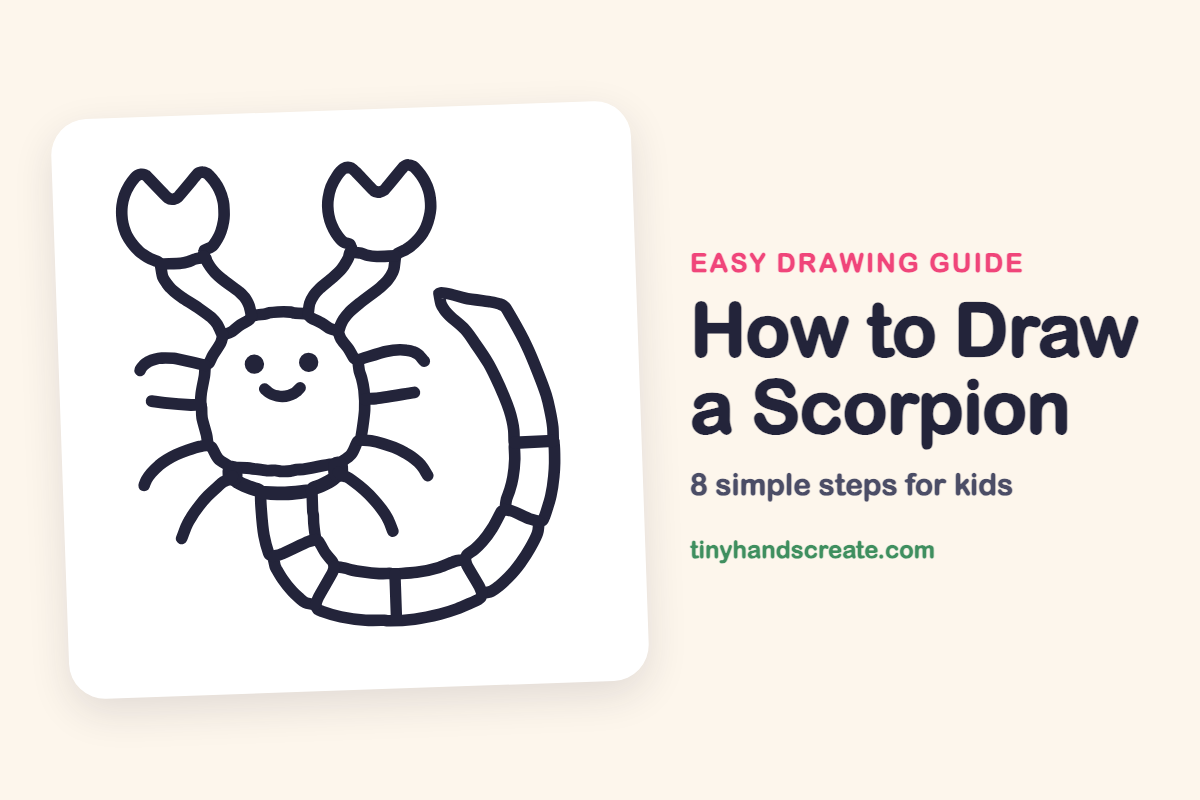
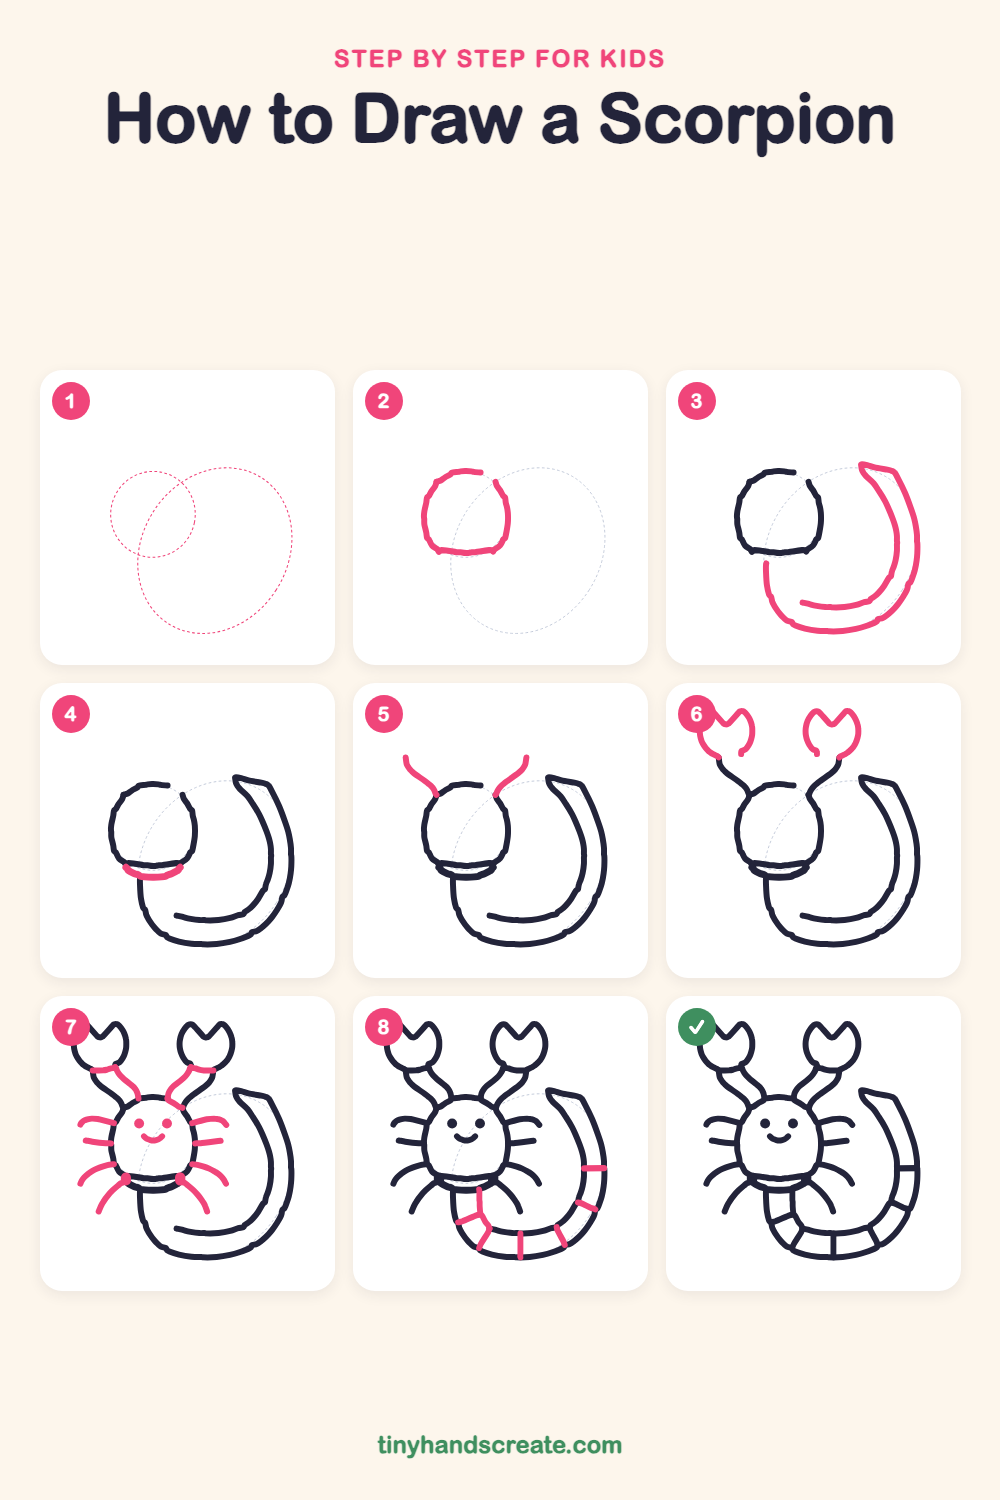
A scorpion looks fierce, but this one has a happy face and a curved tail, so it is friendly and fun to draw. It is built from a round head, a long curved tail with a pointed tip, and two open pincers on wavy arms.
- Medium
- 15 minutes
- 8 steps
You need: paper, a pencil, an eraser, and crayons or markers for coloring.
Start drawingIn this article (7 sections)
How to draw a scorpion step by step
How to Draw a Scorpion · tinyhandscreate.com
Step 1: Guide shapes
Lightly sketch these 2 ovals. They only show where the big parts go, so press softly. You will erase them at the end.
Step 2: The round head
Draw a round shape a little left of the middle of the page, like a ball that is slightly flat on the bottom. Leave a tiny gap at the top right where the tail will meet it later.
Step 3: The curved tail
Draw a long curved tail that swings down from under the head, across the bottom and up the right side. Draw a second line beside it to make the tail thick, and finish with a pointed tip at the top.
Step 4: The neck band
Draw a short curved line like a smile just under the head. It makes a collar where the head sits on the body.
Step 5: Starting the arms
On each side of the top of the head, draw one wavy line that goes up and outward. These are the first lines of the two arms.
Step 6: The pincers
At the top of each arm, draw a rounded claw shape with a V-shaped notch cut into the top, so it looks open. Then draw a second wavy line next to each arm line so the arms look thick.
Step 7: Legs and happy face
Draw four short curved lines on each side of the head for the legs. Then add two little dots for eyes and a small curved smile in the middle of the face.
Step 8: Tail sections
Draw short straight lines across the tail, from one edge to the other, to split it into bendy sections. Space them out evenly along the curve.
All done!
Erase the guide shapes, go over your lines, then color it in.
Finished your scorpion? Keep the pencils out and learn how to draw a lizard or how to draw a paw print next.
Tips for drawing a scorpion
- Draw the tail slowly in one smooth curve. It is the longest line, so it is fine to lift your pencil and start again rather than rushing.
- Make both pincers about the same size. Draw the first one, then look at it as you draw the second one.
- Add the tail sections last. Keep them evenly spaced and straight across, like the rungs of a ladder.
Free scorpion coloring page
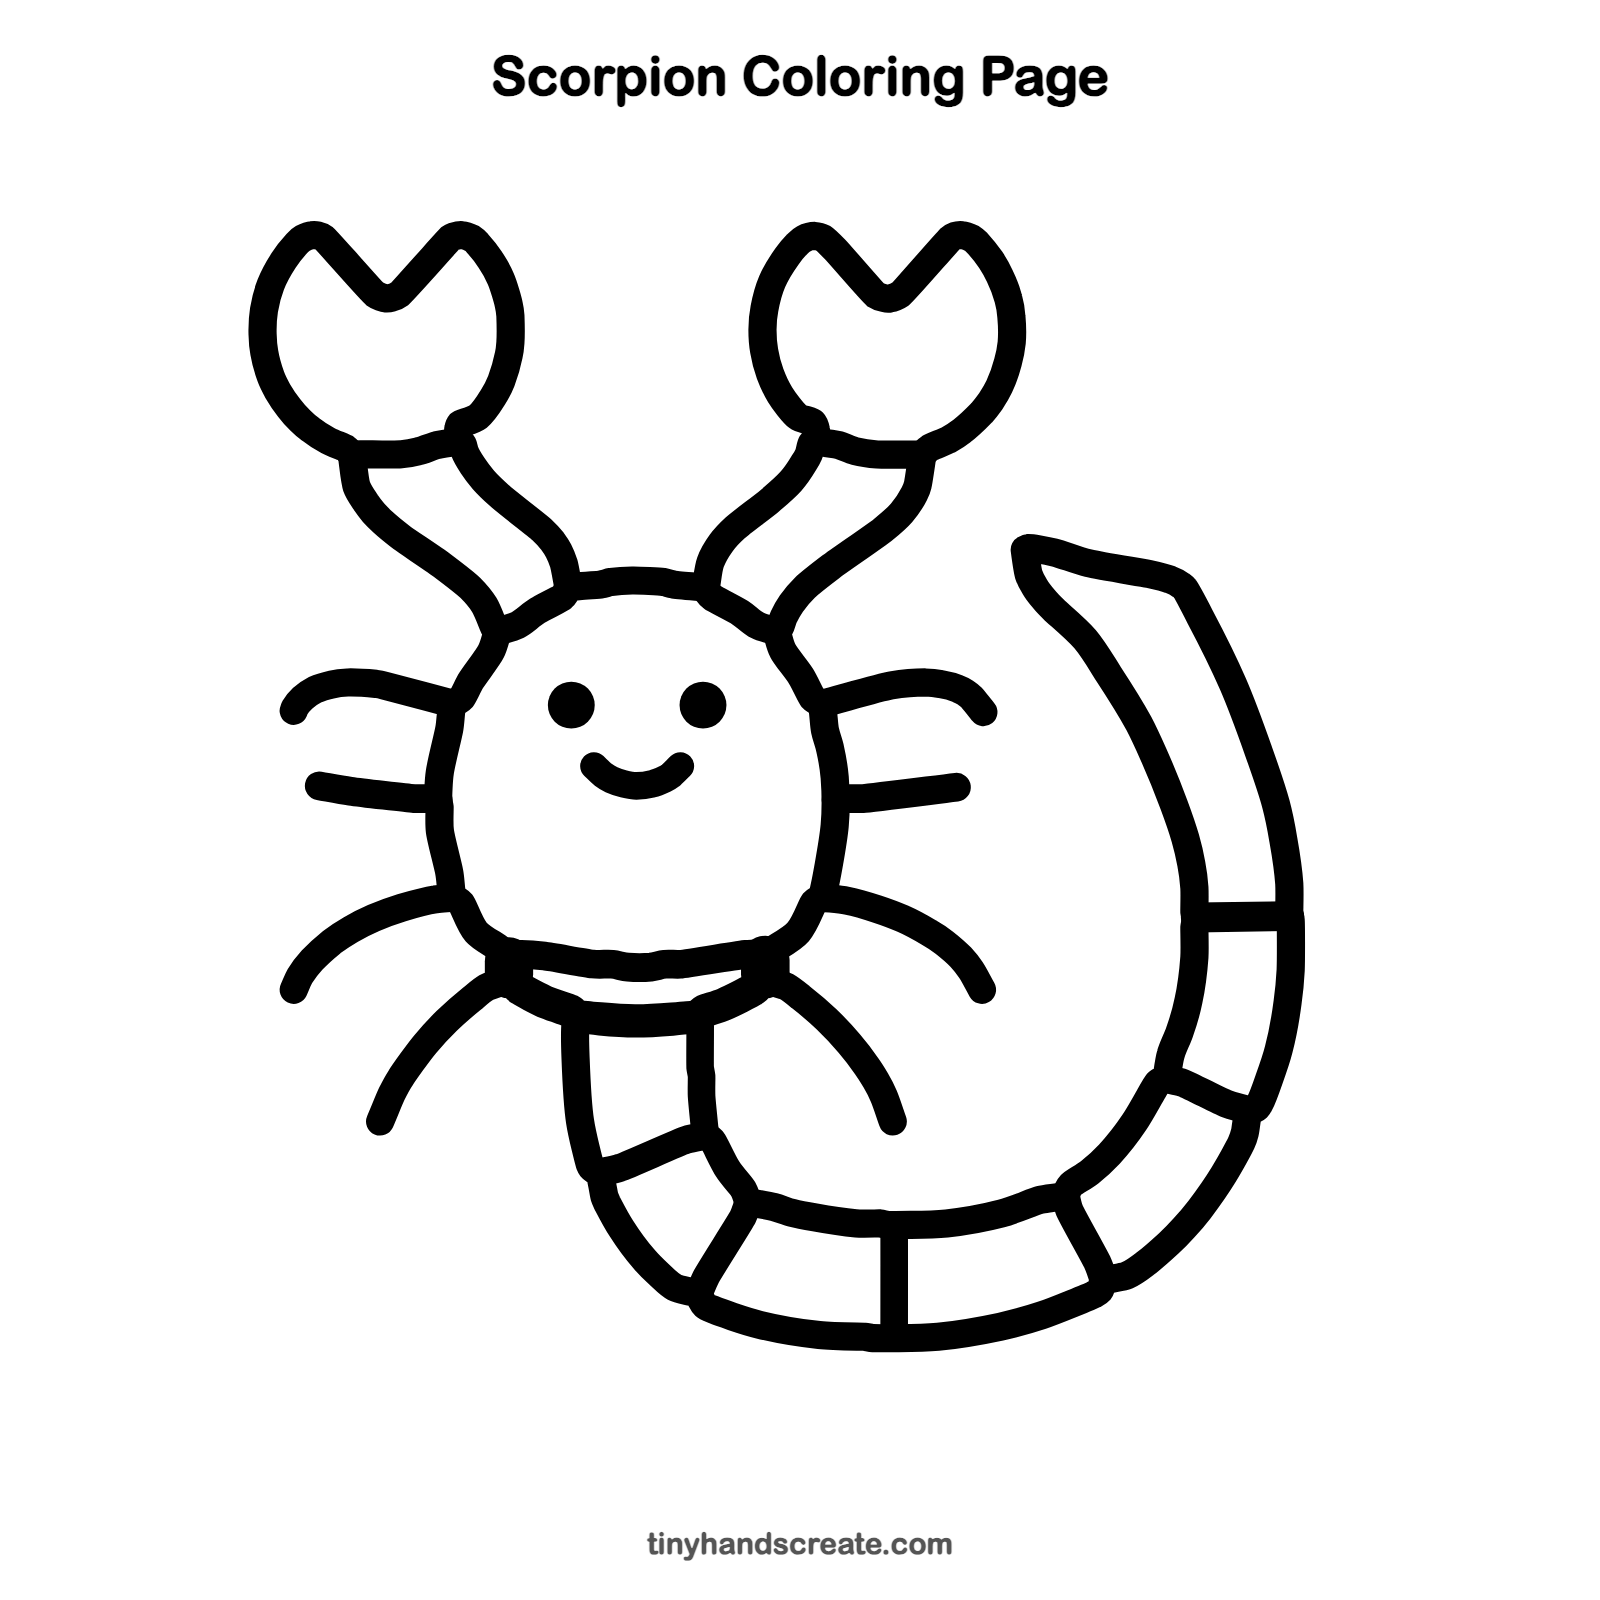
Want to go straight to coloring? Open this scorpion coloring page at full size and print it. It is the same drawing you just learned, with clean lines ready for crayons or markers.
How to color your scorpion drawing
Try orange, brown, or sandy yellow for the body and a darker shade for the pincers. For a creative twist, color the scorpion blue and green, like it looks under a black light.
Scorpion fun fact for kids
Scorpions glow blue-green under a black light, which gives off ultraviolet light.
Questions about drawing a scorpion
What shapes do I need to draw a scorpion?
You need a round shape for the head, a long curved tail, and two claw shapes with a notch cut out for the pincers. The legs are just short curved lines.
How do I make my scorpion look cuter?
Give it two round dot eyes and a small smile on its face, just like in this guide. Round, thick lines instead of sharp ones also make it look friendly.
How do I draw a scorpion tail that curves?
Start under the head and draw a line that swings down, across the bottom and up the right side. Then draw a second line beside it to make the tail thick, and finish with a point at the top.