How to Draw a Dog Bone (Easy Step by Step)
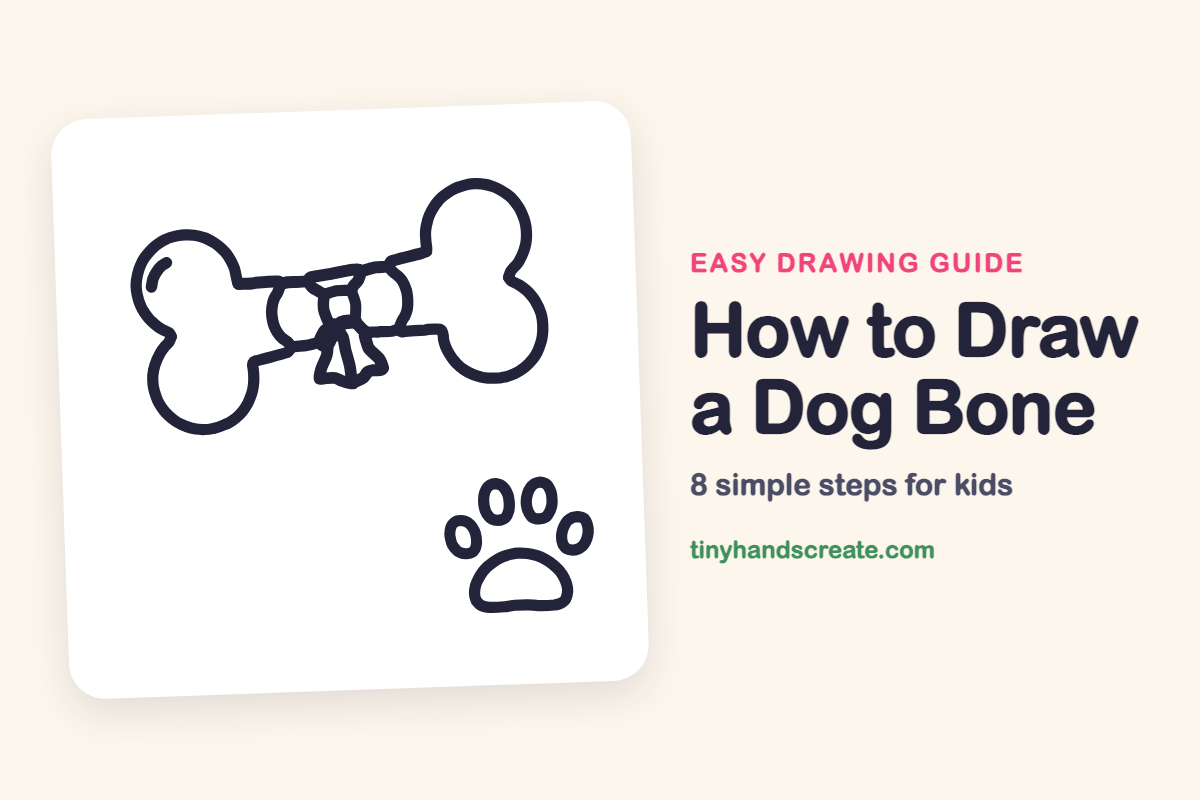
A dog bone with a bow on it is a cheerful gift for any pup, and it is mostly made of round bumps and long straight lines. You will also add a little paw print made of ovals and a dome. It is a great first drawing for practicing round shapes.
- Easy
- 10 minutes
- 8 steps
You need: paper, a pencil, an eraser, and crayons or markers for coloring.
Start drawingIn this article (7 sections)
How to draw a dog bone step by step
How to Draw a Dog Bone · tinyhandscreate.com
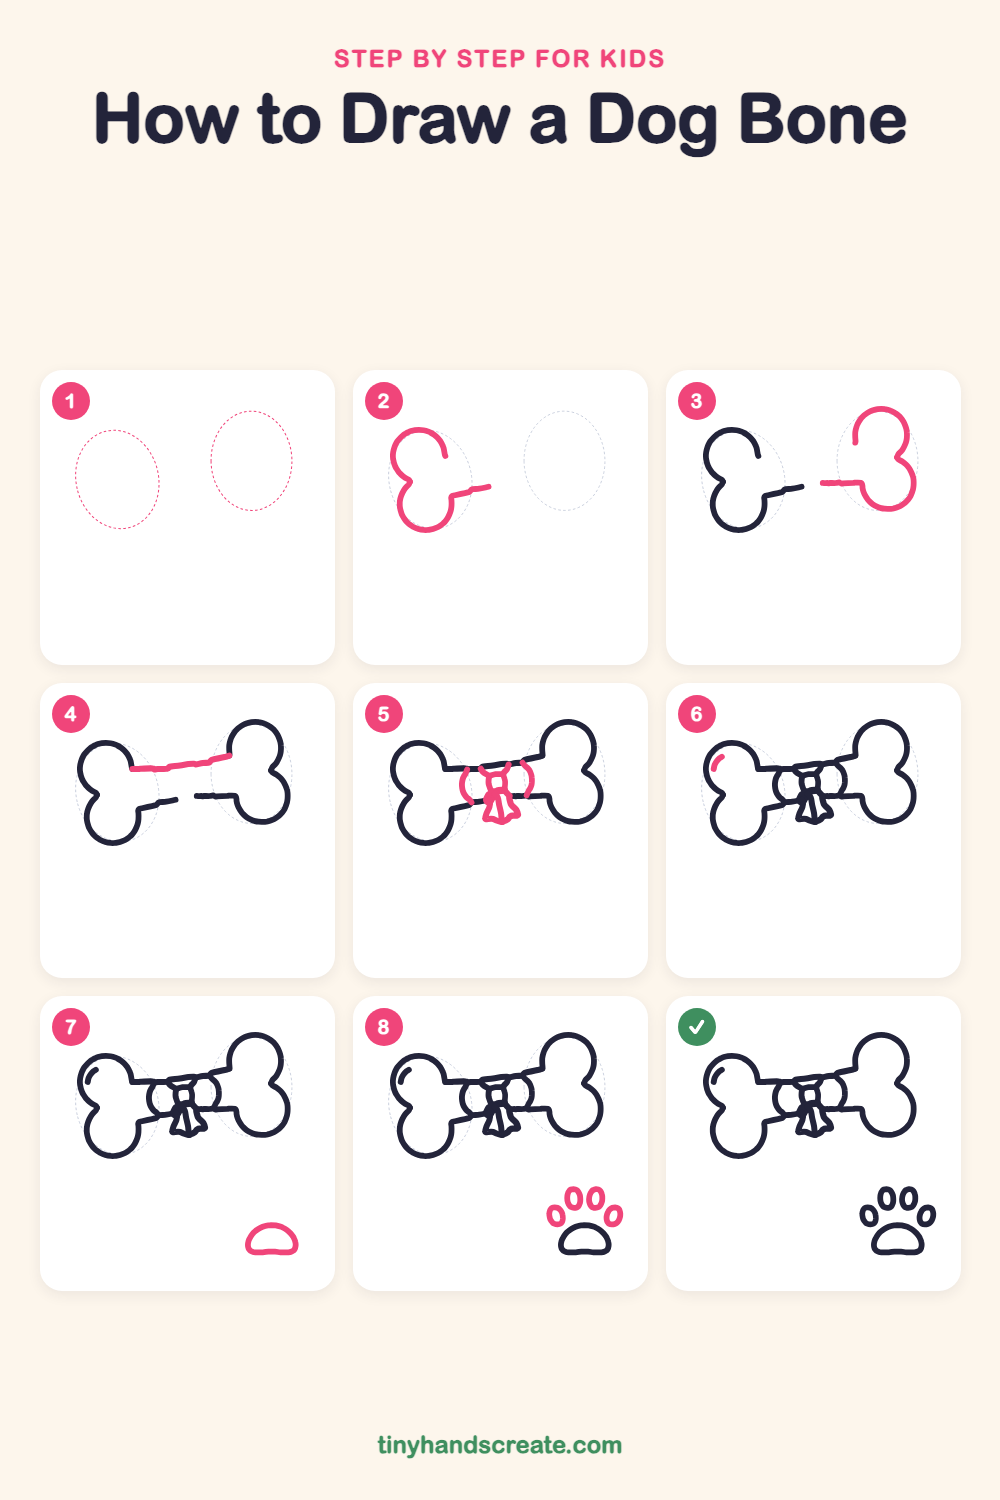
Step 1: Guide shapes
Lightly sketch these 2 ovals. They only show where the big parts go, so press softly. You will erase them at the end.
Step 2: The left end
Draw two big round bumps on the left, one above the other, with a small dip where they meet. Then add a short line going out to the right from the bottom bump.
Step 3: The right end
On the right side, draw two more round bumps with a small dip between them, just like on the left. Add a short line going out to the left from the bottom bump.
Step 4: The top of the bone
Draw one long, slightly slanted line from the top left bump across to the top right bump. It joins the two ends together along the top.
Step 5: The bow
In the middle of the bone, draw a small knot with a curved line on each side of it, like the loops of a bow. Then draw a ribbon tail hanging down from the knot with a pointy, notched end.
Step 6: The shine
Add a short curved line inside the top left bump to make the bone look shiny. Keep it small and let it follow the curve of the bump.
Step 7: The paw pad
Below the bone on the right, draw a wide dome shape with a flat bottom, like a little hill. This is the big pad of the paw print.
Step 8: The paw toes
Draw four small ovals in an arc above the pad. Make the two in the middle a bit taller and the two on the sides tilted outward.
All done!
Erase the guide shapes, go over your lines, then color it in.
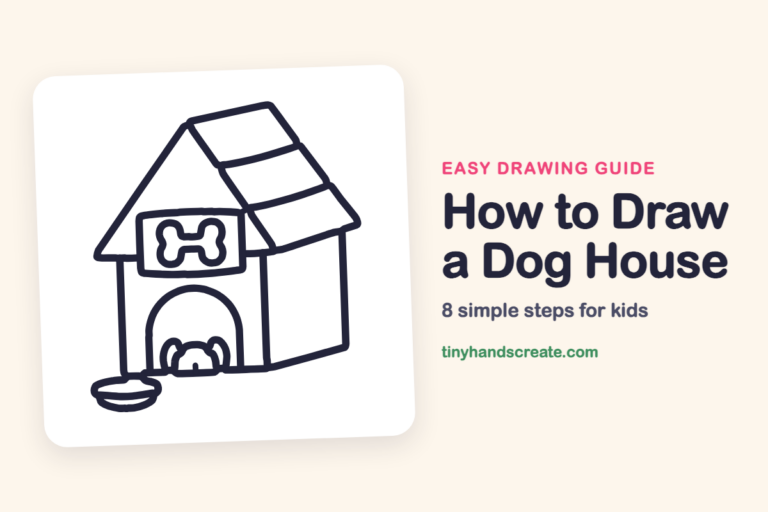
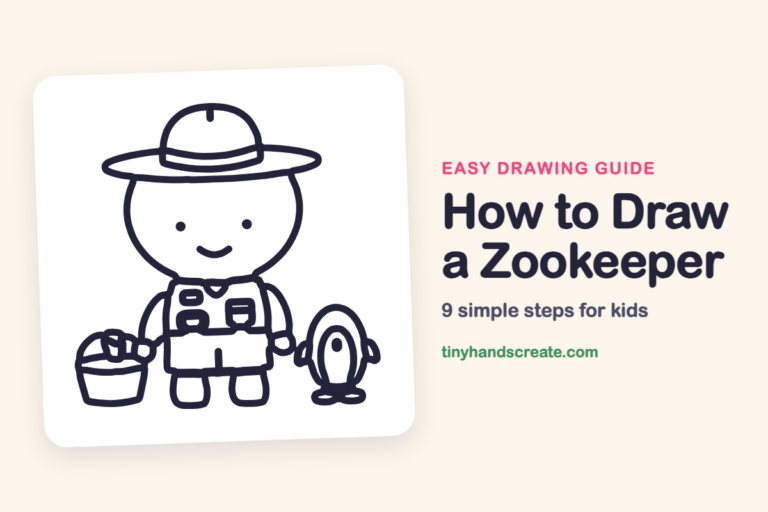
Finished your dog bone? Keep the pencils out and learn how to draw a dog house or how to draw a zookeeper next.
Tips for drawing a dog bone
- Draw the four bumps about the same size so the bone looks balanced. Try tracing around a coin or a bottle cap for round shapes.
- The bow is the trickiest part. Start with the small knot and the curved lines on each side, then add the ribbon tail last so it has room to hang.
- Keep the paw print toes as ovals of similar size, and leave a small gap between each toe and the pad.
Free dog bone coloring page
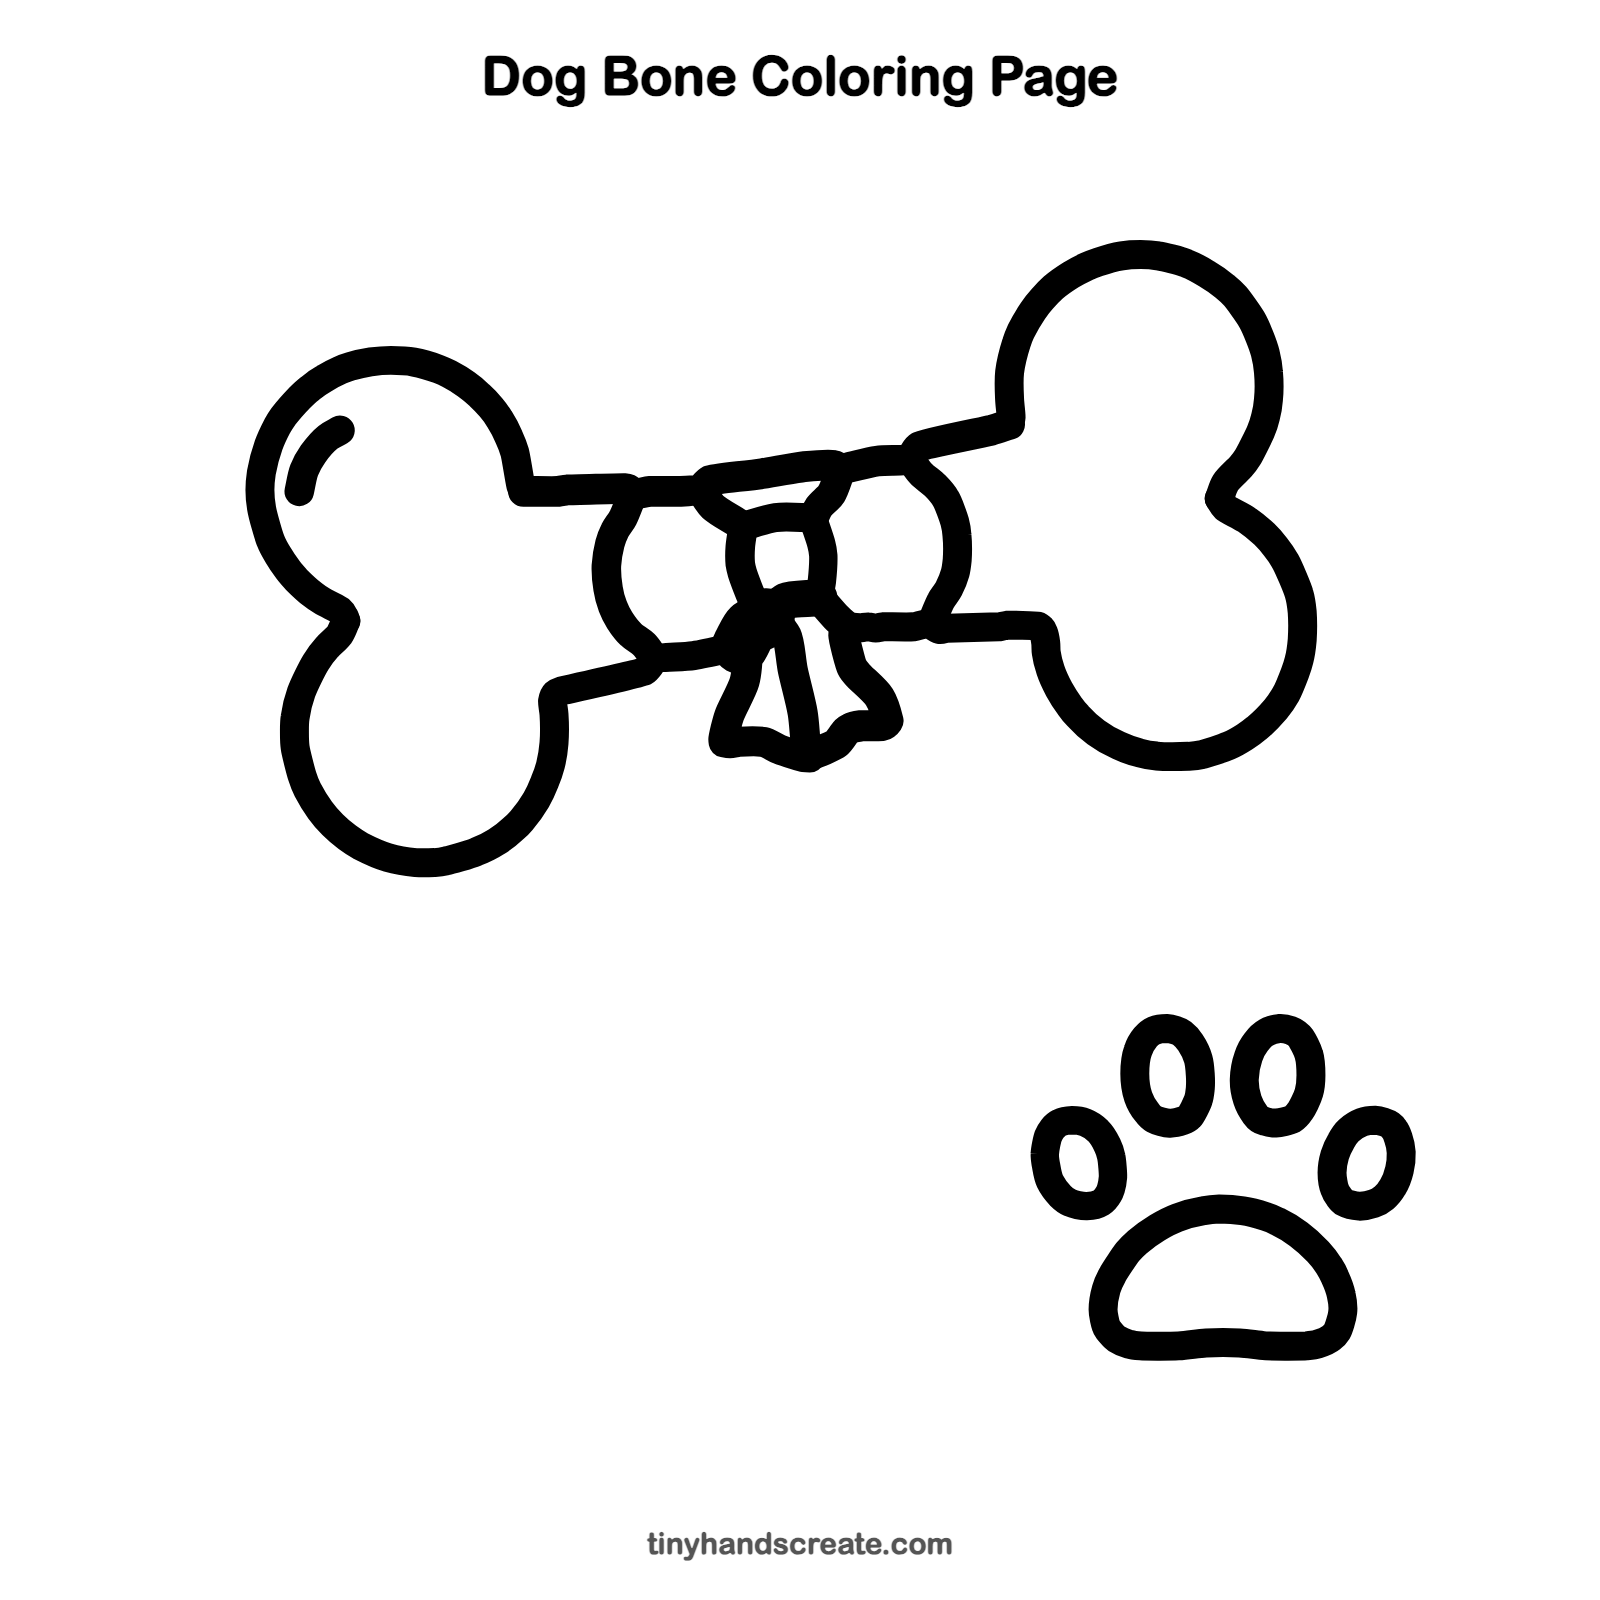
Want to go straight to coloring? Open this dog bone coloring page at full size and print it. It is the same drawing you just learned, with clean lines ready for crayons or markers.
How to color your dog bone drawing
Color the bone a warm cream or light tan and make the bow bright red or blue. For a creative twist, give the bone rainbow stripes or color the paw print in the dog's favorite color.
Dog bone fun fact for kids
Puppies have 28 baby teeth, and adult dogs have 42 teeth. Chewing on a bone helps keep a dog's teeth clean and strong.
Questions about drawing a dog bone
What shapes do I need to draw a dog bone?
You need two round bumps at each end and long, slightly slanted lines to connect them. Rounded ovals and a dome work well for the paw print too.
How do I make my dog bone look shiny?
Add a short curved line inside one bump, like a small highlight. Leave the area next to it light when you color.
How do I draw a bow on a bone?
Draw a small knot in the middle of the bone with a curved line on each side. Then add a ribbon tail hanging down with a pointy, notched end so it looks like real ribbon.