How to Draw a Zookeeper (Easy Step by Step)
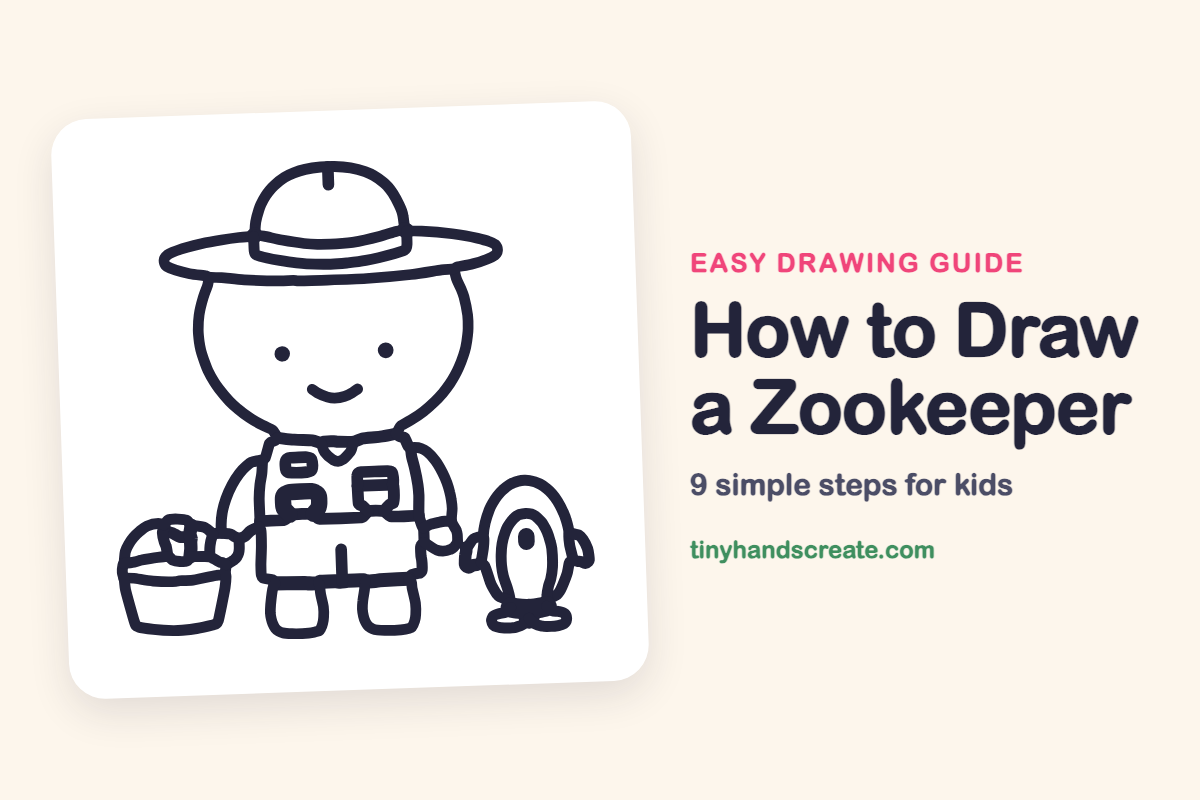
A zookeeper in a big hat is a fun drawing because it is built mostly from circles, ovals and rectangles. You will start with a round head, add a wide hat, and finish with a bucket and a little penguin friend. Each part is simple on its own, so it is easy to go one step at a time.
- Medium
- 20 minutes
- 9 steps
You need: paper, a pencil, an eraser, and crayons or markers for coloring.
Start drawingIn this article (7 sections)
How to draw a zookeeper step by step
How to Draw a Zookeeper · tinyhandscreate.com
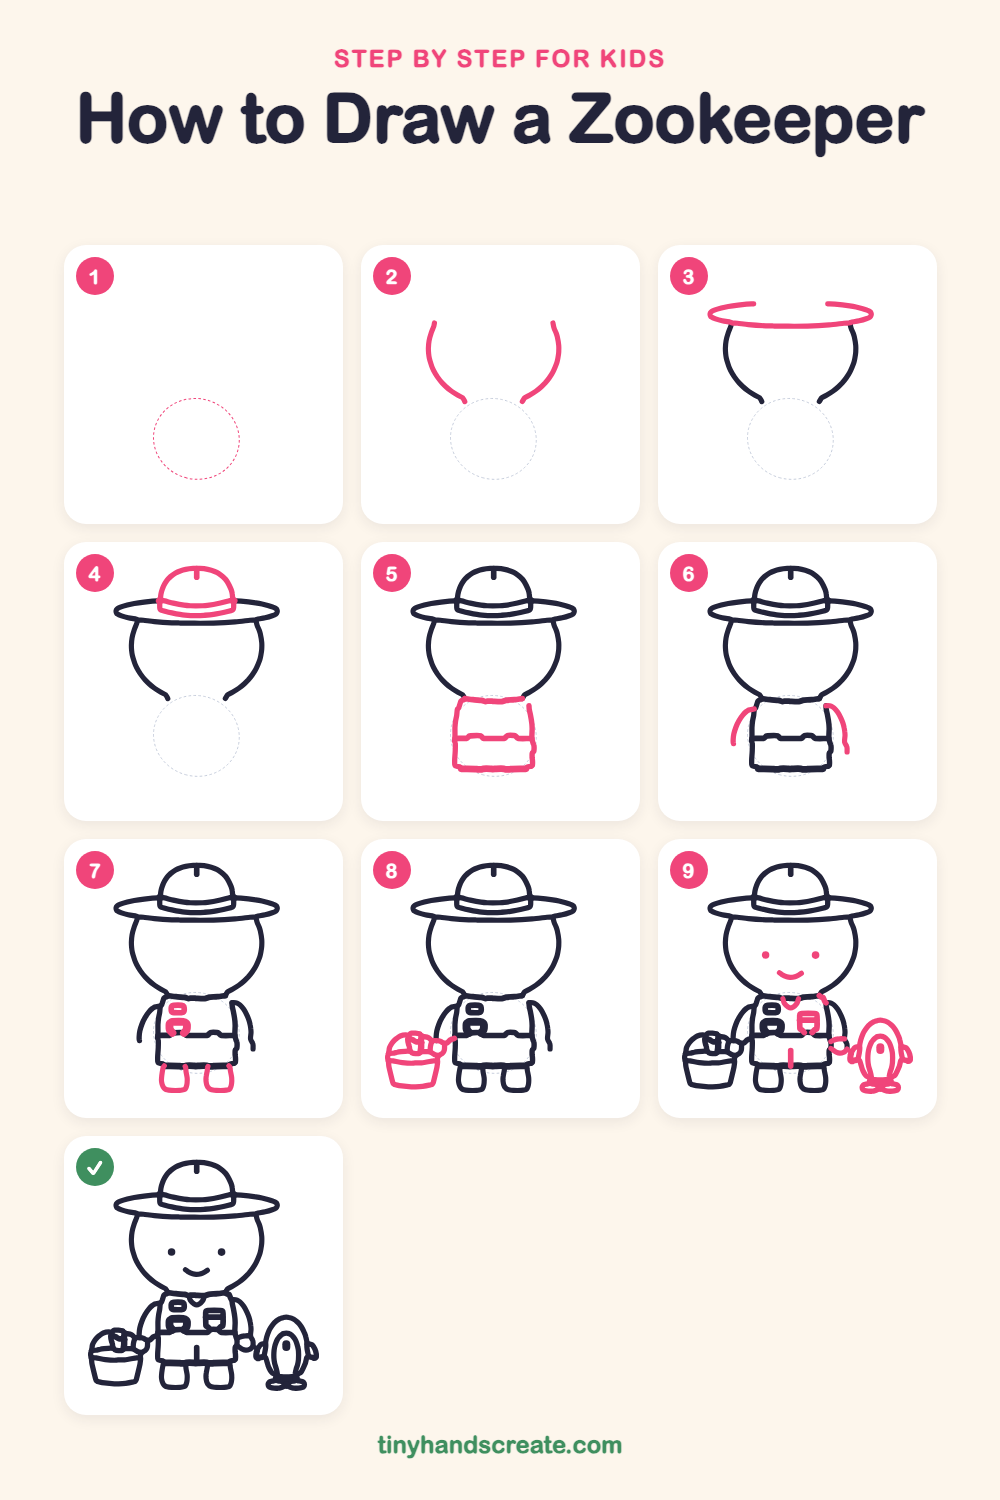
Step 1: Guide shapes
Lightly sketch this oval. It only shows where the big parts go, so press softly. You will erase it at the end.
Step 2: Sides of the head
Draw two curved lines that make a round, U-shaped head. Start each line at the top, near the hat spot, and curve them down and toward the middle, leaving the top open.
Step 3: The wide hat brim
Draw a long, flat oval across the top of the head, like a squished circle. It should stick out past both sides of the head.
Step 4: The hat top
On top of the brim, draw a half circle for the dome of the hat. Add a curved band across the bottom of the dome, and a short line down from the very top.
Step 5: Body and shorts
Under the head, draw a wide rectangle for the body. Draw a wavy belt line across the middle, then close the bottom of the rectangle for the shorts.
Step 6: The arms
Draw a curved line on each side of the body for the arms, like bent sausages. Start each one at the shoulder and curve it down toward the belt.
Step 7: Boots and a pocket
Draw two rounded boots under the shorts, side by side. Then add a small pocket shape on the left side of the chest.
Step 8: The bucket
Next to the left arm, draw a bucket with a wide top and a narrower bottom. Add a curved handle on top and a few small shapes poking out for the fish.
Step 9: Face, penguin and details
Add two dots for eyes and a small curved smile on the head, then a small V at the collar and a second pocket on the chest. Draw a short line down the middle of the shorts and small hands at the ends of the arms. Next to the right hand, draw a tall oval penguin with a smaller oval tummy, little flippers on the sides and flat feet.
All done!
Erase the guide shapes, go over your lines, then color it in.
Finished your zookeeper? Keep the pencils out and learn how to draw a fox or how to draw a hedgehog next.
Tips for drawing a zookeeper
- Draw the hat brim as a long, squished oval, and make it wider than the head so the hat looks big and floppy.
- The bucket is wider at the top than at the bottom. Draw the top first, then bring the sides in as you go down.
- For the penguin, draw the big oval first and the smaller tummy oval inside it. Keep the feet flat and wide so it stands up.
Free zookeeper coloring page
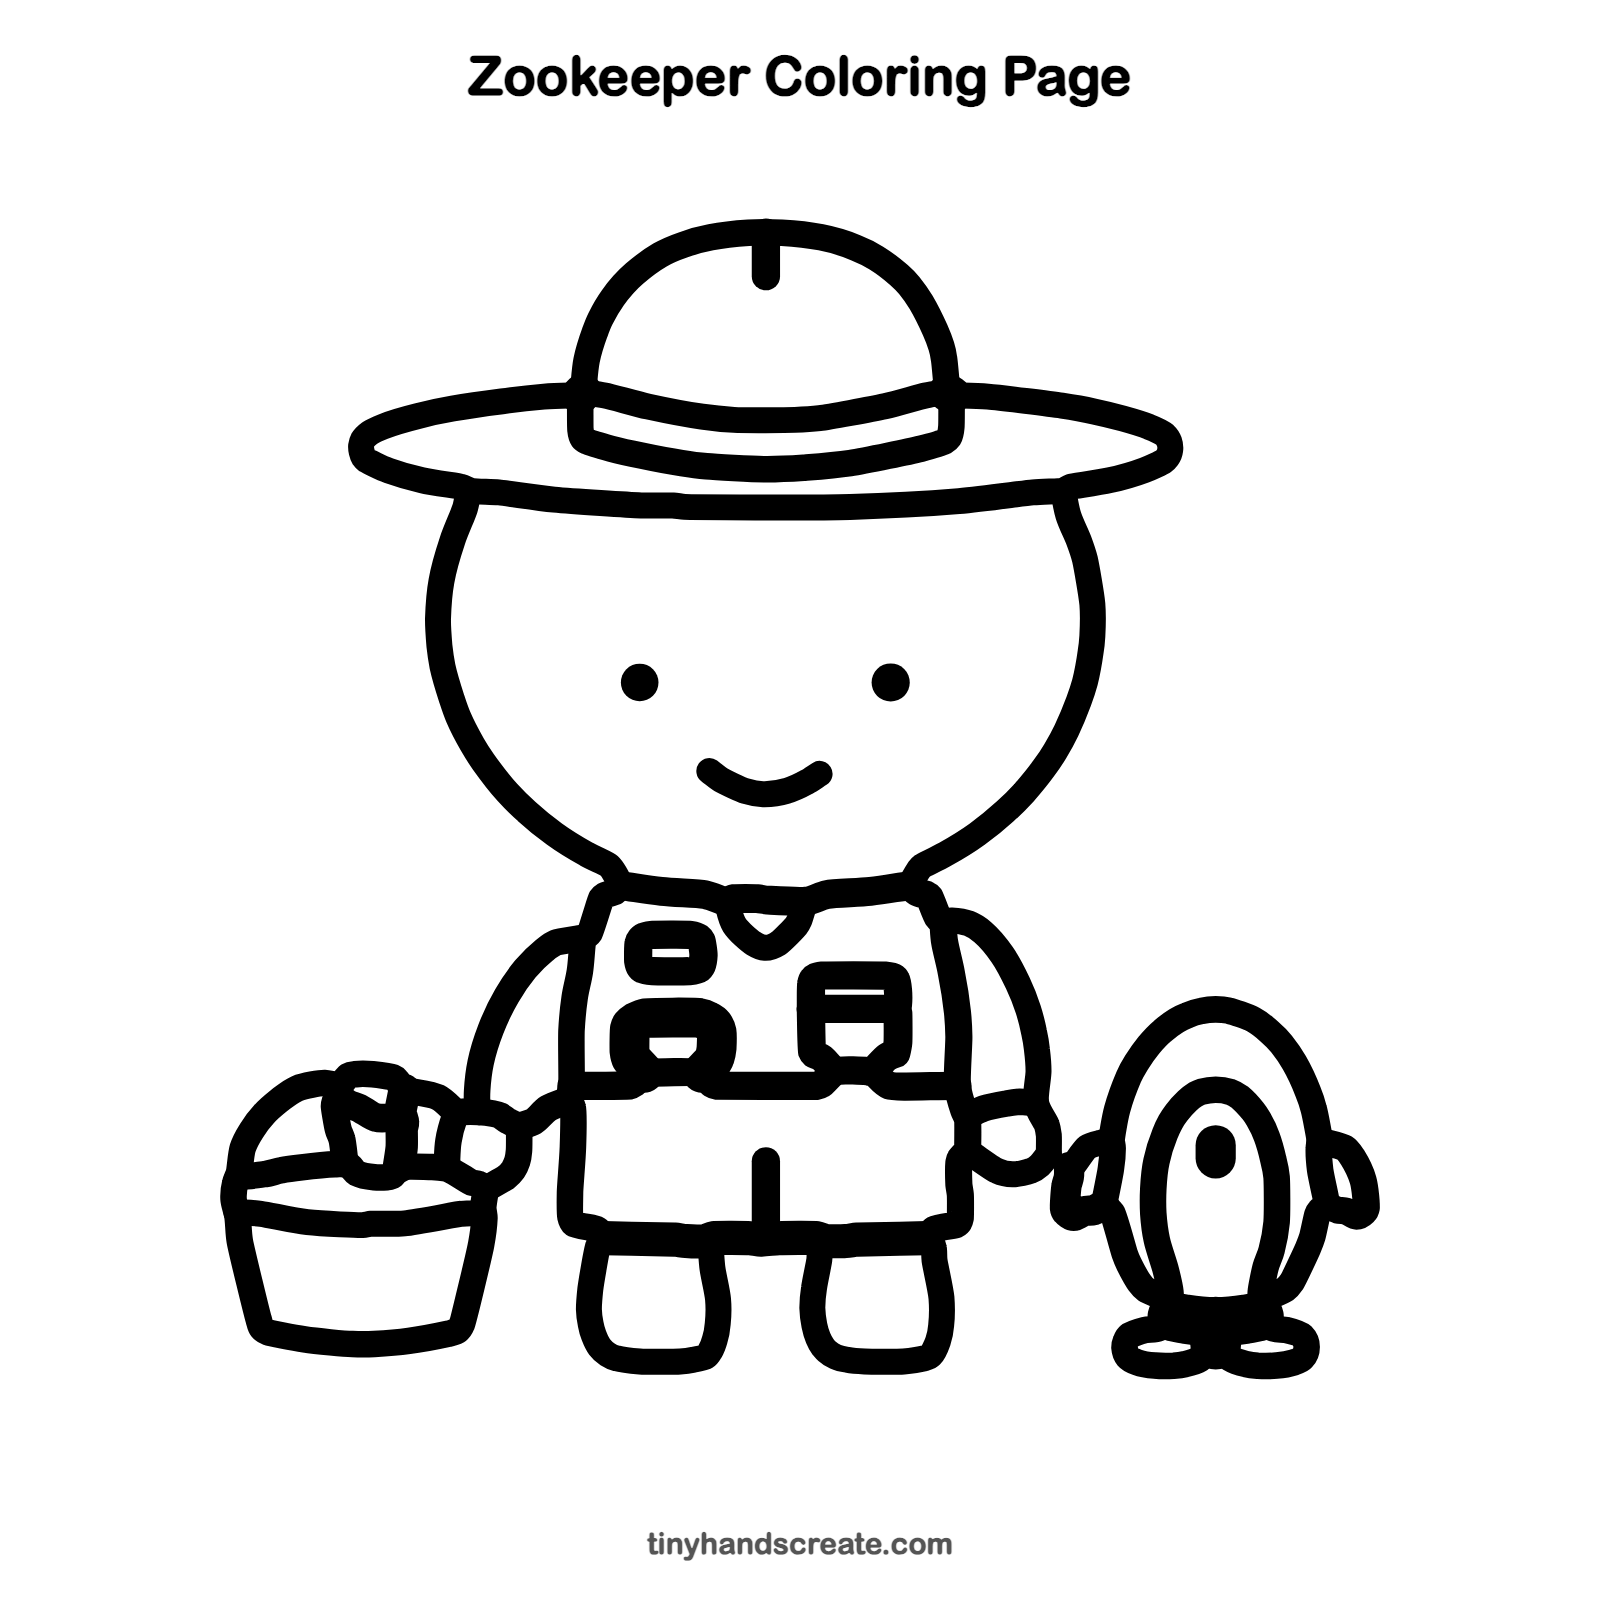
Want to go straight to coloring? Open this zookeeper coloring page at full size and print it. It is the same drawing you just learned, with clean lines ready for crayons or markers.
How to color your zookeeper drawing
Try a tan hat and vest, green shorts, a gray bucket and a black and white penguin. For a creative twist, give the zookeeper a rainbow hat band or add a few bright orange fish in the bucket.
Zookeeper fun fact for kids
The word zoo is short for zoological garden. People started using the short form in the 1800s.
Questions about drawing a zookeeper
What shapes do I need to draw a zookeeper?
You need a circle for the head, ovals for the hat brim and penguin, and rectangles for the body, pockets and shorts. A few curved lines finish the arms and bucket.
How do I make my zookeeper look cuter?
Keep the eyes small and far apart, and draw a small, curvy smile. A big round head and a floppy hat also make the zookeeper look friendly.
How do I draw a penguin next to the zookeeper?
Start with a tall oval for the body, then add a smaller oval for the tummy. Add two little flippers on the sides and flat feet at the bottom.