How to Draw a Water Drop (Easy Step by Step)
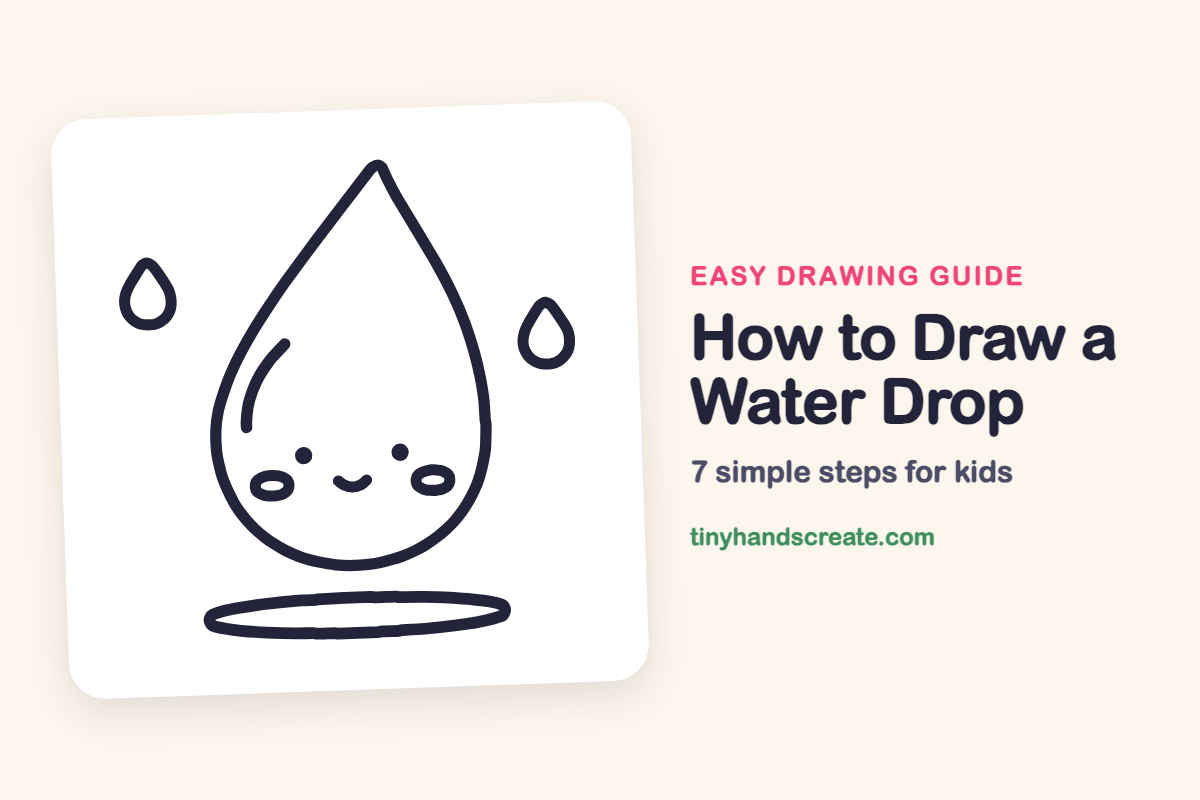
A smiling water drop is a great first drawing because it is built from just a few easy shapes: a teardrop, tiny dots, small ovals, and a long flat oval for the puddle. The little face gives it a sweet, friendly personality that kids love to copy.
- Easy
- 10 minutes
- 7 steps
You need: paper, a pencil, an eraser, and crayons or markers for coloring.
Start drawingIn this article (7 sections)
How to draw a water drop step by step
How to Draw a Water Drop · tinyhandscreate.com
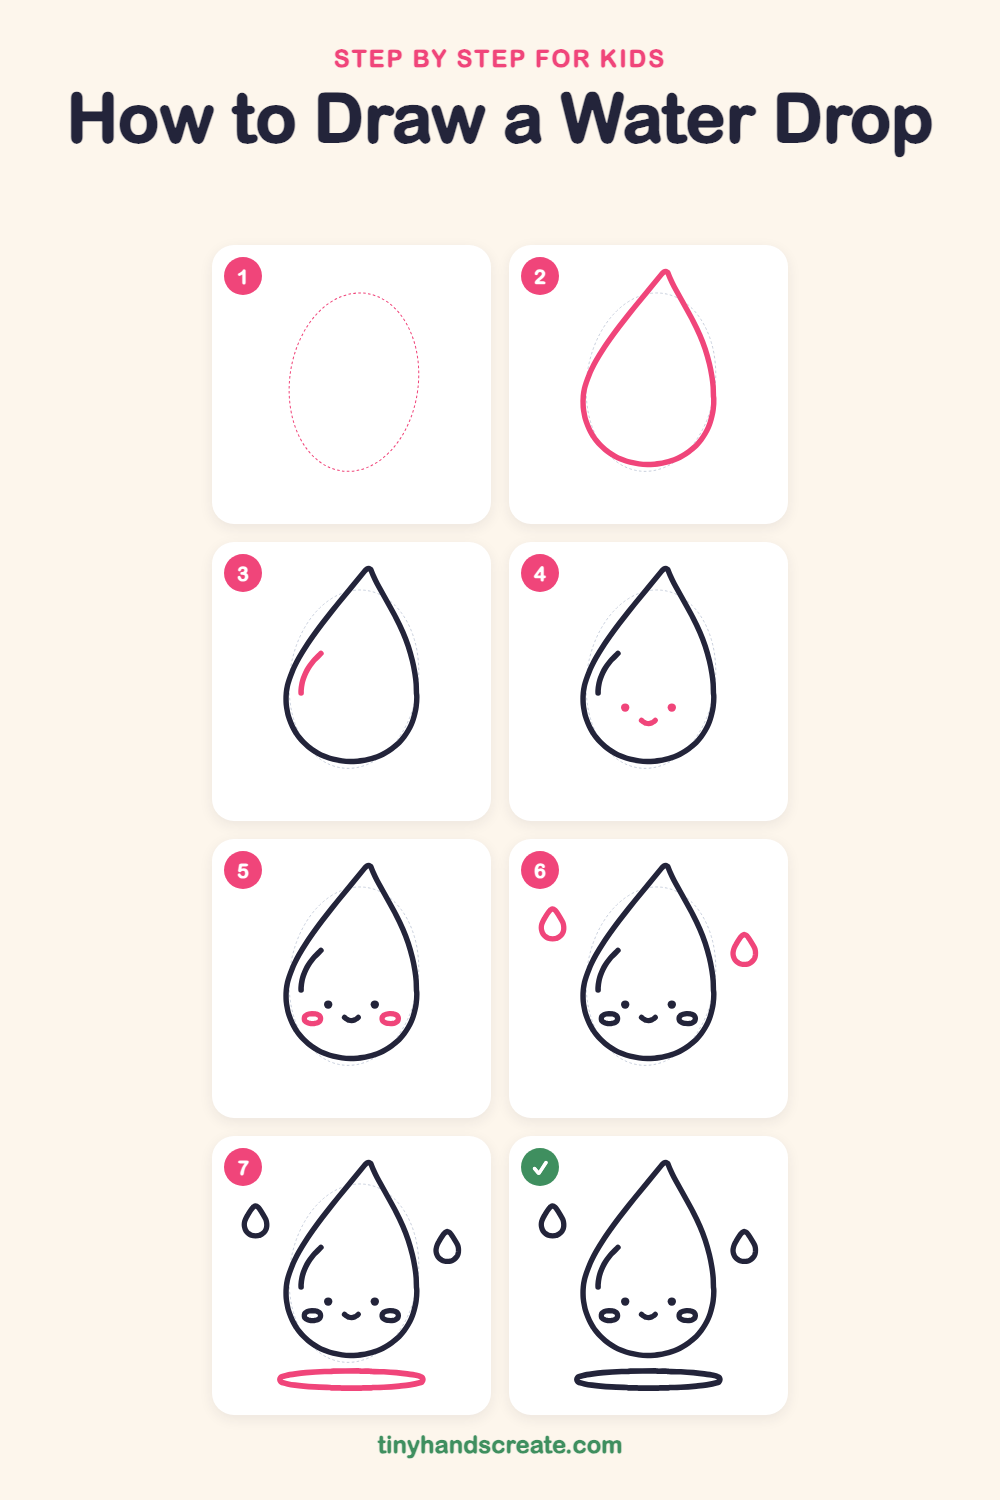
Step 1: Guide shapes
Lightly sketch this oval. It only shows where the big parts go, so press softly. You will erase it at the end.
Step 2: The big drop
Start at the top with a small pointy tip. Draw two curved lines going down from the tip, one on each side, and join them at the bottom in a big round belly, like an upside-down teardrop.
Step 3: The shiny curve
Inside the drop, near the left side, draw a short curved line that follows the edge. It looks like a little glint of light on the water.
Step 4: Eyes and smile
Draw two small round dots for eyes, side by side in the lower middle of the drop. Between them and a little lower, draw a tiny curved smile like a U.
Step 5: Rosy cheeks
Draw a small flat oval on each side of the face, near the edge of the drop and level with the smile. Make both ovals about the same size.
Step 6: Two little drops
Draw a small teardrop to the left of the big drop and another to the right. Give each one a pointy top and a round bottom, and place the right one a little lower than the left.
Step 7: The puddle
Under the big drop, draw a long, thin, flat oval for the puddle. Make it wider than the drop, and leave a small gap between the drop and the puddle.
All done!
Erase the guide shapes, go over your lines, then color it in.
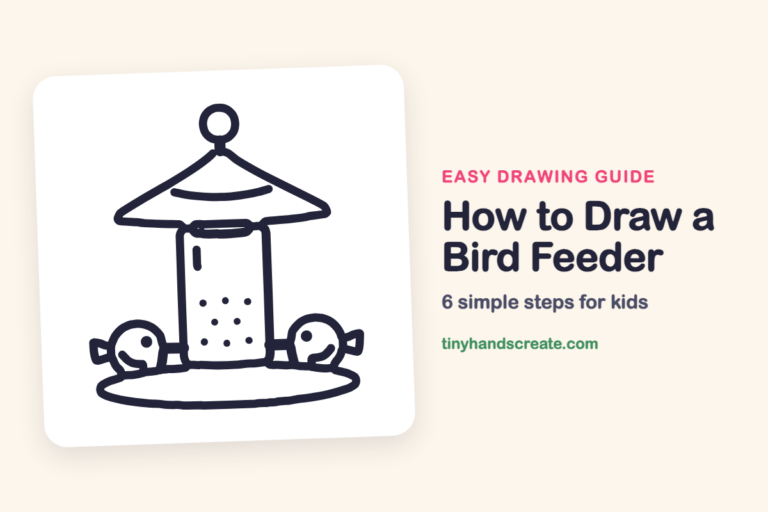
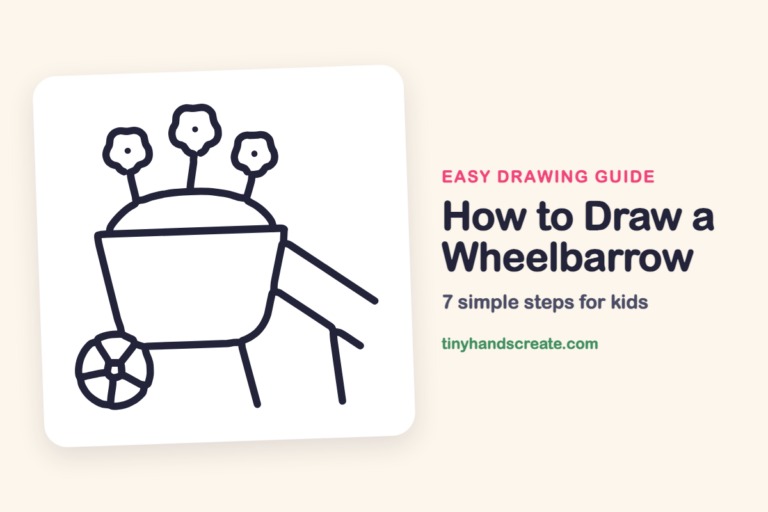
Finished your water drop? Keep the pencils out and learn how to draw a bird feeder or how to draw a wheelbarrow next.
Tips for drawing a water drop
- Start the big drop at the pointy tip and draw down each side slowly. Try to make both sides curve the same amount so the drop looks balanced.
- Place the eyes and smile low on the drop, where it is widest. This gives the face room and leaves space above for the shiny curve.
- For the puddle, draw a long thin oval lightly first. A flat oval is easier to keep smooth if you draw it in one slow, steady line.
Free water drop coloring page
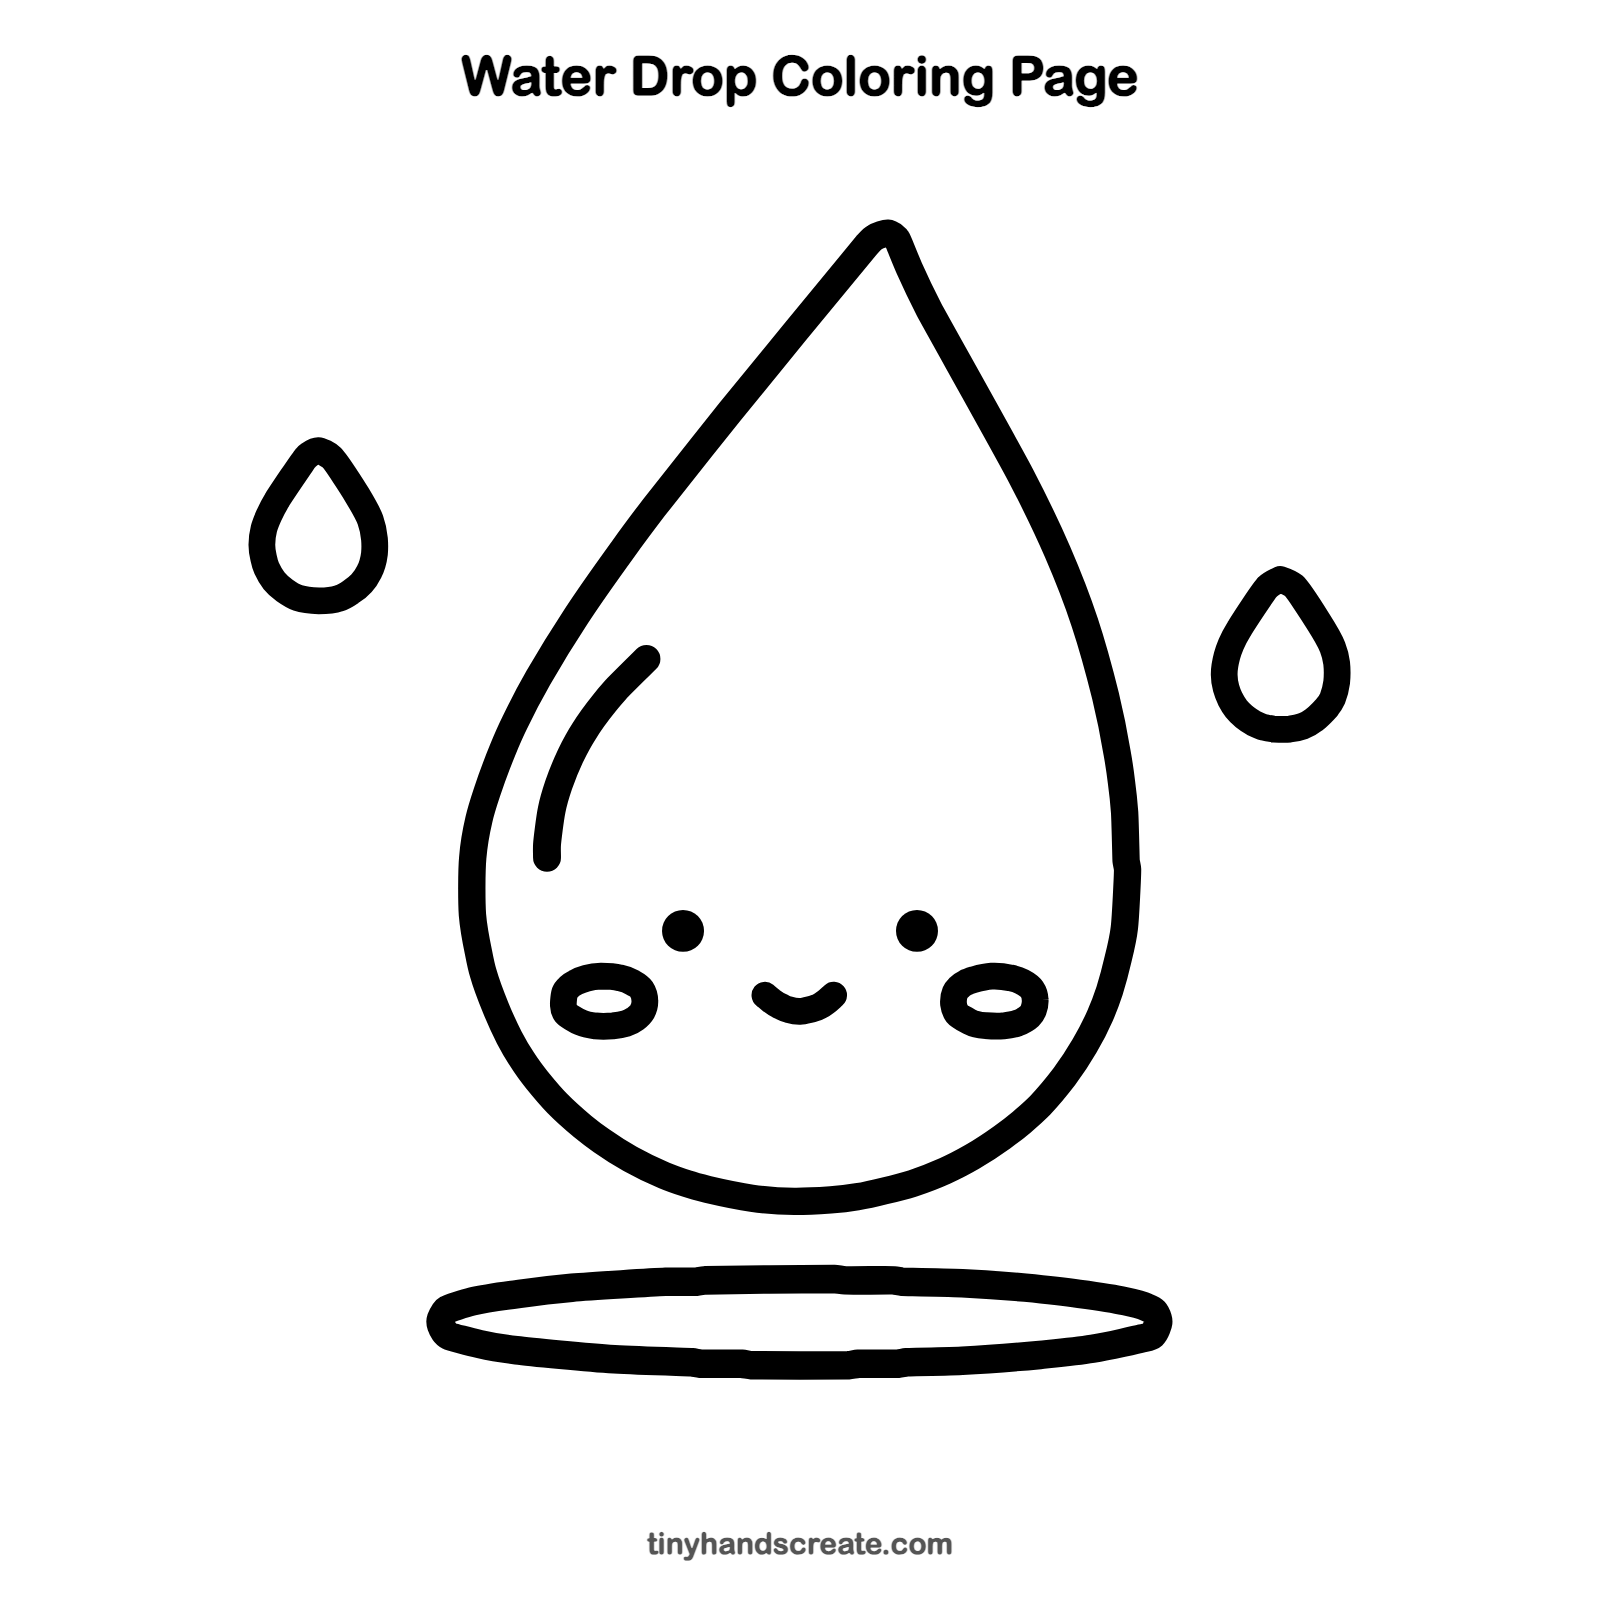
Want to go straight to coloring? Open this water drop coloring page at full size and print it. It is the same drawing you just learned, with clean lines ready for crayons or markers.
How to color your water drop drawing
Color the big drop in light and dark blues, and leave the shiny curve white so it glows. For a creative twist, make a rainbow drop with stripes of color inside, or turn the little drops into different colors.
Water drop fun fact for kids
A real raindrop is not shaped like a teardrop. Small raindrops are round like tiny balls, and bigger ones flatten on the bottom a bit like a hamburger bun.
Questions about drawing a water drop
What shapes do I need to draw a water drop?
You need a teardrop shape for the body, two small dots for eyes, small ovals for cheeks, two little teardrops, and a long flat oval for the puddle. A tiny curved line makes the smile.
How do I make my water drop look cuter?
Add rosy cheek ovals on both sides of the face, just beside the smile. A small smile and a shiny curve on the left make it look happy and fresh.
How do I draw a teardrop shape that looks even?
Start at the pointy top and draw one curve down each side. Let both curves swing out and meet in a round bottom. Keeping the two sides the same helps it look even.