How to Draw Mochi (Easy Step by Step)
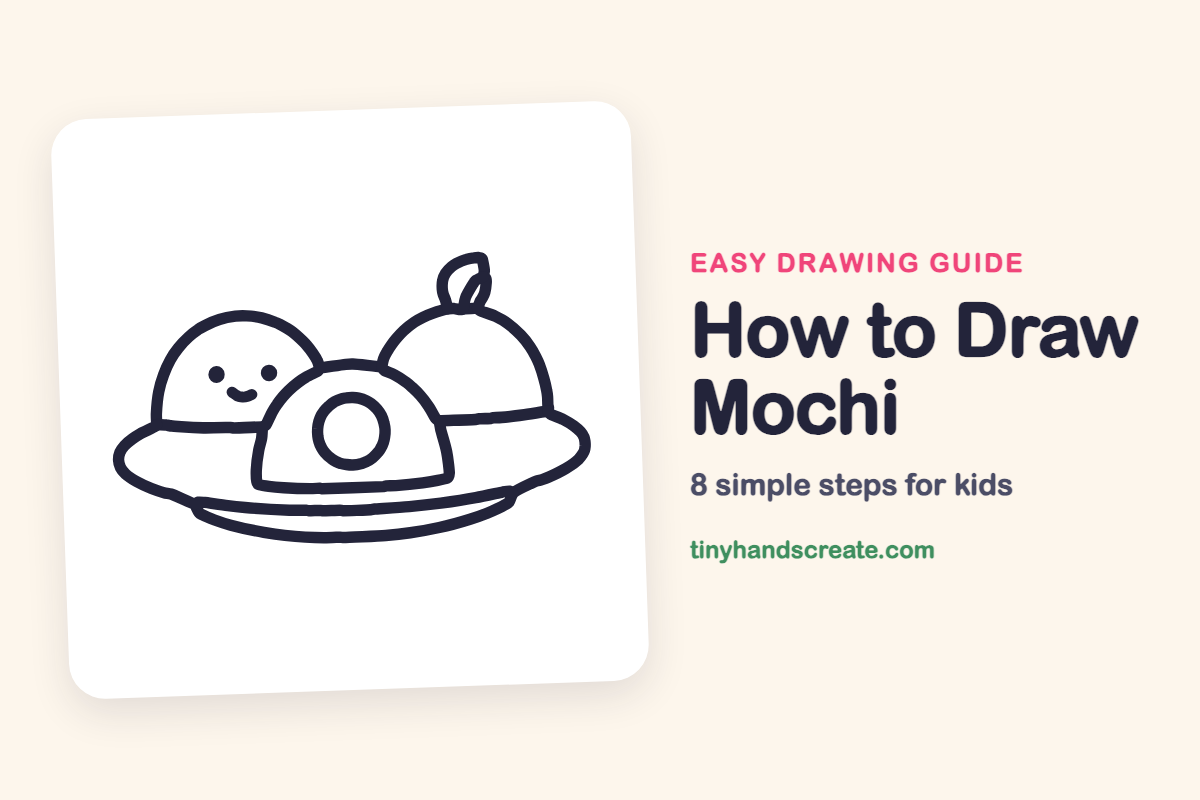
Mochi are soft, round rice cakes, and this drawing shows three of them sitting on a plate. It is built from half circles (domes), a ring, a small leaf, and a wide oval, so it is a friendly first drawing for beginners. One mochi even has a sweet little face.
- Easy
- 10 minutes
- 8 steps
You need: paper, a pencil, an eraser, and crayons or markers for coloring.
Start drawingIn this article (7 sections)
How to draw mochi step by step
How to Draw Mochi · tinyhandscreate.com
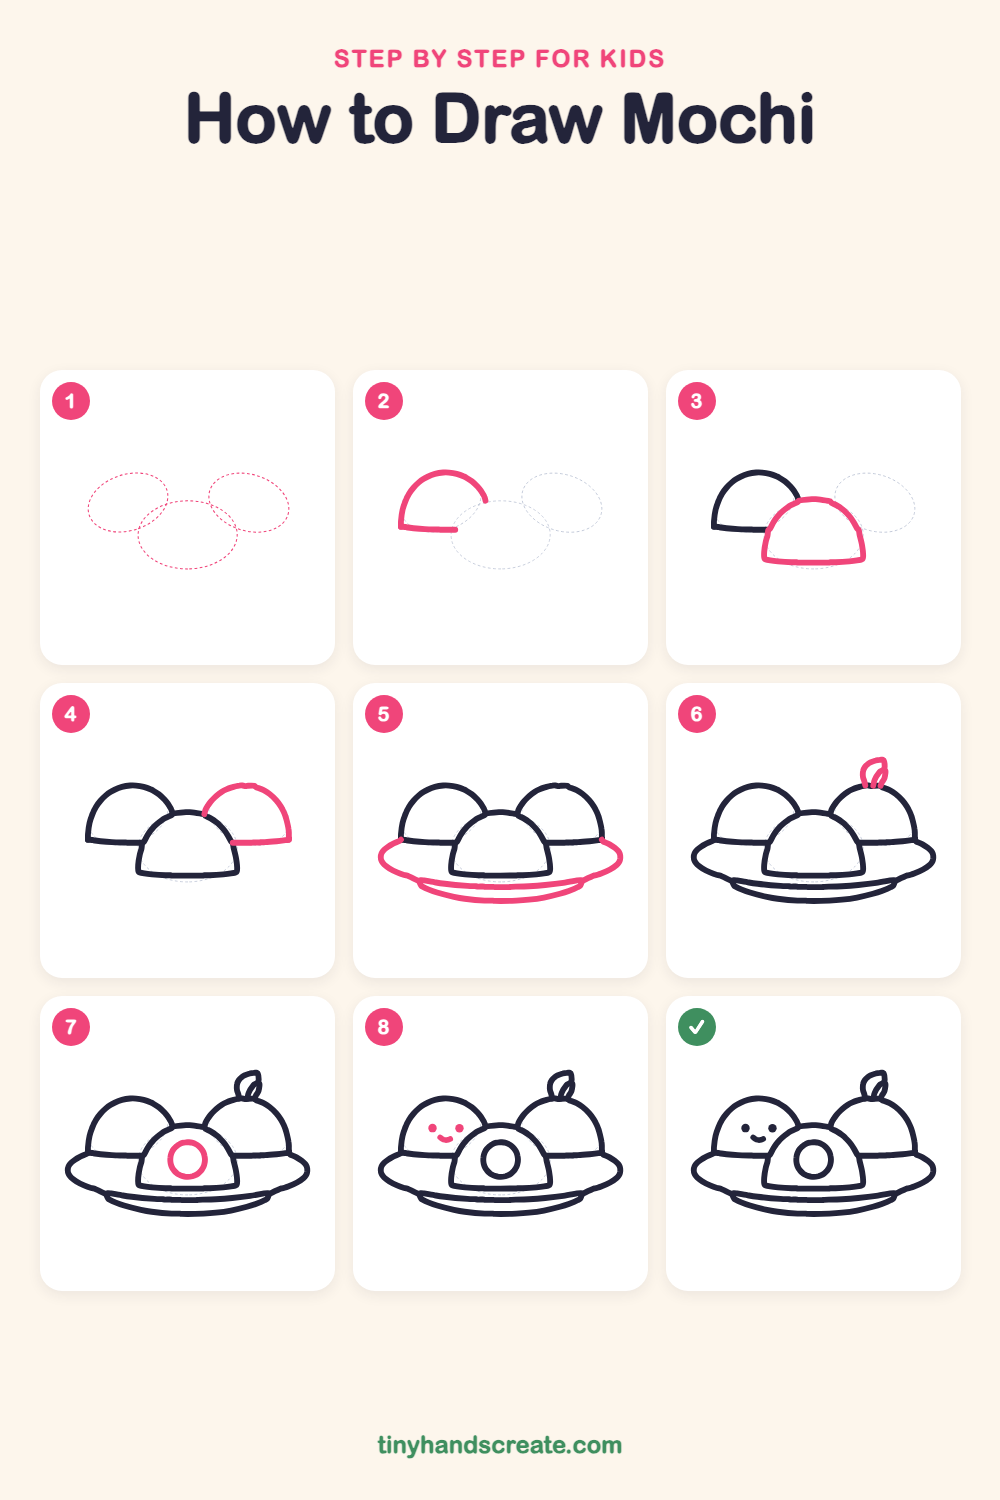
Step 1: Guide shapes
Lightly sketch these 3 ovals. They only show where the big parts go, so press softly. You will erase them at the end.
Step 2: Left dome
Draw a big dome on the left, like half a circle sitting on the ground. Make the bottom edge a gentle flat line.
Step 3: Front dome
Draw a second, smaller dome in front, overlapping the first one. Start at its left bottom, curve up over the top, and come back down with a flat bottom edge.
Step 4: Right dome
Draw a third dome on the right that tucks behind the front one. Finish it with a flat line along the bottom.
Step 5: The plate
Draw a wide, flat oval rim that starts at the bottom of the left dome and ends at the bottom of the right dome, wrapping under all three mochi. Then add a long curve underneath for the plate's foot.
Step 6: The leaf
On top of the right mochi, draw a small pointy leaf shape like a tilted teardrop. Add a short curved line inside for the vein.
Step 7: Front ring
Draw a round ring in the middle of the front mochi, like a little doughnut or a sweet filling.
Step 8: Happy face
On the left mochi, draw two small dots for eyes side by side. Add a little curved smile below and between them.
All done!
Erase the guide shapes, go over your lines, then color it in.
Finished your mochi? Keep the pencils out and learn how to draw an ice cream sandwich or how to draw macaroni and cheese next.
Tips for drawing mochi
- Draw the three domes with flat bottoms first. Let the front dome overlap the others so it looks like it is sitting in front.
- The plate is the trickiest part. Make the wide oval rim flat, and add the long curve underneath it last.
- Keep the face small on the left mochi. Two dots and one little smile are enough to look cute.
Free mochi coloring page
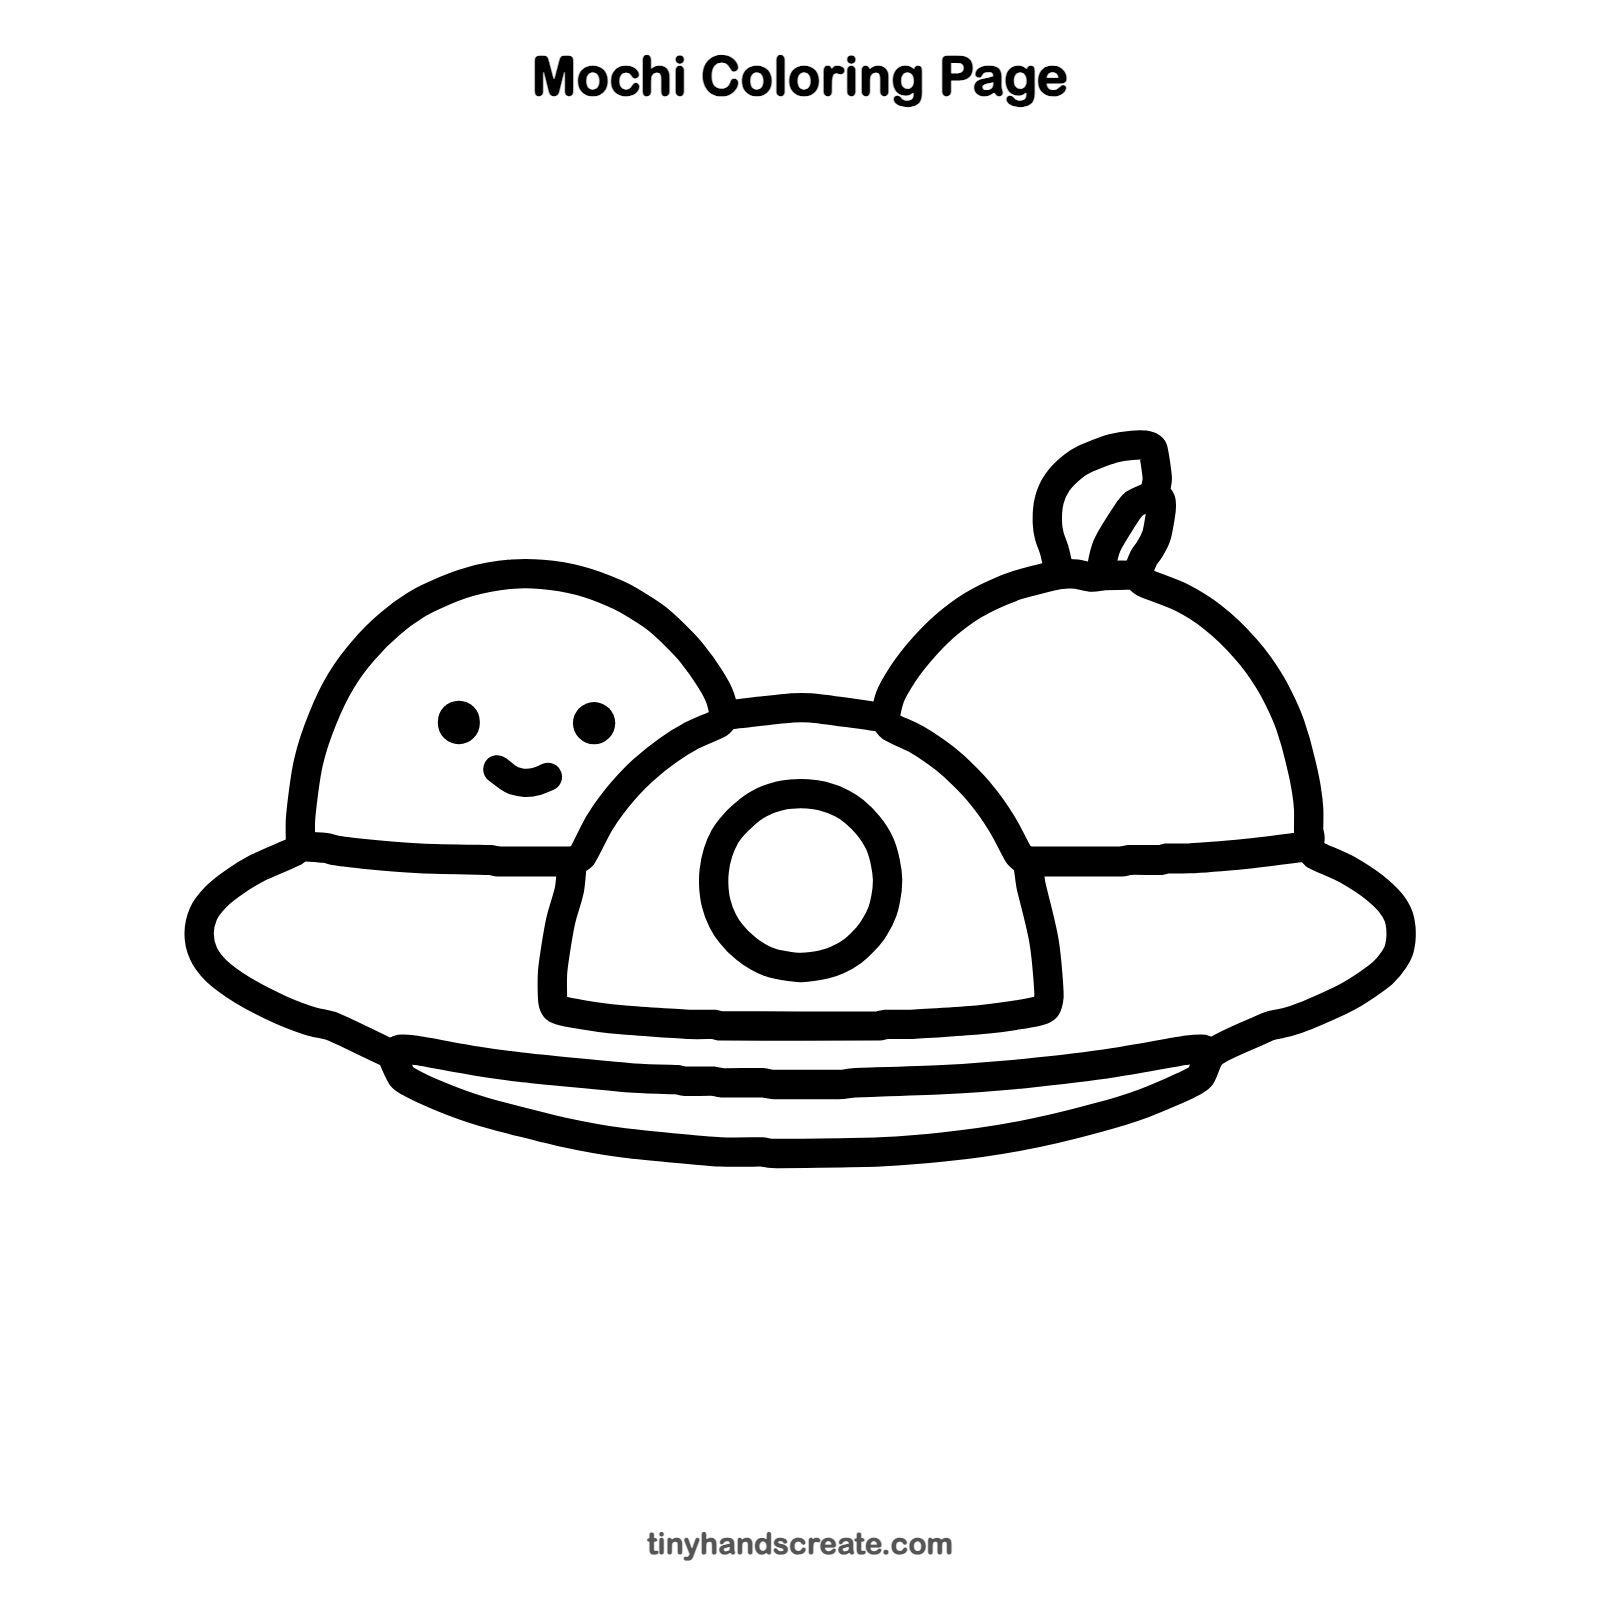
Want to go straight to coloring? Open this mochi coloring page at full size and print it. It is the same drawing you just learned, with clean lines ready for crayons or markers.
How to color your mochi drawing
Try soft pink, white, and pale green for the mochi, with a blue or red plate. For a creative twist, give each mochi a different flavor color, like strawberry, matcha, and vanilla.
Mochi fun fact for kids
Mochi is made by pounding steamed sticky rice until it becomes smooth and stretchy. In Japan, families often make it together at New Year.
Questions about drawing mochi
What shapes do I need to draw mochi?
You need half circles for the mochi, a small ring for the filling, a teardrop for the leaf, and a wide oval for the plate.
How do I make my mochi look cuter?
Give the left mochi two round dot eyes and a small curved smile placed close together. The little leaf on the right mochi also adds charm.
How do I draw the mochi so they overlap?
Draw the left mochi first, then the front one so its lines stop where they touch the left one. The right mochi tucks behind the front one the same way.