How to Draw a Mail Carrier (Easy Step by Step)
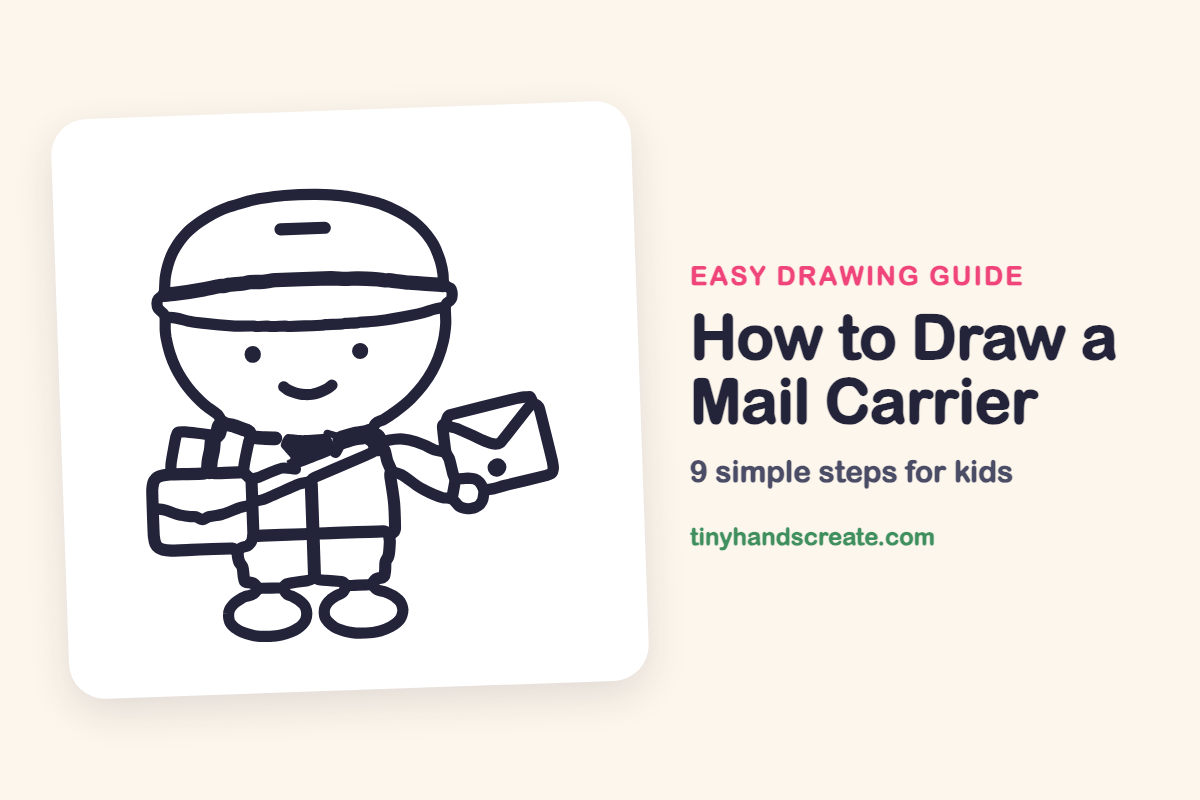
A mail carrier is a friendly character built from simple curves, ovals and rectangles. You will draw a round head, a cap, a body with a belt, a mail bag and an envelope, so it is a great drawing for practicing simple shapes.
- Medium
- 15 minutes
- 9 steps
You need: paper, a pencil, an eraser, and crayons or markers for coloring.
Start drawingIn this article (7 sections)
How to draw a mail carrier step by step
How to Draw a Mail Carrier · tinyhandscreate.com
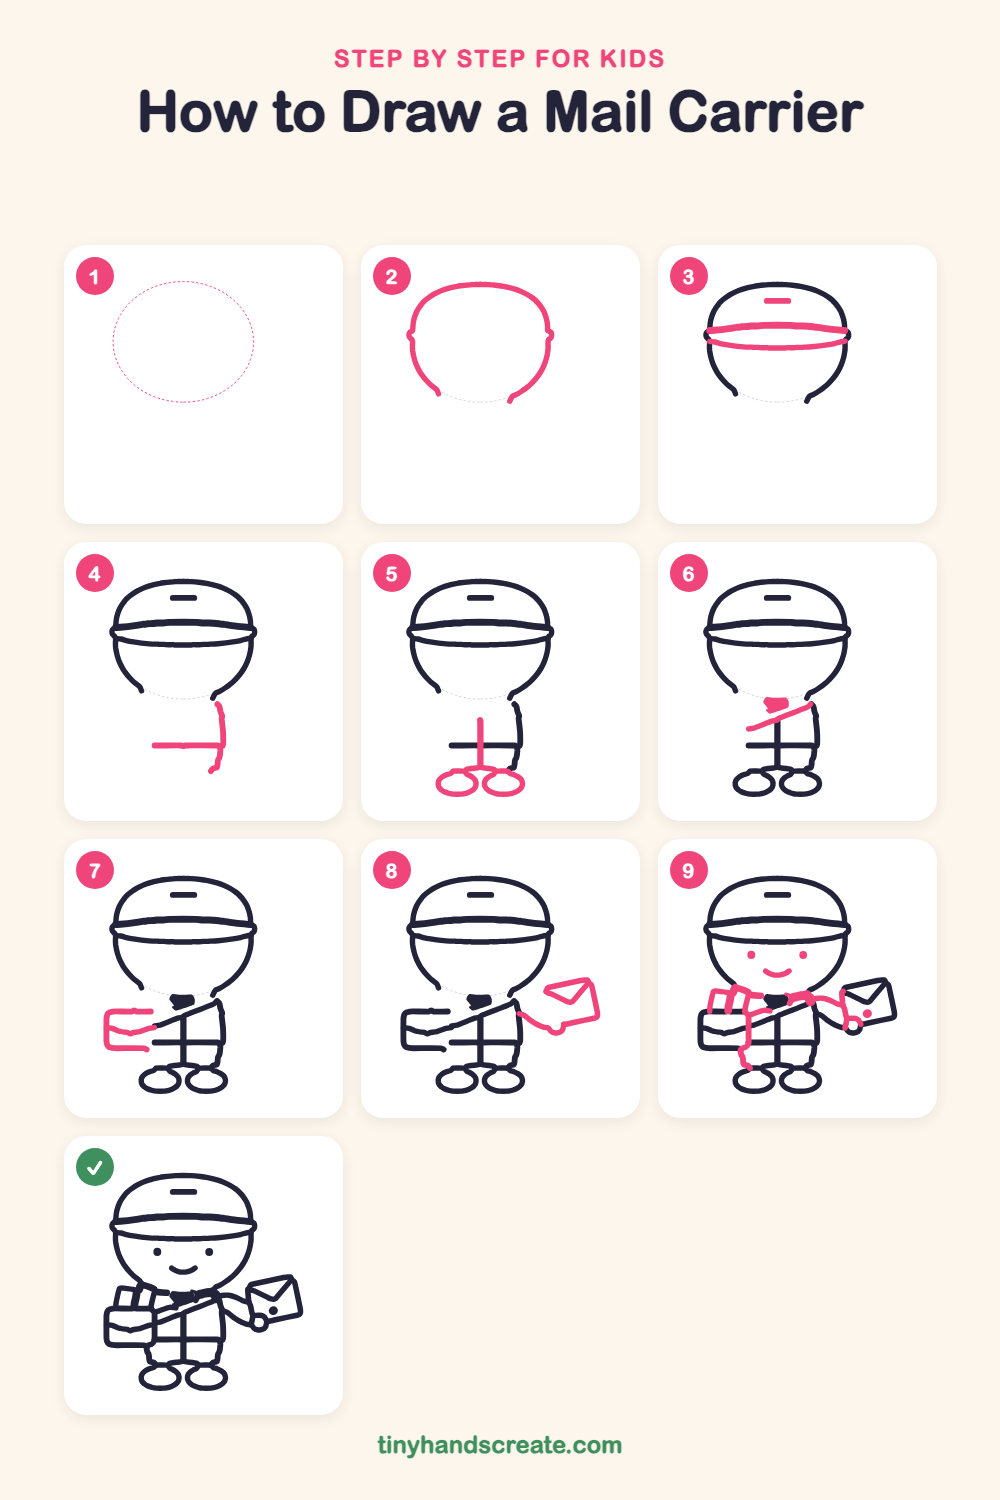
Step 1: Guide shapes
Lightly sketch this oval. It only shows where the big parts go, so press softly. You will erase it at the end.
Step 2: The round head
Draw a big curved line that starts low on the left, goes up and over the top like a dome, and comes down on the right. Leave the bottom open for now, like a rounded helmet.
Step 3: Cap band and top
Draw two long, gently curved lines across the head, one just above the other, to make the cap brim. Add a short dash at the top of the cap.
Step 4: Body side and belt
Draw a long curved line going down from the right side of the chin for the side of the body. Then draw a short straight line going left from it, to make the belt.
Step 5: Legs and feet
Draw a straight line down the middle of the body to the bottom to split the legs. Finish each leg with a wide oval foot.
Step 6: Collar and strap
Draw a small collar shape just under the chin. Then draw a long slanted line from the collar down across the body to the left.
Step 7: The mail bag
On the left side of the body, draw a rectangle with its right end touching the slanted strap. It is a little open at the corners, and that is okay.
Step 8: Envelope and arm
On the right, draw a tilted rectangle and put a V shape across its top to make the envelope. Then draw a wavy line from the body to the envelope, ending in a small loop for the hand.
Step 9: Face and finishing lines
Add two small dots for eyes and a curved smile. Then add a few short lines on top of the bag for its handle, a line down the left side of the body, and a dot on the envelope.
All done!
Erase the guide shapes, go over your lines, then color it in.
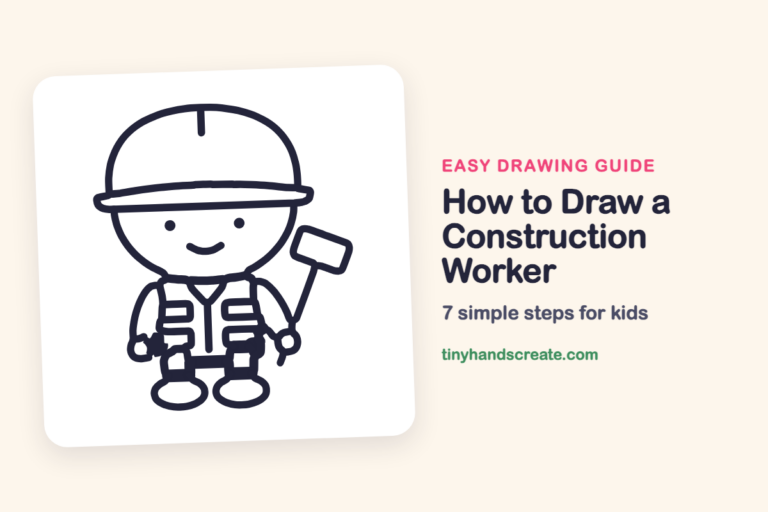
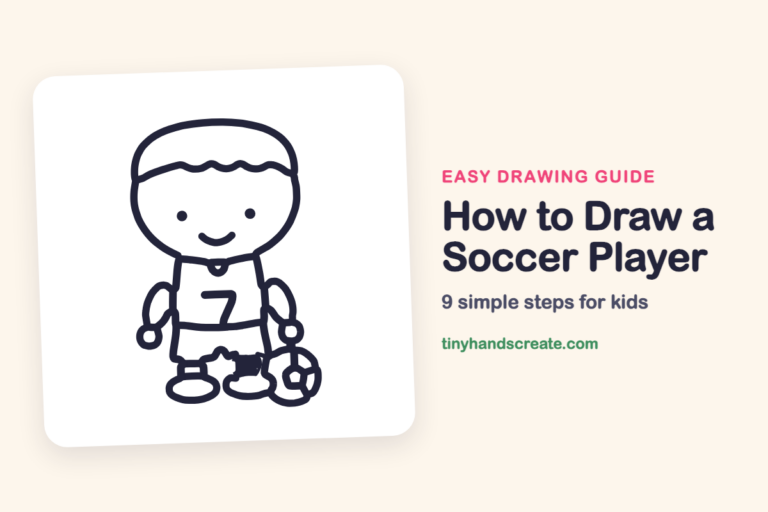
Finished your mail carrier? Keep the pencils out and learn how to draw a construction worker or how to draw a soccer player next.
Tips for drawing a mail carrier
- Draw the head first and leave plenty of room below it, so the body and feet fit on the page.
- The cap brim is the trickiest part. Draw two gently curved lines that are almost the same, with both ends touching the sides of the head.
- Sketch the envelope as a plain tilted rectangle before adding the V flap, and keep the little hand loop small.
Free mail carrier coloring page
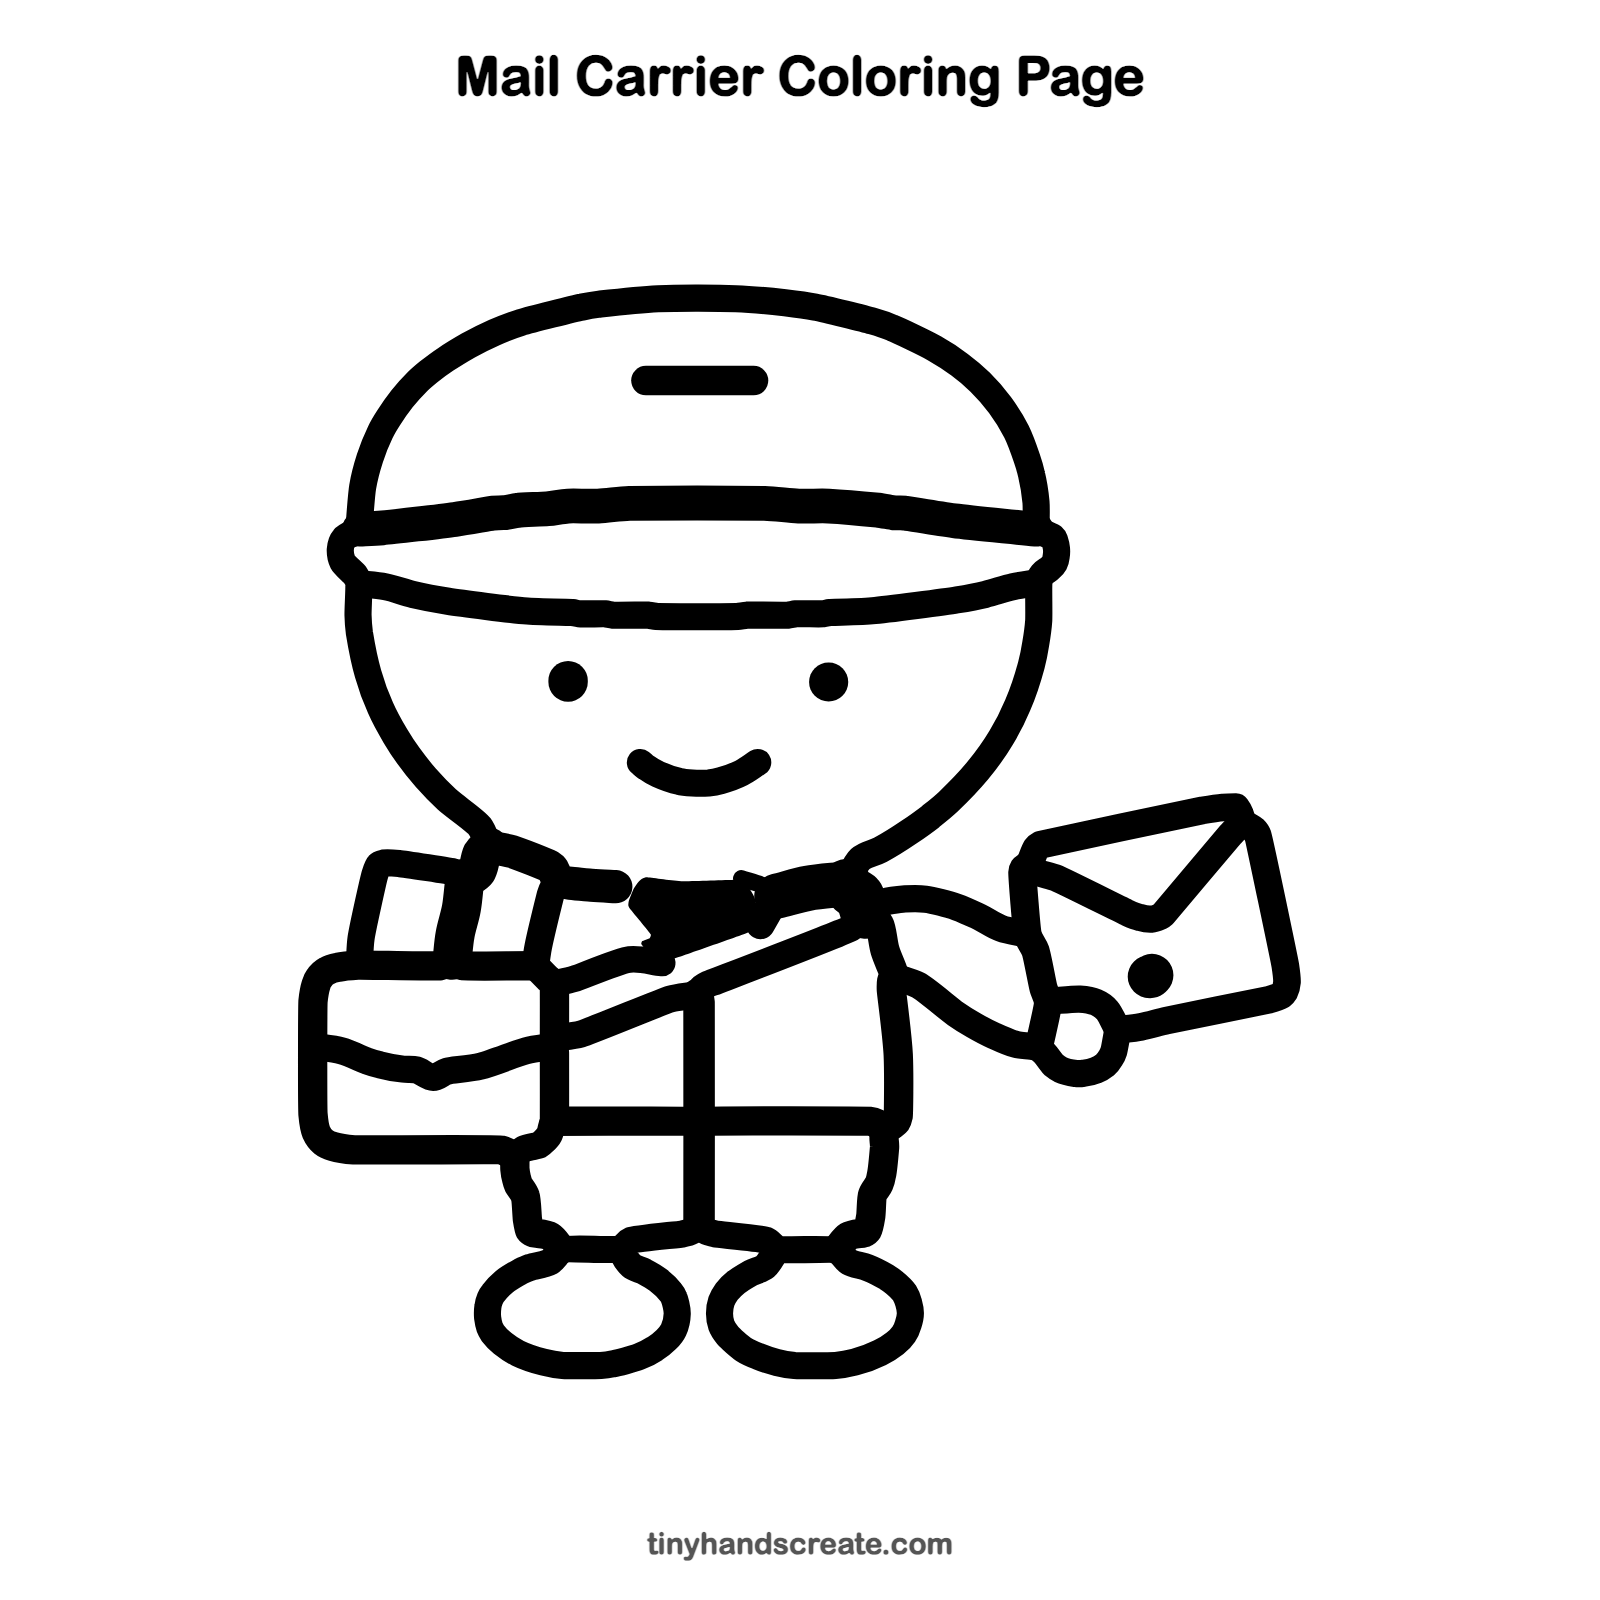
Want to go straight to coloring? Open this mail carrier coloring page at full size and print it. It is the same drawing you just learned, with clean lines ready for crayons or markers.
How to color your mail carrier drawing
Try a blue cap and uniform with a brown bag, and give the envelope a bright color. For a creative twist, color the envelope like a rainbow or add a colorful stamp in the corner.
Mail carrier fun fact for kids
The first postage stamp, the Penny Black, was used in Great Britain in 1840. Before stamps, the person getting the letter usually paid for it.
Questions about drawing a mail carrier
What shapes do I need to draw a mail carrier?
You need a dome shape for the head, ovals for the feet, rectangles for the bag and envelope, and a few curved lines for the cap and smile.
How do I make my mail carrier look friendlier?
Draw the smile wide and curved, and place the eyes far apart and low on the face.
How do I draw the envelope so it looks right?
Start with a tilted rectangle, then add a V shape across the top for the flap. Finish with a wavy line for the arm that ends in a small loop for the hand.