How to Draw a Kid Snow Tubing (Easy Step by Step)
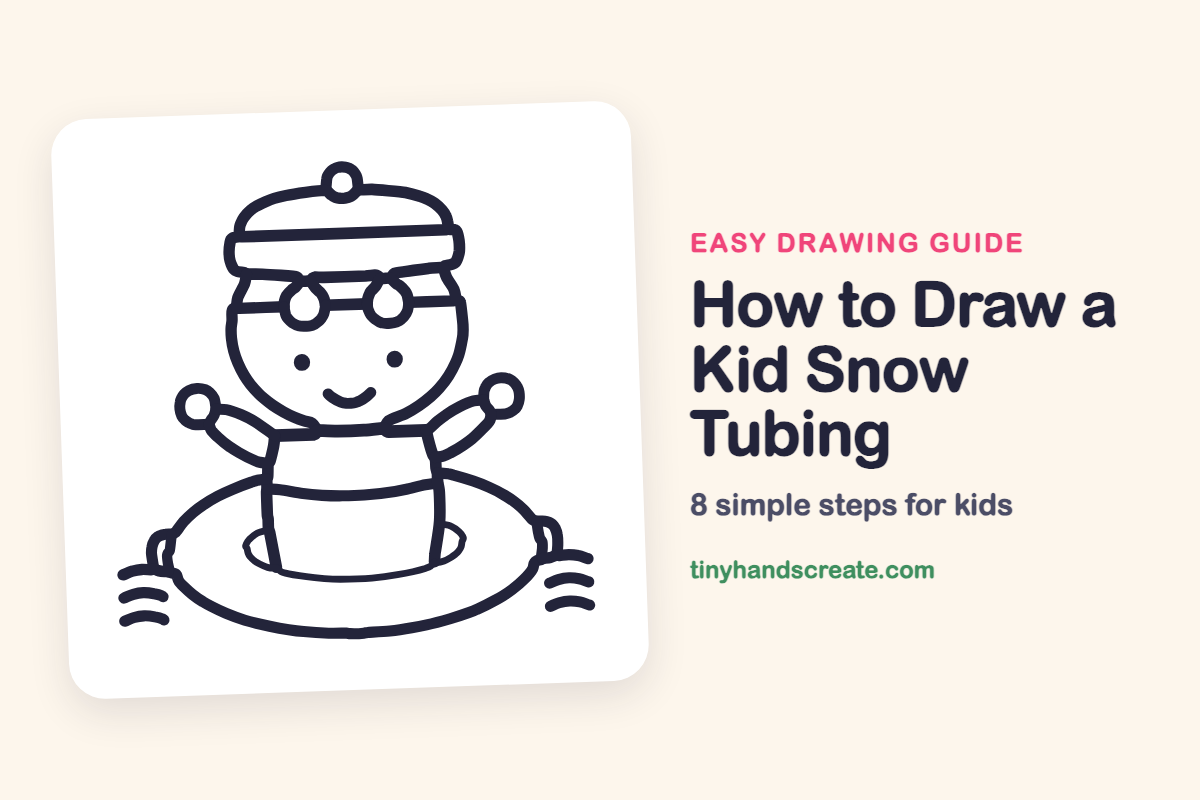
A kid zooming down a snowy hill in a big round tube is a fun winter picture to draw. The whole drawing is built from circles, ovals and a few curved lines, so beginners can finish it quickly.
- Medium
- 15 minutes
- 8 steps
You need: paper, a pencil, an eraser, and crayons or markers for coloring.
Start drawingIn this article (7 sections)
How to draw a kid snow tubing step by step
How to Draw a Kid Snow Tubing · tinyhandscreate.com
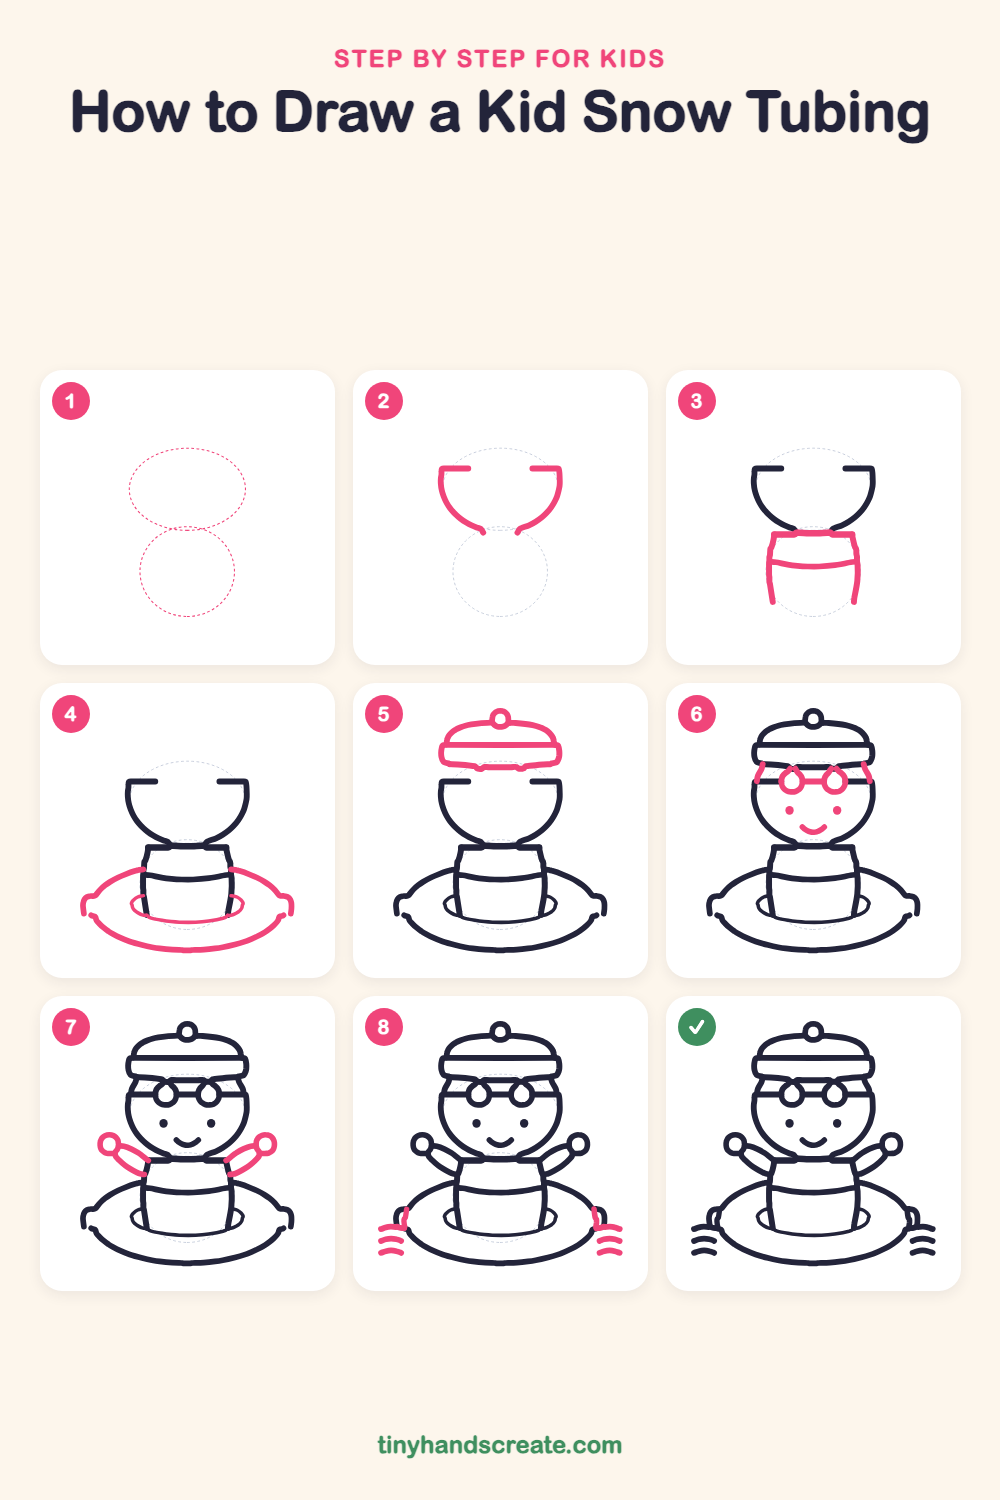
Step 1: Guide shapes
Lightly sketch these 2 ovals. They only show where the big parts go, so press softly. You will erase them at the end.
Step 2: The round head
Draw a big bowl shape for the head: start with a short flat line on the left, curve down and around, and come back up to a short flat line on the right. Leave a gap between the two flat lines at the top where the hat will sit.
Step 3: The barrel body
Under the head, draw a short barrel shape with a flat top and sides that curve out a little, like a soft rectangle. Add a curved stripe across the middle.
Step 4: The snow tube
Draw a big flat oval around the body, like a giant donut seen from the side. Add a small oval opening where the body goes in, and a little bump at each end of the big oval.
Step 5: The winter hat
Draw a rounded dome above the head, then a wide band across the bottom of the dome. Finish with a small circle on top for the pom-pom.
Step 6: Goggles and face
Draw two small circles side by side on the face and join them with a short line. Add a short strap going out to each side, then two dots for eyes and a little curved smile.
Step 7: Arms and mittens
Draw two short rounded arms reaching up and out from the shoulders. Put a small circle at the end of each arm for a mitten.
Step 8: Handles and snow
Draw a small curved loop on each side of the tube for the handles. Then add three short wavy lines on each side for the snow spraying out.
All done!
Erase the guide shapes, go over your lines, then color it in.
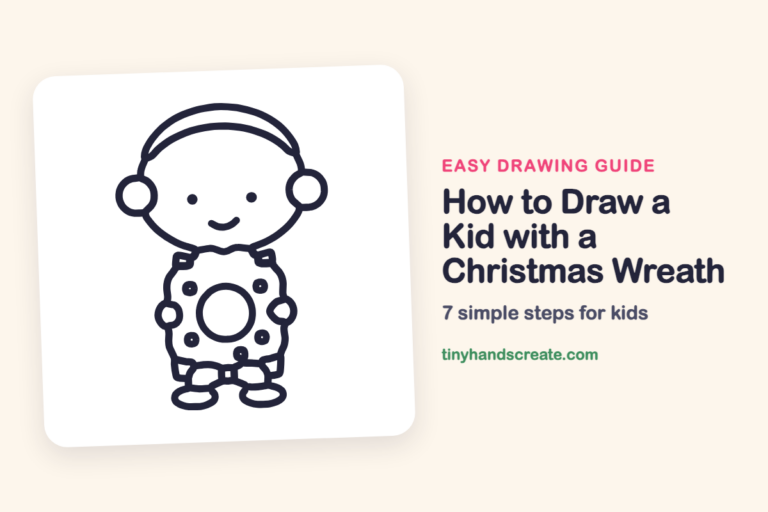
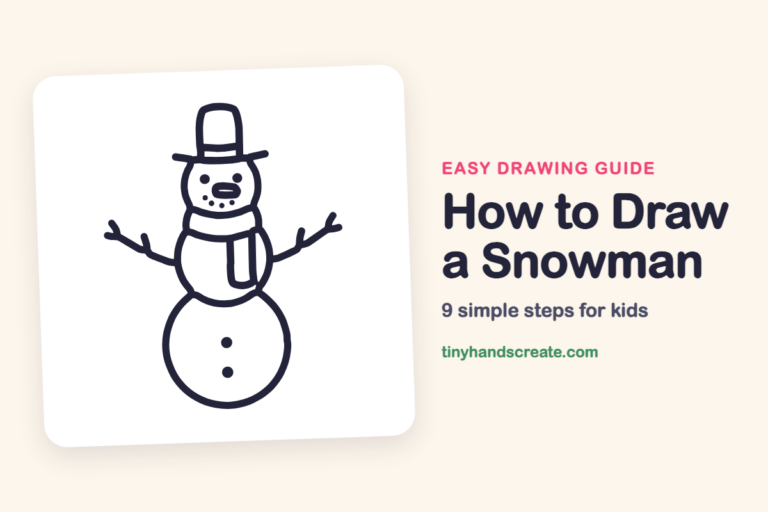
Finished your kid snow tubing? Keep the pencils out and learn how to draw a kid with a Christmas wreath or how to draw a snowman next.
Tips for drawing a kid snow tubing
- Draw the big oval for the tube lightly, and make the small opening in the middle just wide enough for the barrel body to fit.
- Make the two goggle circles the same size. Draw one, then match the second one beside it.
- Keep the arms balanced by starting both from the shoulders and drawing both mitten circles at about the same height.
Free kid snow tubing coloring page
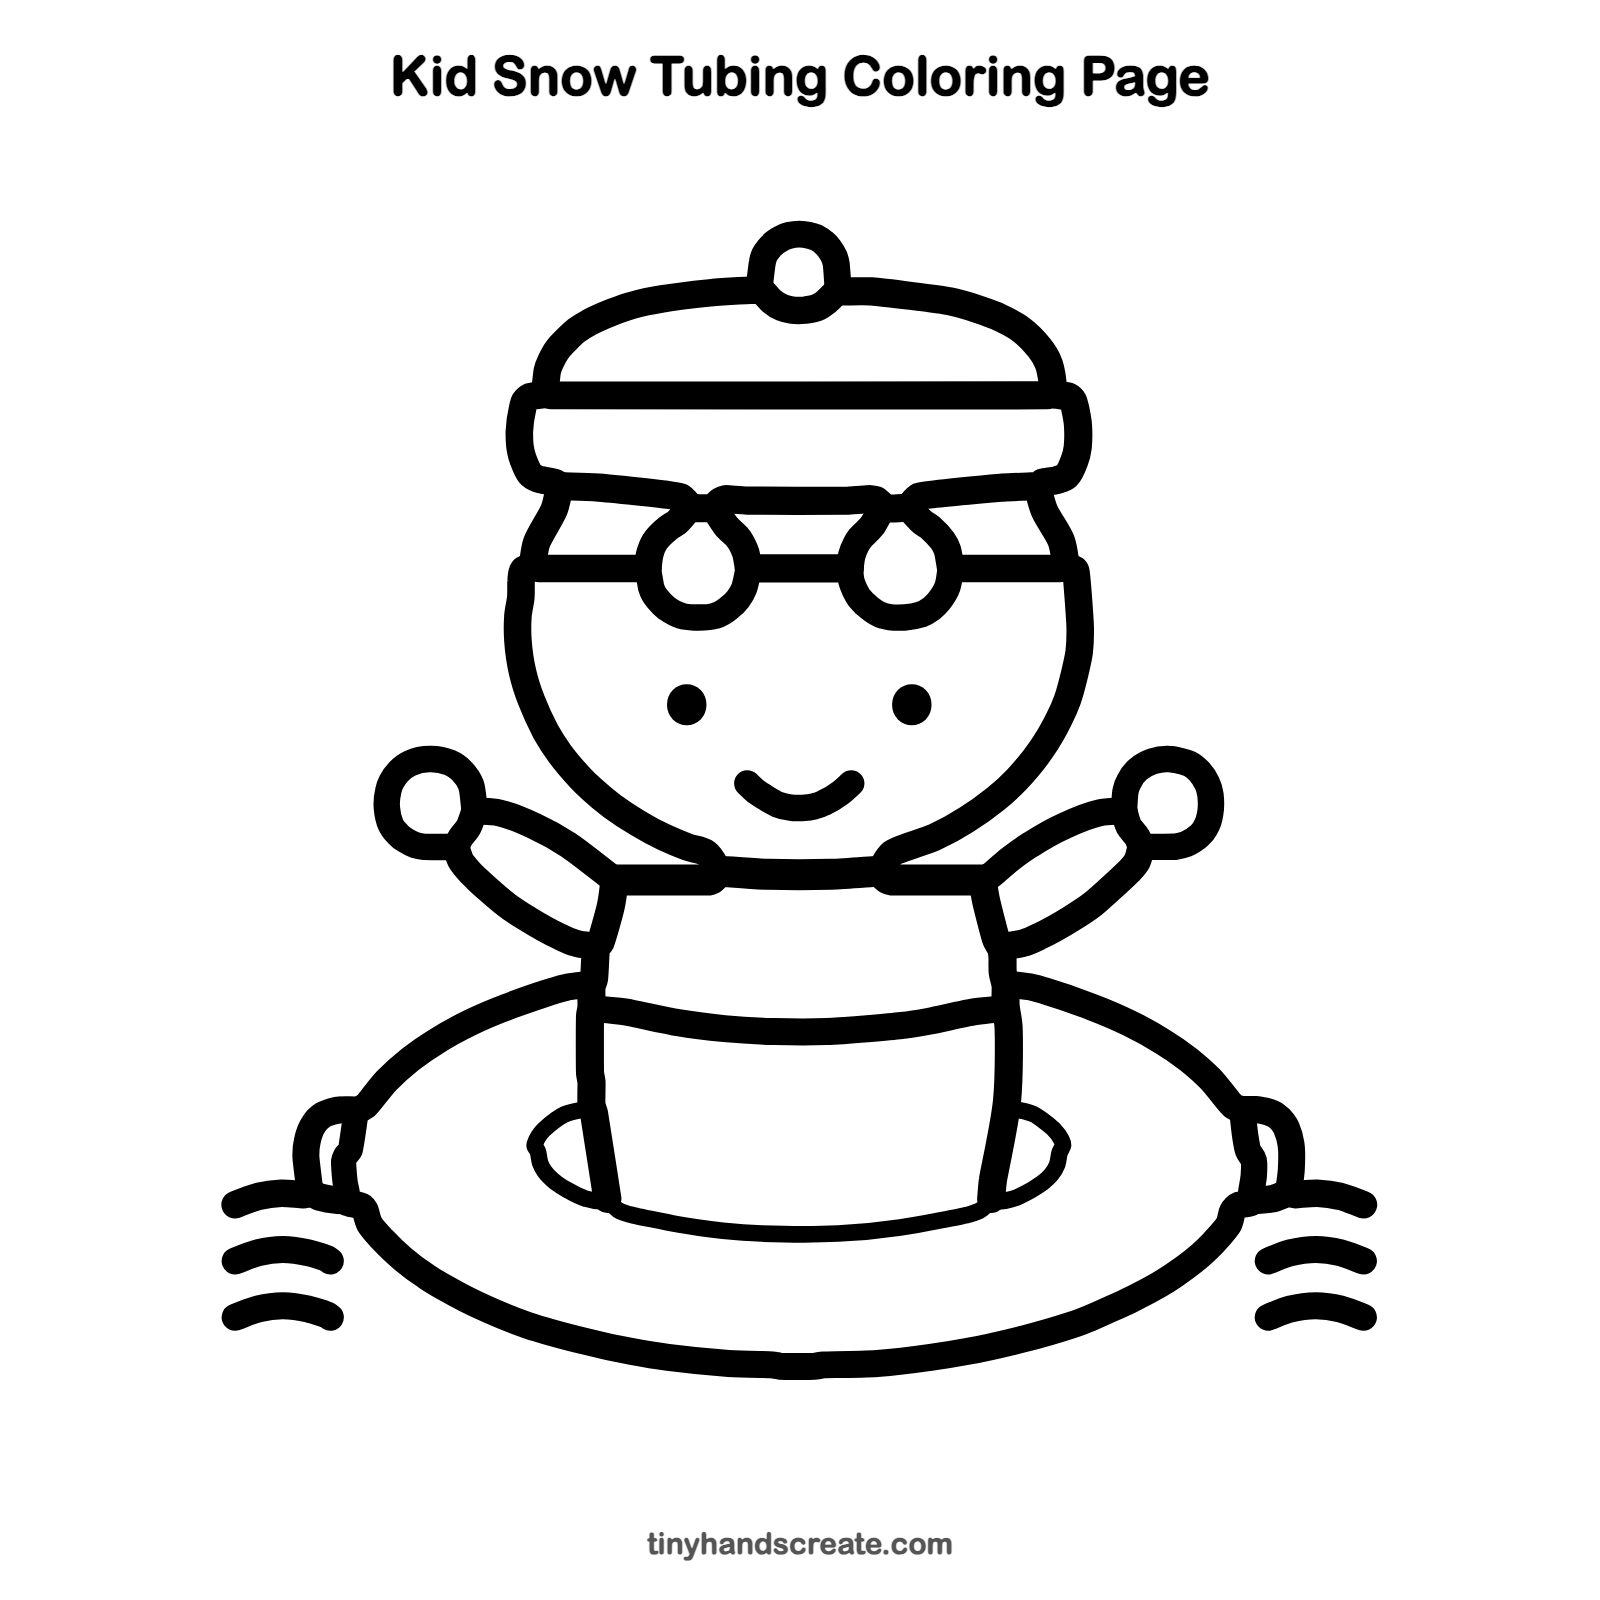
Want to go straight to coloring? Open this kid snow tubing coloring page at full size and print it. It is the same drawing you just learned, with clean lines ready for crayons or markers.
How to color your kid snow tubing drawing
Try a bright red or blue tube, a striped hat, and yellow goggles. For a creative twist, add a snowy hill and falling snowflakes in the background.
Kid snow tubing fun fact for kids
Every snowflake has six sides or six arms, because of the way water freezes into ice crystals.
Questions about drawing a kid snow tubing
What shapes do I need to draw a kid snow tubing?
You need a bowl shape for the head, circles for the goggles, mittens and pom-pom, a big oval for the tube, and a rounded barrel for the body. Short wavy lines finish the snow spray.
How do I make the tube look like the kid is sitting inside it?
Draw a smaller oval opening inside the big oval, and let the body lines end at that opening. This makes the tube look like it goes around the body.
How do I make my snow tubing kid look happier?
Make the smile curved and lift the arms up and out. Raised arms make the kid look like they are cheering.